
This article is a written account of a video from the Lens Of James YouTube channel. Watch the video above and subscribe if you like what you see!
This article contains affiliate links to relevant products I have used in my videos. By buying through these links, I receive a small percentage of the sale at no cost to you which helps me support and grow my website and YouTube channel, so I can create more content like this in the future. Thank you for your support.
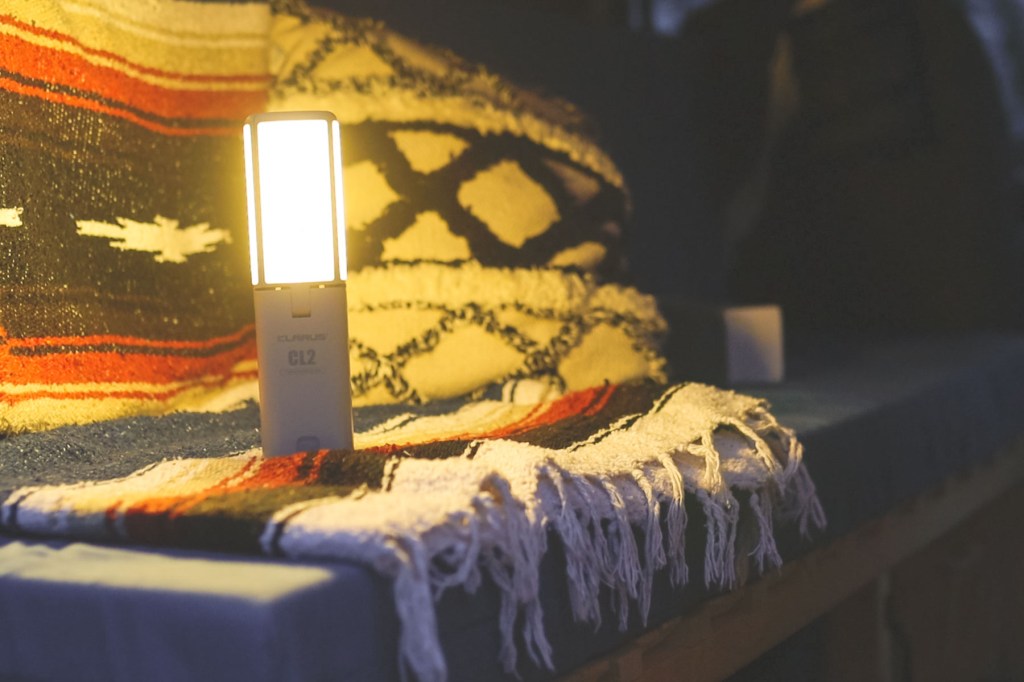
This is the Klarus CL2 lantern and I’ve been testing it as a potential addition to my van build.
It’s packed with loads of features that make it a really versatile tool to have while camping, if you’re on the side of the road or just for day-to-day use.
Unboxing the lantern
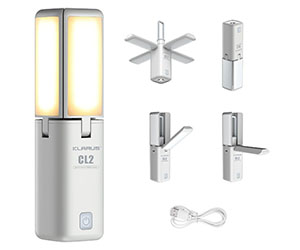
Out of the box, it comes in a neat pull-string fabric bag, with a USB-A to USB-C charging cable, a USB-C to lightning adaptor and a manual.

It’s made of grey ABS plastic with rubber buttons, weighs 420g and feels pretty solid.
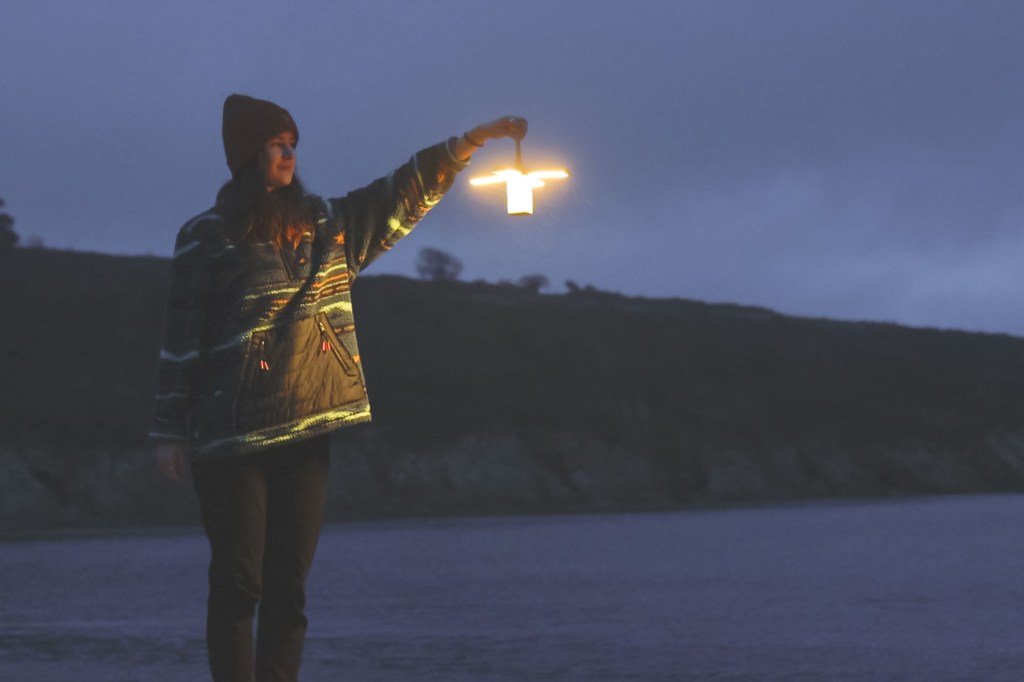
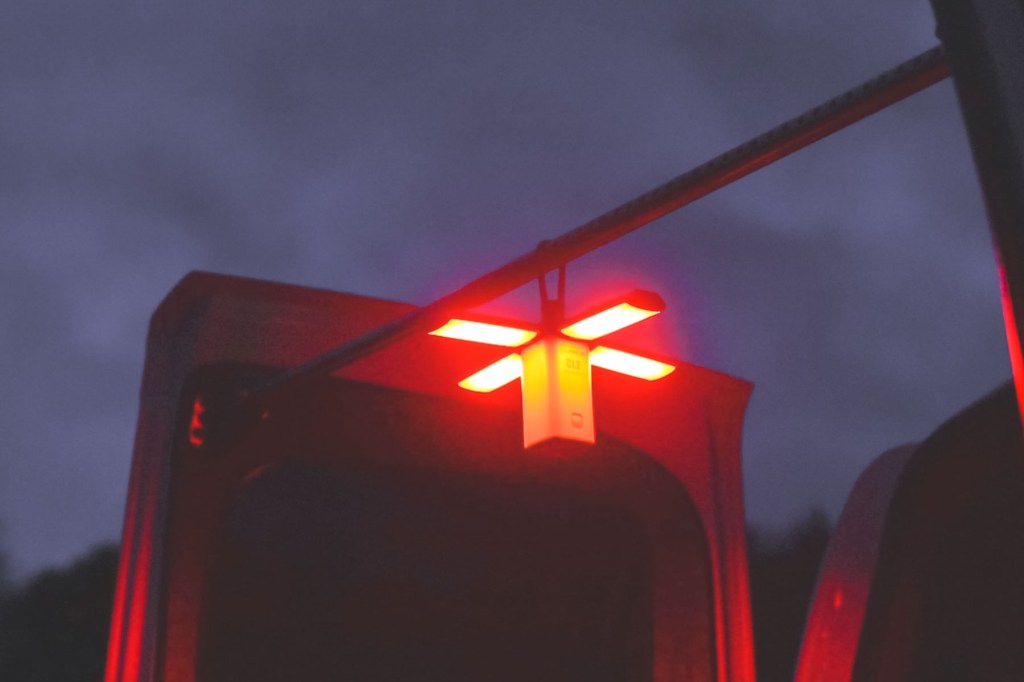
The most noticeable feature, which differentiates it immediately from other lanterns, is the 4x 90 degree fold-down light panels. This enables you to have both a handheld torch and, thanks to the handy rubber loop, a hanging lantern which shines its light downward. Add a carabiner to the end and you can hang it from almost anything (I’m finding it to be a great addition to my trusty roof bar!).

Click to buy your own…


(Affiliate links which help support this website)
Lighting modes
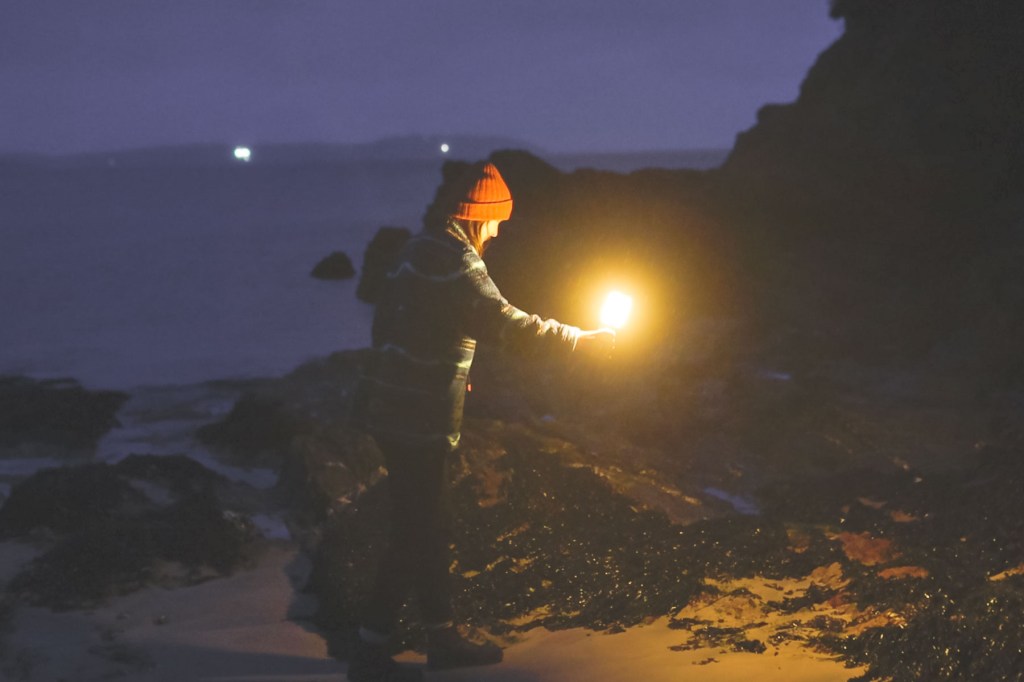
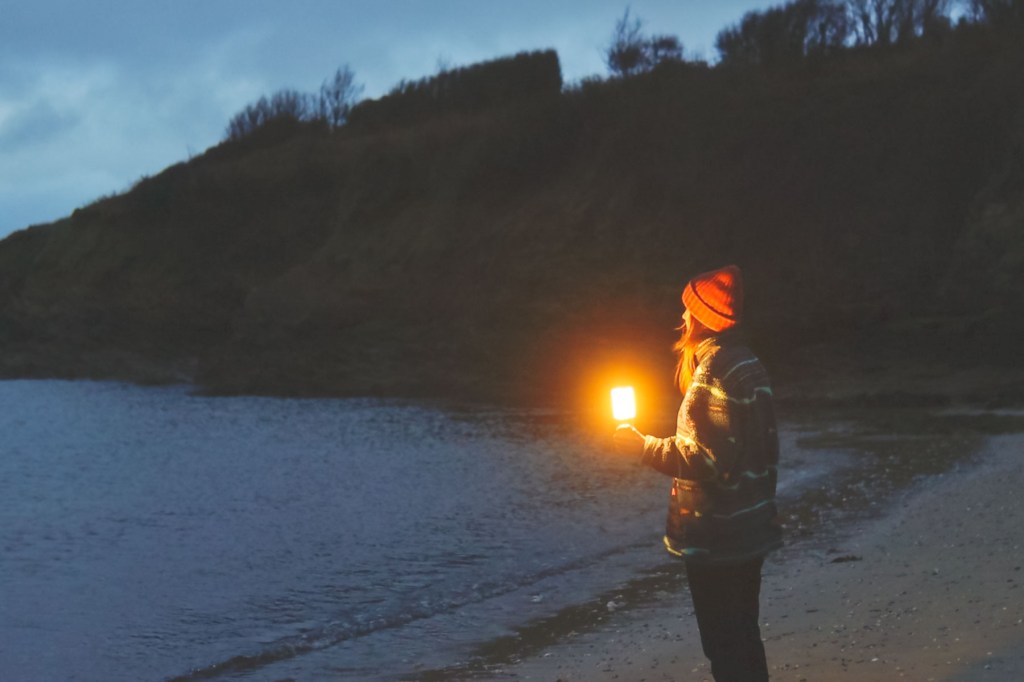
So let’s get started by going through the lighting modes, with some help from my partner Emma and a local beach at dusk…
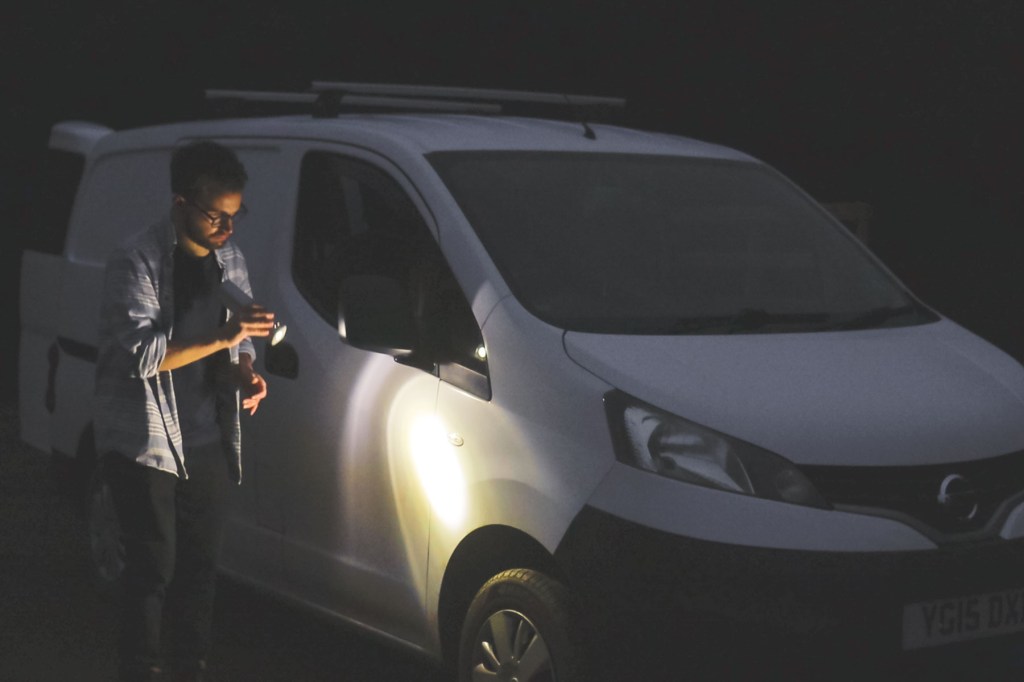
The CL2 has 2 lots of lighting modes. For the first set, simply press the power button once and it will illuminate at a warm-coloured 30 lumens, press it again for mid-brightness at 150 lumens and press it a third time for the brightest setting at 750 lumens. Finally, hit it a fourth time and the brightness remains at 750 lumens but it turns to a whiter, colder light. Pressing it once more will turn the lantern off.
For the second lighting mode, long hold the power button and a flashlight will turn on from the other end of the lantern, press it again for a red flashing light and press it a third time for a white flashing SOS light. Again, pressing it once more will turn it off.
Now I’ve had torches and head torches in the past with plenty of different settings and it’s annoying cycling through all of the modes to turn the thing off, so if you don’t press the power button for more than 3 seconds, when you next press it will turn off, instead of going through the lighting cycle, which I think is pretty neat feature.
So they’re the lighting modes, but there’s still plenty more features to talk about…
Waterproofing and mounting
To start, it’s IPX5 rated, meaning it’s protected from sustained low pressure water such as rain, and also has a handy tripod mount which enables the light to project over a wider distance or you could even use it as a light to film with.


Battery pack and charging capabilities
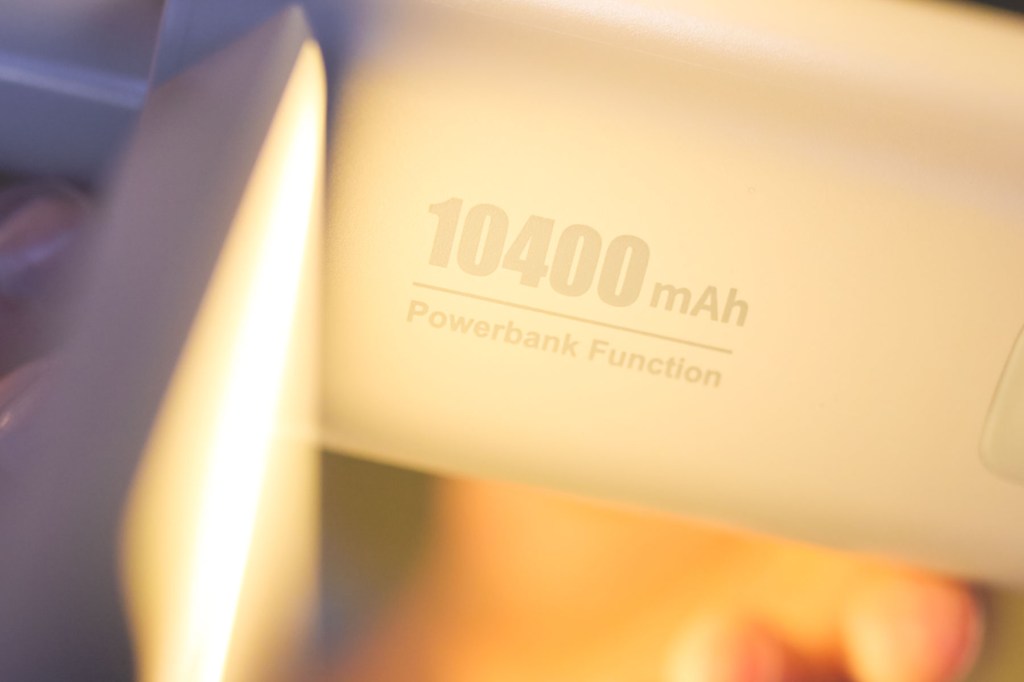
But perhaps its most useful feature is its large 10400mAh battery which not only powers the torch for long periods, but can be used as a power bank to charge devices via a USB-A port, which would fully charge an iPhone 13, for example, about 3 times.
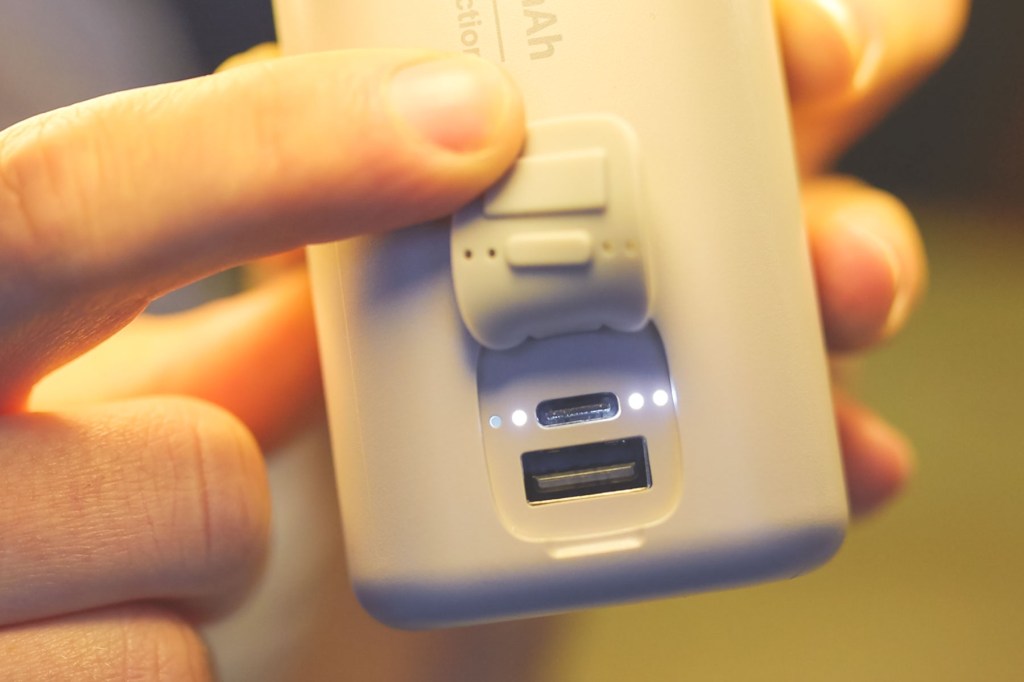
And yes, the torch itself works while you charge!

We’re also on Instagram!
Check out yogi.the.van to keep up-to-date with all our adventures in the van!


How long does it last?
When using the lantern for light, according to the product information, the battery will last approximately 60 hours on the lowest setting, 12 hours on the middle setting and 4 hours 45 minutes on the highest settings for both the warm and cold lights. The flashlight at the other end of the lantern will last about 18 hours. I tested these and found them to be pretty accurate timings.

The verdict
So that’s my run down on the Klarus CL2 lantern. I’ve been very impressed with it and it’s definitely earned a space in my van conversion, fitting very nicely in my wheel arch storage box. I can see it being very handy in all sort of situation; from breakdowns to power cuts, hanging in our drive-away awning to keeping phones topped up while we’re out and about.
If you’re interested in getting one for yourself you can pick one up for around £55.
About this product review
For full disclosure, Klarus provided the lantern for me to test but didn’t sponsor this post and the thoughts and opinions are all my own.
If you want to see more of my camper van build in action, please CLICK HERE.
Click to buy your own…
(Affiliate links which help support this website)
