
This article is a written account of a video from the Lens Of James YouTube channel. Watch the video above and subscribe if you like what you see!
This article contains affiliate links to relevant products I have used in my videos. By buying through these links, I receive a small percentage of the sale at no cost to you which helps me support and grow my website and YouTube channel, so I can create more content like this in the future. Thank you for your support.
In this article…
- What would you do if your vehicle got stolen?
- Introducing The 4 SAFETAG GPS Trackers
- The SafeTag Mag
- The SafeTag Mini
- The SafeTag Plug
- The SafeTag Volt
- How to install The SafeTag volt
- The SafeTag Website and App
- How to set up your tracker online
- How to view your tracker on the SafeTag website
- How to use the SafeTag tracking app
- How much does it cost?
- Verdict: are SafeTag trackers good and which one should you chose?
What would you do if your vehicle got stolen?
If you’ve been following my van conversion, you’ll know that I’ve put a lot of time, energy and money into turning a small panel van into my dream camper, but if the worst happened and it got stolen, I’ve no idea what I’d do!
I’ve been testing 4 different types of trackers from SafeTag to see how they stack up, how they’re installed and how they work, plus sharing anything else you might want to know if you’re considering a tracker for your vehicle.
Introducing The 4 SAFETAG GPS Trackers
So let’s get started with the four different types of GPS trackers that SafeTag currently offer; the mag, mini, plug and volt. Each offers a different method of powering the tracker, dependent on your requirements and usage and they all come with a 12 month warrant too!
The Mag is a large battery-powered tracker, the Mini is smaller and also also battery-powered. The Plug is powered by the OBD port via the vehicle battery, and the Volt is hard-wired onto the vehicle battery.


These trackers are all complimented with a great phone app but first, let’s take a deep dive into the finer details of each of the trackers.
The SafeTag Mag
Up first is the Mag. As you may have guessed from its name, one of its core features is that it is magnetic – with a 8 very strong built-in magnets at that – which makes it extremely versatile for putting it in discreet places.

Measuring 3x8x4cm, within its rectangle case it contains a 6800mAh battery which lasts up to 90 days on standby, or about 16-32 days when in use, and a strong antenna providing accuracy to approximately 5m. Externally, it has a small screen with a red light indicating when it is charging or charged and a blue light which appears for the first 3 minutes it coming on.
On the back there’s is a small button which is deliberately loose as this helps the tracker detect vibrations. It has a bit of weight to it at 170 grams, but it feels solid, is nicely designed and water resistant to IP65.

Finally, at the base there is a small waterproof cover which hides the sim card, which is not to be removed, and a port to charge with a usb micro-b cable, which is slightly longer than usual.

On the back is the item barcode and the reason I’m covering up part of it on all the trackers is that the IMEI code is unique to the device and I, of course, don’t want people to be able to track me because of this video!
Using the SafeTag Mag really is as simple as activating the tracker on your SafeTag account, waiting about 15 minutes for it to go live and you’re done. There’s nothing more to do!
Click to buy your own…

(Affiliate links which help support this channel)
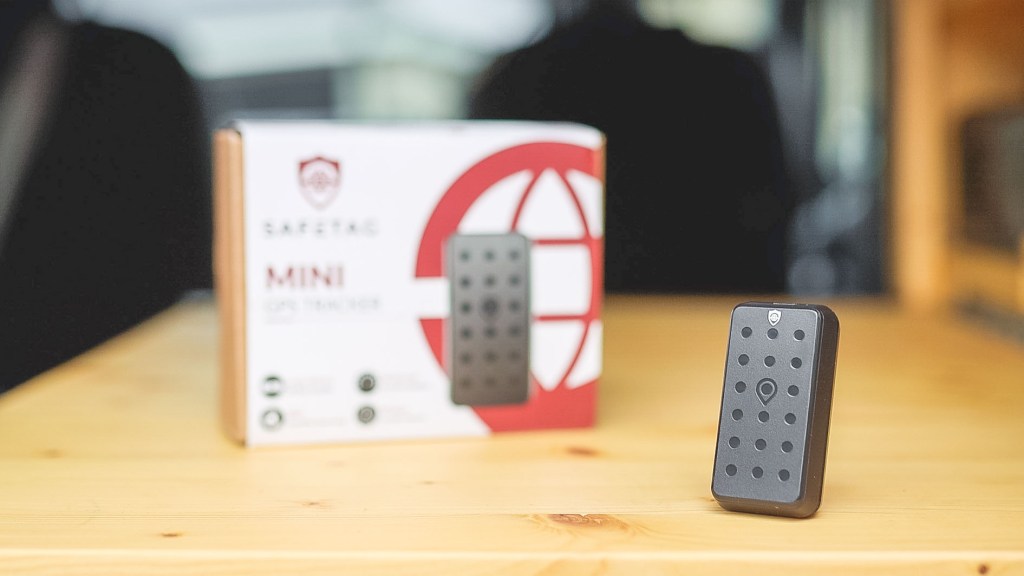
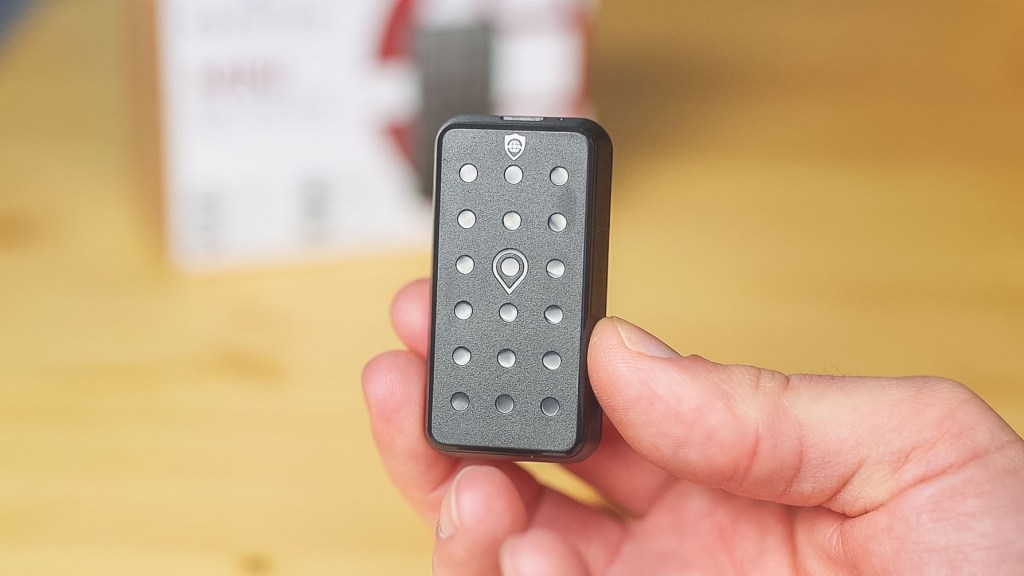
The SafeTag Mini
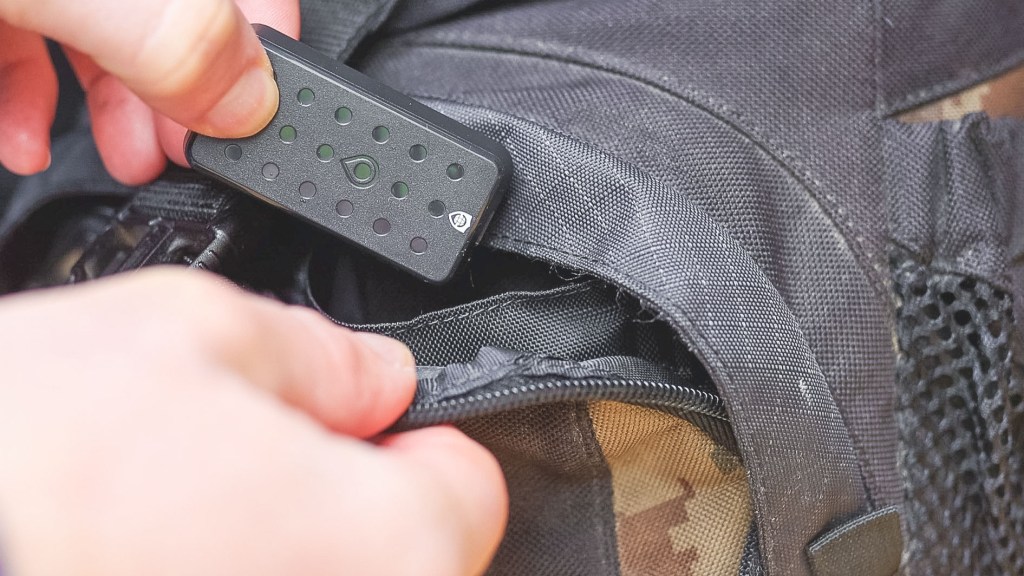
The same can also be said about the Mini which, in many ways, is similar to the Mag but with the main difference being it is much smaller at 1.9×5.9×2.7cm. With its smaller dimensions comes a smaller battery at 1500mAh, which provides up to 30 day on standby or 2-6 days when in use, and it weighs just 96g.
Its size has the benefit of being very easily concealable so perfect for vehicles, but any other applications such as in a backpack if travelling.
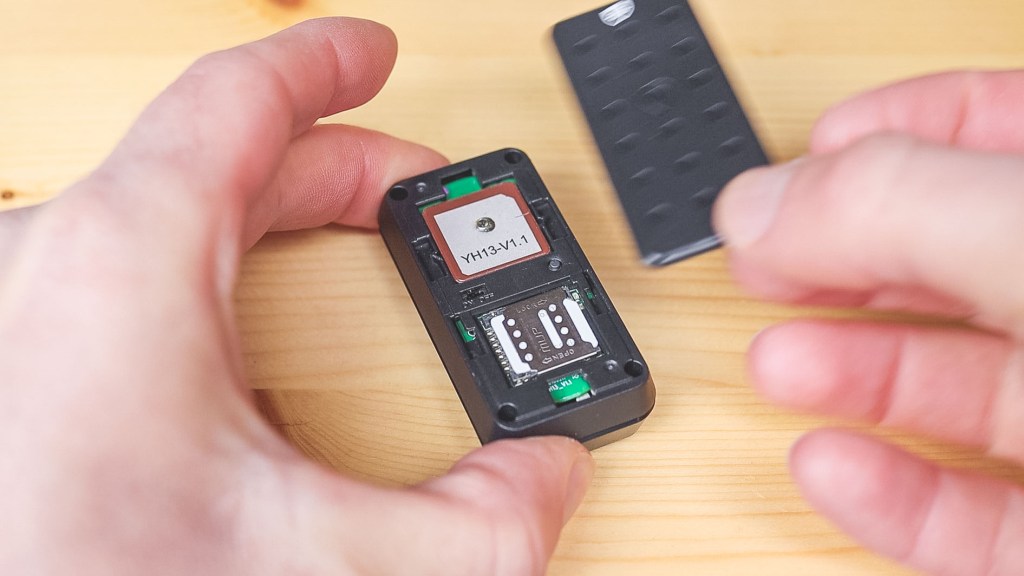
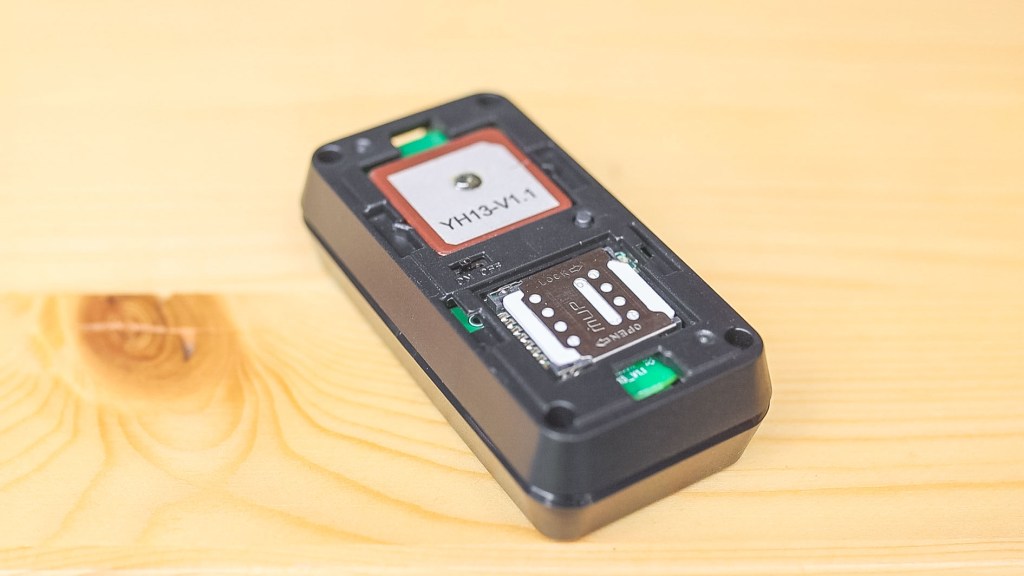
One significant difference to the Mag is that you can switch it on and off. Turn it on by sliding the cover back, flicking the switch left on and then holding the button on the right until the lights come on. The sim card for the GPS is located in here too but can be left alone. Whilst there is an extra step to activating this tracker, it’s handy to have the ability to turn it on as and when you need it.
So they’re the two chargeable trackers with built-in batteries whilst the final two that SafeTag produce both rely on power from the vehicle battery.
The SafeTag Plug
The first is the Plug which, yes, plugs into the OBD2 port of the vehicle. OBD stands for ‘On-board diagnostics’ and is the location at which a mechanic would plug in a reader to review codes and diagnose problems – a pretty valuable tool for a vehicle to have.

OBD ports have been around for quite a while but the OBD2 system, which I’ll be referring to, has been regularly built into vehicles since the 90s. It’s a universal port meaning that no additional adaptors are needed.
Using the OBD2 port for a tracker has a number of distinct benefits. Firstly, the majority of cars have them so if you were switching from a personal to a work car, for example, then you can easily take it with you. Secondly, the OBD2 port is usually found inside the cab of the vehicle, meaning that it’s easily accessible without faffing under the bonnet – or hood for my international readers.

Finally, it always has power running to it from the car’s battery, so if the tracker’s plugged in then it’ll always be on…but don’t think that you’ll be running your car battery down any time soon! It draws such a low amount of power that SafeTag calculates that you’d need to not use your car for approximately 2 years for it to completely run down an average car battery.
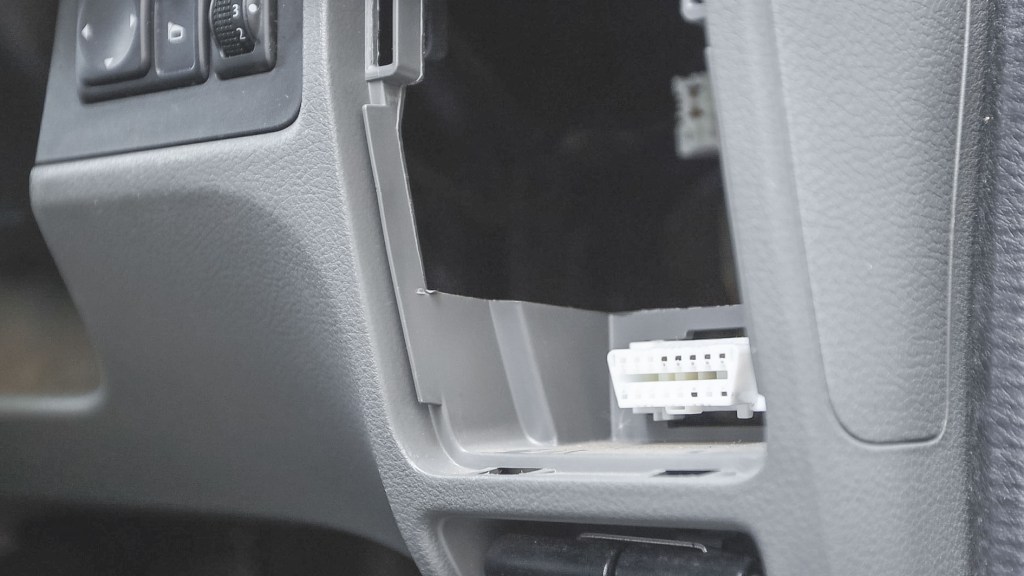
If you’re not sure where to find the OBD port on your vehicle, then a quick google of your car make and model should point you in the right direction. On my Nissan NV200, it’s located below and to the right of the steering wheel.
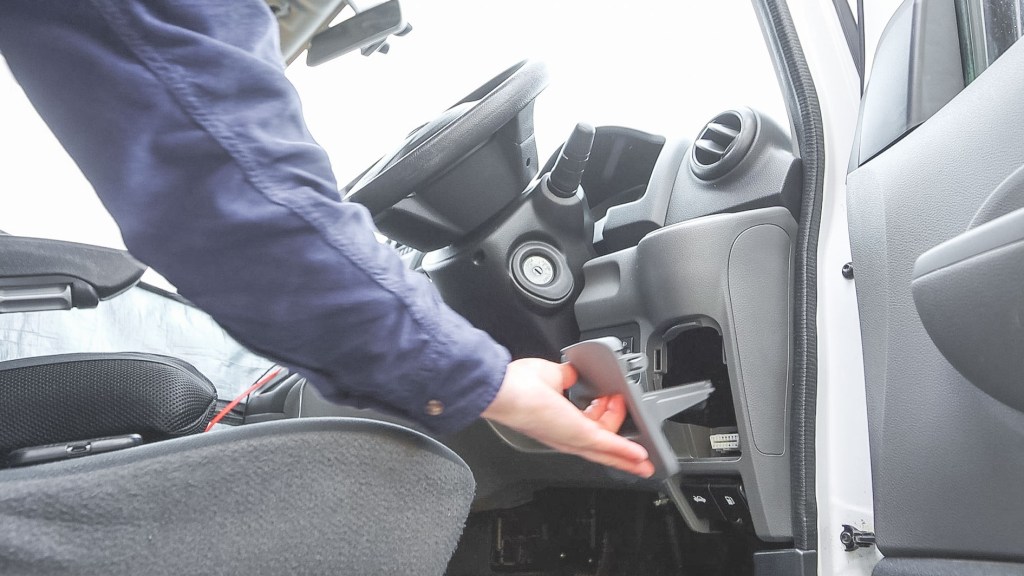
With a low profile of just 3cm it fits in snuggly, and the cover goes back on so you won’t even know it’s there and tracking your vehicle.
Click to buy your own…

(Affiliate links which help support this channel)
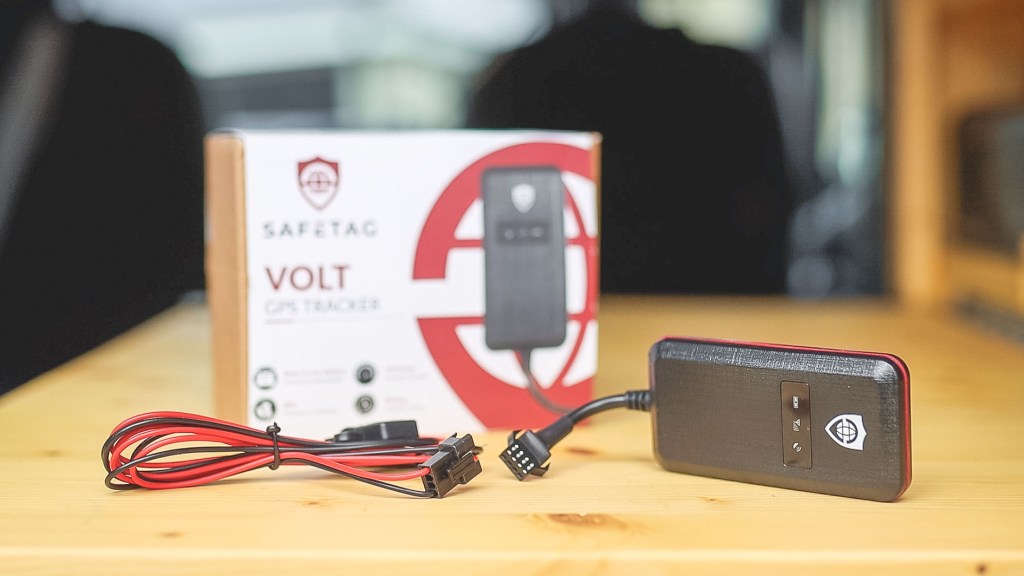
The SafeTag Volt
The fourth and final tracker is the SafeTag Volt. I try not to mess around under the bonnet of my van too much, as I’ll be the first to admit that I don’t know what I’m doing, so at first the thought of hardwiring a tracker directly to my battery was a bit daunting. Luckily, it couldn’t be easier.

Like the OBD port tracker, this tracker draws its power directly from the vehicle battery so never needs to be removed and charged. The device can be used on a wide range of batteries from 12v to 90v is fused and safety protected. Due to its potential for exposure to the elements, it’s rated to IP67 which means it is waterproof and is accurate to approximately 10m.
How to install The SafeTag volt
So let’s get installing this tracker in my van.
Watch the installation here.
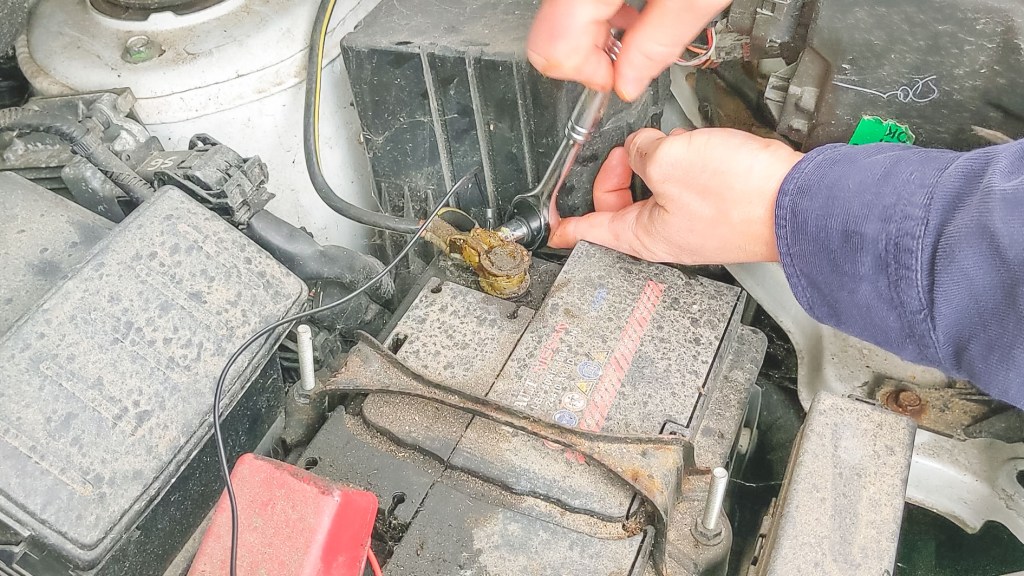
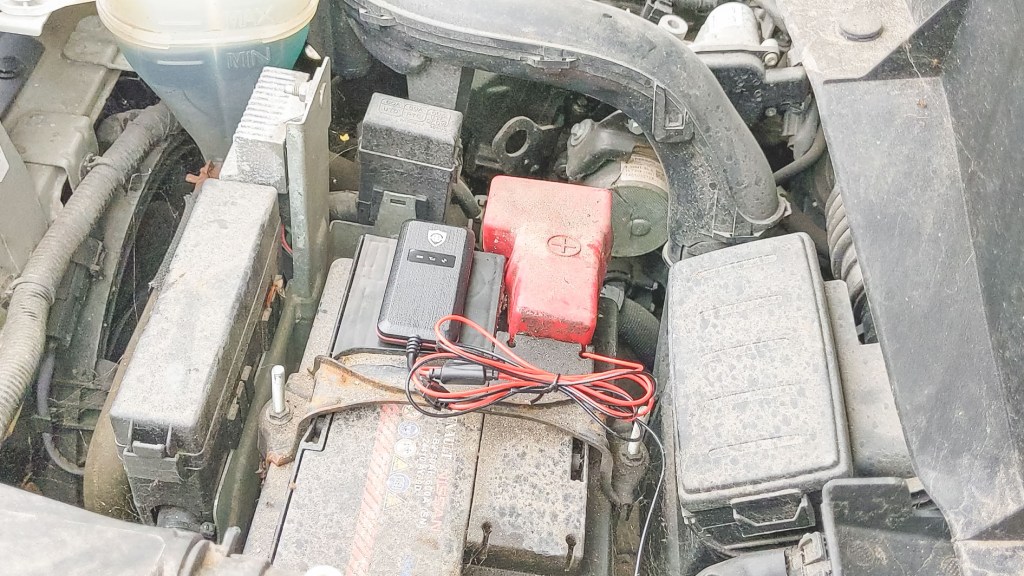
(I should acknowledge at this point that, yes, it’s pretty filthy under the bonnet and the terminals of my battery are well coated in grease to protect them, so it’s a bit of a messier job than it would be on a newer vehicle, but is nothing that can’t be easily cleaned of afterwards.)
- With the bonnet open, locate the battery and using a spanner or socket wrench, loosen the nut on the positive, or red, terminal of your battery. My battery used a 10mm socket which I believe is a fairly standard size.
- With the nut loosened, slide the metal u-shaped connector on the tracker’s red wire between the gap made by the nut and then tighten it up.
- Then, do exactly the same for the other wire; loosening the nut, attaching the black-wired connector to the terminal and tightening it back up again.
- Finally, stick the tracker down using the 3M tape attached so it can’t move around or fall somewhere it shouldn’t – I chose the top of the battery and had to give it a good clean first – and then tie the cables up neatly and the tracker is installed.

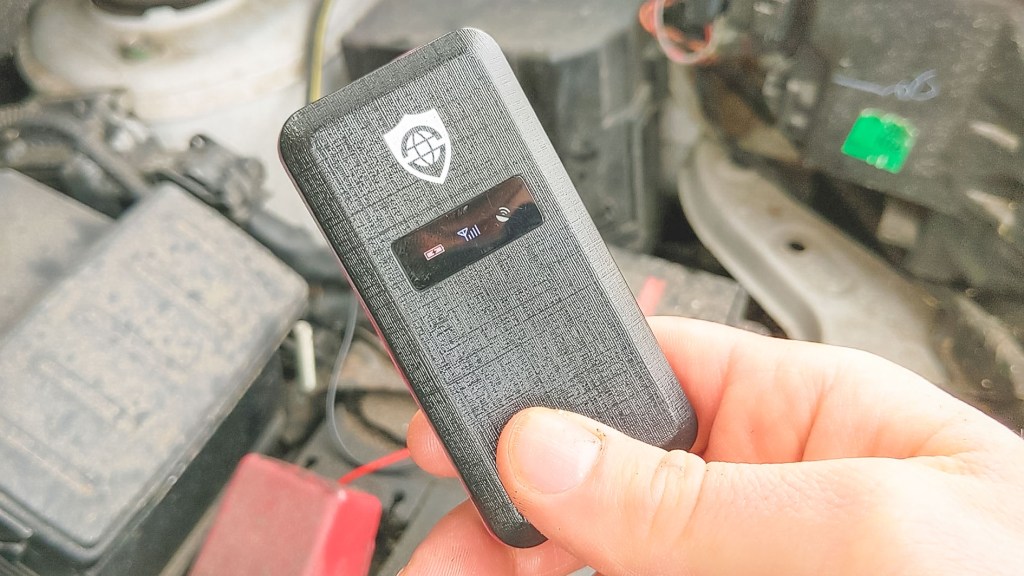
As the battery is live, you should see the three symbols on the tracker’s small screen illuminate and this shows that it is working. The left light shows an active battery connection, the middle shows an active GSM connection (which stands for Global System for Mobile Communications) and the right side light shows an active GPS lock. All 3 lights will go out after approximately 3 minutes.
Working with electrics and batteries always carries some risk, but car batteries, at just 12 volts, are very unlikely to shock you. That said, if you’re unsure, always ask someone who knows what they’re doing.
In theory, if you wanted to stick the tracker somewhere more discreet you could thanks to the ample length of wire supplied, but bear in mind that you need to ensure it is installed with the logo facing upwards and the antenna faces this direction.
Like the other trackers, leave it 15 minutes or so and it should start showing up as tracking on the app.
We’re also on Instagram!
Check out yogi.the.van to keep up-to-date with all our adventures in the van!


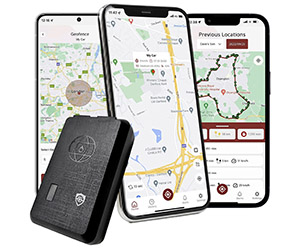
The SafeTag Website and App
And speaking of the app, trackers are only as good as the system that tracks them, so let’s take a look at into what SafeTag provides.
There are two ways to view your tracker; via the SafeTag website or their dedicated app available on iOS for iPad or iPhone, and also available on Android; all of which are free to download.


How to set up your tracker online
To add your trackers, first head to safetagtracking.com and create an account and, once logged in, select ‘Manage’ and ‘Add Trackers’ from the the main menu and you can input your IMEI number (as found on the back of your tracker next to the bar code), you can give you tracker a name and select a coverage plan.

Europe Basic covers 36 countries and regions in western Europe, Europe Extended covers 52, Global Basic covers 127 and finally Global Extended covers 205 countries and regions. Full lists of countries covered by each plan can easily be viewed on the SafeTag website.
You can then choose whether you want to pay monthly or pay annually, and a 7 day free trial will automatically be added for either option.
After hitting the ‘Purchase Subscription’ button, your tracker will set up and be ready to use.
How to view your tracker on the SafeTag website
Under ‘Tracking’ in the main menu, click live view and you’ll be able to see exactly where your tracker or trackers are. Click ‘History’, and you can choose the date to review what journeys were made using a particular tracker on a particular day. Here, they’ve broken down the journey into the time the tracker’s moving, the length of the journey in distance and the time stopped, so you can get a really clear picture of where the tracker has been and for how long.

I’m still on the website version here, but you can do all this in the app versions, so all this data is easy to access from your pocket.
How to use the SafeTag tracking app
Assuming you’ve added your trackers through the website…going into the app, the home screen is a map view of your trackers’ locations. On the left, the top symbol opens the view mode menu; from here you can view an individual tracker, or all of them, or return to the default mode.

Below that, the backwards-S symbol is a way to draw a temporary route as your tracker moves and the bottom location button centres the map on the location you’re viewing the app from.
Tapping the large red button will list your trackers, and you can immediately see their battery levels, the speed they’re going, the signal strength and also set up a geofence, which is a really interesting feature which will send you a notification if your tracker goes out of a predetermined area.

Tap the the Cog symbol to change tracker settings, tap the arrow to go to that trackers current location and tap the clock to view the tracker history.
You can also view the history from the menu at the bottom of the app, as well as see alerts – all of mine are activation and battery alerts, which is another very handy feature, from while I’ve been testing the various trackers.
Finally you can find more information under the ‘Settings’ button.
The app is not only really simple to use, but also has all the features you could want when using a tracker. Plus, the SafeTag team have just released a new update (February 2023) bringing even more features, including kilometres per hour to miles per hour conversions, movement alerts, removal alerts for Plug and Volt, overspeed alerts and more.
Having added all the trackers to my vehicle and tested them, it’s just possible that for this brief moment I had one of the most tracked vehicles in the country!
How much does it cost?
Well, once you’ve paid for the tracker you’ll need to buy a subscription which varies depending on the tracker, so I’ve broken down the costs for the various location packages per tracker and these were all correct at the time this article was released, but may of course change in the future.


Verdict: are SafeTag trackers good and which one should you chose?
I’ve been very impressed with the four SafeTag trackers I’ve been testing and I;’d happily have any one of them in my van!
So which is the best? If you’re looking to put a tracker in your vehicle, like me, then personally I would go for the one which is most discreet so perhaps the Mag or the Volt, but it really depends on so many factors such as; what your intended usage is, how often you’ll use it, whether you switch between vehicles regularly and so on.
But be sure to let me know in the comments which your favourite is!
It goes without saying that trackers are incredibly useful tools for vehicle safety and other aspects of security, but they should only be used for legitimate purposes that respect people’s privacy and privacy laws.
For full disclosure, SafeTag kindly provided the trackers for me to test, but didn’t sponsor this article or the video and all the opinions are my own.
If you want to see more of my camper van build in action, please CLICK HERE.
Click to buy your own…


(Affiliate links which help support this channel)
