
This article is a written account of a video from the Lens Of James YouTube channel. Watch the video above and subscribe if you like what you see!
This article contains affiliate links to relevant products I have used in my videos. By buying through these links, I receive a small percentage of the sale at no cost to you which helps me support and grow my website and YouTube channel, so I can create more content like this in the future. Thank you for your support.
How To Make Thermal Window Covers
In this post, I’ll be showing you how to make your own DIY thermal blackout van or car window covers using foil bubble wrap reflectix insulation. Be sure to check out my top tips on how to get the most out of them at the end of this article!

This is Yogi, my tiny Nissan NV200 camper van, and although I already have a cab divider curtain, the purpose of the window covers is to keep condensation to a minimum and darken the vehicle when sleeping in the van, and to keep the heat out on sunny days.
For this tutorial, I’ll be making covers for my newly installed back door windows, so I’ll start by making sure that I have enough materials and then make templates to work from.
Making templates
I find that sliding small pieces of paper into the edge of the window is a really quick and effective method but you could use any material – newspapers, clear plastic…whatever’s to hand really.
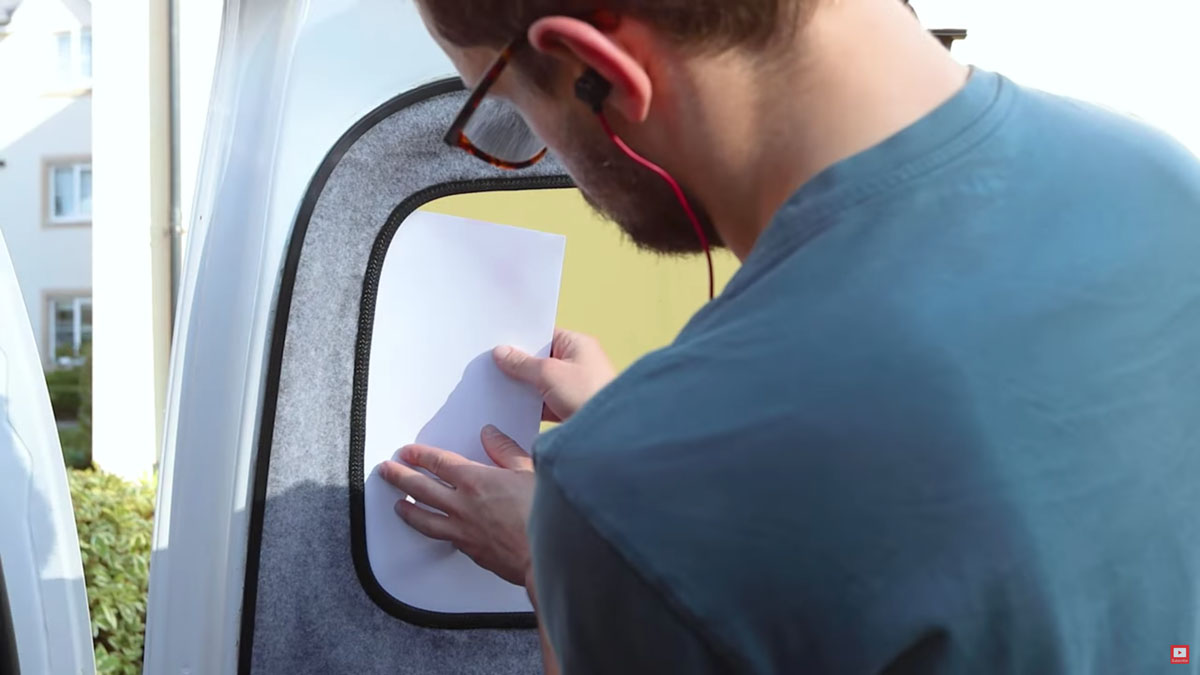
I’ll work my way round the windows, sticking the pieces together with sticky tape as I go and, once I have covered all the edges, I’ll put the pencil to the edge of the windows and draw the outline onto the paper, and do it all again for the second window.

Next, I’ll trim the edges of the paper to leave a perfect, accurate outline of the windows.
Cutting out the window covers
With the templates made, next I’ll temporarily stick the first one to the foil insulation with some masking tape, so I can cut round the edge. The foil is easy to cut and household scissors do the job just fine.

I’m leaving a bit of space around the edge of the template just because I’d rather be cautious and then trim it down later.
If your window is too big for one piece of insulation, as a windscreen may be, then you can just join two pieces together with aluminium foil tape. It’ll be barely noticeable and creates a neat, lasting join.
After completing the same process for the second window, I can then remove the template and hold the foil insulation up to the window to check the fit, trimming them if necessary until I’m happy with the fit against the window.
If you’ve got quite a lot of insulation available, you could also double up the insulation at this point by sticking another oversized piece of foil to your already trimmed window cover, and then cut it down to match.
They’ll be a bit more rigid and have better insulative properties, though this isn’t an essential step, and I’ll go into what adhesives to use shortly, so keep reading!
It’s at this point that you need to decide which side of the window cover you want to face into the vehicle and against the window. My reflectix has a different pattern on both sides, so choose the one you most like the look of!
We’re also on Instagram!
Check out yogi.the.van to keep up-to-date with all our adventures in the van!


Covering the window covers
With this decided, and the shape of the window covers finalised, I could begin looking through my pile of automotive carpet scraps to find two pieces that were larger than my window covers and then start carpeting the opposite side that will face inside the van, using a high temperature contact adhesive.

Simply spray the adhesive onto the foil insulation and then onto the carpet, wait for the solvent to evaporate, and press them together. If you get any contact adhesive on the carpet, use a little bit of white spirit or mineral spirits to wipe it off, but don’t be too generous as you don’t want to destroy the adhesive beneath.

I’m using Trimfix high temperature contact adhesive as I’ve used it a lot before and it’s great stuff, but there are other brands out there too.
It’s important to use the high temperature stuff because the covers will be exposed to hot, direct sunlight over the course of their use and you don’t want the adhesive failing and the covers peeling apart!
And be sure to use a face mask and work in a well ventilated space as the adhesive gives off solvent fumes. Finally, you could also consider wearing gloves to stop your hands getting sticky.
Whilst carpeting or covering your window covers isn’t necessary, I thought I would as I had some smoke grey 4-way-stretch automotive carpet leftover from covering the inside of my van and it would make the covers match the interior, but you can get very creative here, using your favourite material or design to cover the silver up. It can be a really great way to add personality into a camper van conversion!
You’ll probably need a couple of bottles if you’re doing a full set of van windows, 3 if you’re doubling up your insulation, but for the two I’m making here, one bottle was plenty.
We’re also on Instagram! Check out yogi.the.van to keep up-to-date with all our adventures in the van!
Click to buy your own…


(Affiliate links which help support this website)
Putting an edge on the window covers
With the carpet stuck to the foil, I’ll now trim the carpet. We’ll be thinking about putting an edge on the covers in a moment and it’s at this stage that you have the option of just leaving a centimetre or two extra around the edge of the foil and fold the carpet over to cover the edge, using contact adhesive or a sewing machine, if you have one, to fix the edge in place.

I’ll be doing my edges slightly differently, so while I take my final opportunity to check the fit of the covers and trim them down, I’ll explain.
To neaten the edges up and make them look quite professional – if I do say so myself – I’ll be using 25mm wide navy blue herringbone fabric to create a neat edge along the covers and, as I don’t have a sewing machine (or the patience to hand sew them!) I’ll be using contact adhesive again – it really works a treat!
But first, I need to make sure it doesn’t spray all over my new covers, so I’ll work out roughly where the edge fabric will sit and run an edge of masking tape around the perimeter of the covers. If you think it could still get messy with overspray, you can always stick paper over the centre areas.
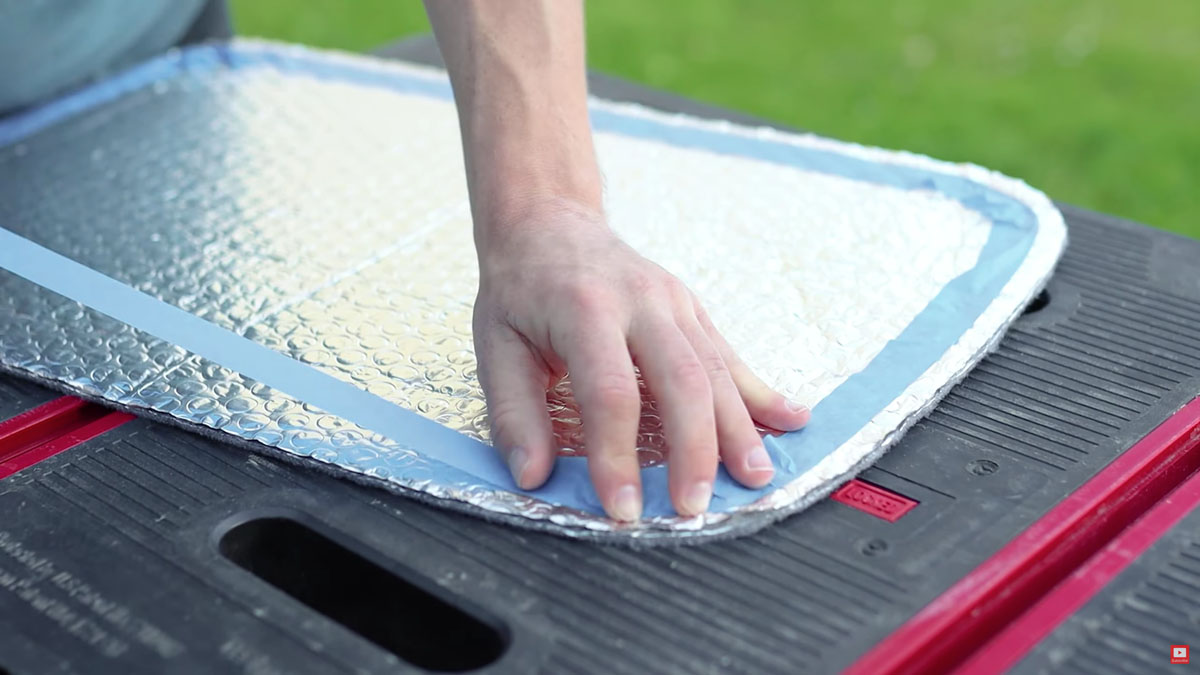
With the covers prepped, I’ll spray contact adhesive onto both the cover edge and the fabric edge and, once the solvent has evaporated, I’ll work my way round carefully pressing them together for a neat finish.
The corners are pretty tricky, but with a bit of patience and effort, the edge material can be made to conform with the curve of the covers and sit flat. If it just isn’t happening for you, then you can always make some v-shape relief cuts, taking out the excess material, and stick it down this way.
The contact adhesive will stay sticking for quite a while so you can take your time, but once you press both materials together, it’s very difficult to separate them again!
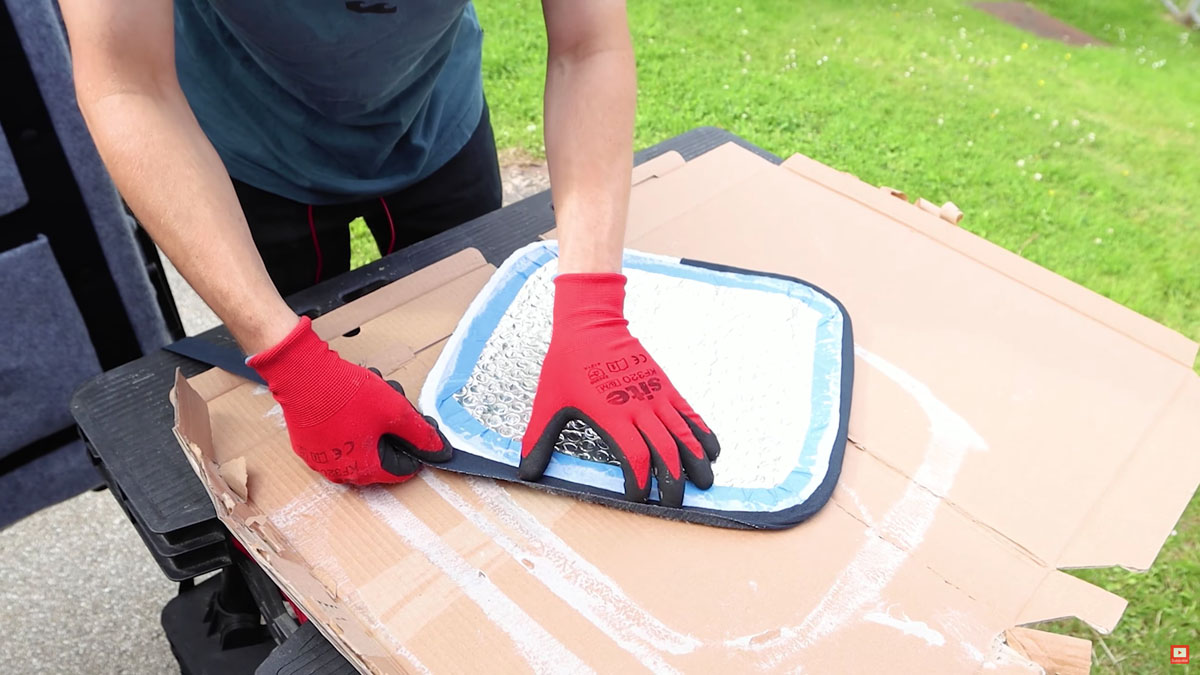
With the first side done, it’s time to flip it over and repeat the process on the carpet side.
It looks like quite a messy process – and it is – but it doesn’t take long to clean the excess glue off with some white spirit or mineral spirits, which is what I did after removing the masking tape.
Attaching the covers to the van windows
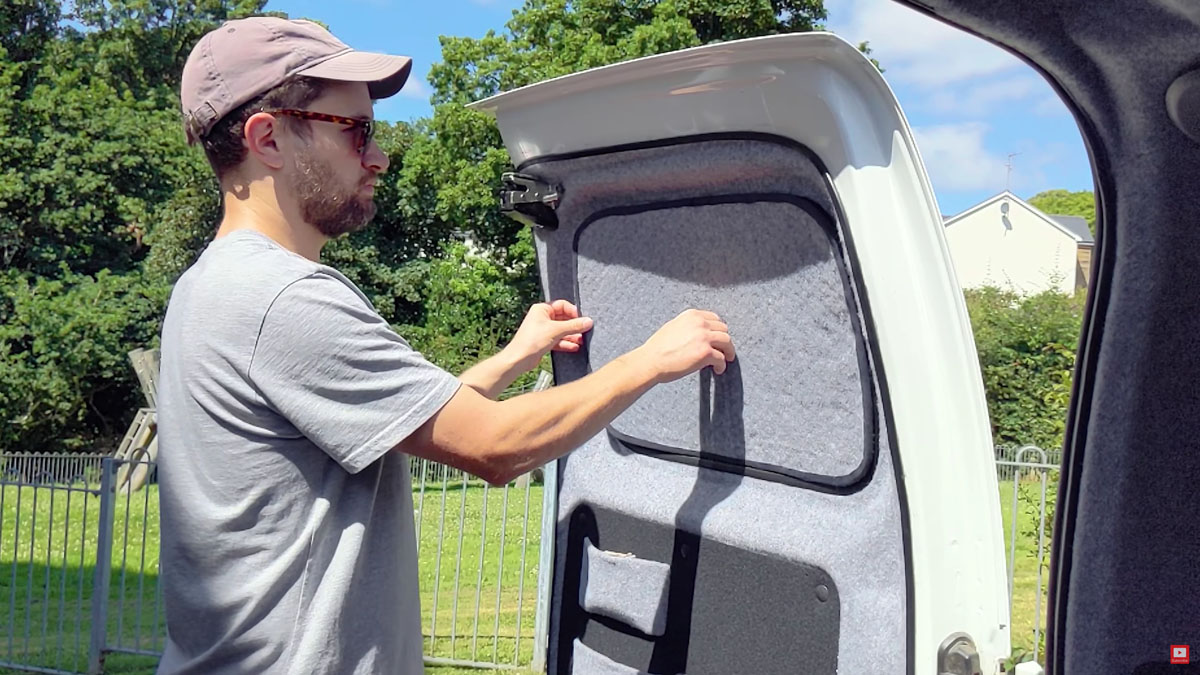
With the edges complete, the final stage is to find a method to attach them to the van windows.
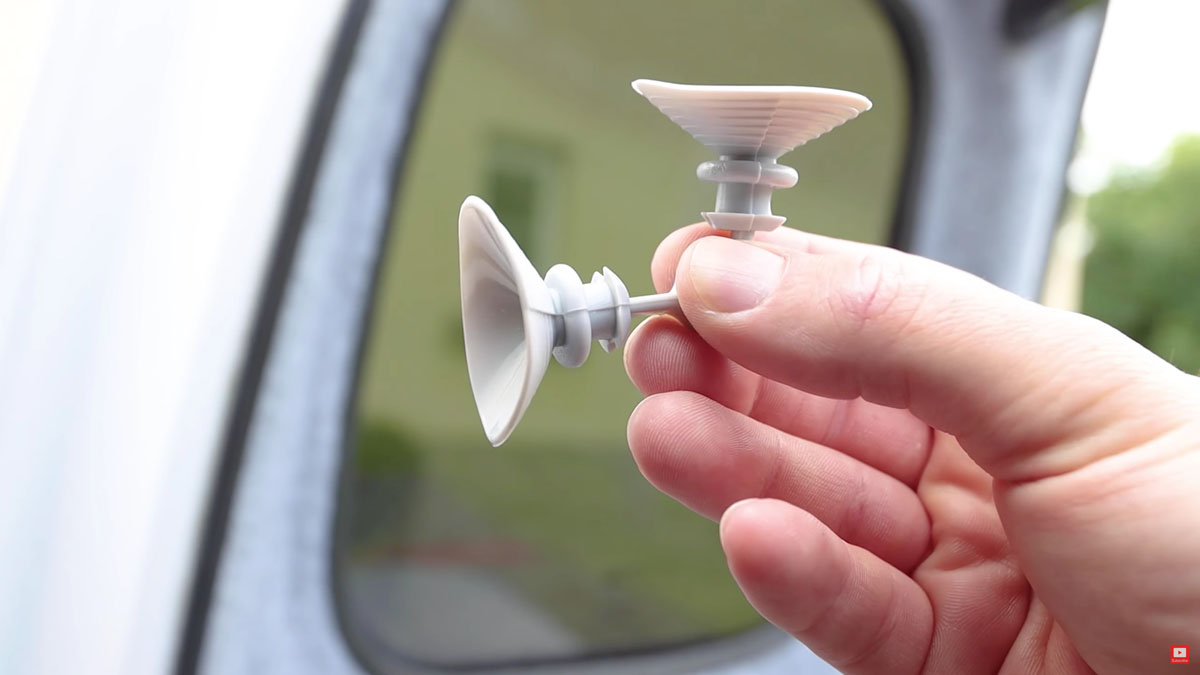
I purchased a set of really good suction cups from eBay, and these push through the covers leaving the cup on the foil side and a small yet practical handle on the carpet side.
Click to buy your own…


(eBay affiliate links which help support this website)
They have a collar on the middle of the handle which covers the hole, leaving a neat look to the covers.
The suction cups often go out of stock, so if in doubt search for ‘thermal suction cups’ on eBay and they should show up.
To attach them, simply measure where you want your suction cup (eBay affiliate link) to go, carefully push a sharp edge through and then push the cup through. If it’s too tight, don’t force it – make the slit slightly larger and try again. Better it’s too tight than too loose!
For my windows, as they’re only small, I’m attaching one suction cup (eBay affiliate link) in the centre of each but on side windows two will work well and on windscreens, because the size and thus weight of the cover will be substantial, 8-10 suction cups (eBay affiliate link) is ideal, running them around the perimeter with a couple in the middle to stop the cover sagging.
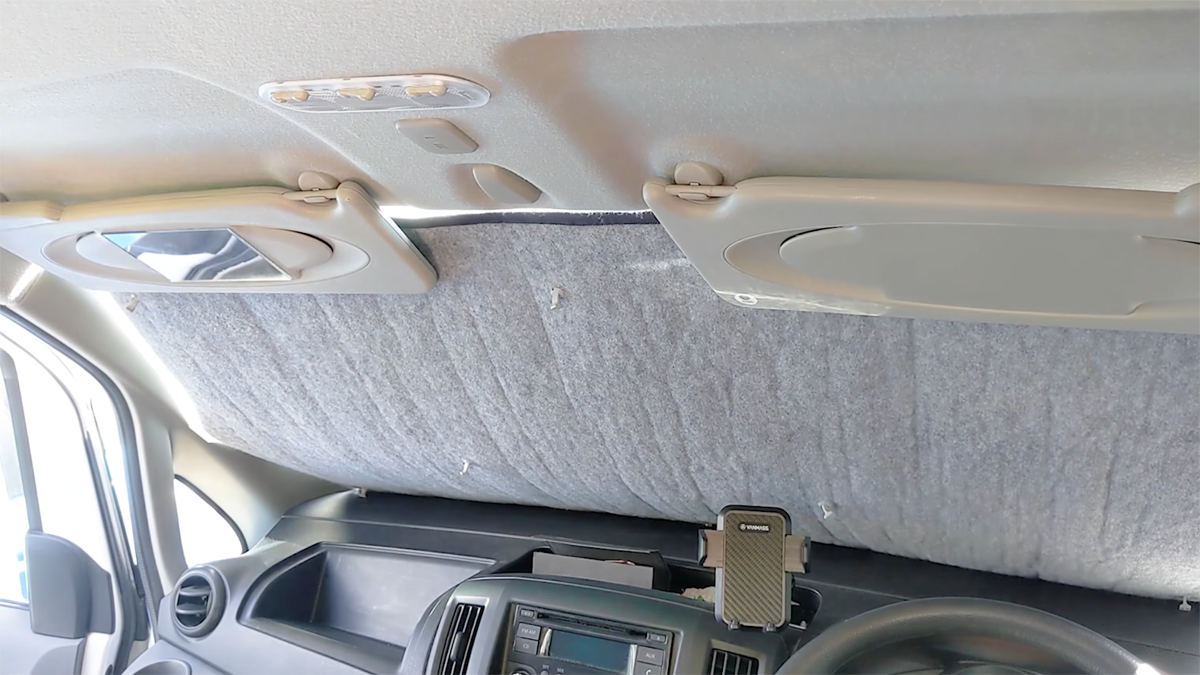
And a little pro tip, if you want to hold the windscreen cover in place temporarily, perhaps if you’re leaving the car briefly on a hot day, just pull down your sun visors down to hold it in place!
Other attachment methods besides suction cups (eBay affiliate link) for the window covers, depending on your own requirements and your vehicle, could be magnets to the van metal, velcro to the carpet, or even a push fit if you have suitable gaps between your bodywork and windows. A loop could always be added to the centre to pull them off.
So there you have it. A simple way to make some very effective mini camper van window covers that will last you years and save you a lot of money instead of buying them.
Top tips for getting the most out of your new window covers
As promised, here are some final top tips for getting the most out of your window covers.
First of all, look after them! Store them somewhere safe and ideally flat. If you get a tear in the foil, then it can easily be repaired by sticking a piece of aluminium foil tape over the top.
Next, when you’ve got them up in your windows, they may identify your van as being slept-in. Not a problem if you’re in a campsite, but if you’re on the road, or perhaps somewhere you shouldn’t be, then a black outer material might be the option for you. They won’t be reflective and will blend better behind tinted windows and at night!
Finally, they won’t stop all condensation from forming, or magically heat up the vehicle. But by insulating the single-glazed windows, they will help to reduce condensation, and that’s about as much as you can ask for when sleeping in a vehicle without using a heater. If it’s too hot out for a heater, then consider airflow by cracking the windows, and installing wind deflectors will help keep the rain out here – or by installing a ceiling fan or vent.
If you want to see more of my camper van build in action, please CLICK HERE
Click to buy your own…
(Affiliate links which help support this website)
