
This article is a written account of a video from the Lens Of James YouTube channel. Watch the video above and subscribe if you like what you see!
This article contains affiliate links to relevant products I have used in my videos. By buying through these links, I receive a small percentage of the sale at no cost to you which helps me support and grow my website and YouTube channel, so I can create more content like this in the future. Thank you for your support.
When Allen, a seller on AliExpress, dropped me an email to see if I’d be interested in putting some of his bonnet lift supports (or should I hood lift supports, for my American readers) on the van, I jumped at the chance.
I didn’t even realise these were a thing but after a bit of research thought, ok I’ll give this a go! After all, it’s always fun to keep adding to the van conversion, whatever that something might be.
Why add gas struts to a vehicle?
At this point, you might be wondering why you’d want to add gas struts to your car or van bonnet. Well, there are a couple of reasons I can think of…
Firstly, aesthetics. They look really nice and clean, and are much smarter than the original bonnet rod which comes built into your vehicle.
Secondly, it can be quite practical having the mechanism for opening the bonnet at the sides – it gives much greater access to the engine bay without anything in the way.
Finally, when you open the bonnet with the gas struts installed, it’s a really nice smooth motion.
We’re also on Instagram!
Check out yogi.the.van to keep up-to-date with all our adventures in the van!


What do you get in the box?
When the box arrived from Allen, I unpacked it and it came with the two struts, an image for how the struts should be fitted to both sides of the my particular Nissan NV200 van, two sets of two mounts and some double sided sticky tape (which I didn’t actually need in the end).
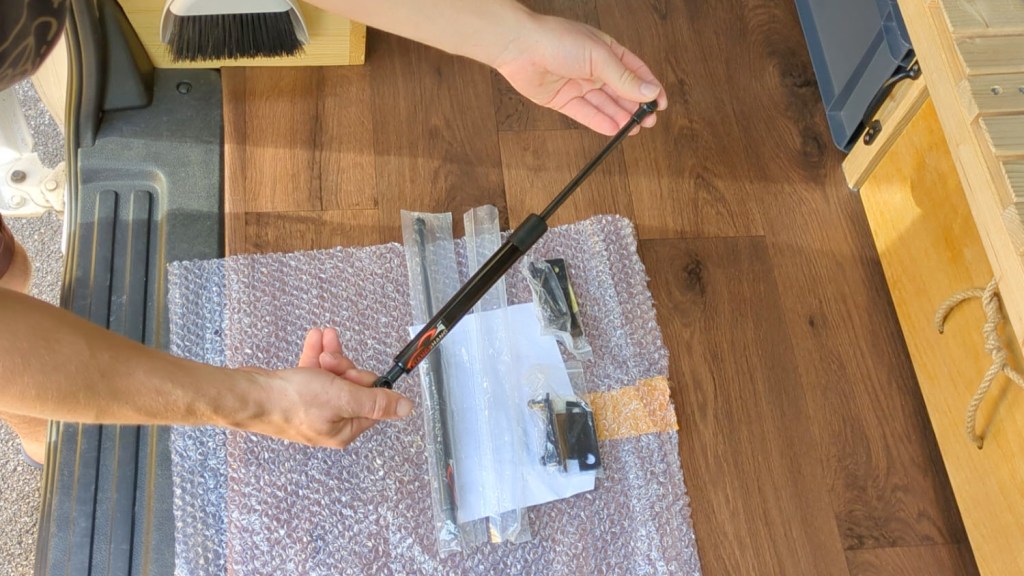
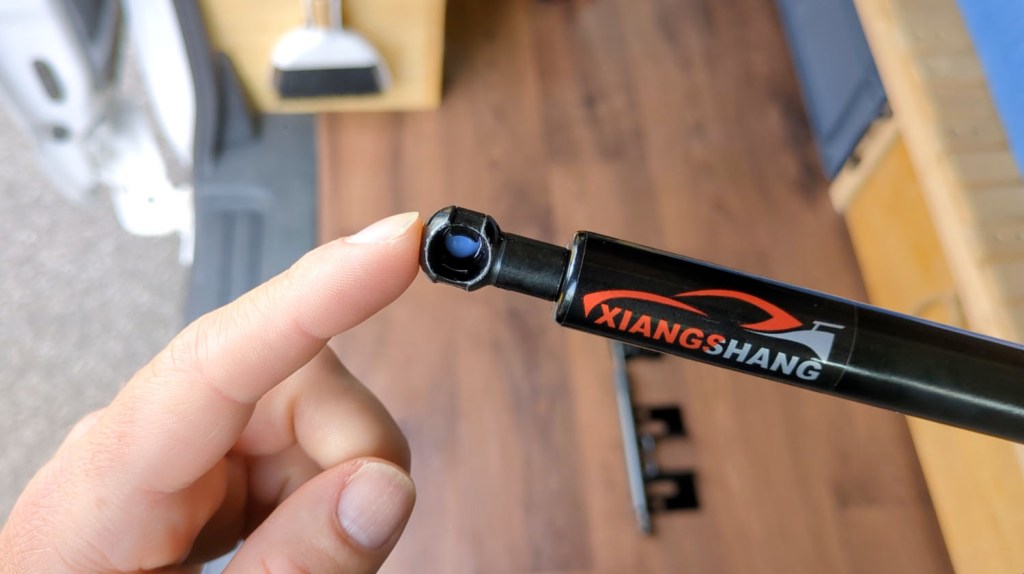
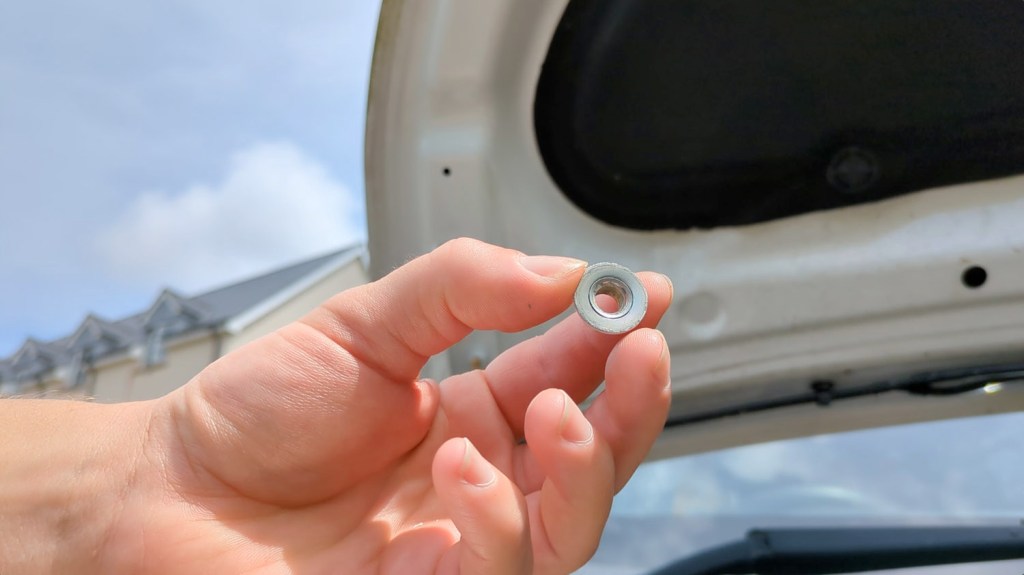
First up, a closer look at the struts. The length will differ depending on the model of your vehicle but these were quite compact, were absolutely impossible to push in by hand and came with two pre-greased mounting points on either end, which was very handy.
Click to buy your own…

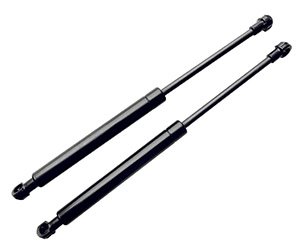

(Affiliate links which help support this channel)
How to install gas struts in a vehicle
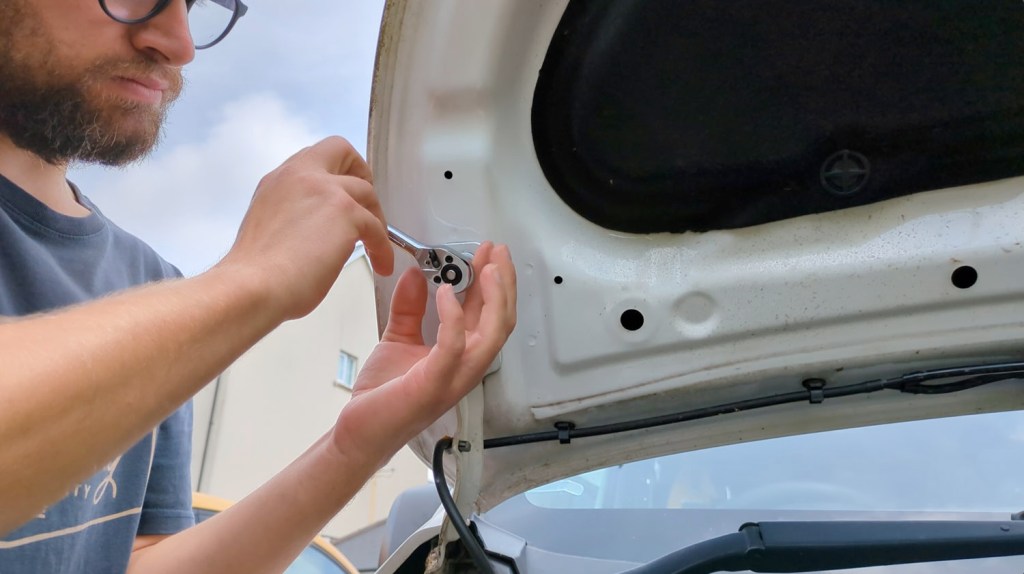
I popped the bonnet up and, putting the existing rod in place, could begin looking at where to mount these on the van. Having the picture included in the box was really helpful and I set about cleaning the areas as I didn’t want to add the mounts on top of existing dirt.
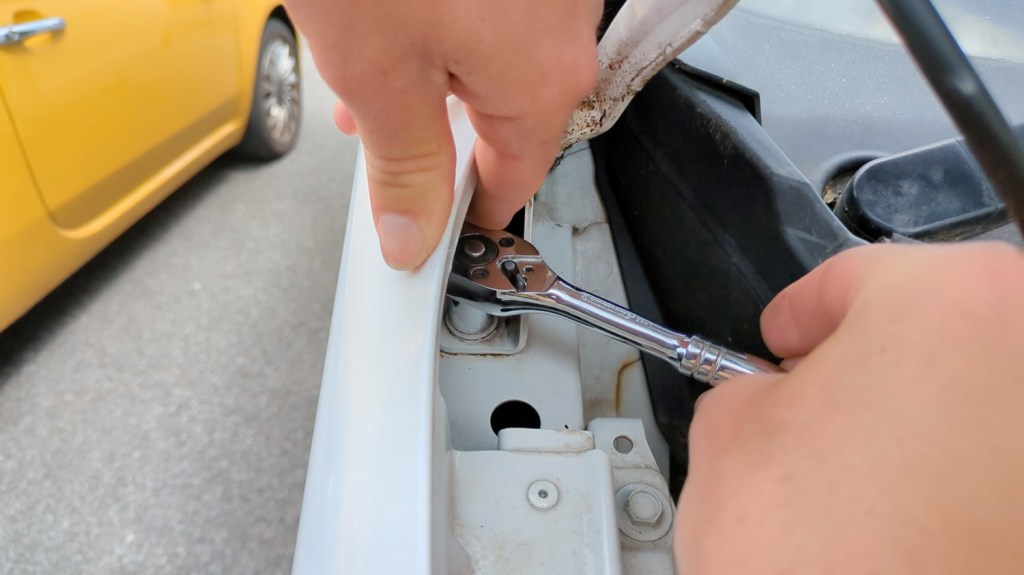
With that done I could select my tools for the job and you really don’t need much; just a simple ratchet and 12mm, or half inch, hexangle socket.
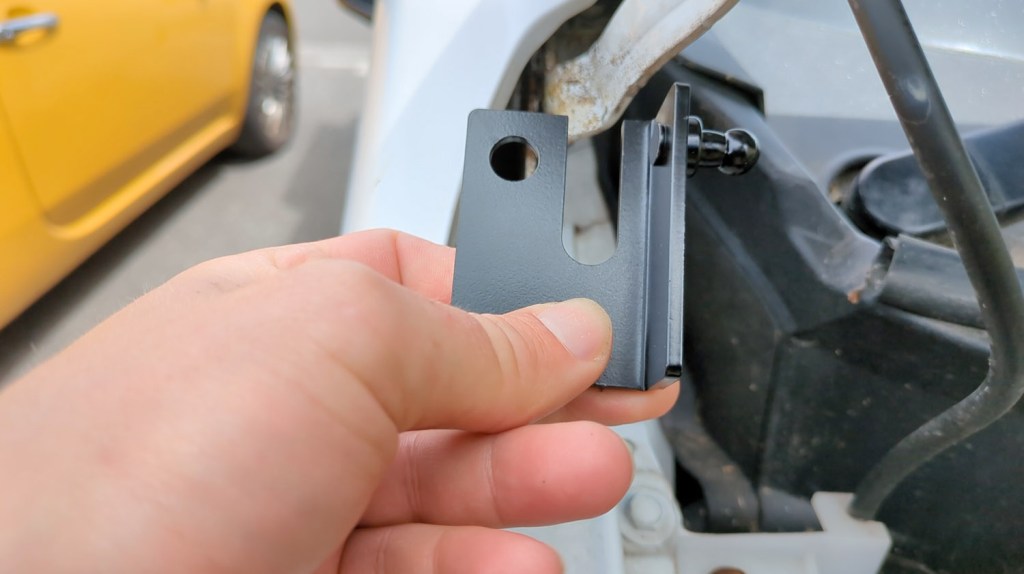
Now, the top two brackets are different from the bottom two, and only fit on their respective sides, so it’s important to keep an eye on this, but again having the photo to reference made it easy.

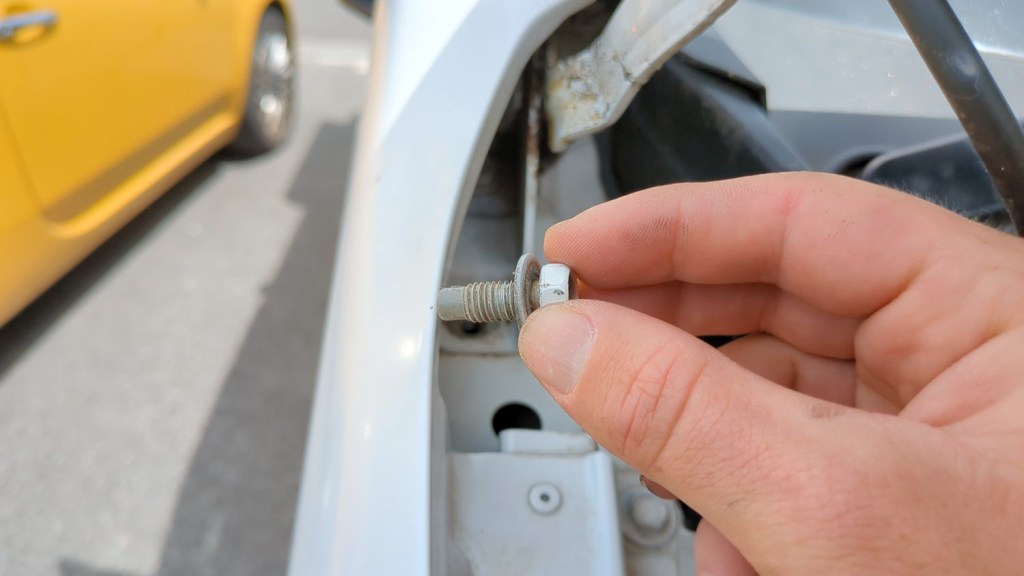
After loosening and removing the nut of the first bolt, which was pretty tough as it was painted on, I could add the first bracket, with the point that would attach to the struts at the top and facing inwards.

Then I could do the bottom bracket which was a little harder to access but soon loosened up and this time it was a bolt that came out instead of a nut.
Putting the mounting plate in place, I could then begin tightening it.
I didn’t tighten either of them fully as I wanted to check the fit and make sure all the other components of the van were still accessible and working once the strut was in place.
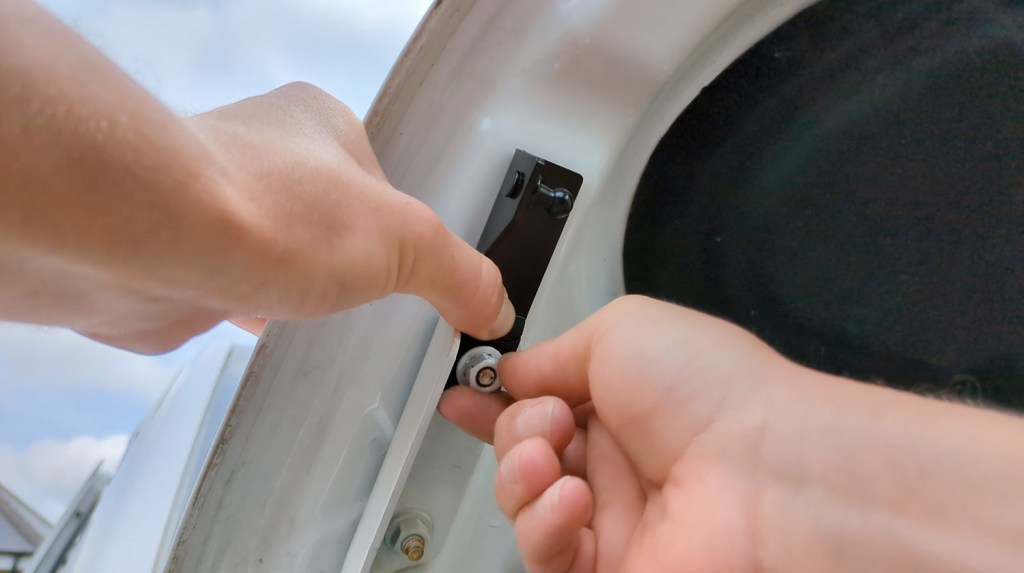
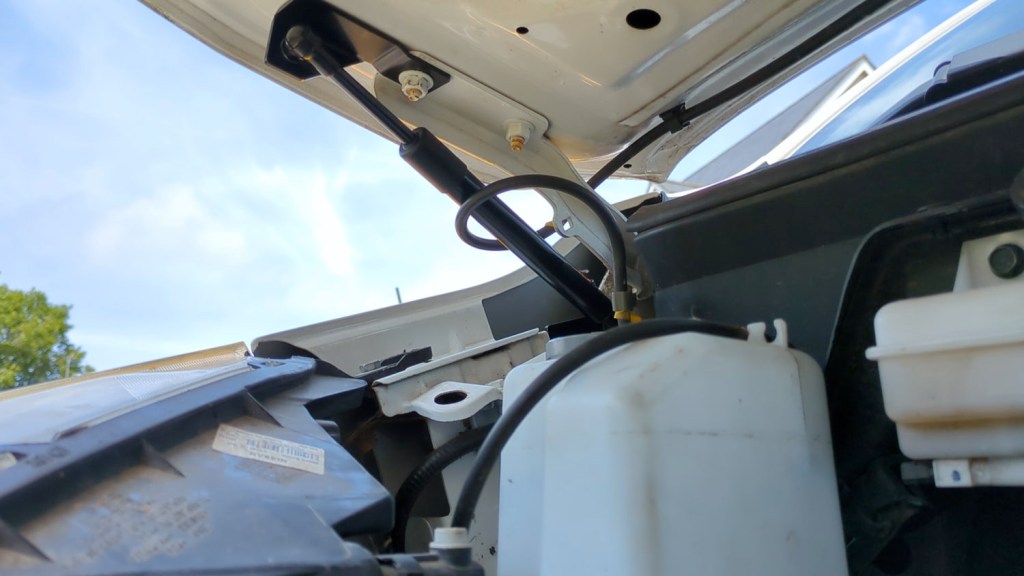
Speaking of the strut, it was now time to add the first one and I needed to remove the little clip which holds the windscreen wash fluid pipe.
Once done, I clipped the strut into the bottom mount.
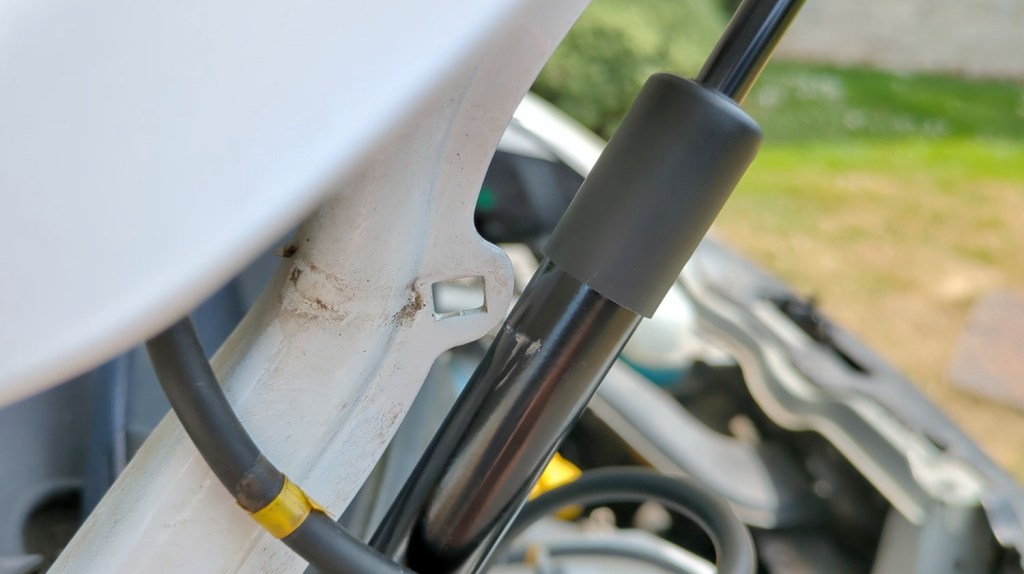
I was about to push the top of the strut in place too, but noticed that the metal bit, which held the pipe clip I had just removed, would stop the strut from sitting in the correct place.
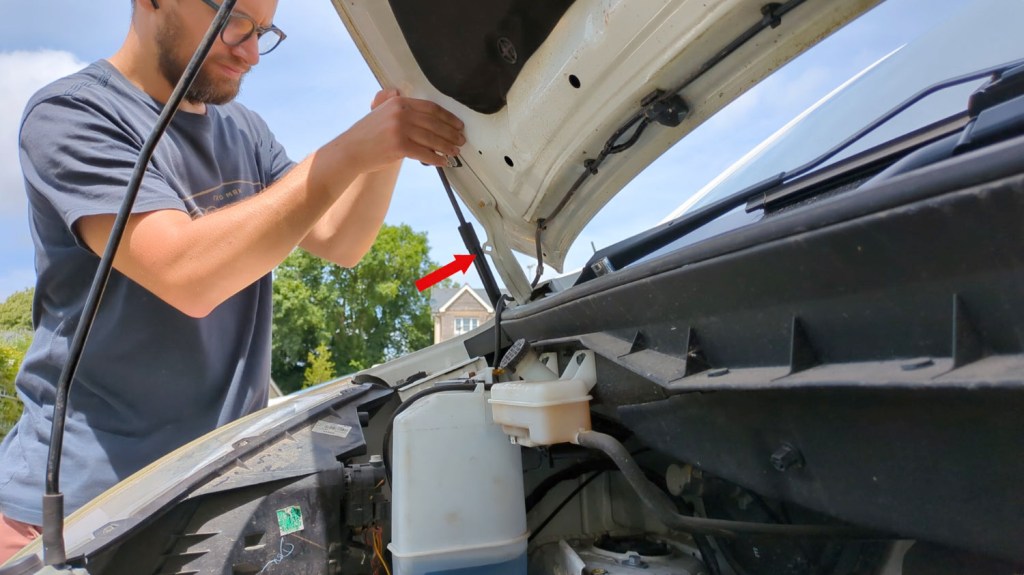
It was only by a couple of millimetres, but I didn’t want the metal to rub on the strut all the time and I was worried it might not sit well when closed.
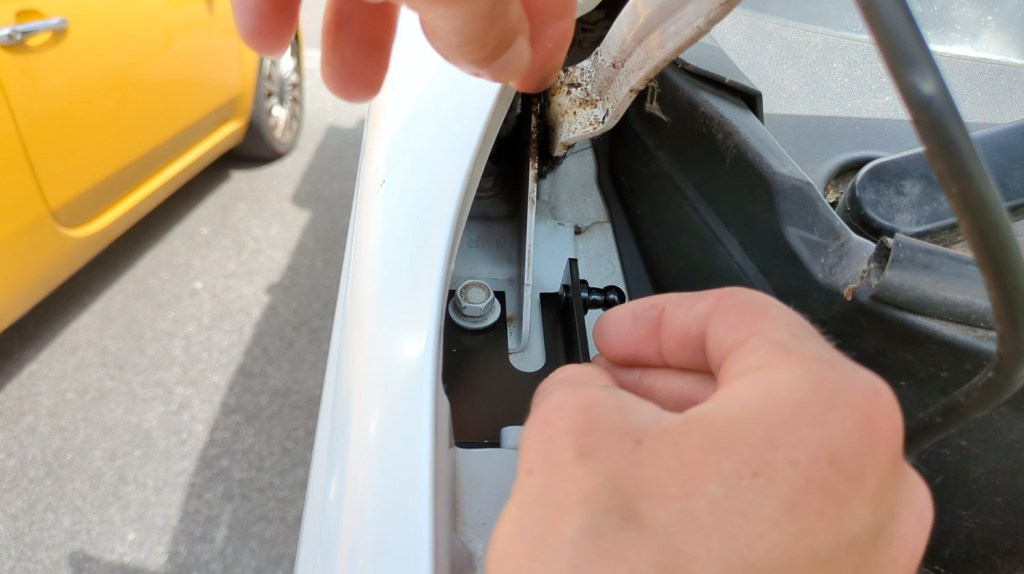
I removed the strut, which is done relatively easily by inserting a flat object into the clip on the back, as demonstrated here, and you can see the grease that came pre-coated on the strut, which was transferred onto the mount. I’ll leave that there for when I replace the strut.

Click to buy your own…
(Affiliate links which help support this channel)
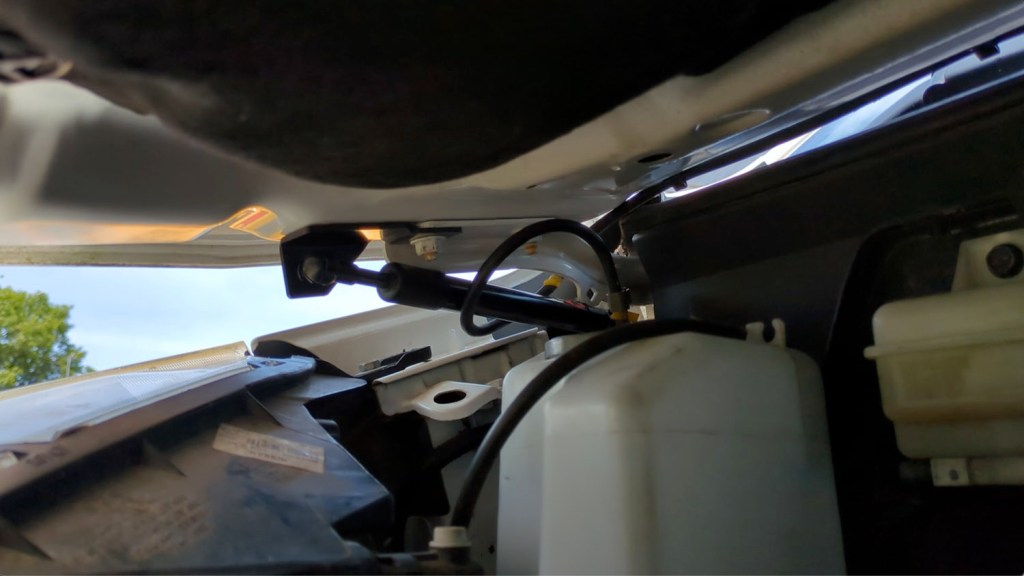
After fiddling around with angles of the strut to see if I could find a way around the bit of protruding metal, I decide to get a metal file and narrow it down a bit.
I made sure to cover the entire vehicle so no metal filings got anywhere and, after a couple of minutes of filing the strut was able to move freely.

I appreciate not everyone would want to do this, but it was really easy, no one will ever know you’ve done it and you can touch the metal up with a bit of primer or paint afterwards to prevent rust in the future.
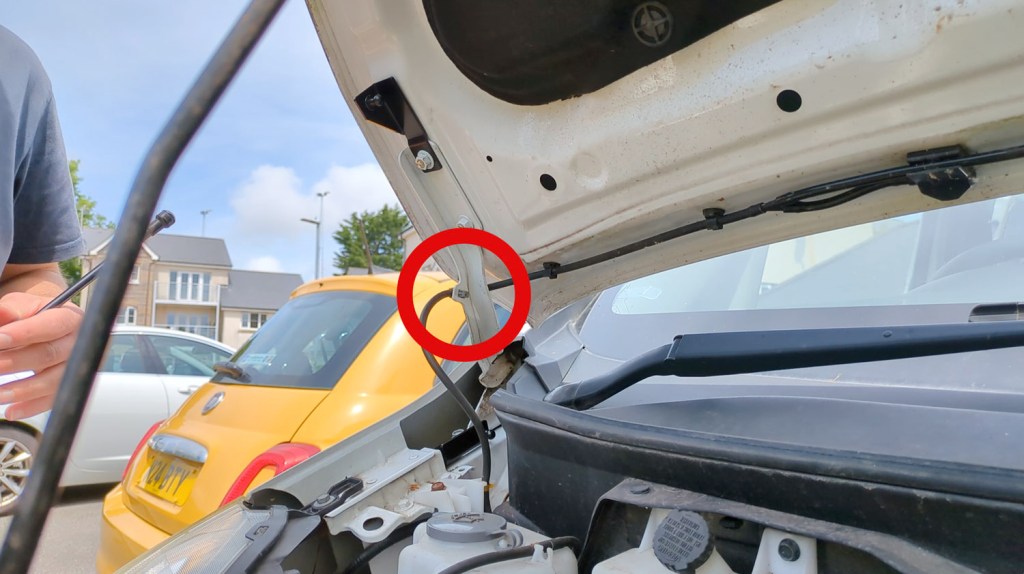
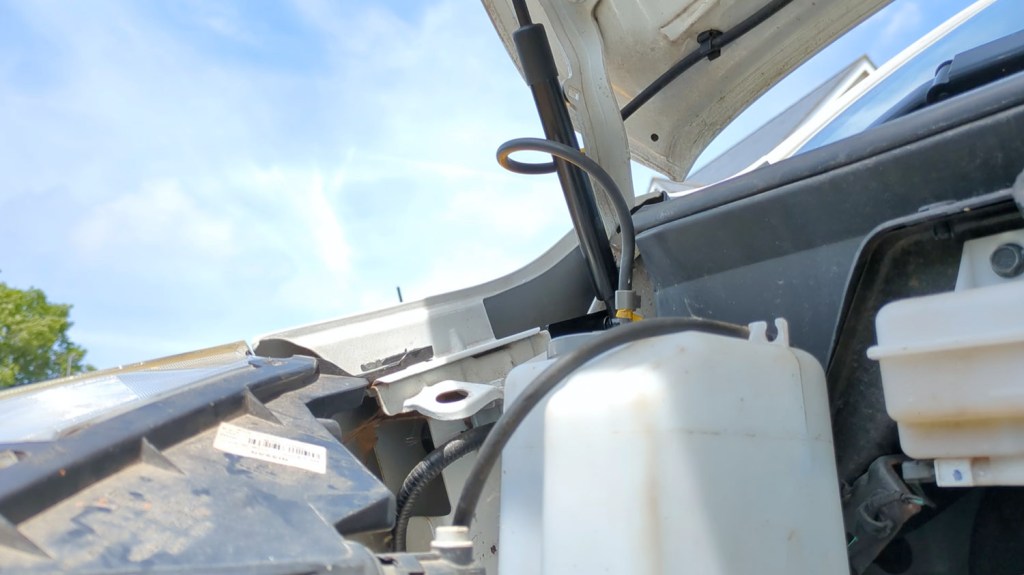
I could then tighten up the brackets fully and then attach the strut. After checking the motion, I moved onto the second one.

In exactly the same way, I removed the top nut, installed the top bracket, removed the bottom bolt, installed the bottom bracket and then I could install the second strut.
Without a windscreen wash cable on this side, there’s no need for the extra metal bit – or the filing – so it fitted perfectly the first time and, after tightening it up fully, I could test them.

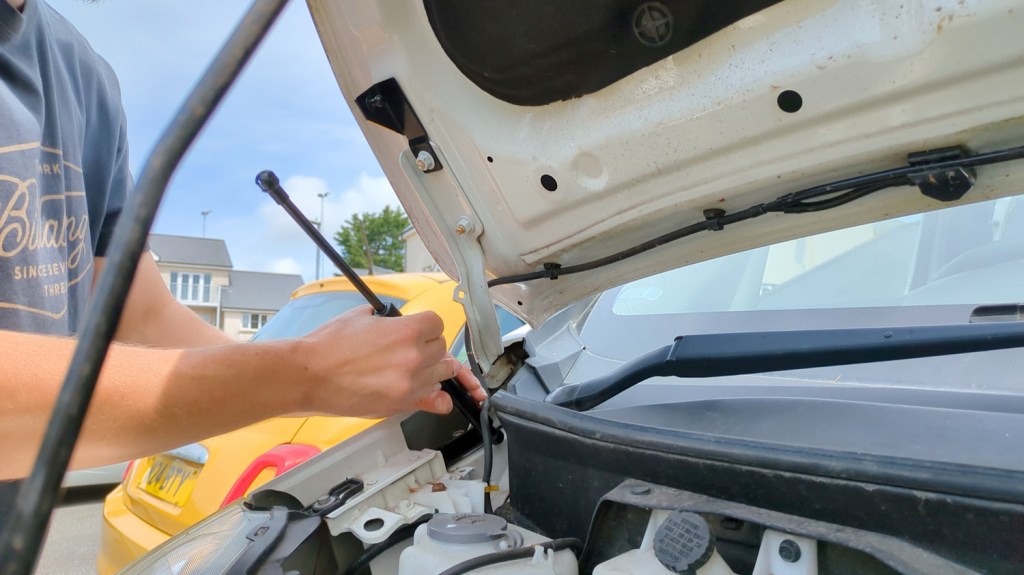
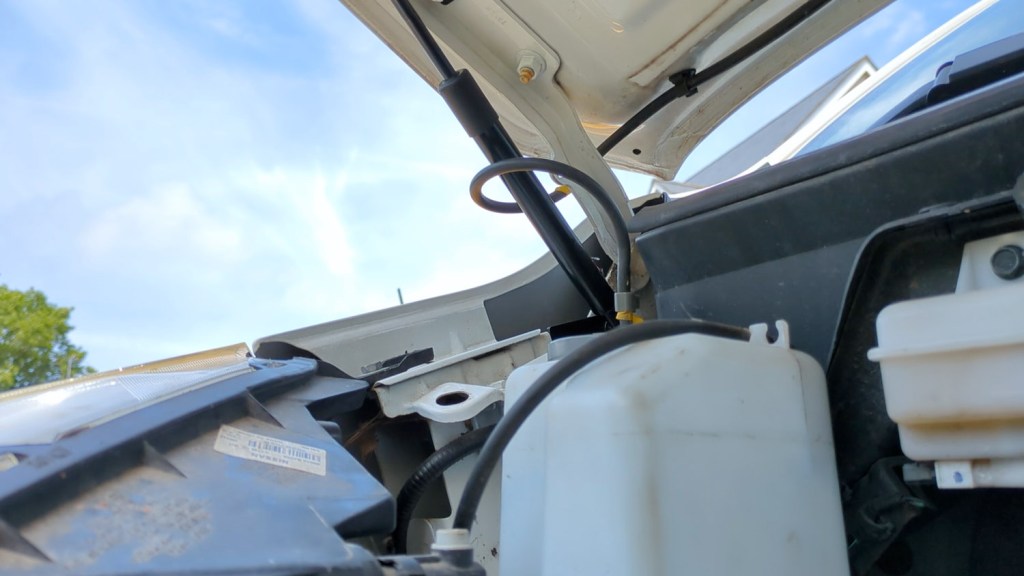
They were obviously holding the bonnet up nicely without the factory-fitted rod, but how did they close?
The answer to that is really nicely. It’s a super smooth motion which automatically opens the bonnet for you and holds it in place perfectly until you’re ready to close it again. The struts aren’t too tight that it’s difficult to close the bonnet and they look really smart tucked away at the back.


It really was a simple install that I reckon anyone could do and, after adding them in, you may be wondering whether I’m going to remove the existing bonnet stay, but I’ve decided to keep it in place as it’s not in the way of anything up there.
One final question you may have is should I buy from Aliexpress? I’ve bought a few bits for the van from them over the last few years, including my rear view mirror, and have never had any problems. The items always come quickly and you always get a great price too. I should say, that is completely my own opinion formed from experience, and no one’s told me to say that!

If you’re interested in getting some for yourself, then check out Allen’s shop and for transparency, I should say that Allen kindly provided the struts for me to test, but all the views in the video are my own.
If you want to see more of my camper van build in action, please CLICK HERE.
Click to buy your own…
(Affiliate links which help support this channel)
