
This article is a written account of a video from the Lens Of James YouTube channel. Watch the video above and subscribe if you like what you see!
This article contains affiliate links to relevant products I have used in my videos. By buying through these links, I receive a small percentage of the sale at no cost to you which helps me support and grow my website and YouTube channel, so I can create more content like this in the future. Thank you for your support.
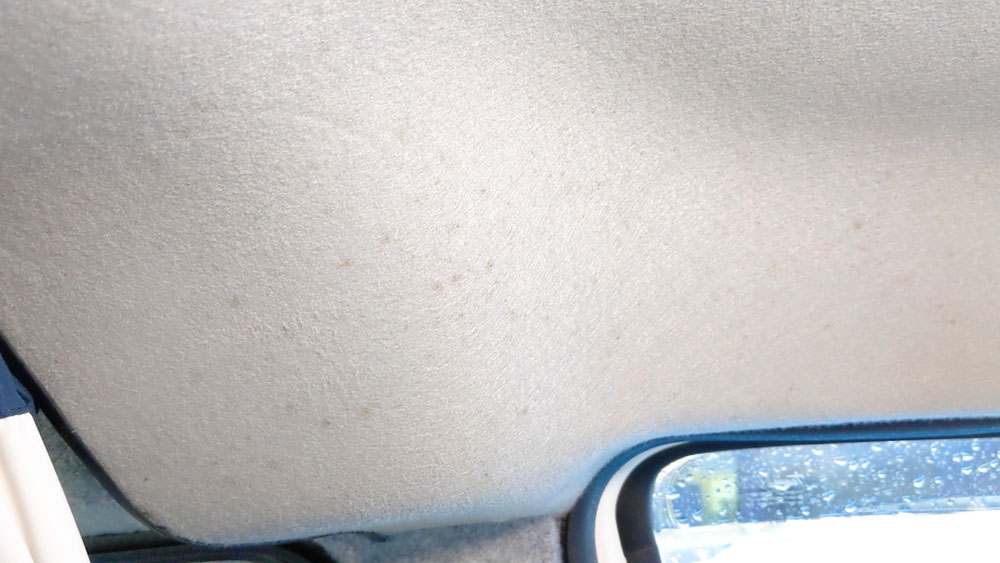
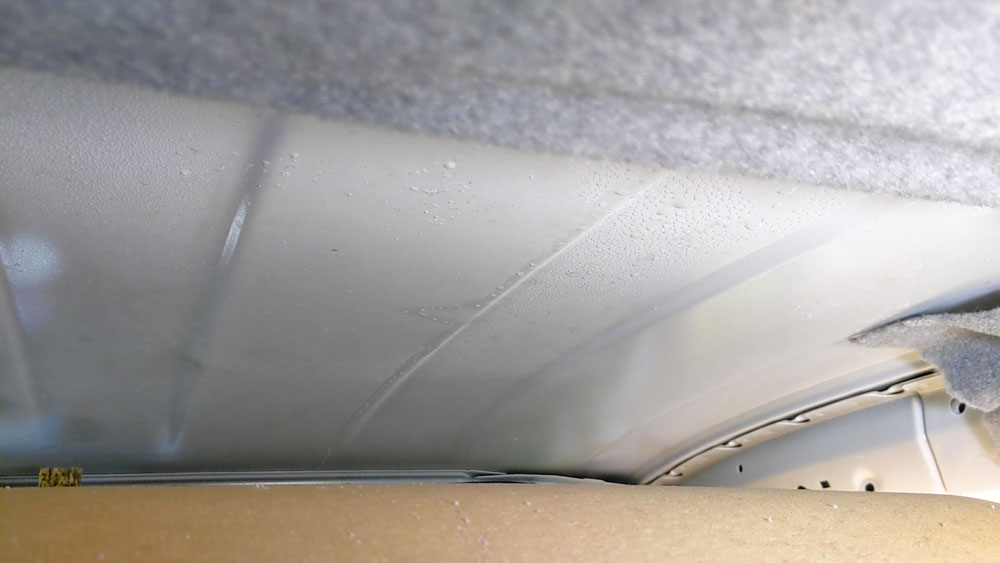
I’ve been noticing some marks on the van cab headliner for quite a while and it turns out to be mould, so it got me thinking – why is there mould appearing on the headliner? A quick peek under would reveal why…
Removing the headliner
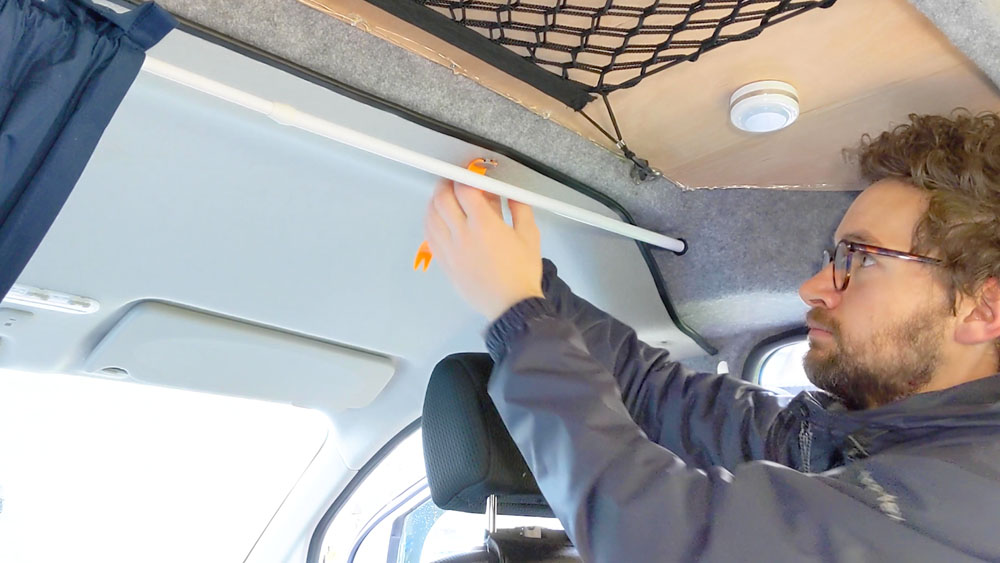
But in order not to bend or break the headliner, I first had to remove the fixings (eBay affiliate link) holding it in place. This started with the four trim clips holding the edge to the ceiling and I could then remove the curtain so I had better access to the headliner.
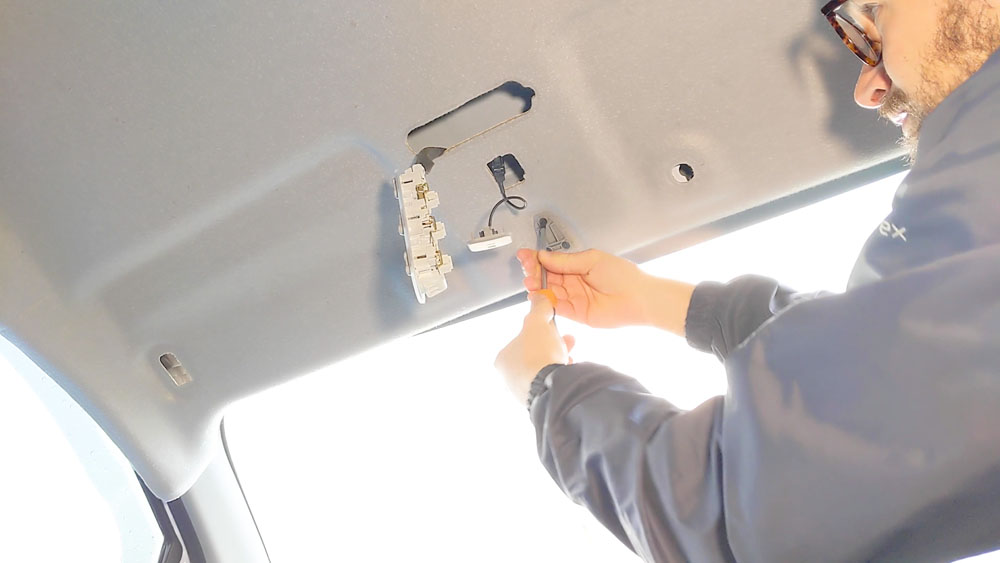
I pulled off the door seals, grabbed a torx t30 bit to remove the sun visors and pulled the lights and sensors out of their holes.


Click to buy your own…

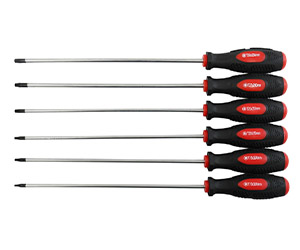
(eBay affiliate links which help support this website)

Finding the problem
It was at this point I could have a proper look under the headliner and see why it had become mouldy. As expected, there was an abundance of condensation clinging to the uninsulated van ceiling!
It really was in a bad way up there, so I removed the headliner completely and could begin phase one – cleaning the headliner.

We’re also on Instagram!
Check out yogi.the.van to keep up-to-date with all our adventures in the van!


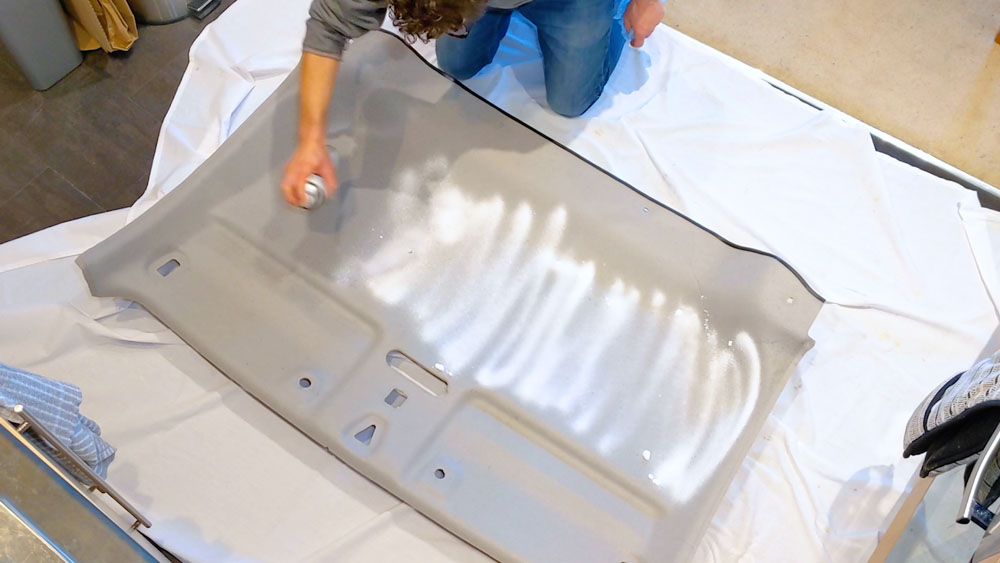
Cleaning the headliner
I was really keen to get as many of the mould marks off as possible, and to do this I used an off-the-shelf household fabric cleaner and some elbow grease, as the last thing I wanted to do was bleach or mark the headliner. Having gone over it a couple of times and given a good scrub, it was looking much better.

The method
While it dries, let me tell you how I’ll be insulating the cab ceiling….
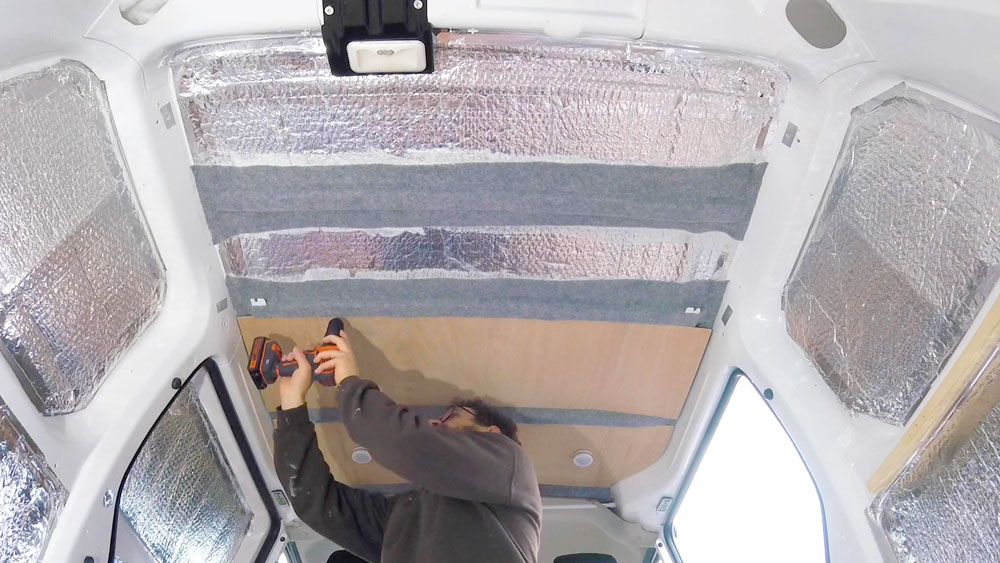
So this is my van ceiling, and this is me installing the ply panels a little under a year ago. You’ll see all of the silver foil bubble wrap insulation up there and I wanted to do the same for the cab ceiling, but how could I be sure that it would do the trick?


Well, you’ve already seen the condensation on the bare metal, so I decided to have a peak under the ply on the same cold morning I was removing the headliner….not a drop in sight and the plywood panel is in as good a condition as the day I put it in.
Checking this gives me lots of confidence that not only will the condensation be minimised or even stopped, but that I’m using a method that will solve the problem for years to come.
The other benefit of using foil bubble wrap is that it’s really thin and won’t interfere with the shape of the headliner or how it fits to the van ceiling.
With that settled, I wiped the ceiling to get rid of any moisture and could begin insulation.

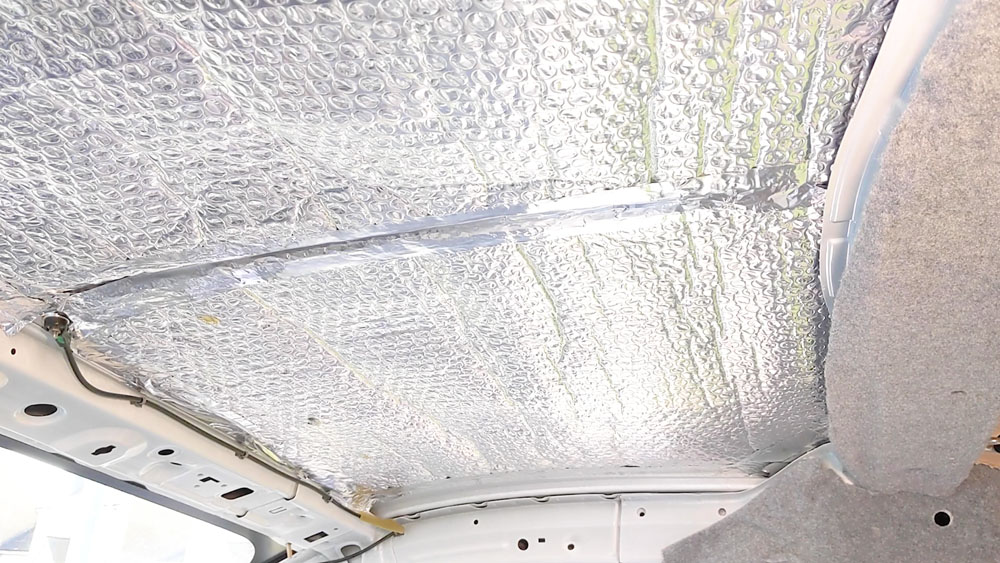
Insulating the cab ceiling
I cut a piece of insulation to length, stuck it in place using aluminium foil tape along the edges and then repeated the process again until the whole ceiling was insulated.


Click to buy your own…


(Affiliate links which help support this website)

With that done, I could replace the headliner which went back up as easily as it came down, and that was that – the ENTIRE van ceiling is now insulated.


It seems blindingly obvious that you’d insulate the cab as well from the outset, but it just slipped the net until I noticed the marks on the headliner. That said, it was really easy to do and now that it done I don’t have to worry about condensation or mould again in the future.


If you want to see more of my camper van build in action, please CLICK HERE.

(Affiliate links which help support this website)

2 responses to “INSULATING The Cab CEILING And Cleaning The Van HEADLINER”
So how does the headliner actually attach? Just round the edges? What with?
LikeLike
Hi Steve, its easier to see in the video but there are 4 trim clips on the rear edge and on the front edge the headliner is held to the ceiling by the mirror clips/attachments etc. Then the door seals sit over the headliner.
LikeLike