
This article is a written account of a video from the Lens Of James YouTube channel. Watch the video above and subscribe if you like what you see!
This article contains affiliate links to relevant products I have used in my videos. By buying through these links, I receive a small percentage of the sale at no cost to you which helps me support and grow my website and YouTube channel, so I can create more content like this in the future. Thank you for your support.
In this article…
- The subfloor
- The current floor
- How it’s fixed down
- A new fixing method
- Making adjustments
- Removing the floor
- Trimming and sanding the floor
- Carpeting the back edge
- The side pieces
- Final preparations before the vinyl
- Laying the vinyl
- The floor edges and holes
- Checking the fit
- Finishing the carpet edges
- Velcro on the back door edge
- Rubber L-section on the back edge
The van is now insulated and carpeted, so now it’s time to turn my attention to the floor!
My aim is to turn this dirty sheet of plywood into a smart-looking, comfortable floor, as I convert my Nissan NV200 into a camper. Now that all the messy parts of my build are out of the way (carpeting the van!) I can finally get started on cleaning and improving it.
The subfloor
When I bought the van, there was a functional but very worn sheet of plywood covering the floor. I soon removed this and used it as a template to cut out a new floor of similar 12mm plywood – thick enough to be sturdy but thin enough to not be too heavy.
Before refitting it, I glued wooden strips between the floor ribs to use as fixing points and insulated over them with Thermawrap foil bubblewrap insulation. I drilled pilot holes and then screwed the new plywood floor directly into the wooden strips.
I undertook all this about a year ago (in March 2019), long before I started recording my van build, and so this is the point at which my van floor blog/video starts (in March 2020).
That said, I will go through my insulation and subfloor process in more detail later on.
The current floor
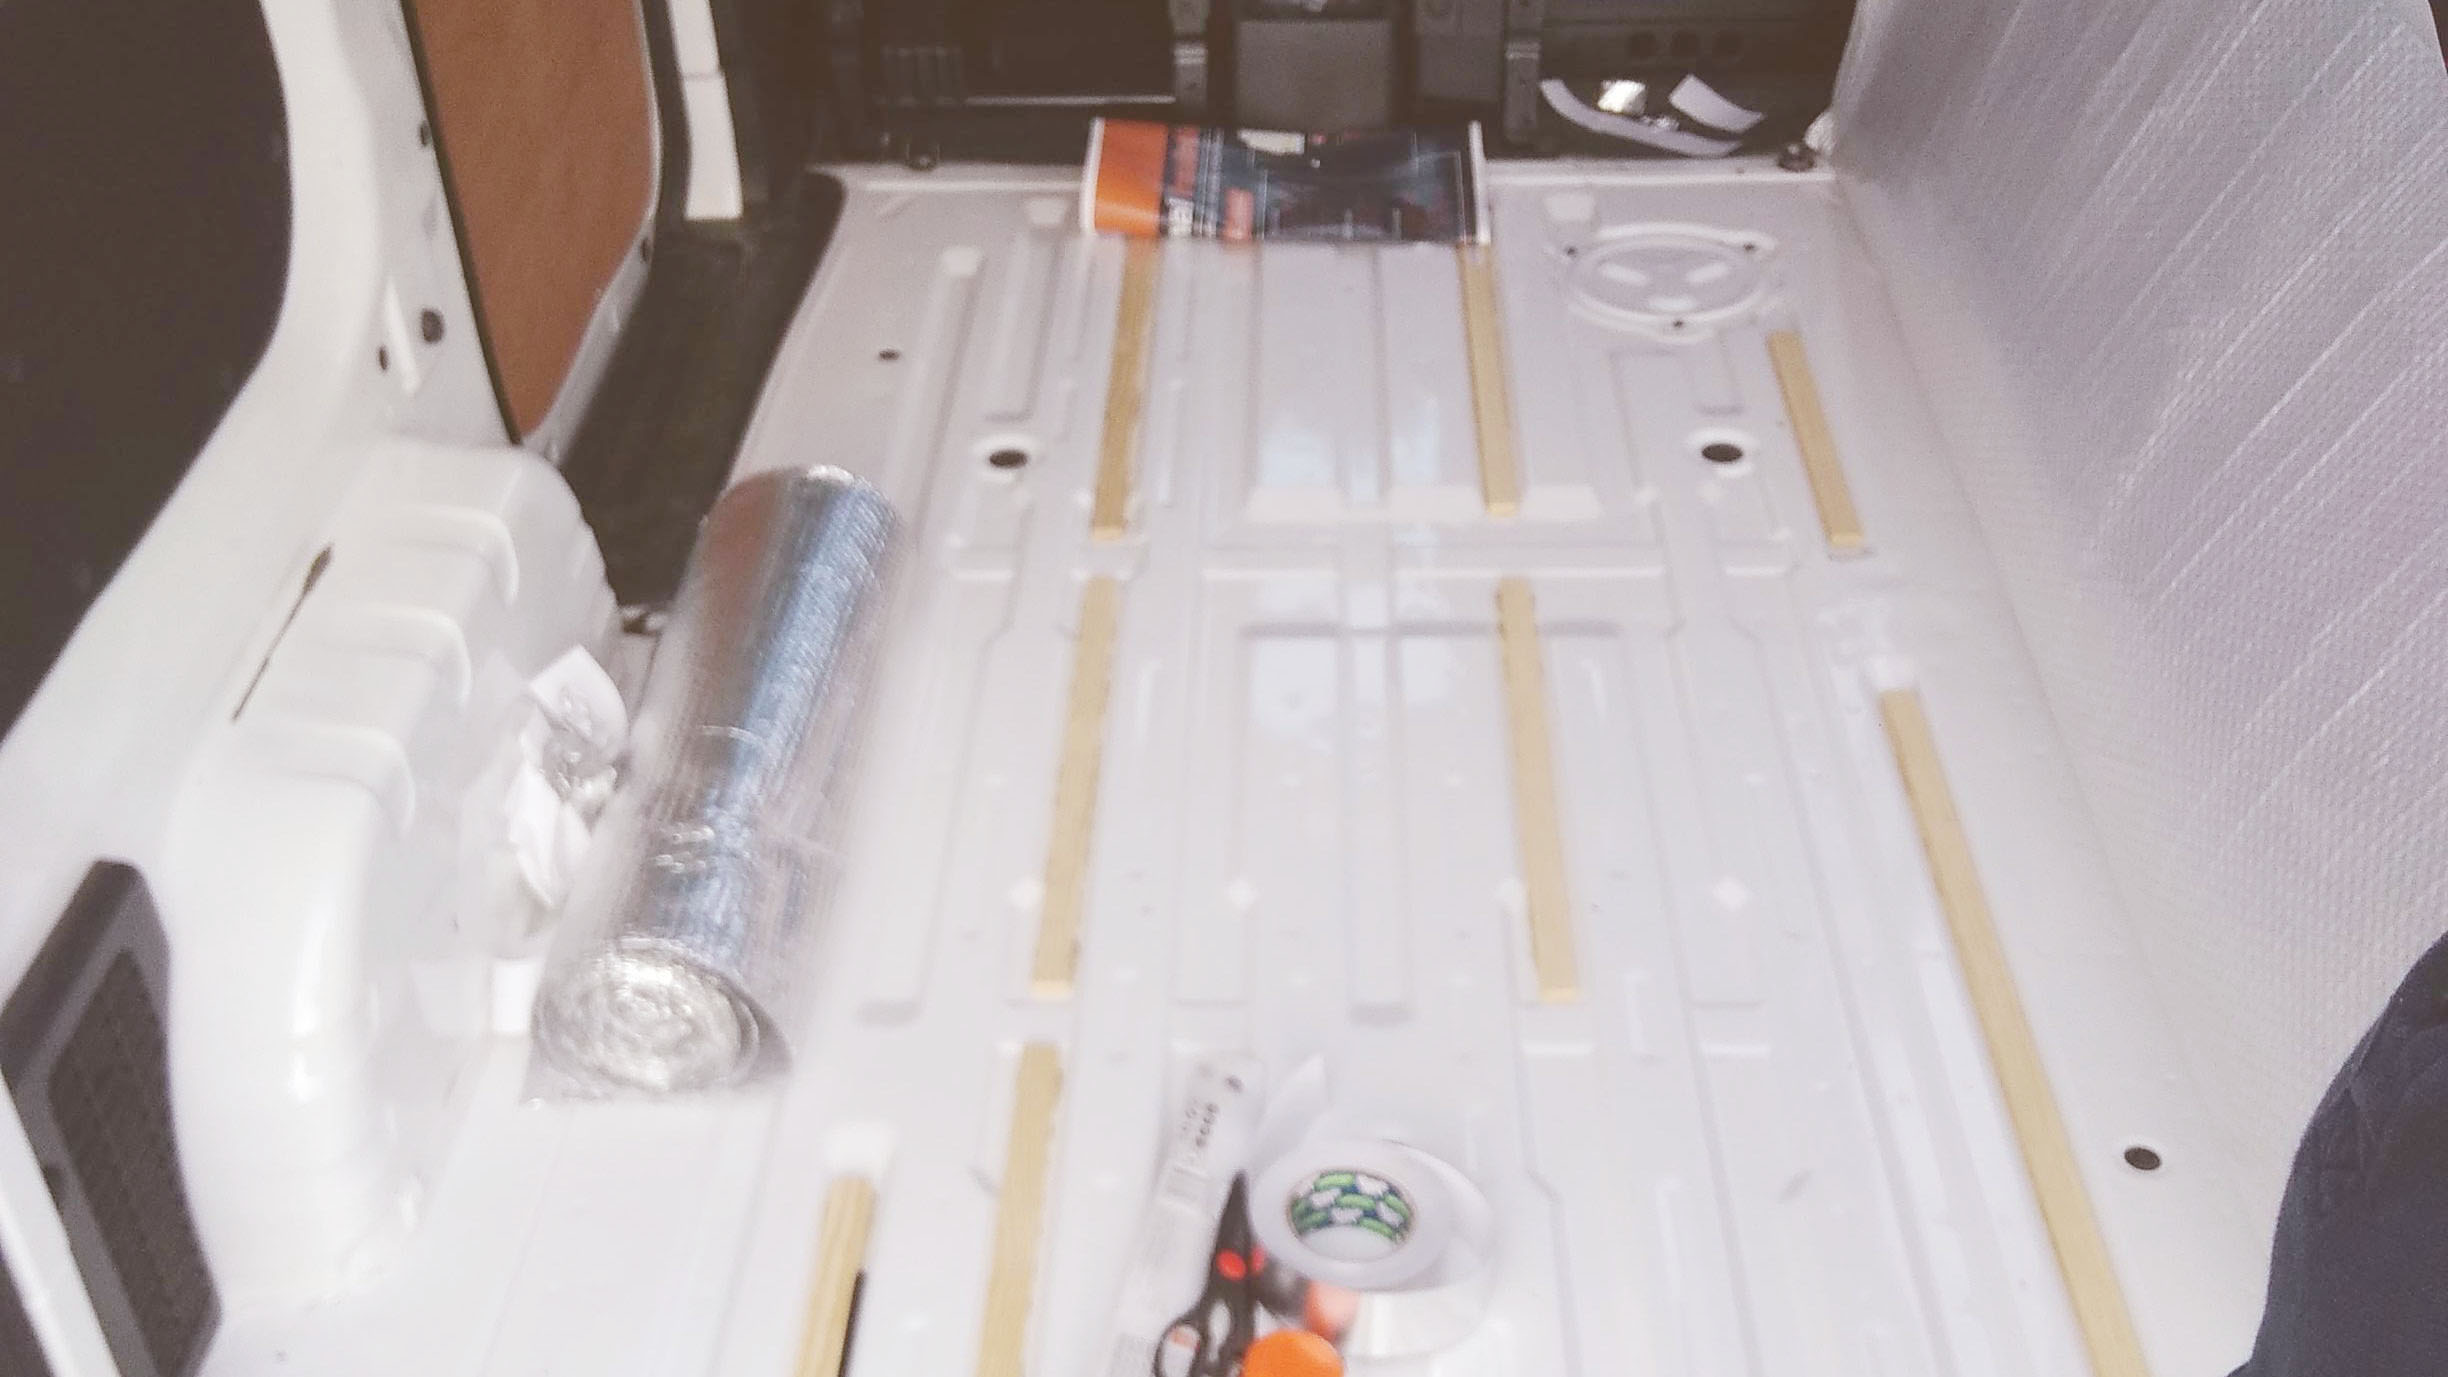
As you can see, the floor is currently a complete mess. During this van conversion, it has collected scrapes, dirt, sawdust and carpet glue, but I’m now at the point where I can finally sort it out and get it looking worthy of a small camper van.


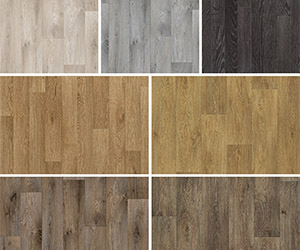
Despite the plywood looking in bad shape, I was confident that with a bit of effort I could get it back to a good condition before I covered it with vinyl (eBay affiliate link).
How it’s fixed down
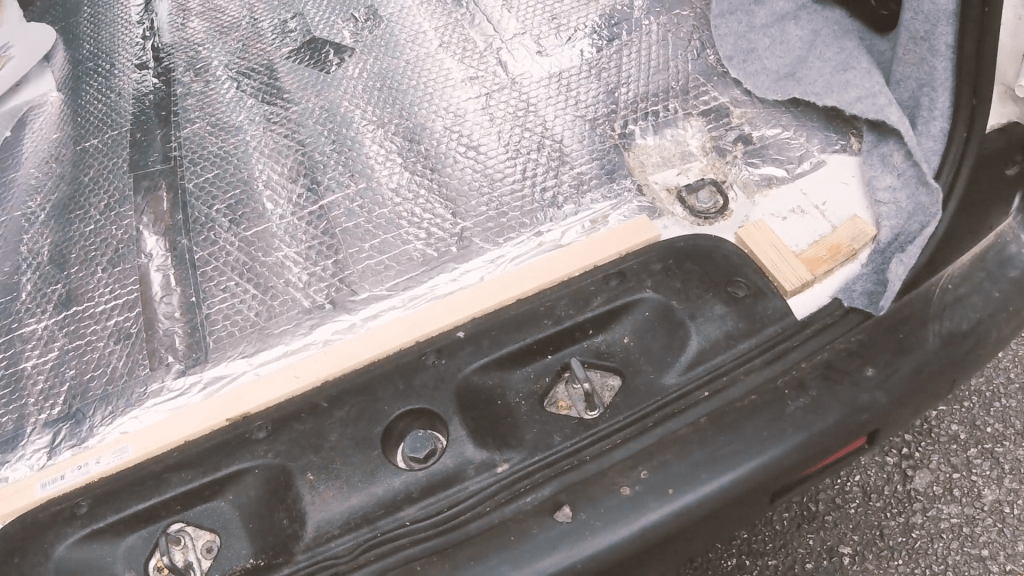
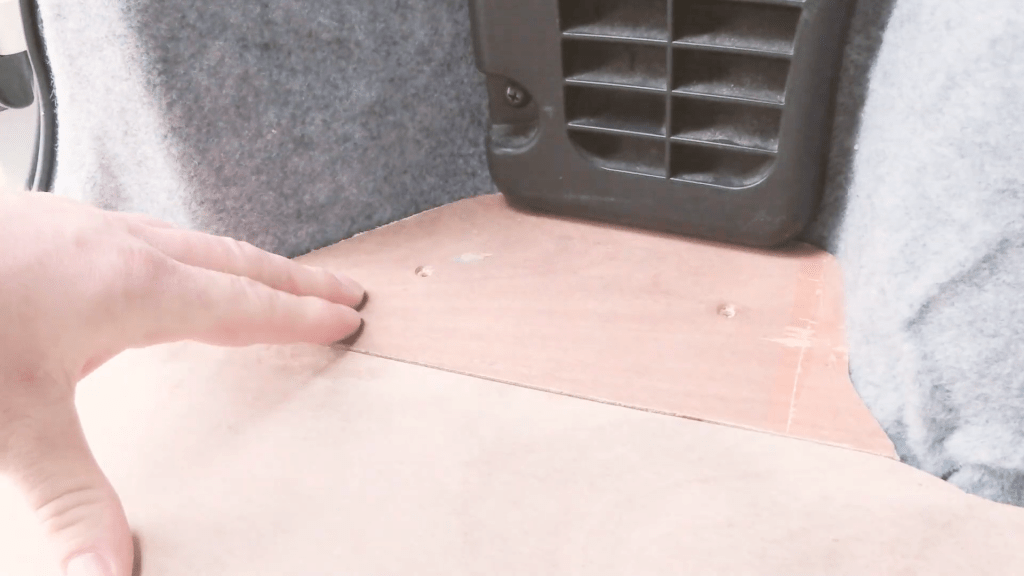
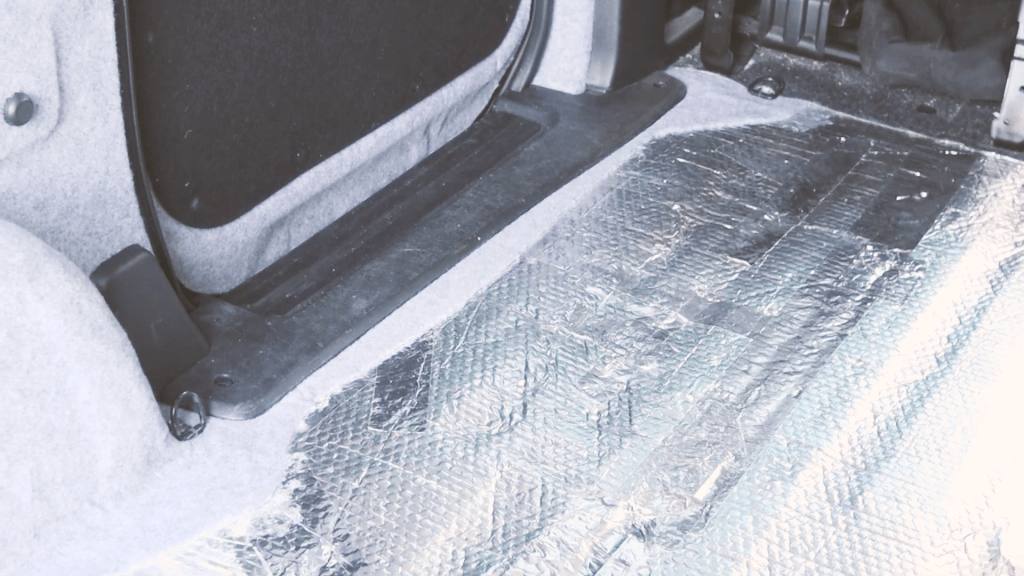
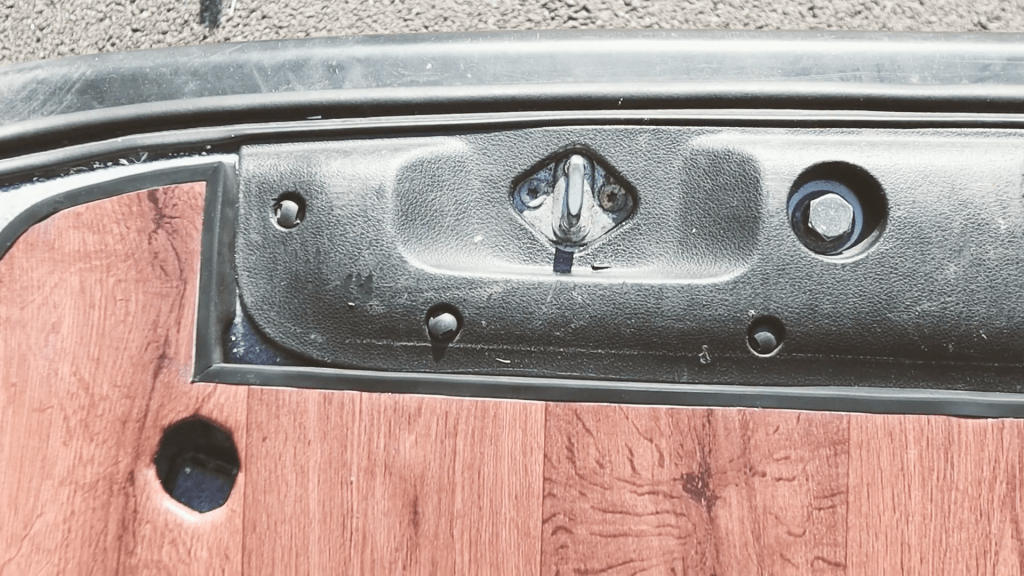
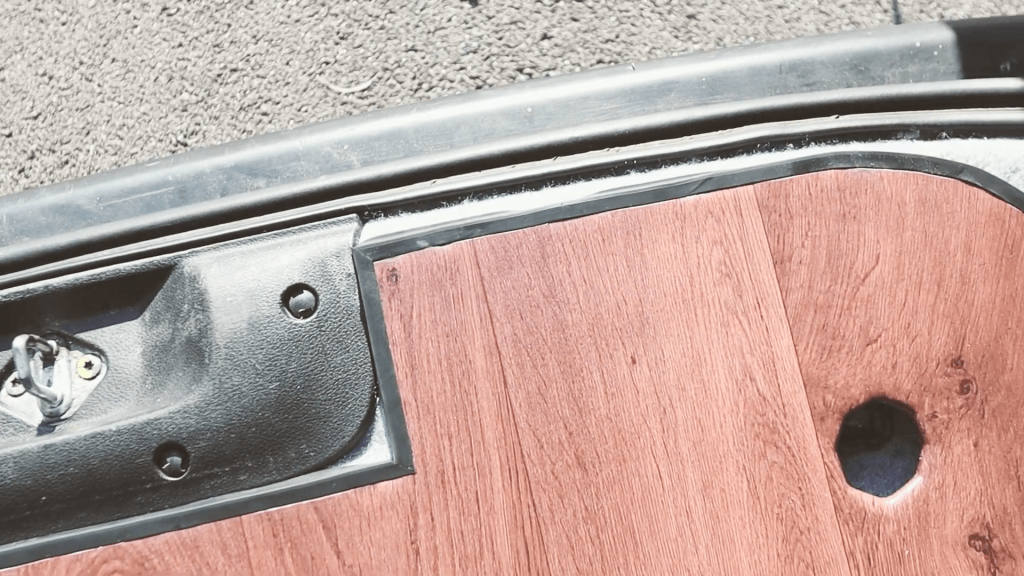
The plywood is secured in place by 4 small wood screws, which go through into the wood strips as I mentioned earlier. At the back of the van I have some extra strips supporting the edge of the ply, but these are quite unsightly and so I decided to hide these as part of this floor project.


Speaking of the back, one of the main challenges that I had to plan for was the awkward-shaped edge at the rear of the van, which would eventually require covering. If it had been a straight edge then it could easily have been covered with a strip of metal, however it has a couple of right-angles which made things interesting.
(Note: I believe the damp patch in the right corner of the floor was due to a combination of the carpet excess overhanging the seal and the edge itself being quite long. I dealt with both of these things in due course and it ceased being a problem)
A new fixing method
I started work on the floor by removing the screws holding it down. Although they’ve been effective, I will not be replacing these when I am finished. This is because I want to keep the floor removable and not permanently fixed to the van. The fuel pump for the NV200 is located on the floor behind the driver’s seat, and I want to keep access easy in case I ever need to get to it.
I decided that given the weight sitting on the floor from the bed and other bits I carry around, the screws wouldn’t be missed, but I didn’t want the floor to slide around. After some thinking, I decided to use wooden dowels as locator pins, so the ply wouldn’t shift from its position.

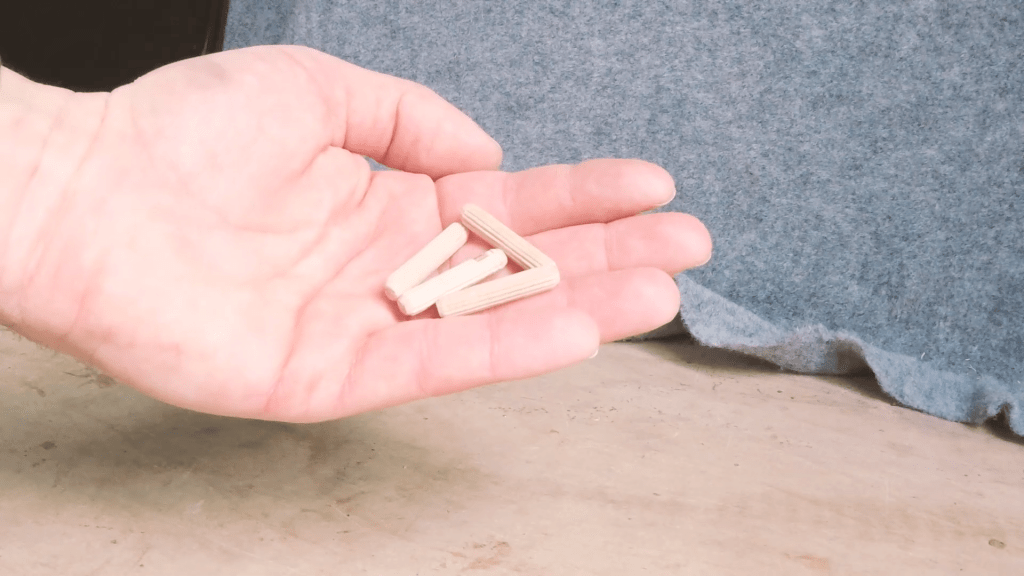
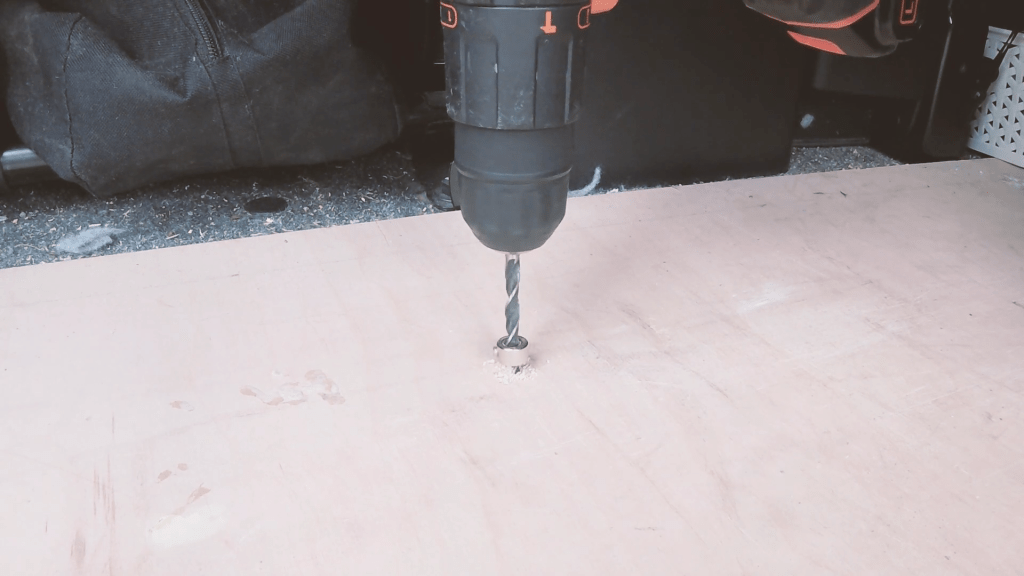
Using a 6mm drill bit with a collar tightened onto it, I could ensure that I would go through the plywood and part way into the strips below, without hitting the metal at the bottom.
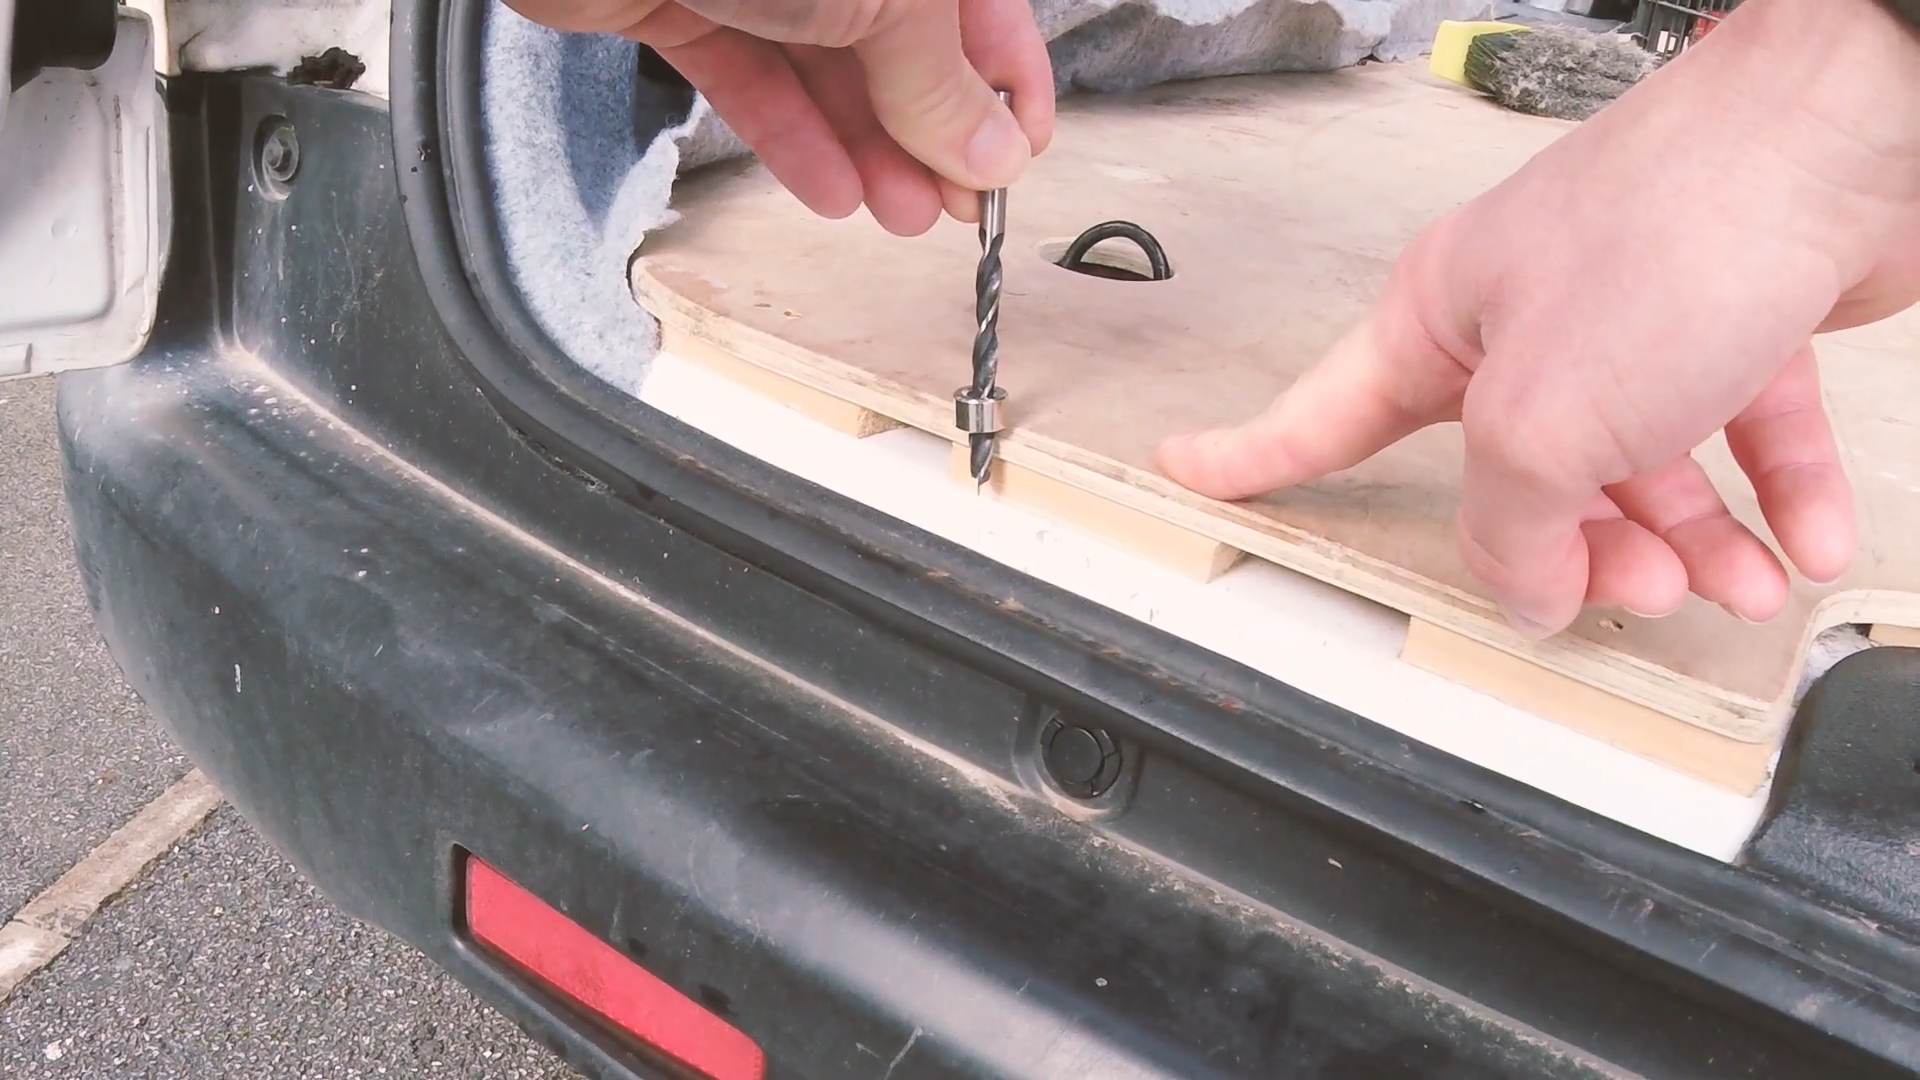
I drilled out all of the previous screw holes in this way, including ones near the rear doors which held the edges of the plywood down, and then inserted the dowel to check the fit.

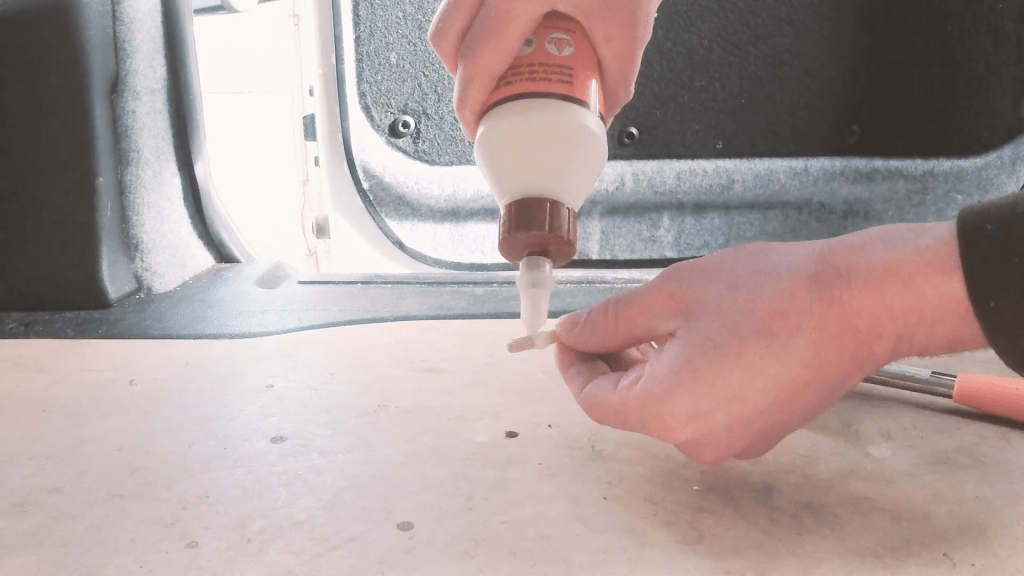
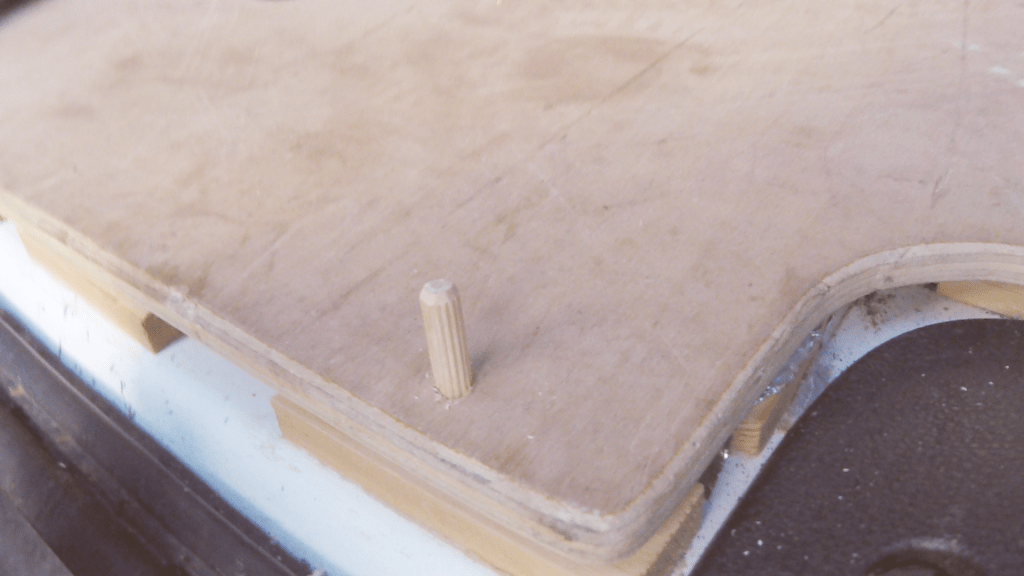
I spread wood glue across the centre of the dowel and used a twisting motion to insert the dowels into their holes, to make sure the glue made its way down and then hammered it in for a tight fit.

This was where I encountered my first problem – as I mentioned, I also intended to replace the screws the edge of the plywood near the rear doors with dowels too, however when the screws were removed it was clear that there was a lot of spring in the board, which meant any dowel glued in place would never reach the hole below it.

I decided that I wouldn’t use the dowels near the door edges but figured that something simple such as velcro would probably hold the edges down nicely – as you’ll see, it did!
I continued on with the other dowels and, having glued them in, could saw the tops off them so they were flush with the top of the plywood. I would be sanding the floor later, so I wasn’t worried about the cuts being perfect.

Making adjustments
The next step was to mark out any areas that I wanted to trim off of the plywood. When the plywood was originally cut there was no insulation or carpet in the van, so the sides – particularly at the wheel arches – had become very tight. Add a layer of vinyl to these edges and it would have been impossible to remove the floor, so I marked up about 10mm on each side to be trimmed and marked some adjustments to be cut on the edge at the rear doors too.

Removing the floor
As it turned out, the floor was already very tightly wedged in between the wheel arches and the only way I could removed it was by sliding it out. Luckily this didn’t damage my new dowels, however it did tear some of the foil bubblewrap insulation below, but this was easily repairable and gave me the chance to inspect the floor, since it had been a year since it was insulated over.


As you can see, the floor is in very good condition which means that there isn’t any pooling of condensation or dirt getting in. The strips of wood were stuck directly to the metal with No More Nails and then, once I had made a note of their location, I insulated over it with Thermawrap bubble wrap insulation.
Although this is a very simple way to insulate a floor, I am pleased to see that it is working well. I did however find a hole in the floor left over from the when the original plywood was screwed directly into the metal, but it hadn’t rusted, so I was able to prime it and fill it with epoxy before taping the insulation back up.
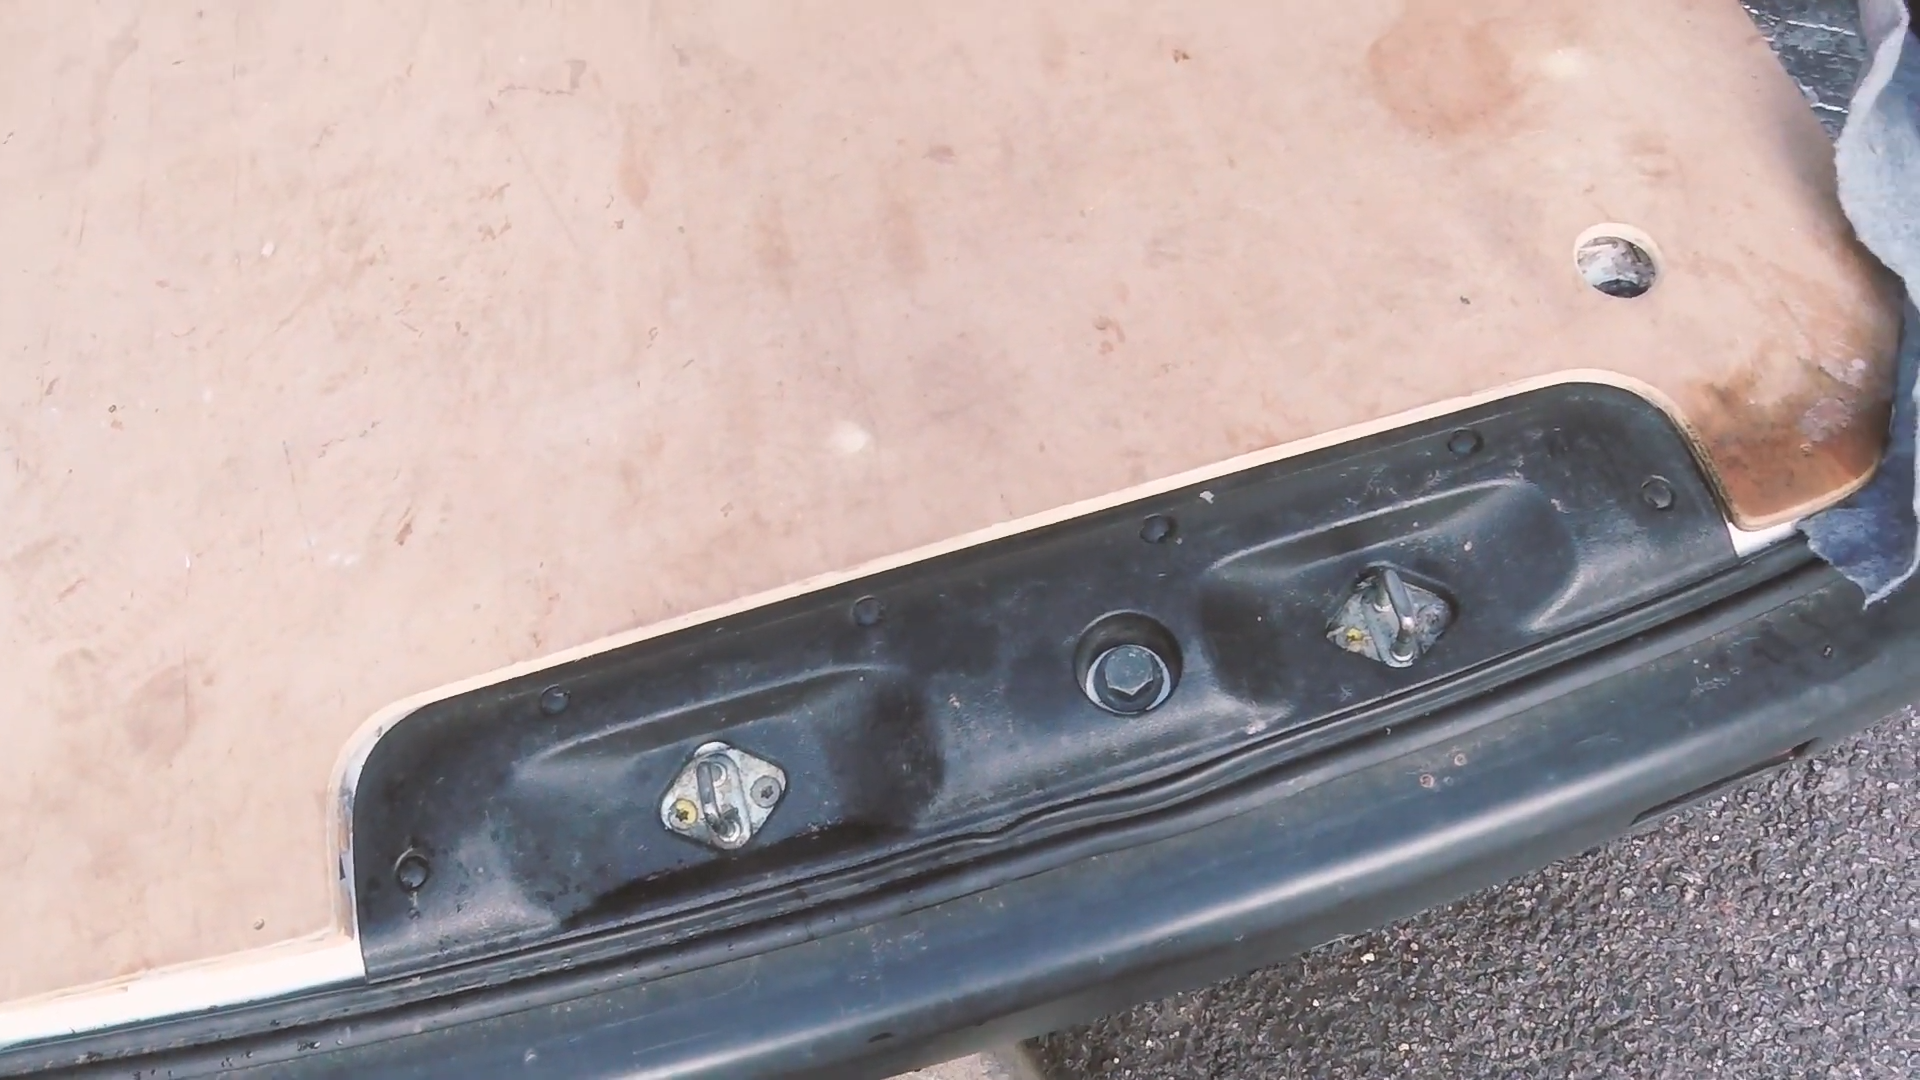
The edge by the rear doors has always been quite messy, with insulation and strip wood showing, as well as pools of dirt in the two load ring indents, so this would be a key area to get tidied up.

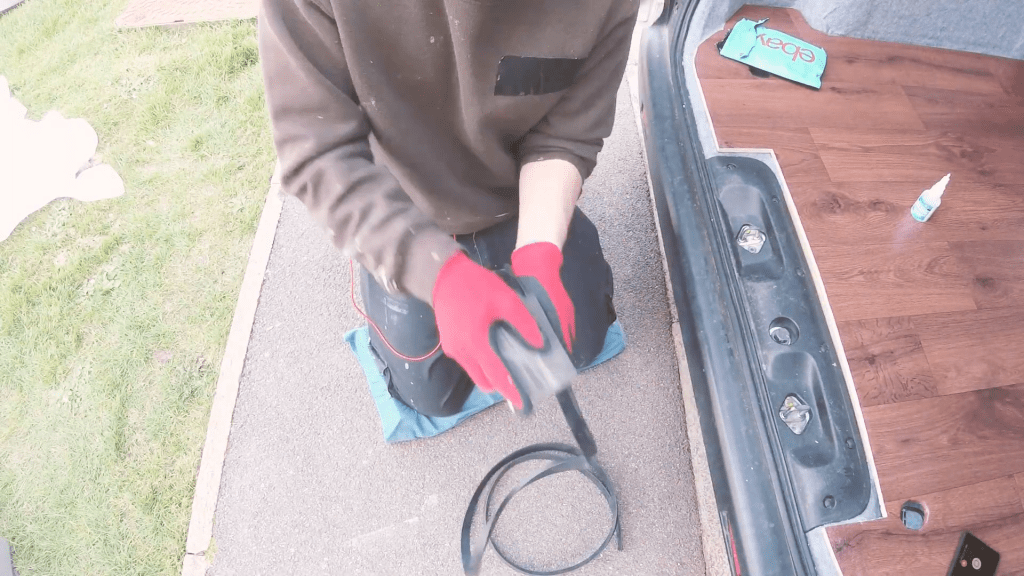
Having removed the floor, I set about cleaning the back of the van. A lot of dirt and sawdust had crept onto the insulation over the last year and I wanted to clear this before replacing the floor. I was also able to remove the side and rear door trims and get underneath these.
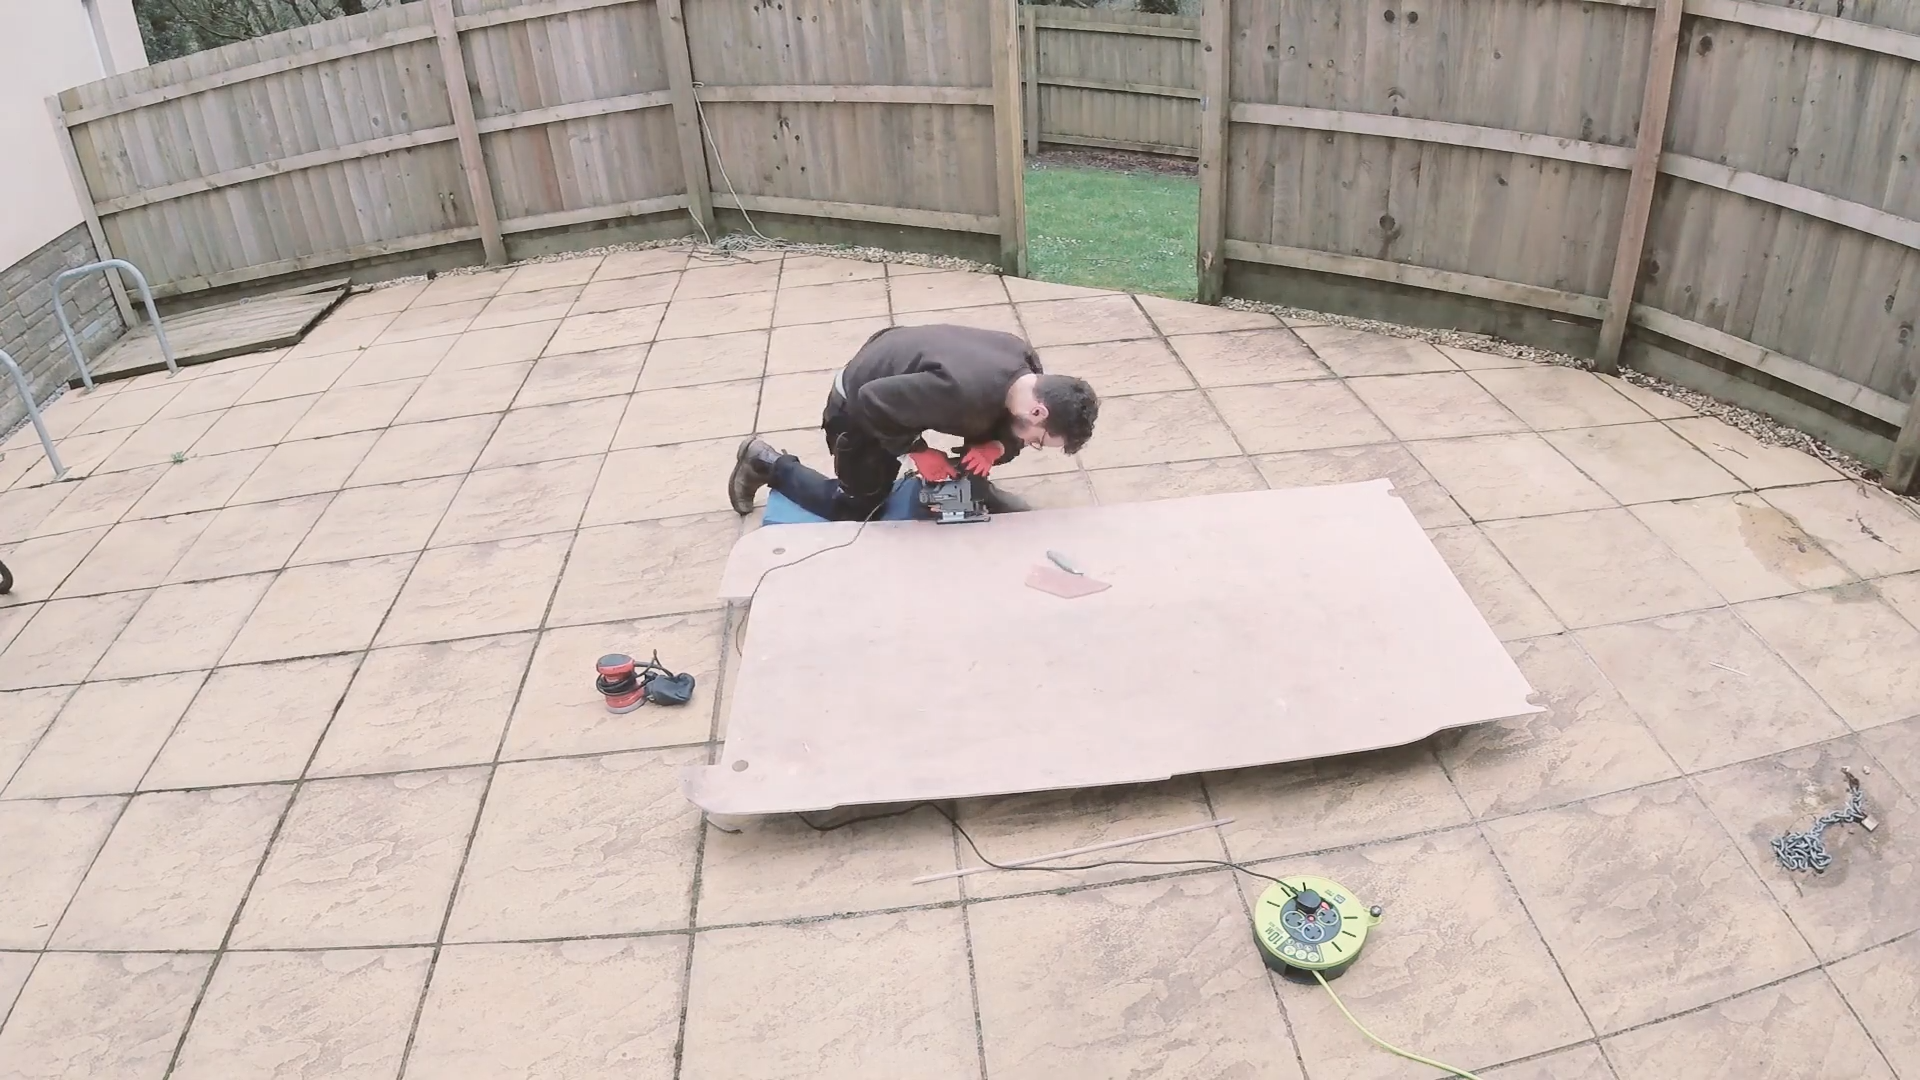
Trimming and sanding the floor
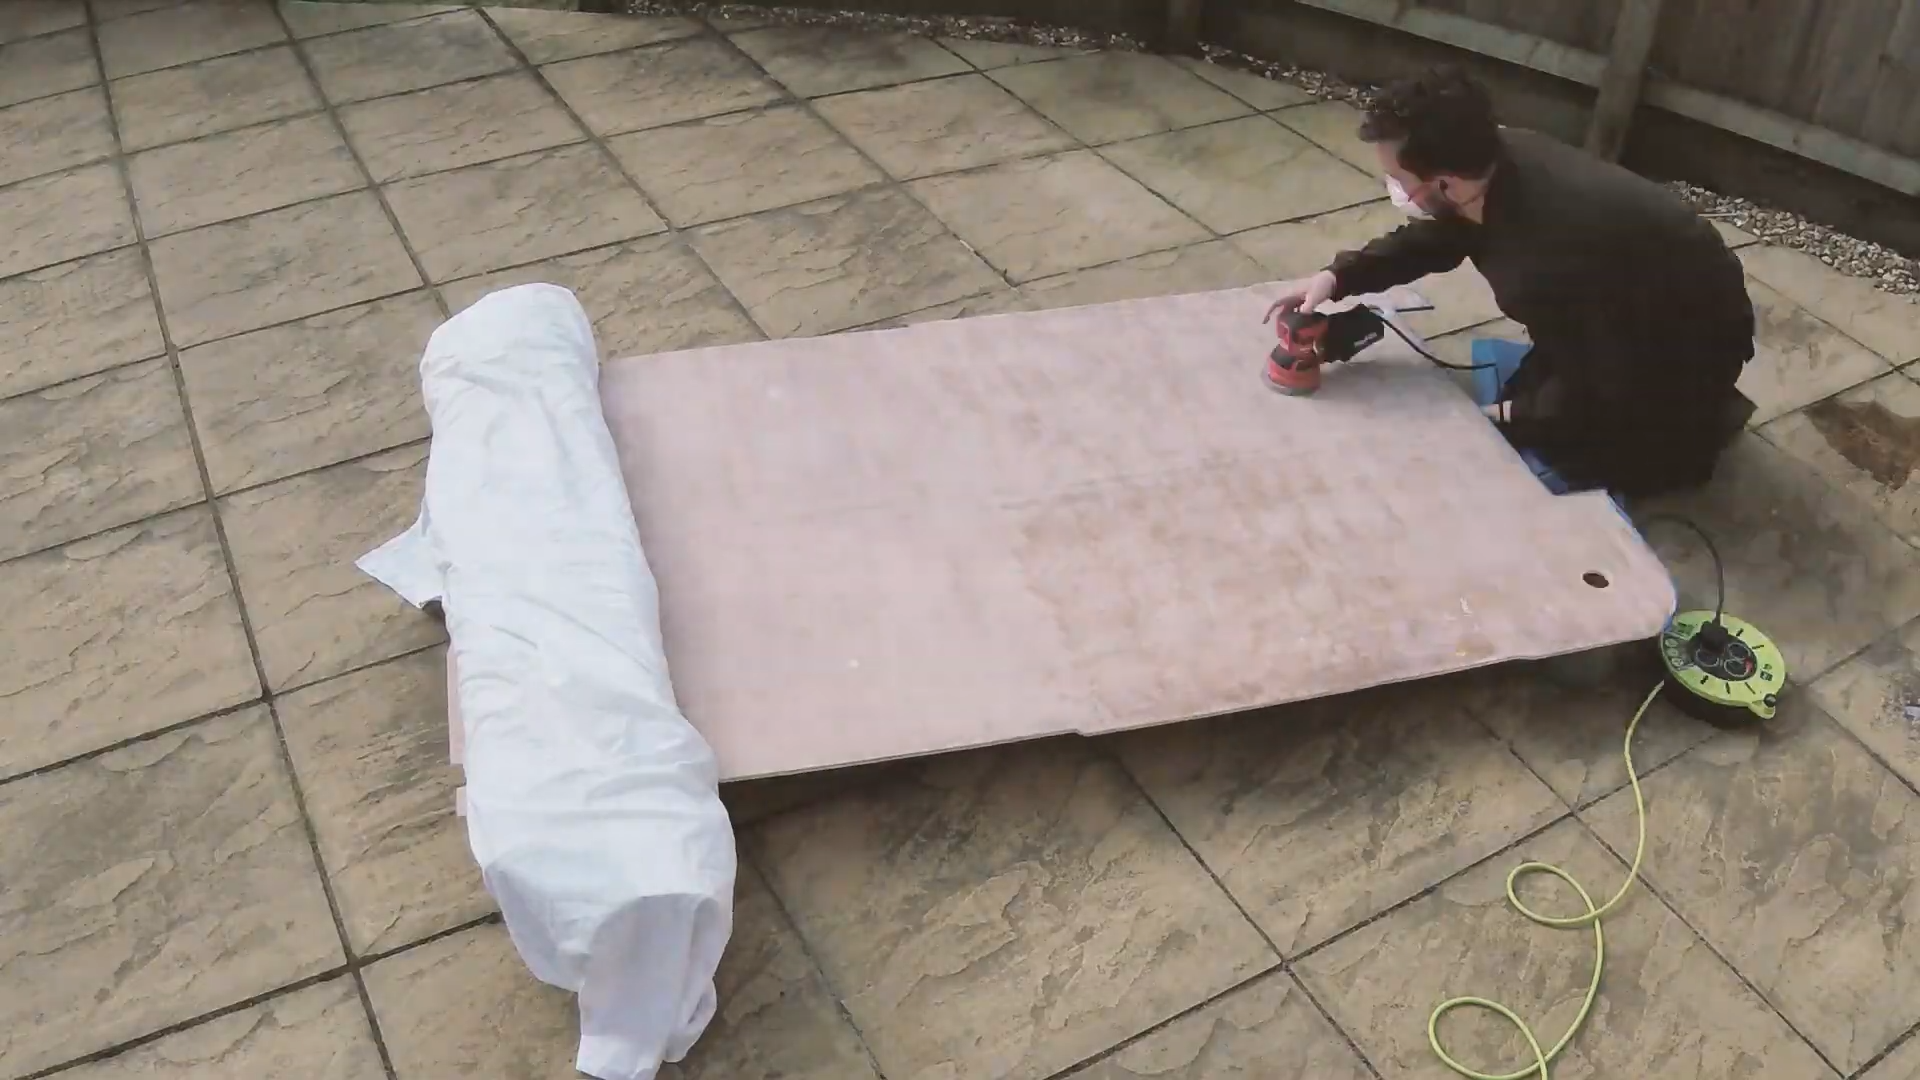
With the van clean, I started trimming the plywood with a jigsaw, using the marks I had made earlier. I would be covering the edges with vinyl (eBay affiliate link), so they didn’t have to be particularly neat and sanding them afterwards got rid of any splinters of wood.
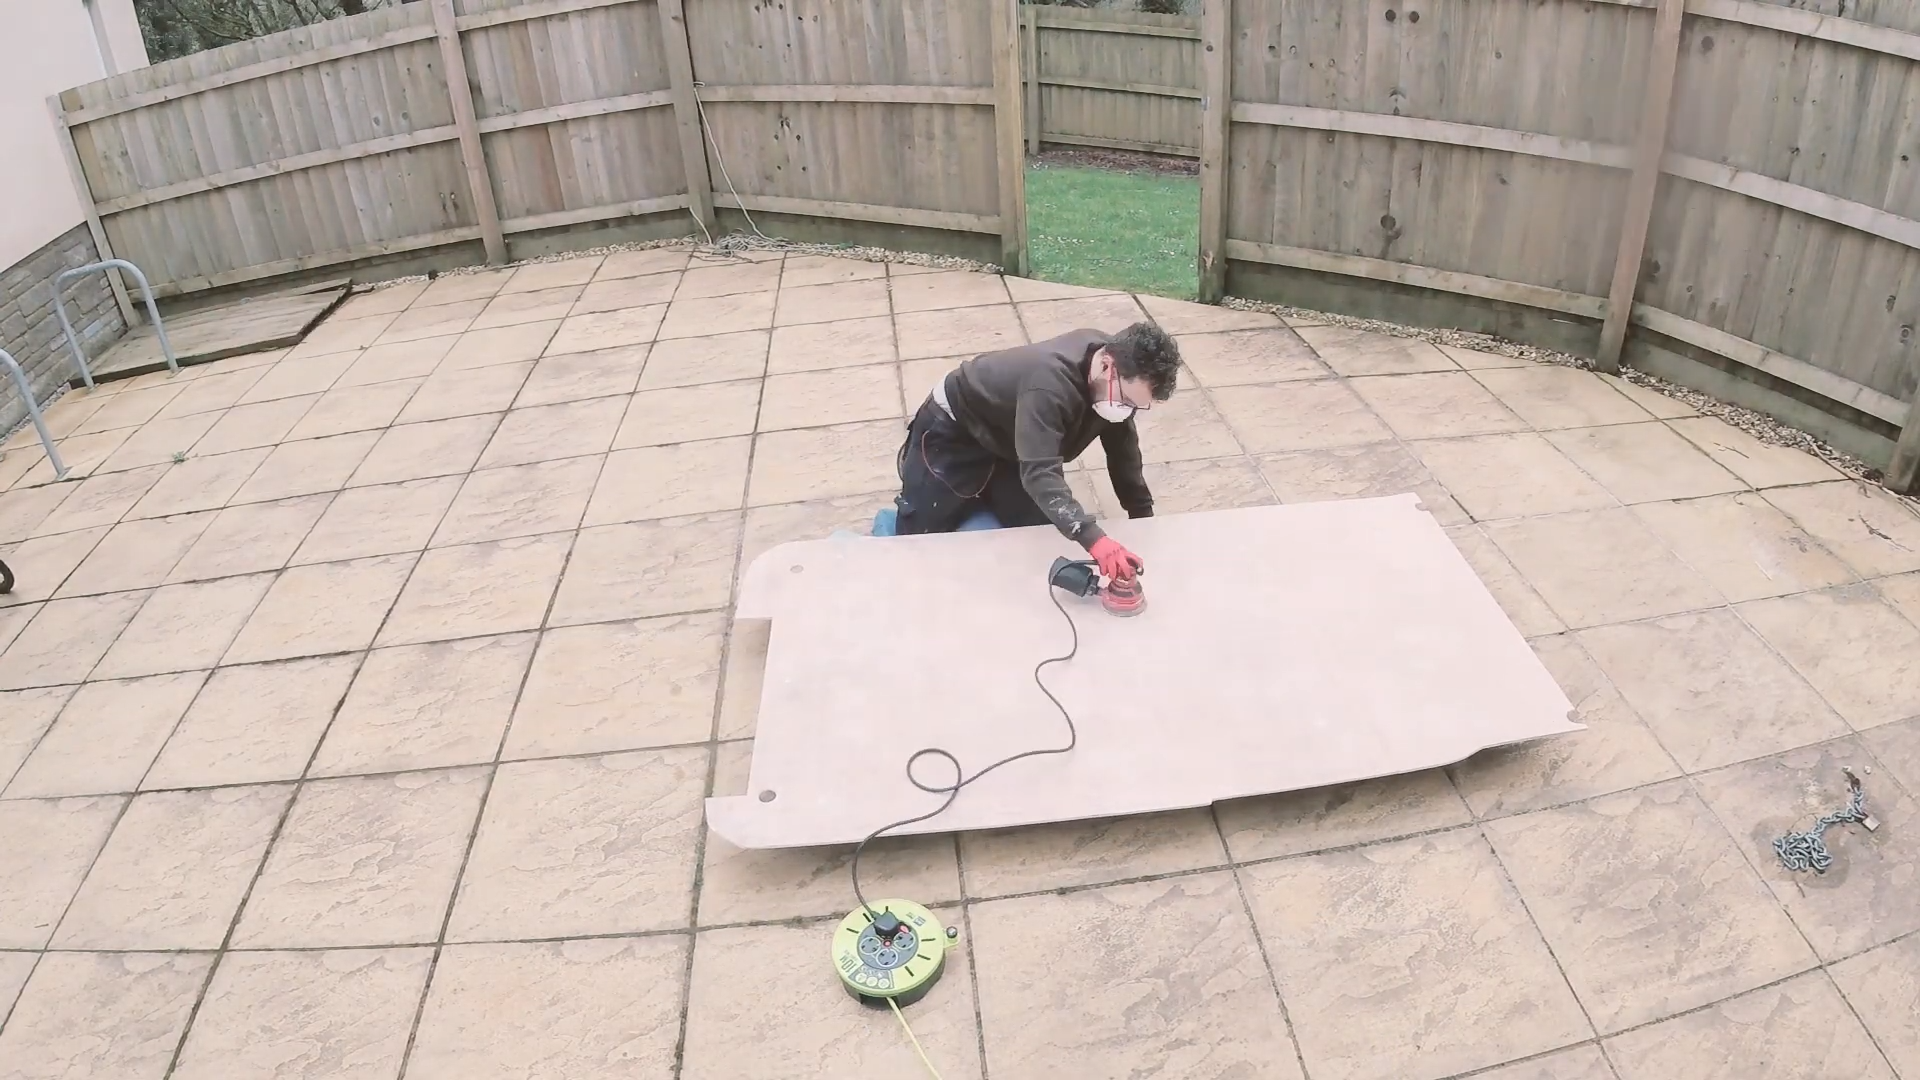
I then sanded the entire face of the plywood, filling any holes or dents with wood filler as I went. Although it would eventually be covered, I wanted to get rid of any dirt, grime and leftover carpet glue that might hinder the vinyl adhesive I would be using.
Click to buy your own…


(Affiliate links which help support this website)
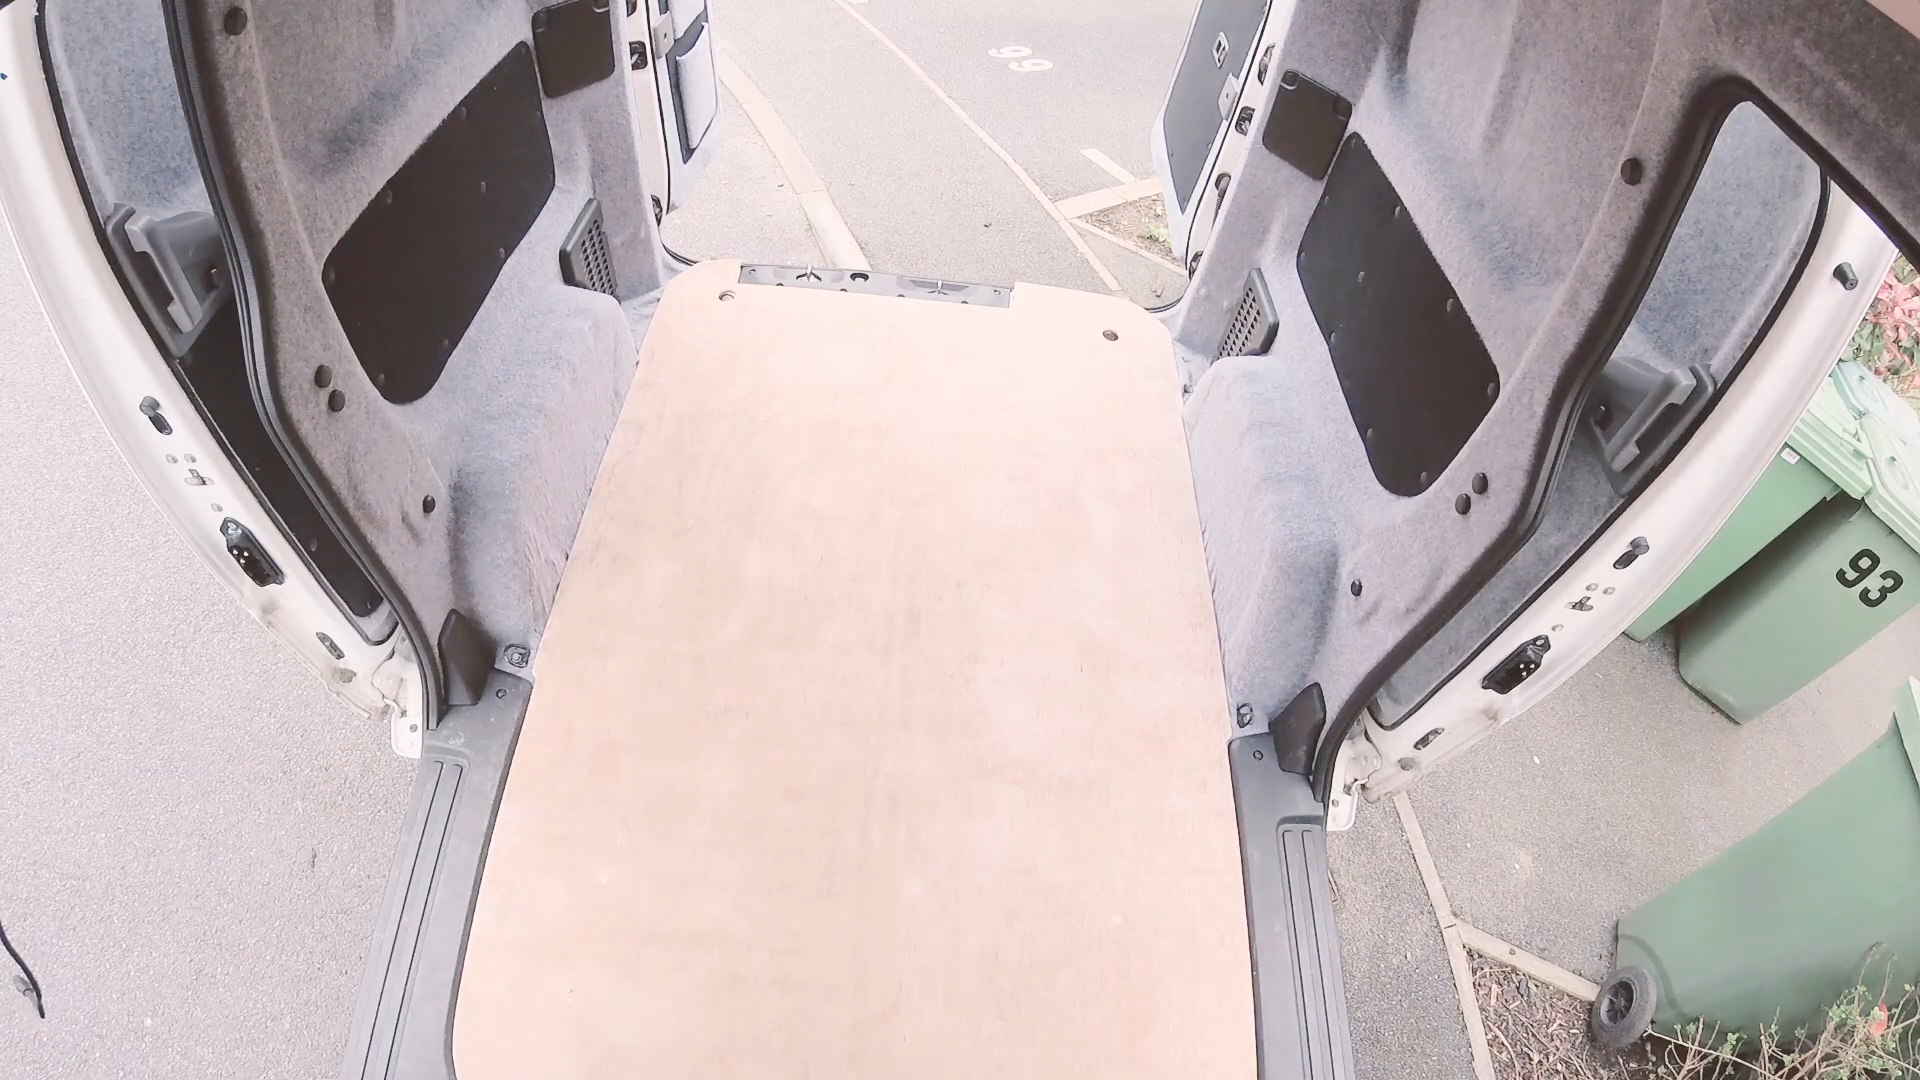
With the floor prepped, I could re-install it and check the fit. It already looked loads better, plus the dowel locator pins worked really well in keeping the floor in place.
We’re also on Instagram!
Check out yogi.the.van to keep up-to-date with all our adventures in the van!


Carpeting the back edge
Before laying the vinyl on the ply, I wanted to address the edges by the back doors and the sides, which were looking messy.
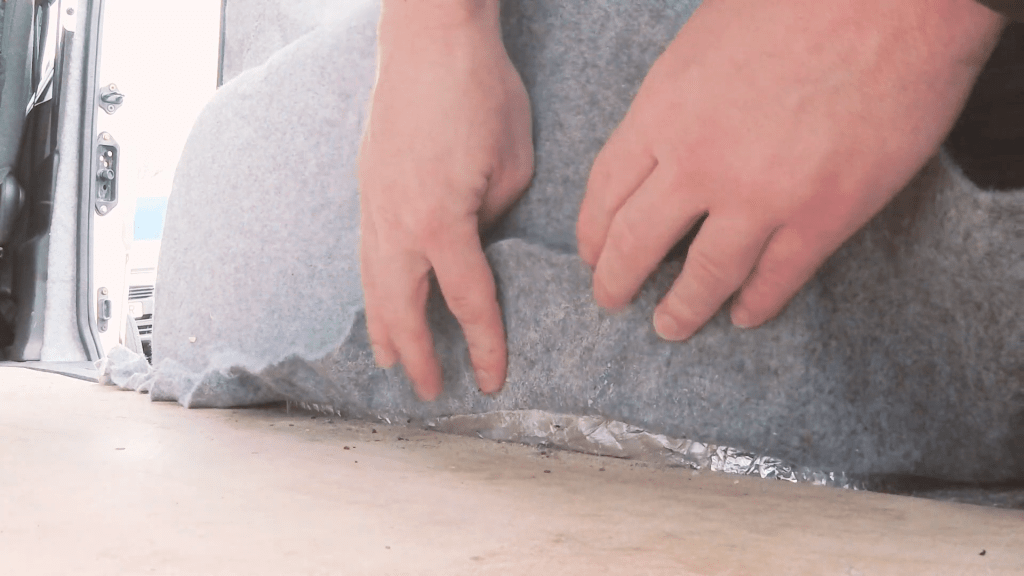
Starting at the back, I pulled the seals away, took off the trim and started carpeting from the metal edge of the van up over the bits of stripwood, so that it was all neatly covered. I would be adding a rubber lip over this edge in any case, but thought carpeting underneath would be a nice finish. I worked my way along until there was no more metal visible and replaced the seal and trim.


I was really pleased to see just how much neater it looked with a bit of carpet and some clean edges.
The side pieces
My next step was to temporarily place and mark where these two side pieces of ply would sit. It is easier to remove the floor without them permanently attached, but I would be covering them with vinyl too, so wanted to get an accurate location for them.

Final preparations before the vinyl
After this, I marked a couple of other places that needed trimming or adjusting, as this would be my final opportunity before I covered the ply with vinyl (eBay affiliate link).
I then made these cuts, widened the load ring holes near the back door and sanded the lot.
I taped the side pieces in place and then began laying a thin strip of masking tape over the bottom edge. This was to prevent the vinyl adhesive from covering where I would be sticking the rubber edge later on.

Laying the vinyl
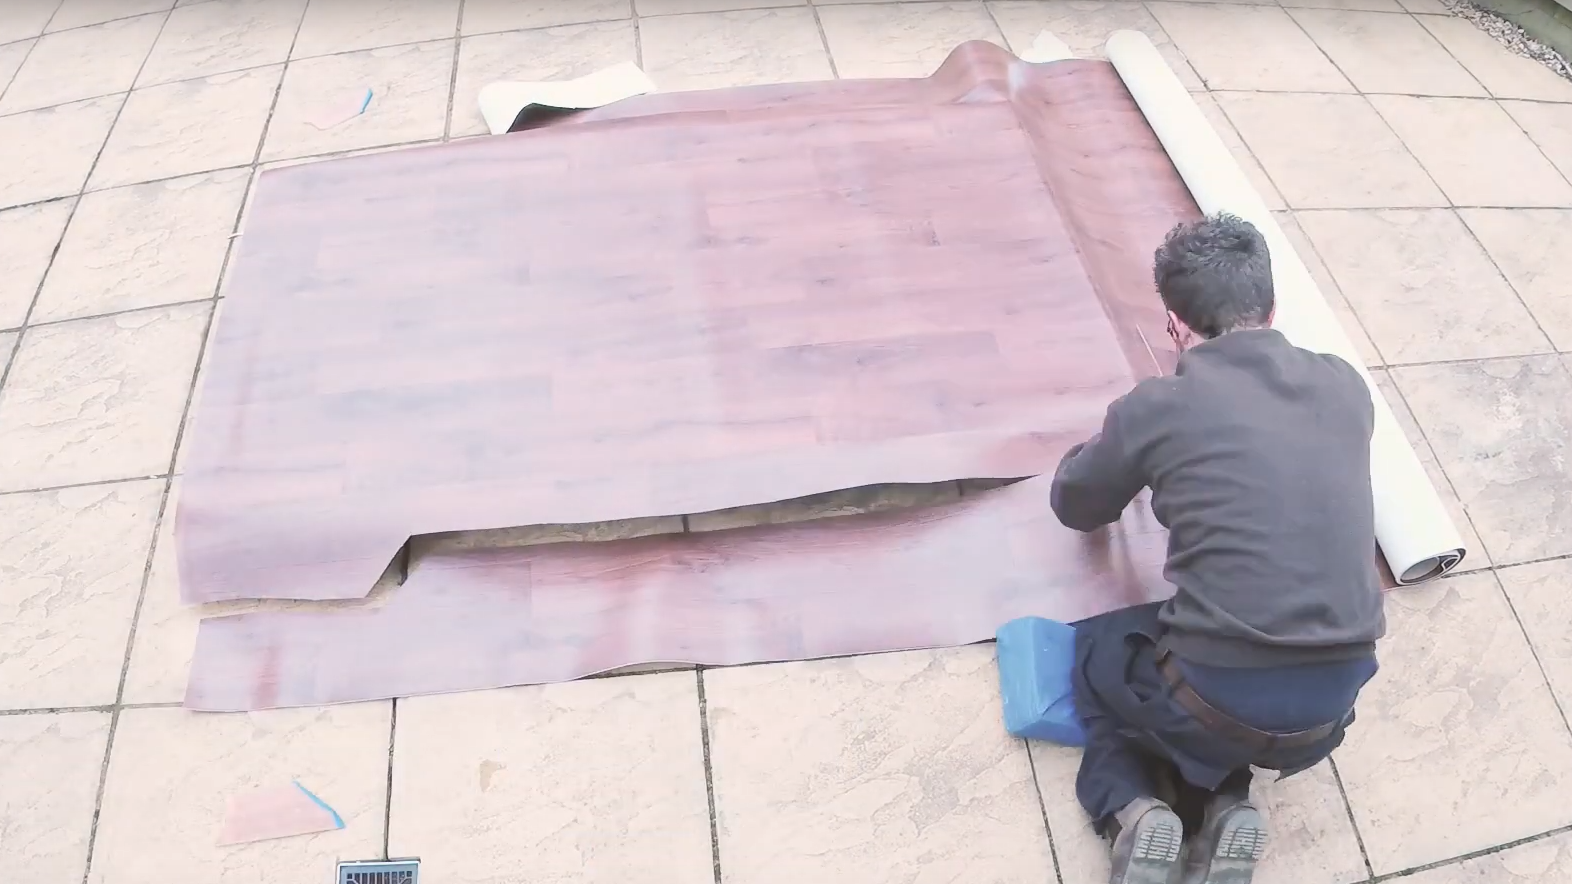
Getting the vinyl out, I rolled it onto the plywood and centred it. I ordered a 2 x 2.5 metre piece of dark wood-effect vinyl, which was much more than I needed but I wanted to be sure that I didn’t come up short and that I was leaving myself a sufficient overlap.

Once positioned, I began spraying the vinyl adhesive on both the wood and the vinyl, as per the instructions. I could then roll the vinyl (eBay affiliate link) over the glued wood and apply pressure.

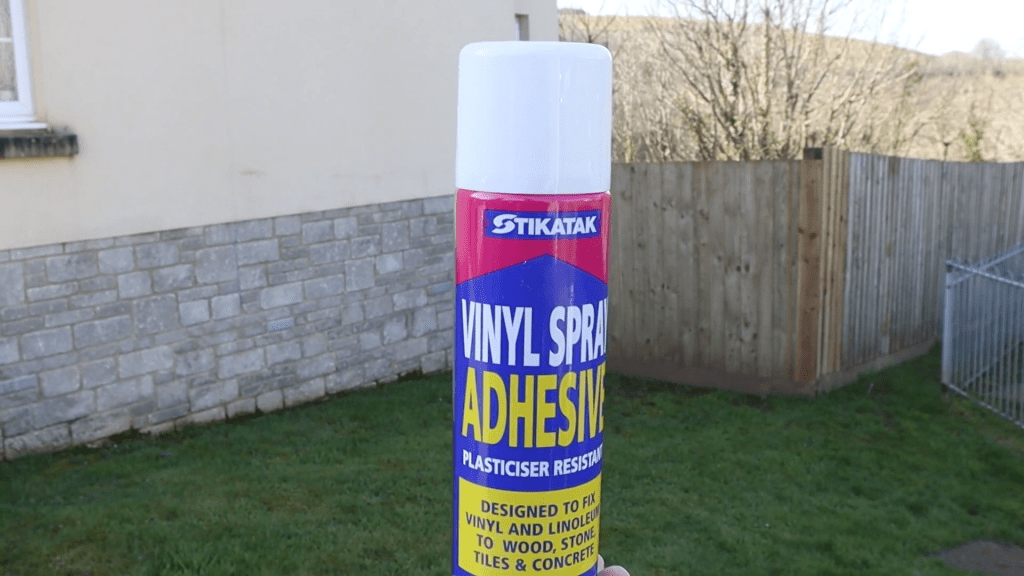

I was disappointed to find that this vinyl adhesive was not particularly sticky at all, despite the fact that it was specifically meant for sticking vinyl to wood!
I decided to trim the vinyl to size, leaving a 10cm overlap on each side, and then put the floor back in the van until I had a better adhesive. To be able to close the back doors, I had to do a rough trim on the back edge. Although it looks messy, it will all be re-trimmed eventually, so I wasn’t worried about how it looked at this stage.
When I next came back to work on the floor, my first task was to peel off the vinyl (eBay affiliate link) from the wood (which came away far too easily) and to sand the old adhesive off the wood, making sure to cover the vinyl so as not to get sawdust over it. I then wiped the floor down with a cloth and refreshed the masking tape.
Click to buy your own…
(eBay affiliate links which help support this website)
Click to buy your own…
As it worked so well on the door pockets, I thought I would give Everbuild Stick2 contact adhesive a go with the vinyl.

It turned out to be the right decision and immediately gave a strong bond which I was very pleased with. Working in sections, I made my way along the ply, using plenty of adhesive and applying lots of pressure. Towards the ends the vinyl (eBay affiliate link) developed a couple of air bubbles but these were easily smoothed out.

The floor edges and holes
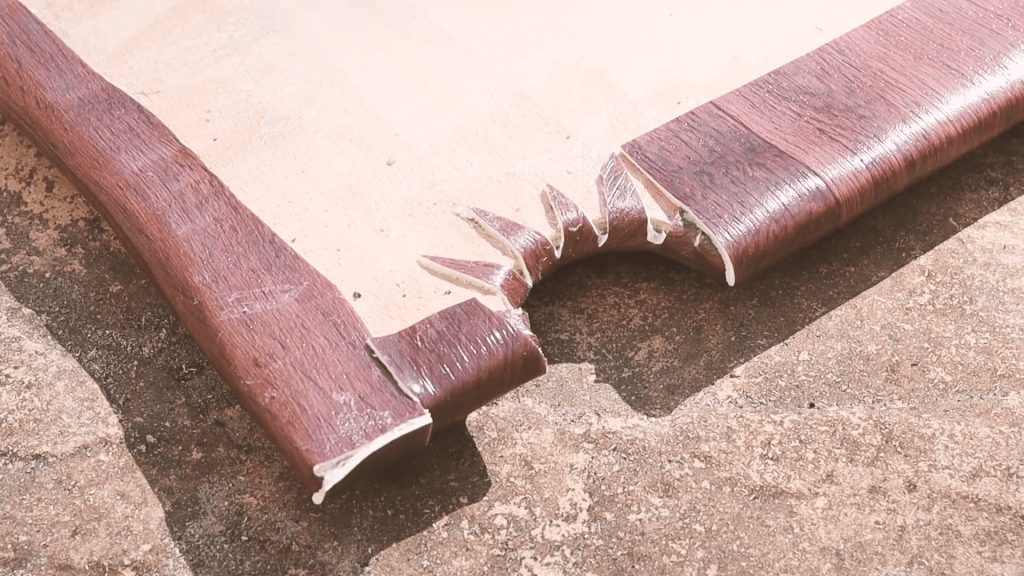
With the vinyl (eBay affiliate link) successfully stuck down, I turned the floor over and first stuck the two edge pieces in place, then trimmed the margins I had left around the edge to their final depth – about 5 to 10cm – and began gluing the edges to the back of the plywood. At first I had trouble getting them to stick, so I used some clamps, however this was just because I didn’t give the adhesive enough time for the solvent to evaporate, and I didn’t need the clamps after this.

If I encountered a curve in the ply which would cause a bump or twist in the vinyl, I would cut sections out, so as to enable the vinyl to sit flat once glued.
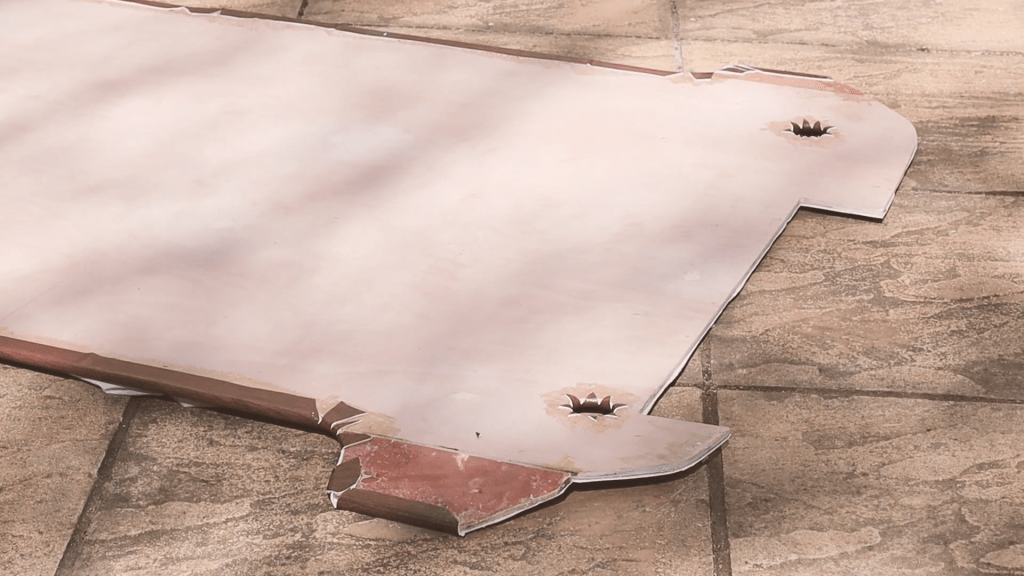
When it came to difficult sections, such as the load ring holes at both ends, I cut out from the centre of the holes and created triangular sections. This meant that I would get a nice finish on the topside without seeing any cuts marks.
The 2 side pieces I taped in place earlier are stuck to the vinyl, but they still retain some movement. Because these are the 2 widest and tightest-fitting parts of the floor, I wanted to allow some wiggle room, and sticking them in this way has allowed that.
Whilst the underside does look quite messy, it will never be seen and tucking the vinyl under has meant that the edge is really neat.
I wiped any excess glue off with some white spirit – to stop the underside of the floor sticking to the insulation in the van – and then I could return the floor to the van to see what the fit was like.
Checking the fit
Overall, the floor fits really well! As expected, I had to remove one of the two rear vents to get the side pieces to fit, but once replaced its a great fit.
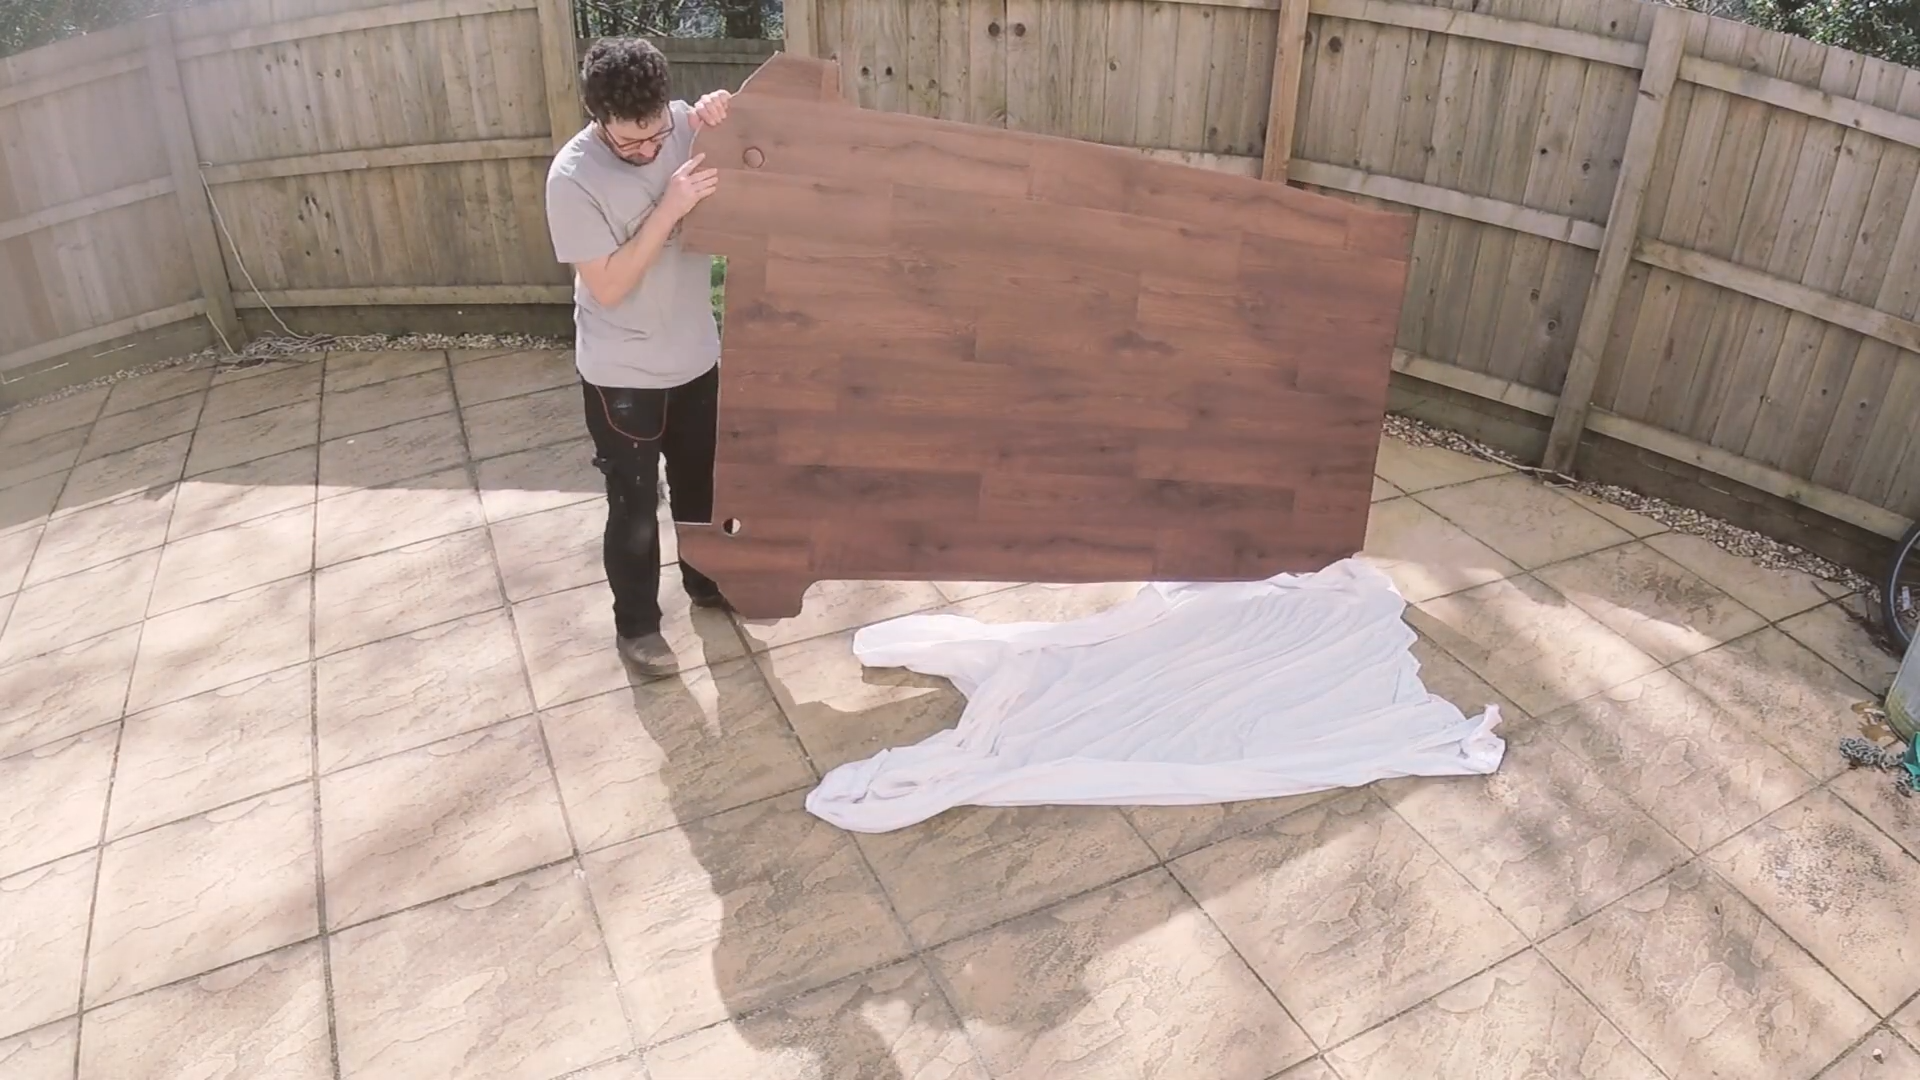
I could finally see how this flooring looks in the van, and I have to say I’m really impressed. The dark wood vinyl (eBay affiliate link) has a warmth which looks really good.

Finishing the carpet edges
At this point, I still had a few adjustments to make, as well as sorting out the rubber trim that would cover the edge along the back, so I removed the floor again and started by gluing down the flaps of carpet by the wheel arches.
I had left these after carpeting the van as I knew I would have better access to stick them down with the floor removed. I then cut away any excess and made sure the carpet was sitting flat.

At the two side doors, I laid a strip of carpet running from the top load ring down to the wheel arch. I wanted to cover any of the white metal floor which was still visible in gaps between the black door trim and the floor. I had some leftover carpet that I was able to use here.
As you can see, it gives a really nice clean look to both side door trims.

Velcro on the back door edge
Moving back to the back door edge, I neatly trimmed the vinyl (eBay affiliate link) to the edge of the plywood and, as I mentioned earlier, used velcro to help the end of the plywood stay flat, whilst still enabling the floor to be removed easily if necessary in the future.

After this, I replaced the floor and used my own weight to get the velcro to stick to the plywood.
Rubber L-section on the back edge
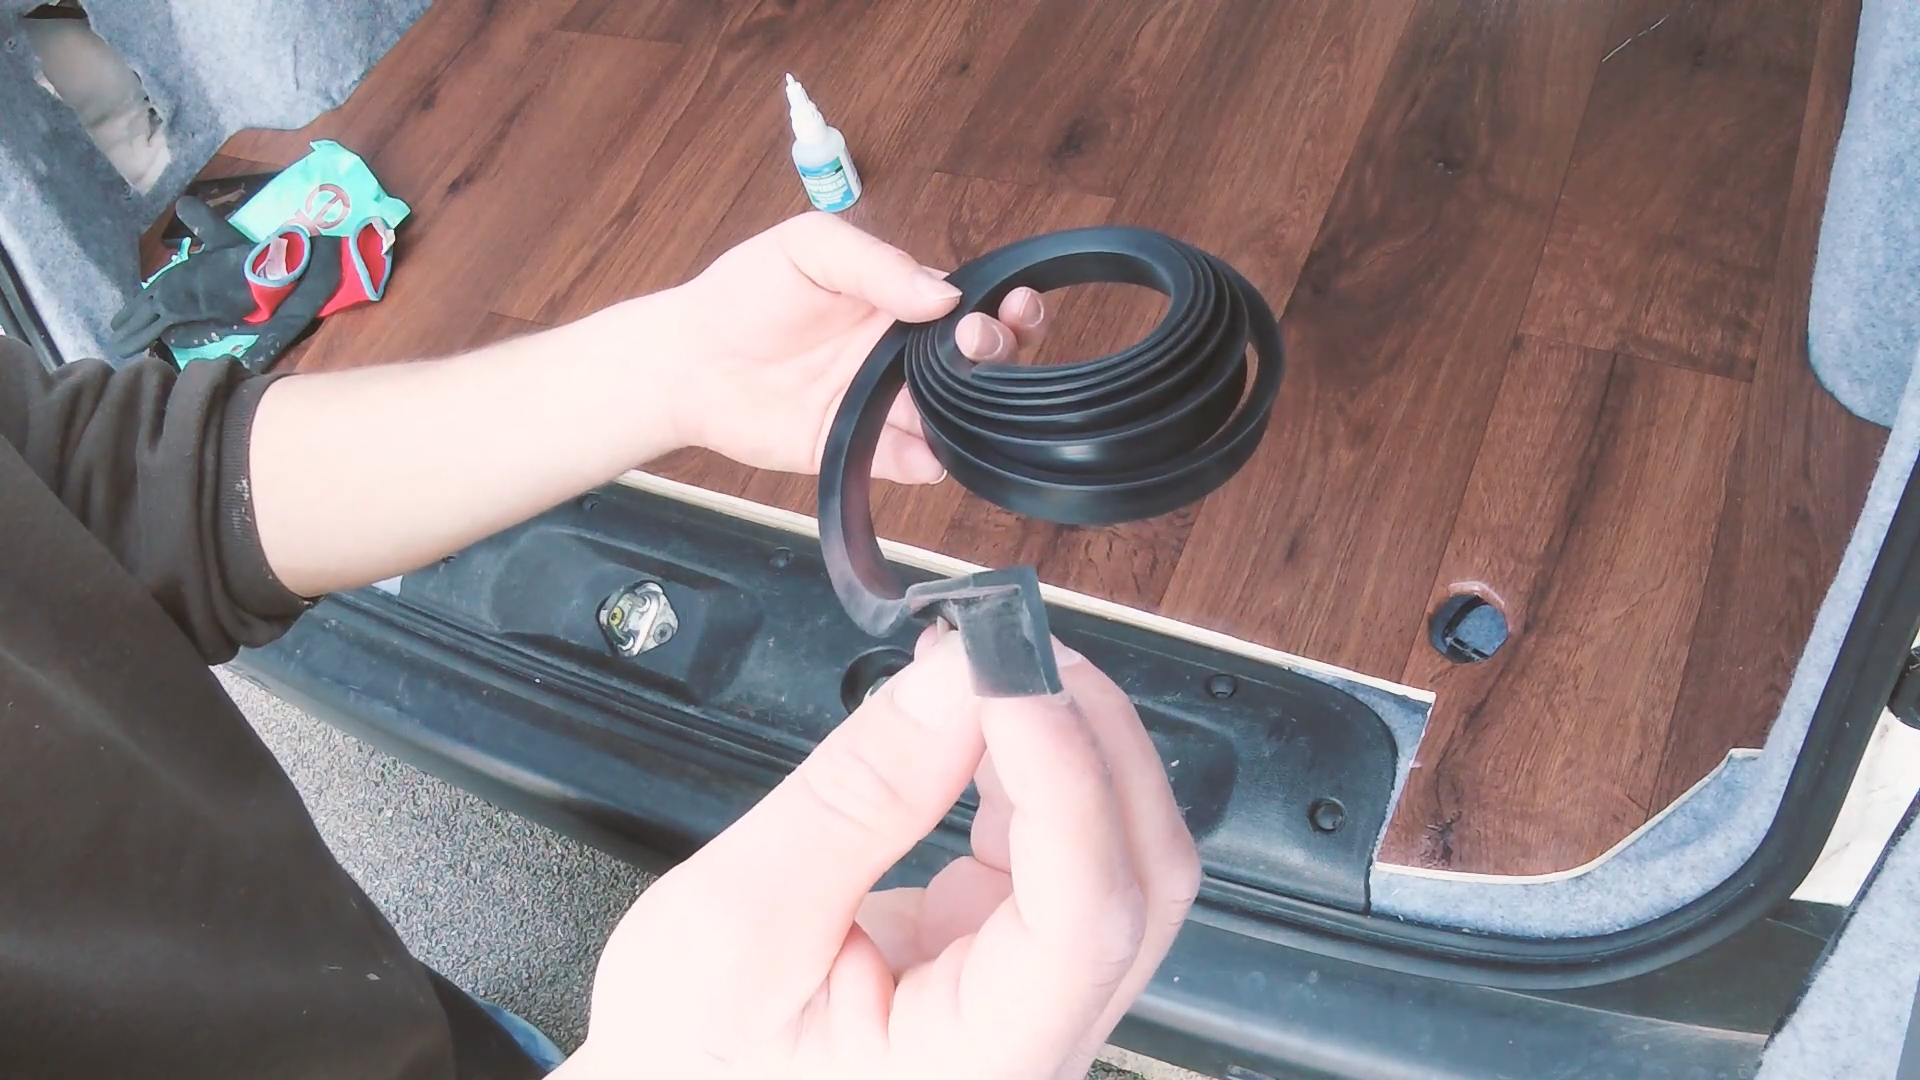
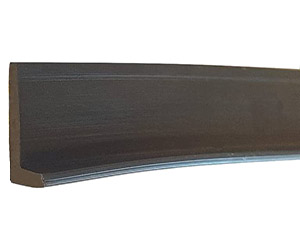
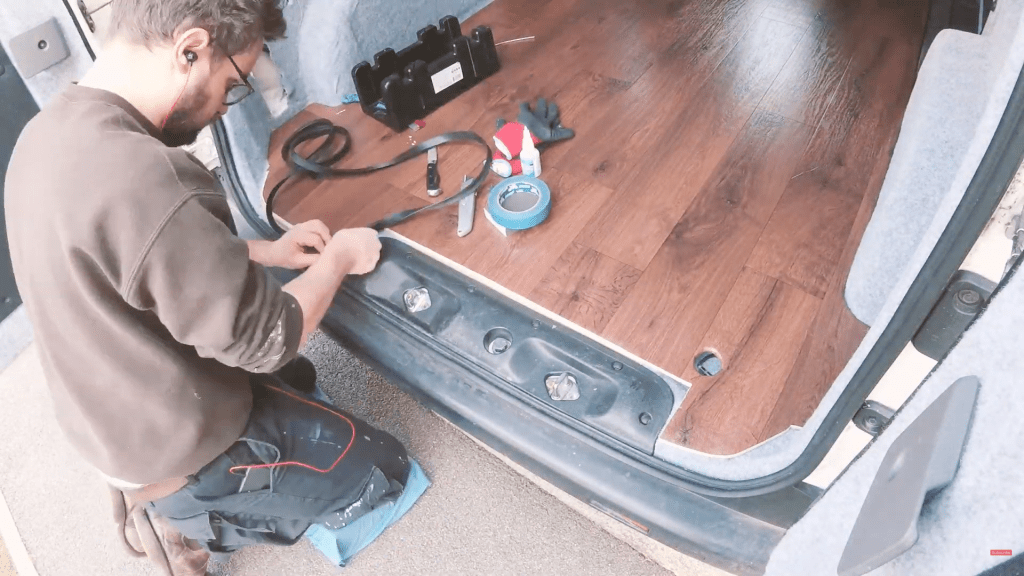
Finally, I was ready to complete the back door edge of the floor. I am using lengths of rubber L-section to finish my edge off, which isn’t the most common of edge materials, however I wanted something flexible to work with the curves and corners on the back edge.
Click to buy your own…
(Affiliate links which help support this website)
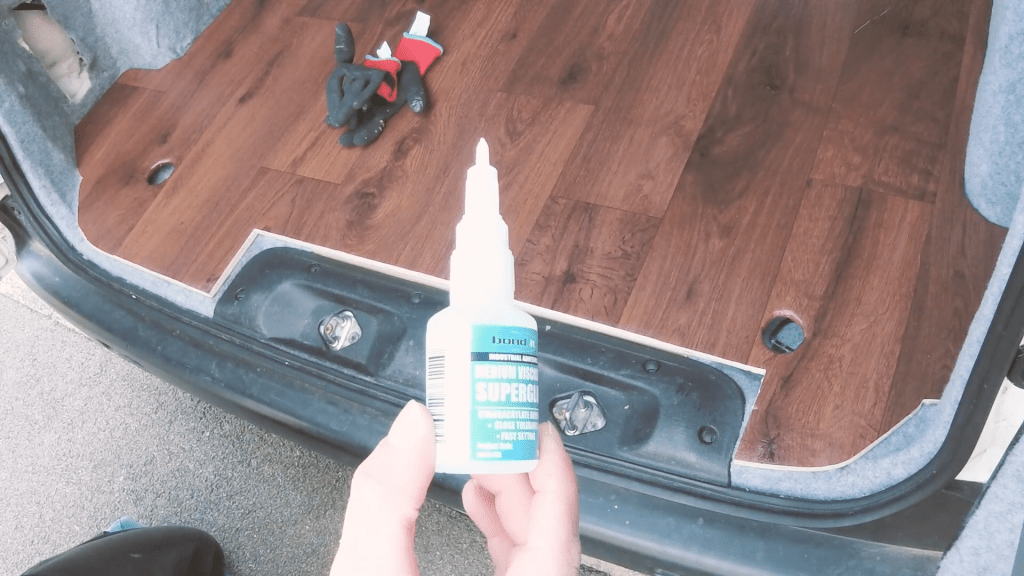
I abraded the inside of the rubber to help adhesion and used Bond It medium viscosity cyanoacrylate super glue, which is the adhesive recommended for EDPM rubber such as this.
I set about taping the rubber to the vinyl so I could cut a border out of the vinyl (eBay affiliate link), glue the rubber in place and end up with a level edge between the rubber and the vinyl. Being a doorway, I wanted to ensure that the rubber didn’t get kicked or knocked off, and this seemed the best way to achieve this.
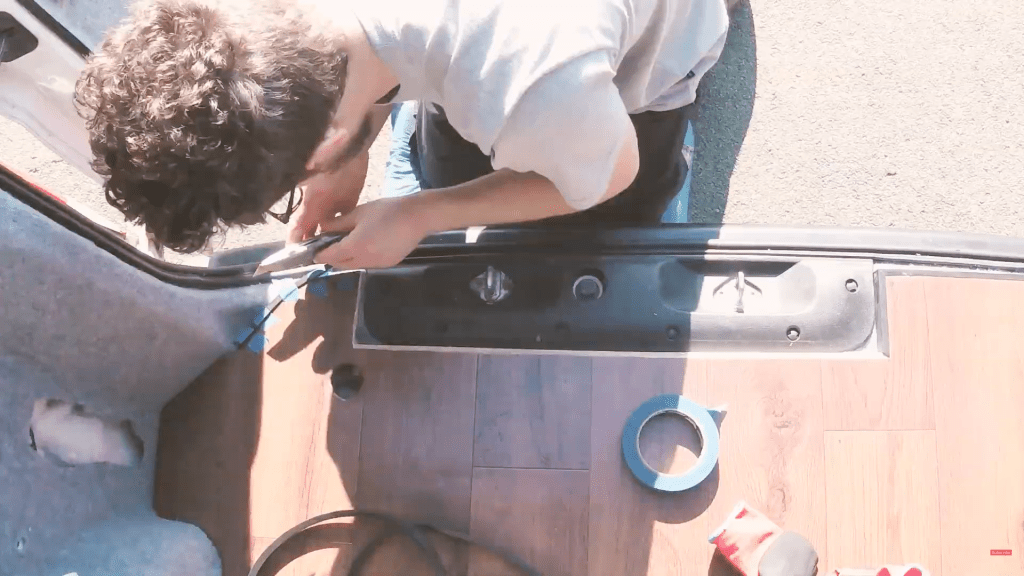
I worked my way along the back door edge until it was all covered with rubber and, with that, the floor was complete.
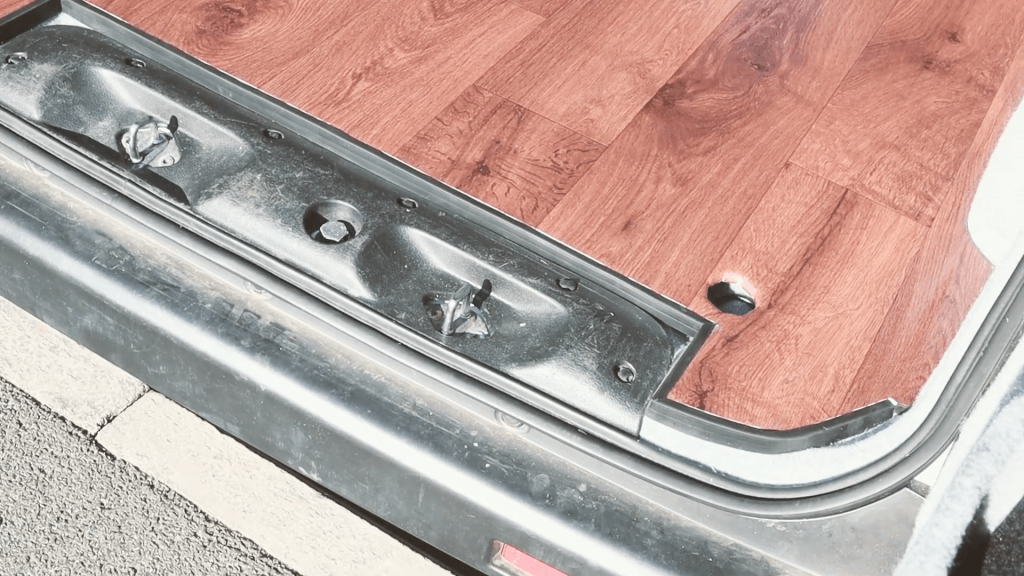

If I’m being honest, the rubber edge didn’t turn out as neatly as I had hoped, despite my best efforts, however it is at the very least functional and I can always look at it again in the future.
Despite that, I’m really happy with how the floor has turned out. It looks really neat, is very nice to walk on and looks great.

If you want to see more of my camper van build in action, please CLICK HERE.
(Affiliate links which help support this website)

One response to “Installing A Vinyl Floor In My NV200 Camper”
[…] you’ve read or watched my floor-laying from my van build series then you’ll know that I decided to use these […]
LikeLike