
This article is a written account of a video from the Lens Of James YouTube channel. Watch the video above and subscribe if you like what you see!
This article contains affiliate links to relevant products I have used in my videos. By buying through these links, I receive a small percentage of the sale at no cost to you which helps me support and grow my website and YouTube channel, so I can create more content like this in the future. Thank you for your support.
Having fully insulated the NV200, I can start on carpeting the van!
If you’d like to find out more about how I got to this point, then do check out my previous blog posts or video series, but if you’re just here for the carpeting, then let’s get going!
Preparing the van
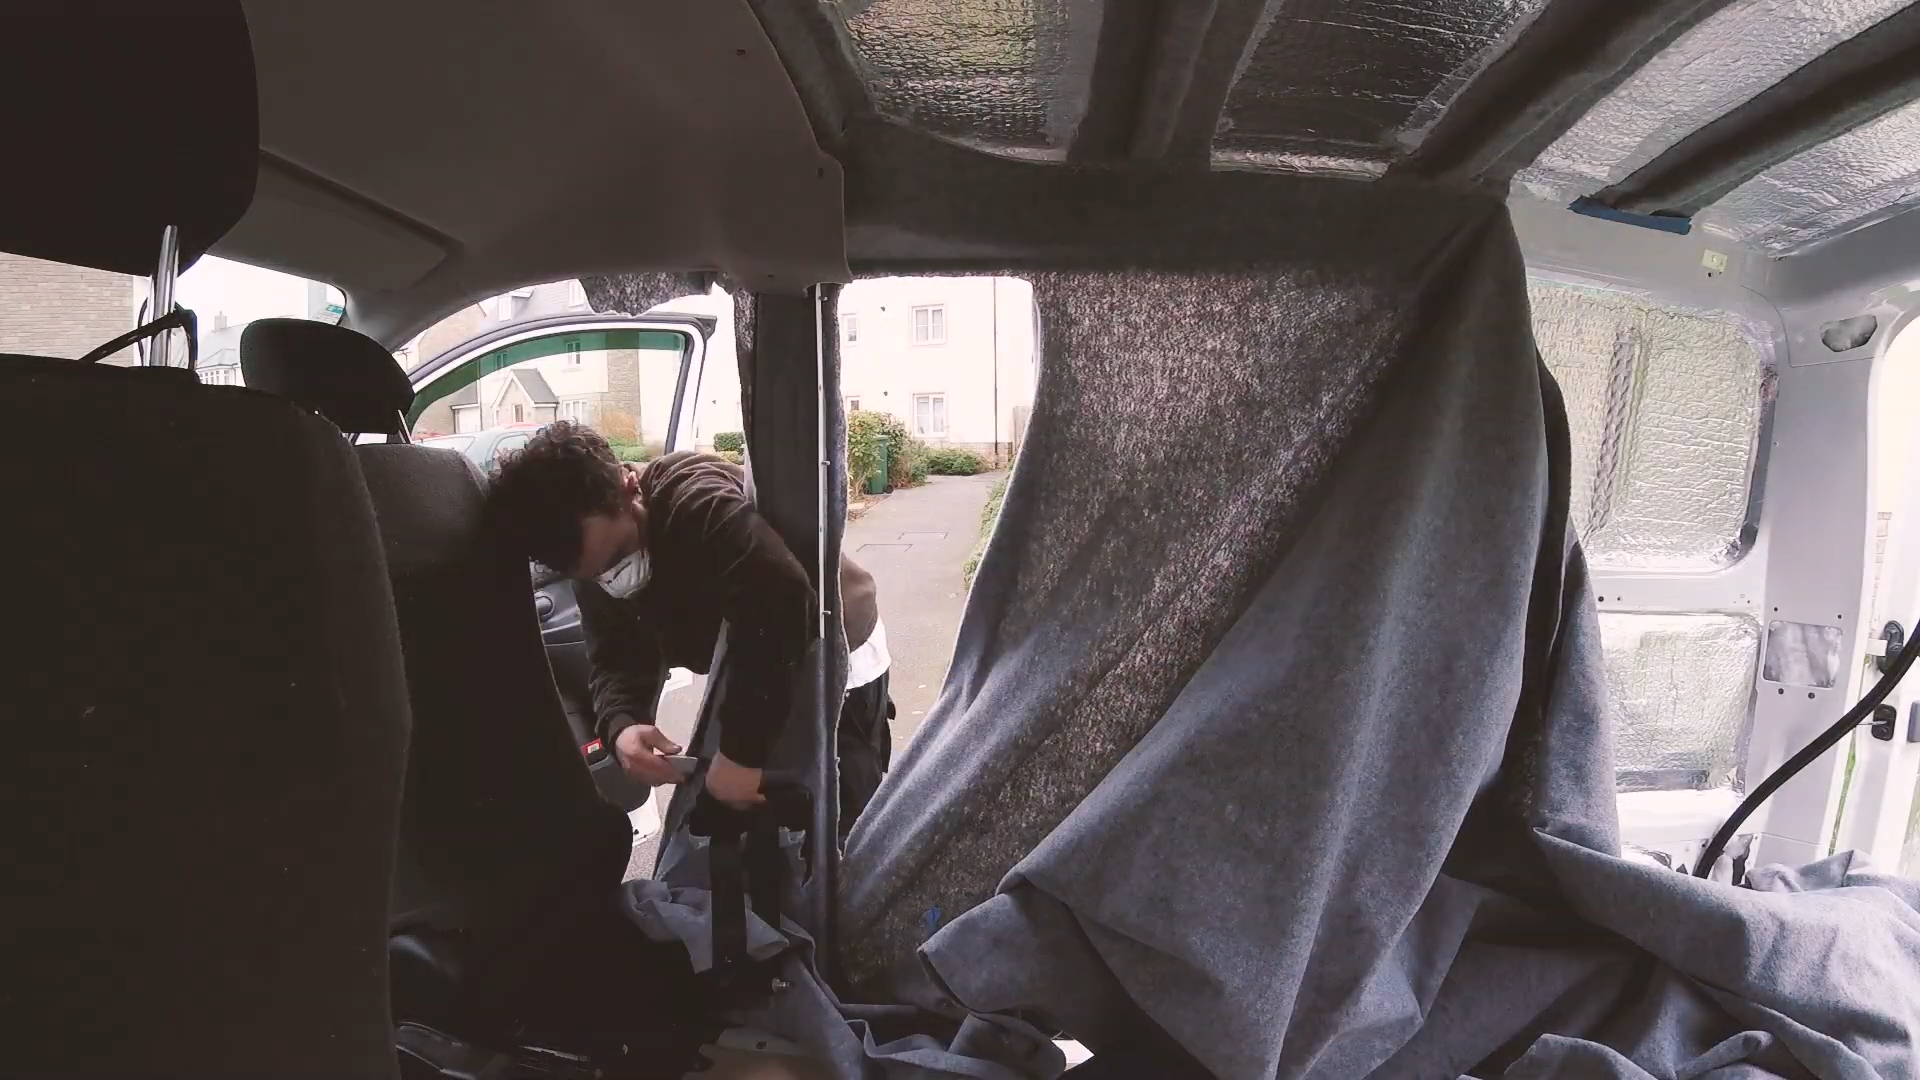
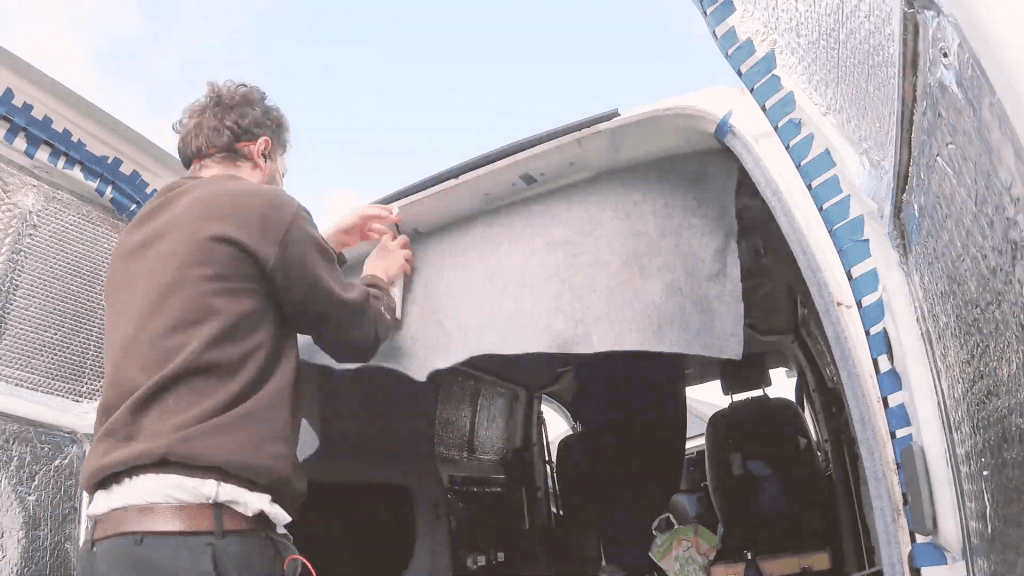
My first task was to unclip the headliner over the cab so I could work the carpet under it.
Next, I removed the right hand side seatbelt. I was doing this side first, so only took off the fixings that were necessary.
After removing the cap, I used an adjustable wrench to remove the bolt holding the seatbelt in place. There is another bolt lower down, however I realised I didn’t need to remove this to carpet under the edge of the lower trim. I then popped this lower trim open using a plastic trim removal tool (eBay affiliate link), so as not to damage the housing.


Moving along, I took out the clips of the sliding door trim and removed this and some other covers. These were all easy to remove, as they just clip into place.
As you can see, quite a lot of dirt had been getting underneath, so I set about cleaning this up.


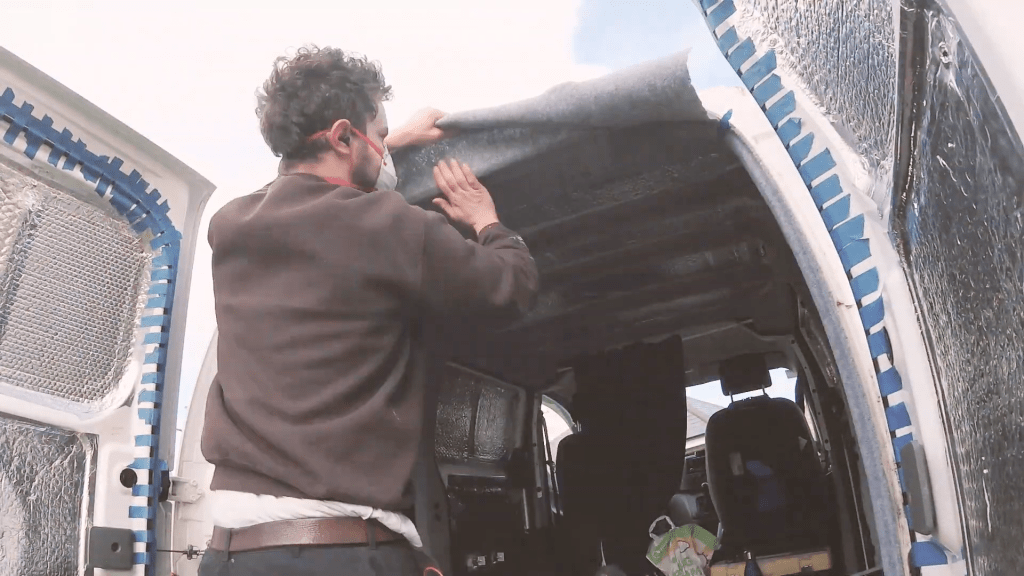
Next, I needed to remove the plywood ceiling panels which I installed previously. I wanted a neat edge when carpeting so would need access under these.
After wiping down the surface of the van with isopropyl alcohol, to remove any dirt and grime that might affect the glue, I unrolled the carpet and remeasured to make sure I had the right quantities.

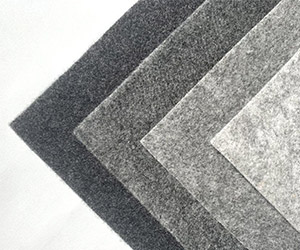
About the carpet
I should say here that I am using smoke-coloured 4-way-stretch automotive carpet and that it comes in heights of 1.4 or 2 metres. Although my van is only small and not higher than 1.4m, once all the curves and contours of the van were taken into account the 1.4m height carpet wouldn’t be suitable, so 2 metres it was! This does create quite a bit of excess, however I plan to use it on making door pockets and thermal window covers for the van at a later date.
I bought a 5 metres length of 2 metre wide carpet to cover all the walls, and this was plenty. I also made sure that I had enough surplus to cover any mistakes.
Click to buy your own…


(Affiliate links which help support this website)
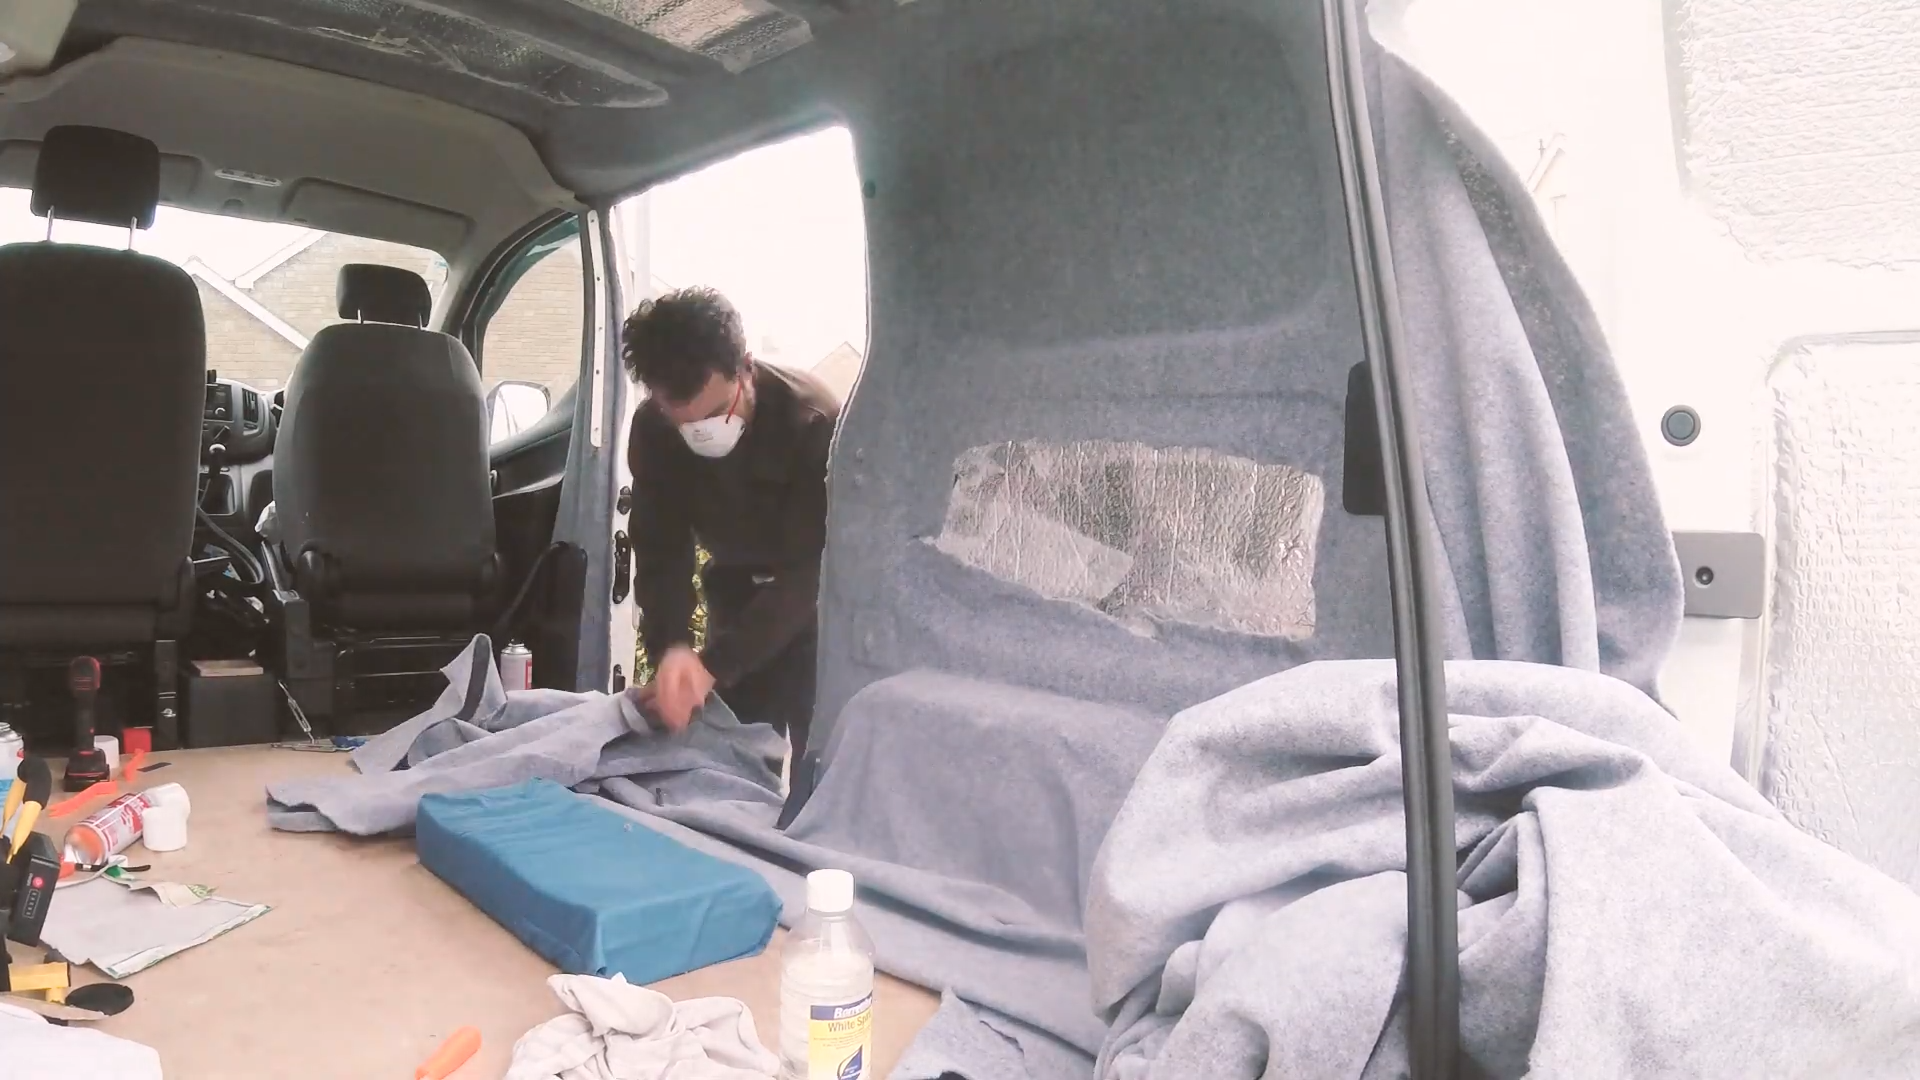
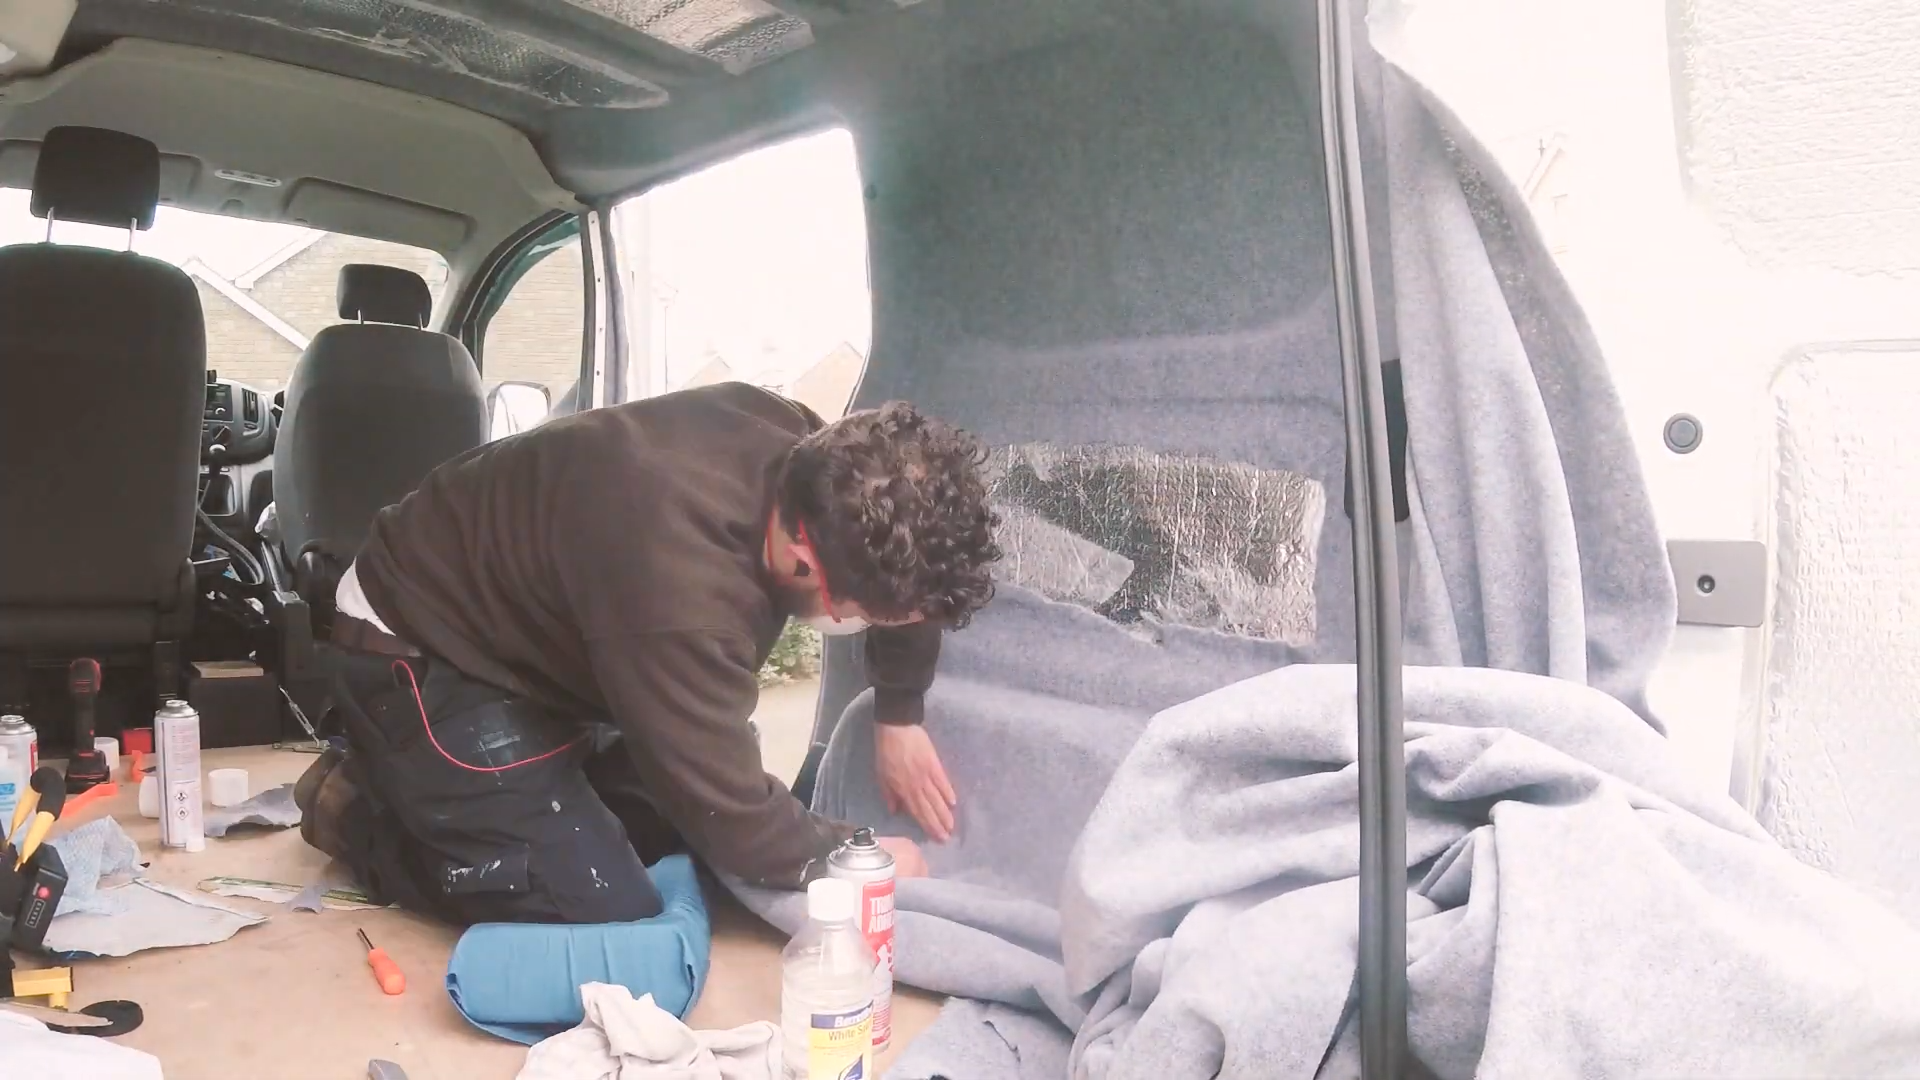
Sticking the carpet down
It was quite tricky working with such a large amount of fabric, but once I had worked out my starting point I glued a small section down and worked from there.
I wanted to do the tricky bit around the front and sliding door seatbelt column first, so I wouldn’t find myself short of fabric.

You might notice the blue masking tape on the beams. This was put there because I wanted to join up the new carpet to the existing carpet. The tape kept the existing carpet clean while I sprayed the glue and I could then remove it and place the carpet close to the edge, creating a clean, neat join.
To relieve the stretch on the carpet as I was working, I roughly cut along the edge of the door. I will be using these offcuts to carpet the doors in a later video
I’m using Trim fix high temperature contact adhesive to stick the carpet to the van walls and used approximately one can per metre length of carpet. When sprayed on both the carpet and metal, then pressed together once the solvent has evaporated, it creates a really good bond. The glue tends to spray all over the place, but I found that white spirit removes any excess really well, especially if applied immediately after the spillage.
It’s also worth mentioning that sharp knife blades will make so much difference – I ended up changing the blade a few times throughout the day.
I left the lower panel without any glue behind the carpet, as I would be replacing the black panel I had previously removed. Behind the panel is recycled plastic bottle loft insulation, so it needed something hard in front of it to protect it, which the black panel is designed to do. I cut this loose fabric away as I worked to relieve the stretch on other areas.
We’re also on Instagram!
Check out yogi.the.van to keep up-to-date with all our adventures in the van!


Wheel arches
Carpeting the wheel arches was a difficult area for me. Having watched a number of other videos on how to do this, I was surprised to find that I had too much carpet, so I had to make some precision cuts and conceal some joins to remove this excess.
That said, the 4-way-stretch carpet covers a lot of errors and with patience can be worked around really well.
Having finished carpeting the wall, I cut away the excess, leaving a couple of inches that will eventually tuck away until the ply floor for a neat finish.
Door edges and seals
I then went round the van and trimmed the carpet edges at the doors. I left about 1cm of carpet overhanging the door frame, which could be glued and then folded round the door edges. I could then replace the rubber seal back onto the door edge for a really nice finish.

Next, I started to place some of the trim back in place, such as the bolt covers. I cut a whole in the carpet to expose the head of the bolt, and pushed the caps to fit on. I felt it gave a much neater look that having bulges in the carpet.
I continued working my way around the van, finishing the edges, and removing fixtures and caps.
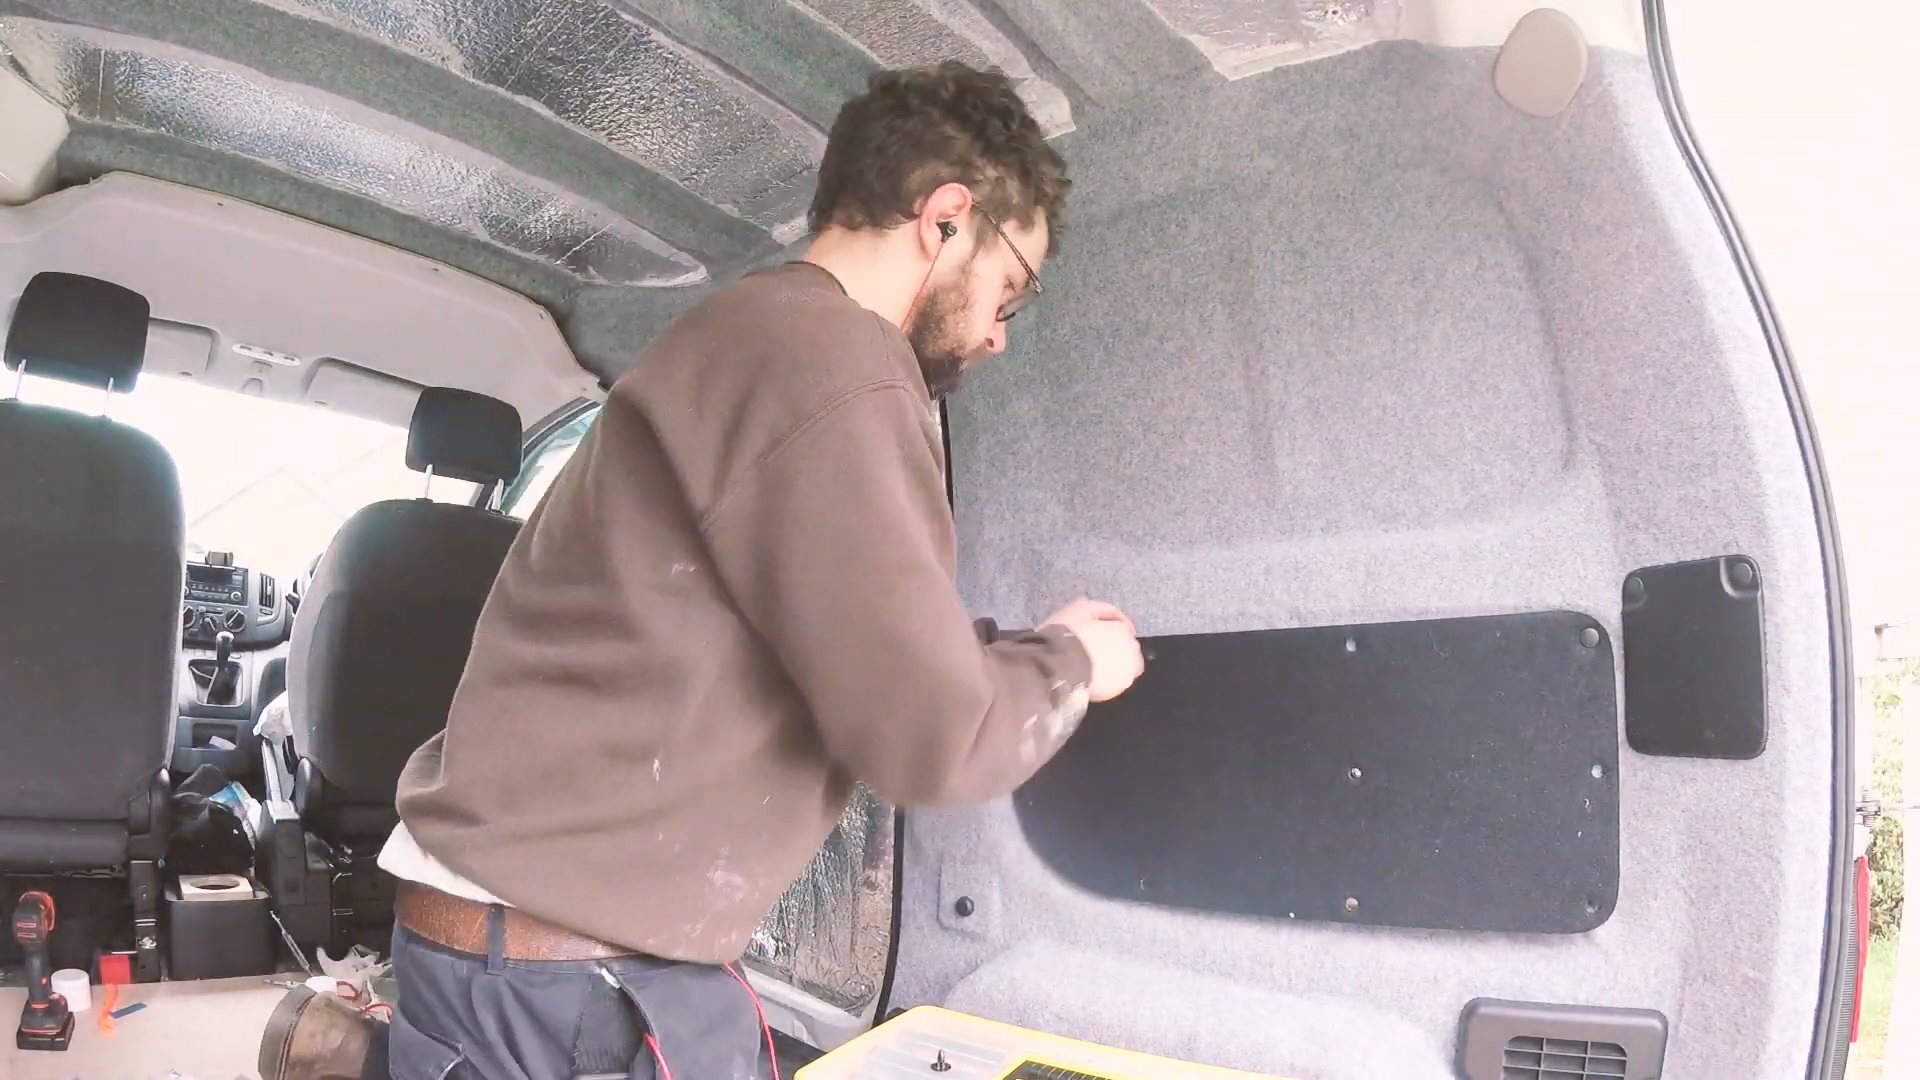
Replacing the panel
Finally, I replaced the black side panel, which provides a really nice tonal contrast with the mid-grey of the carpet.
After a good few hours carpeting, I finished for the day and could come back and continue the other side at a later date.
Carpeting the other side
Tackling the other side of the van proved to be a bit easier, as I now knew what to expect; how the carpet would wrap round the contours of the van and where tactical cuts would have to me made to remove excess carpet.
I had removed all of the fixings and the seatbelt, and had also cleaned the van the night before, so I was ready to start with the carpeting in the morning.
I did pretty much the same routine as the first side, however it was a much quicker process as I knew my starting point and how much material needed to overlap the edge of the front door.

The only thing I did differently was that I didn’t cut out the section of loose carpet over which the black wall panel sits, the reason being that when I did this on the first side I nearly cut too much off, but also because I was able to work the carpet around better so as not to create too much tension in other areas. Cutting this on the first side helped relieve that tension.

That said, it was still a challenge and it got tricky around the seatbelt again, but with patience and time I was able to get the carpet glued down even better than before.

Doing the first side of the van took approximately 4 hours, however this second side only took about 3 hours, as I had a much better idea of what I was doing
Once the carpet was down, I added all the fixings back and cleaned up any glue overspill.

Carpeting the door beam
The final part of the carpeting process was to glue a rectangular strip over the beam by the rear doors. This was a simple process of removing the overhead light and the two rear door closing mechanisms.
Once these were off, gluing the carpet down involved sticking the centre part doing and working outwards. When I met the edges of the carpet from both sides of the van, I made a neat cut to conceal the carpet join. Whilst it is slightly noticeable, it’s not particularly visible and any excess glue can be cleaned up easily with white spirit. With that section done, I was finished with the carpeting for now.
Finishing touches
If you’re wondering why I haven’t carpeted the doors yet, I’ll be covering this in my next blog/video, where I’ll take a more in-depth look at creating neatly edged doors with rubber trim.
Thanks for checking out my efforts at carpeting my Nissan NV200. I hope seeing how I did it was useful.

If you want to see more of my camper van build in action, please CLICK HERE.
Click to buy your own…
(Affiliate links which help support this website)

One response to “Carpeting My Nissan NV200 Panel Van”
[…] can be seen as a kind-of-part-2 to my previous post/video, which was all about carpeting the interior of my Nissan NV200 […]
LikeLike