
This article is a written account of a video from the Lens Of James YouTube channel. Watch the video above and subscribe if you like what you see!
This article contains affiliate links to relevant products I have used in my videos. By buying through these links, I receive a small percentage of the sale at no cost to you which helps me support and grow my website and YouTube channel, so I can create more content like this in the future. Thank you for your support.
Insulating the interior of a van is, perhaps, not the most exciting of tasks during a van build, but it must be done, and done correctly!
For my NV200, as I won’t be living in it and only using it as a camper for approximately 30 nights a year, my priority was space. I could have clad the van, roof to floor, in thick insulation board and there would be nothing wrong with that from a warmth point of view, however I didn’t want to sacrifice valuable wall, floor and ceiling space with bulky insulation.
After space, my next insulation consideration was, of course, condensation. Having spent quite a few nights in the van without proper insulation, I knew that nearly every metal surface is dripping wet by morning. With a layer of insulation however, I could potentially eliminate this and make my camping experiences a little, well, drier!
So with that in mind, I set about turning this empty, hollow white shell into a well insulated space, hopefully worthy of a small camper van, but that would look more like a spaceship by the time I was finished!
Clearing out the van
The first step was to empty the van. As mentioned, I have already used the van as a (very basic) camper, and had built a bed, so there were lots of things to remove. Some will be re-installed further on in the build, while some – like the plywood panels on the walls – won’t be coming back.

Gluing down insulation
Once the van was empty, I started gluing down the original insulation I had taped on and around the wheel arches. This was actually my first time using Trimfix contact adhesive and with hindsight I probably could have done a better job.
There were holes in the metal made by the plywood wheel arch covers, which were screwed directly into the van body, so I painted these with metal primer and filled them with epoxy to stop any rust or water ingress. (There will be more on that process later on.)
Click to buy your own…


(Affiliate links which help support this website)
Filling cavities with insulation
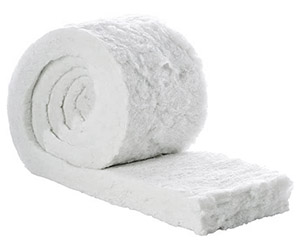
My main insulator for the van is this Diall recycled plastic bottle loft insulation from B&Q.

I used 2 packs for the whole of the van, along with 2 rolls of Thermawrap foil bubblewrap insulation.
I started at the back of the van by removing the pillar caps.
The insulation is relatively easy to cut with a sharp pair of scissors, but it is a bit time consuming.
Stuffing it up and down inside the pillar I was able to reach most areas and could then replace the cap and move onto the next section.

Van Preparation
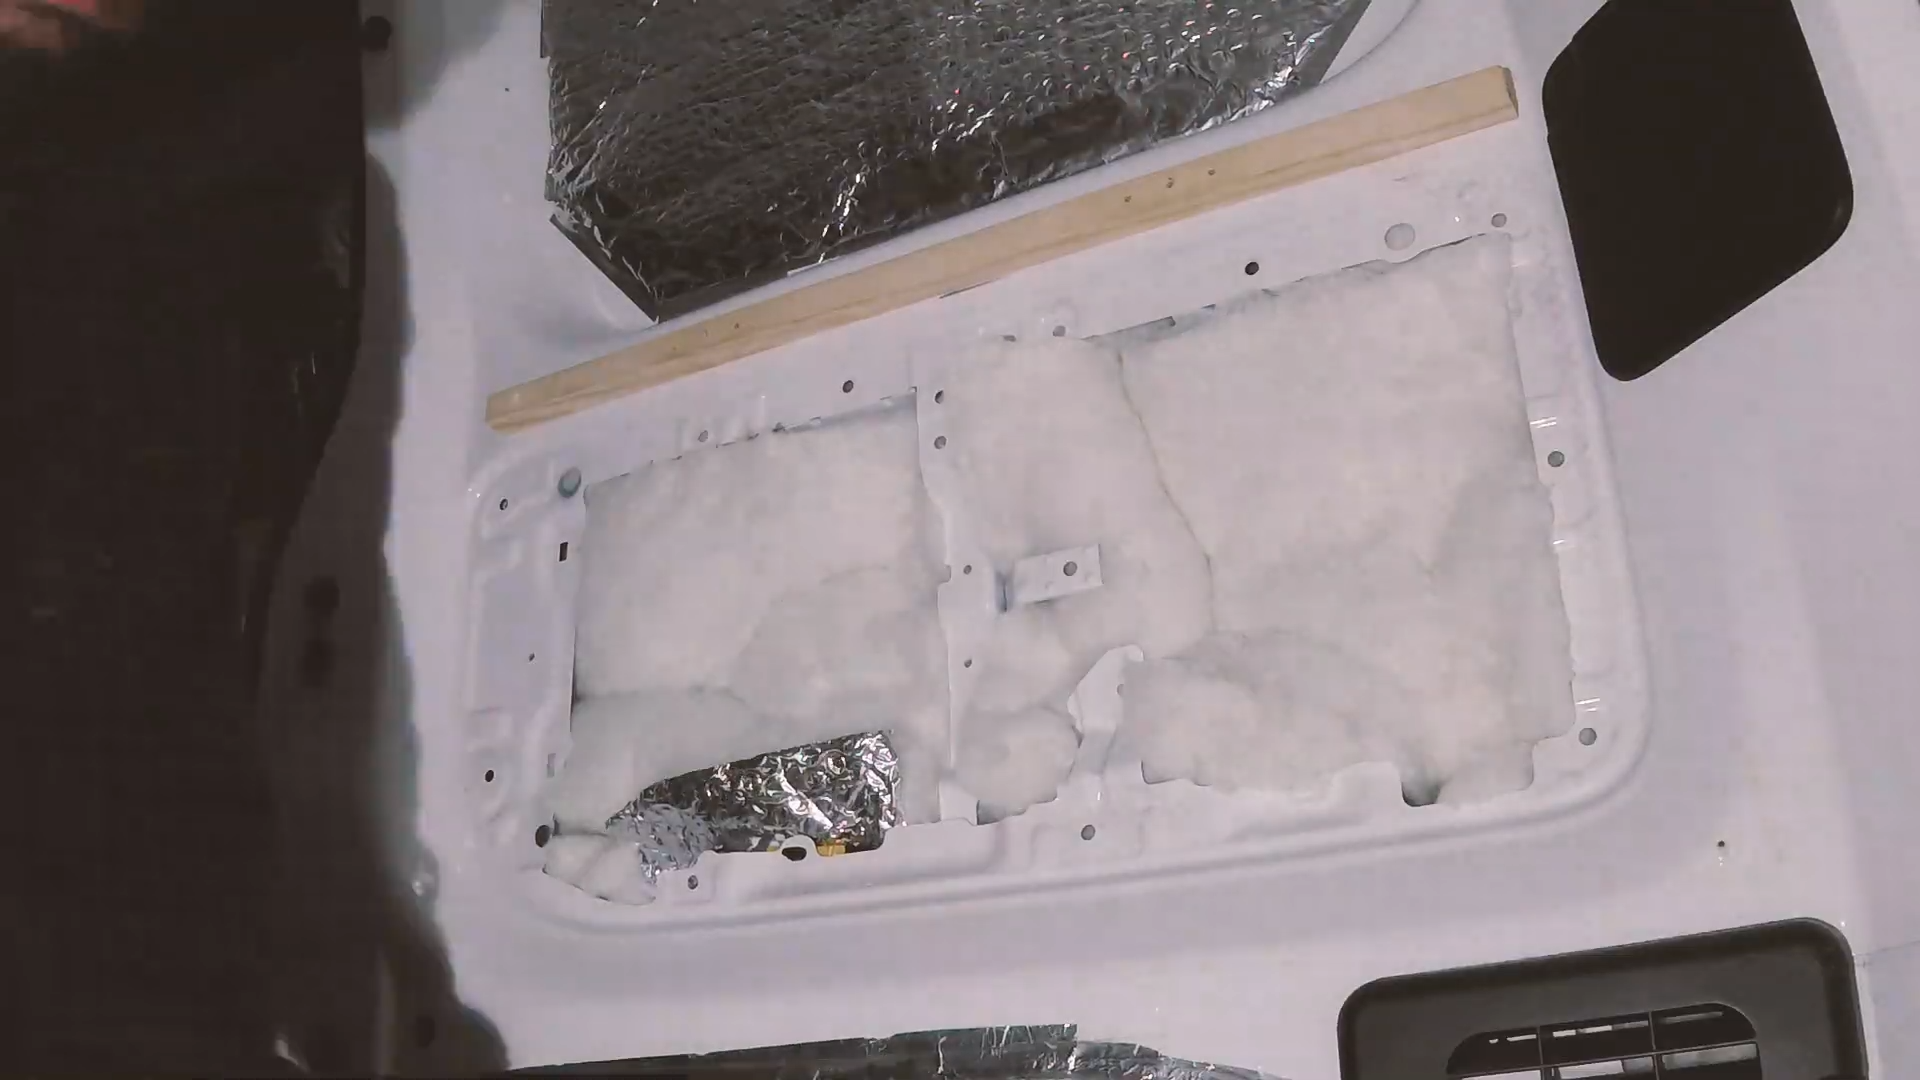
After completing the back section, I went around and did some prep work on the rest of the van. I started by priming any holes created by the wood panels which came installed in the van and were screwed directly into the van’s metal body. Painting them will prevent any rust in the future.
After a couple of coats of primer, I mixed some epoxy and started filling the holes to seal them up.
As the holes were small, I used a syringe to get better accuracy. It was a good solution and worked much better than smearing epoxy everywhere. Eventually the inside of the van will be carpeted and sealing these holes means I shouldn’t have any problems from them in the future.

We’re also on Instagram!
Check out yogi.the.van to keep up-to-date with all our adventures in the van!


Removing the panels
I continued by removing the 6 black wall and door panels that run round the middle of the van. These are all clipped in with about 70 panel trim clips and once removed allowed me access to the many cavities in the doors and walls of the van. I will be saving these panels and re-installing them once the van is carpeted.

I featured this problem in my previous blog post, but I noticed that water and dirt had been getting in through the bottom of the door left and right side door handles. It looked like an intentional thing that Nissan had planned for, as there were small drainage holes in the bottom of the door, but I needed to sort this out as I didn’t want my insulation getting wet every time it rained.
First I cleaned up the door and then I set about sealing the door with a sealant. I did this to both sides and then started on the insulation. It was quite a messy process as it was very difficult to access, however it is well coated and should stop and water ingress.
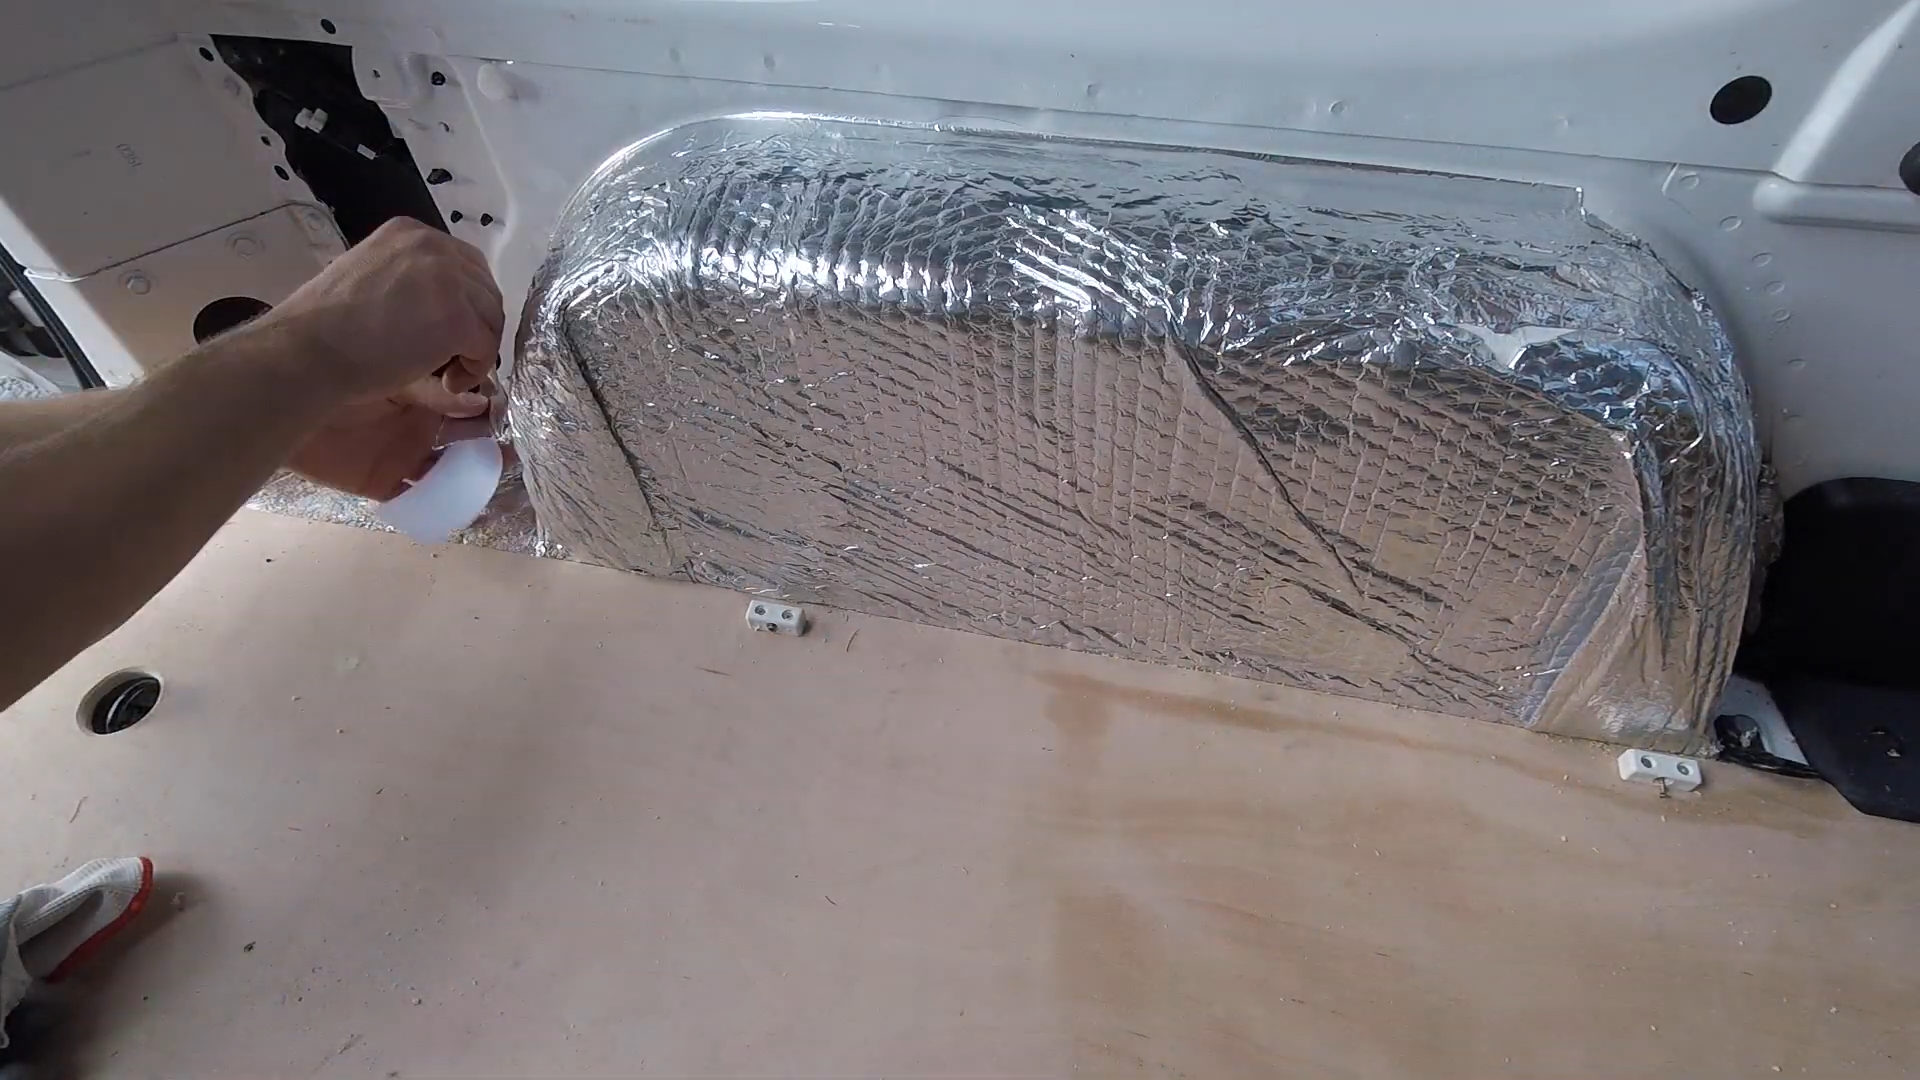
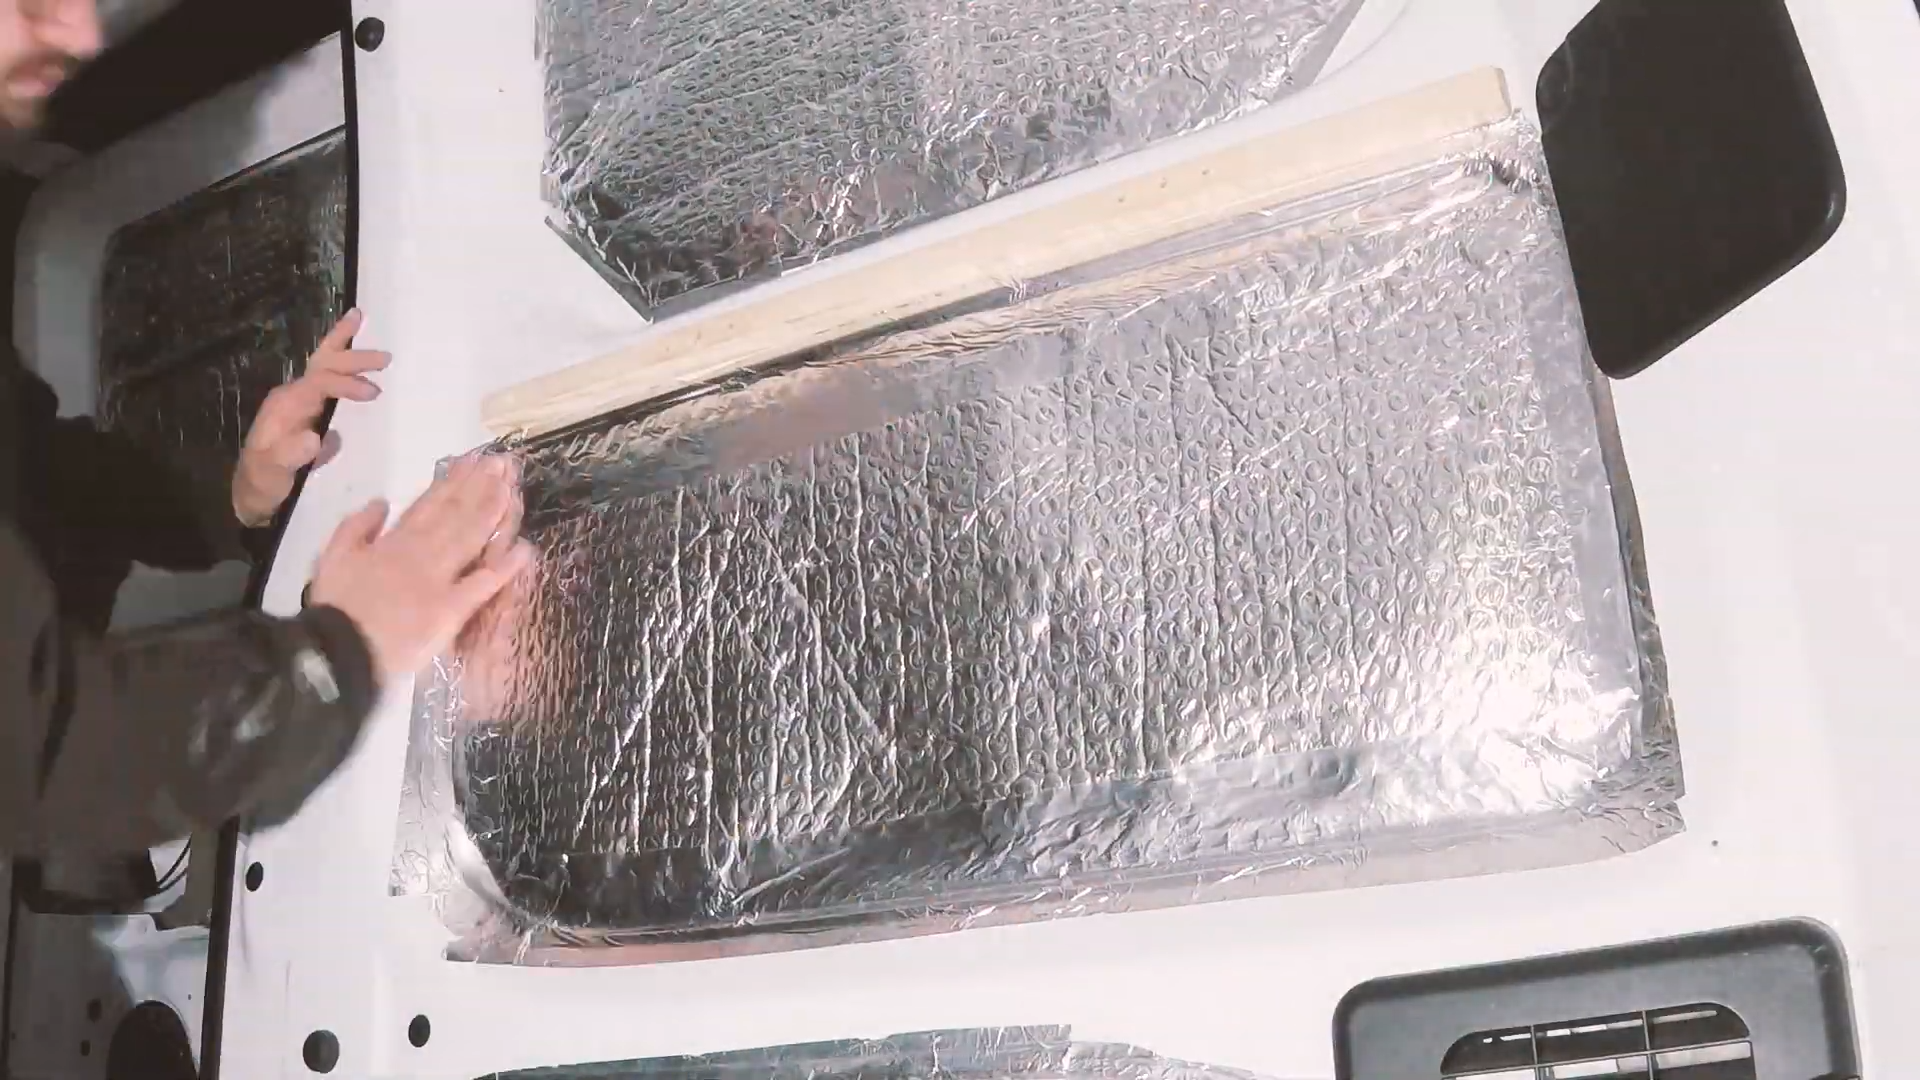
Insulating behind the panels
I used the same process for insulating all of the panel cavities in the van. First, I would glue Thermawrap foil insulation directly onto the metal, to hopefully avoid any condensation. Next, I would cut and lay loft insulation into all the cavities and finally I would seal the whole panel up with a large piece of Thermawrap and some foil tape.

Click to buy your own…
(Affiliate links which help support this website)
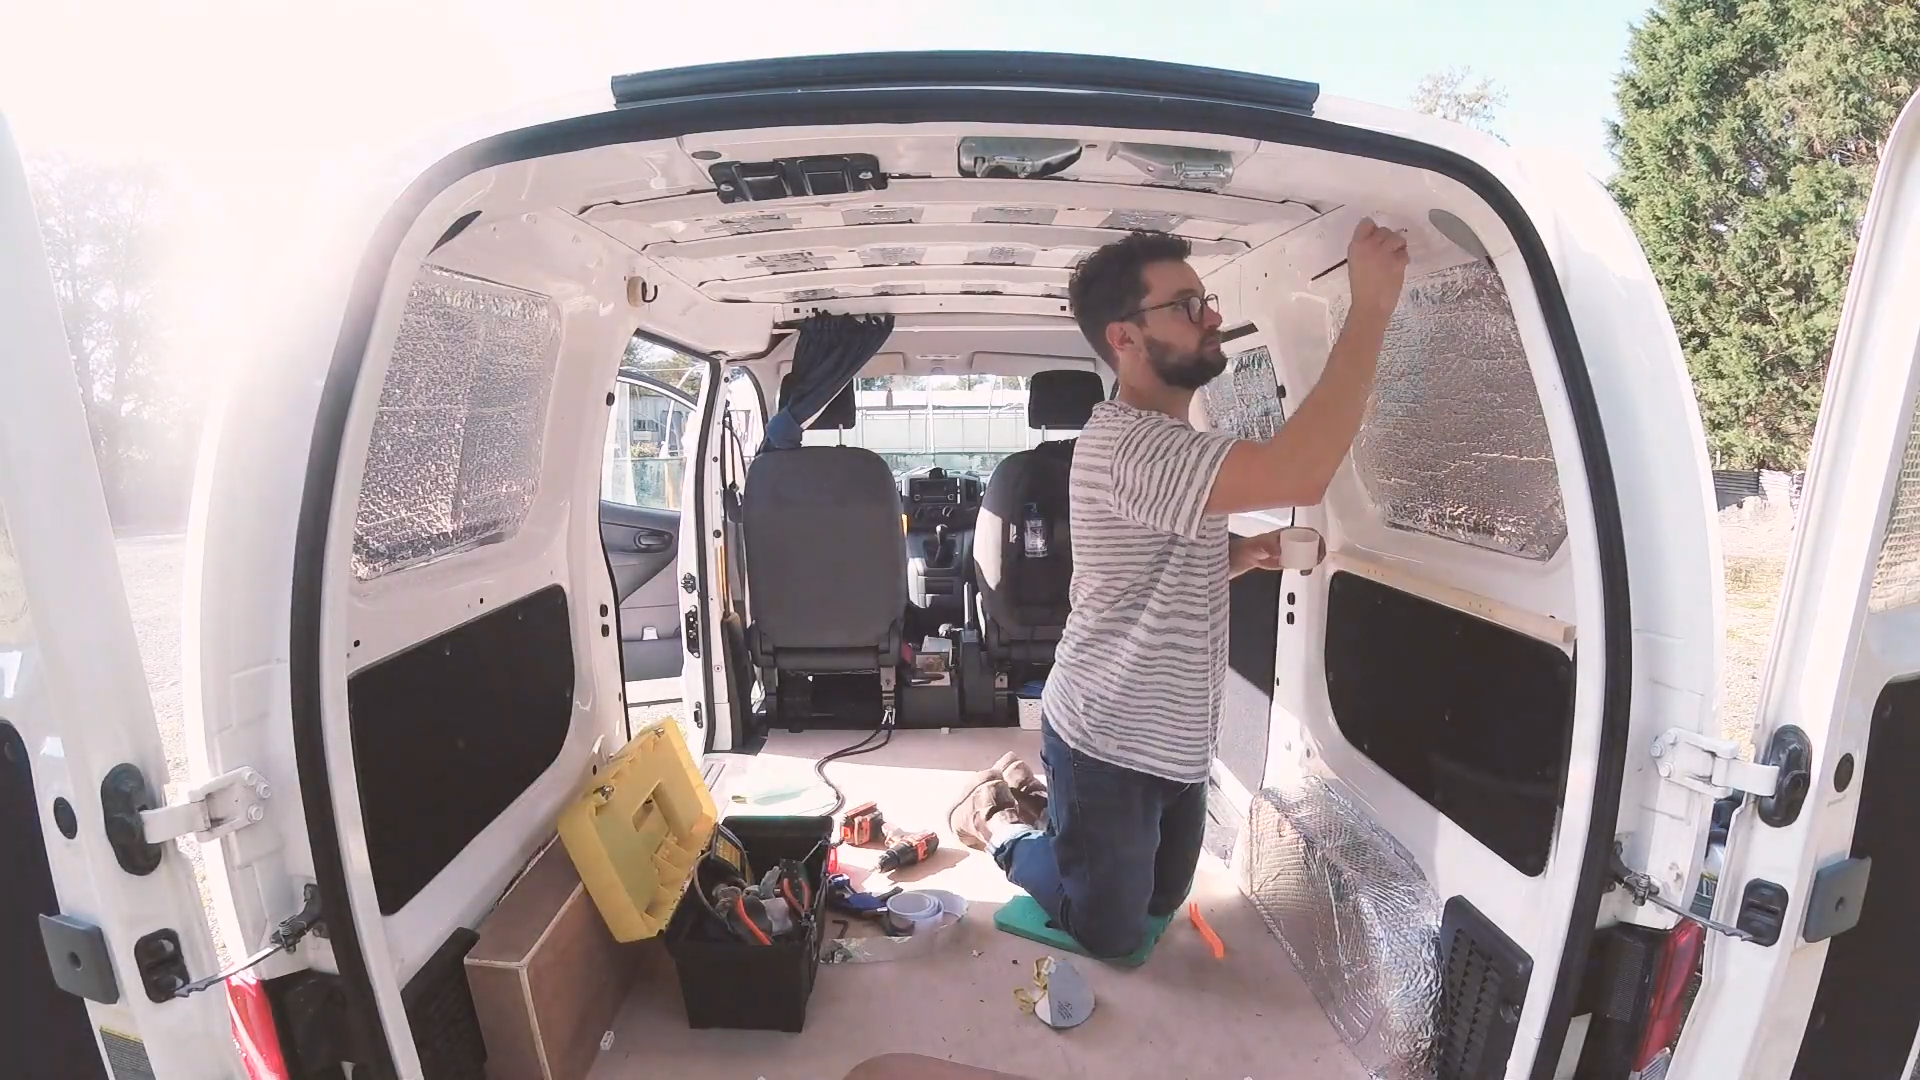
The ceiling
I also have a detailed post on insulating, carpeting and lining my van ceiling, but I thought I would include the highlights here: I used the same process of gluing Thermawrap to the bare metal and then sealing the edges with foil tape!

Insulating the walls
The higher parts of the van walls are single sheets of metal without any cavities behind them. This means that they pick up condensation really easily, which I had noticed every time I had slept in the van and even on cold mornings, so I glued foil insulation onto these bits too.
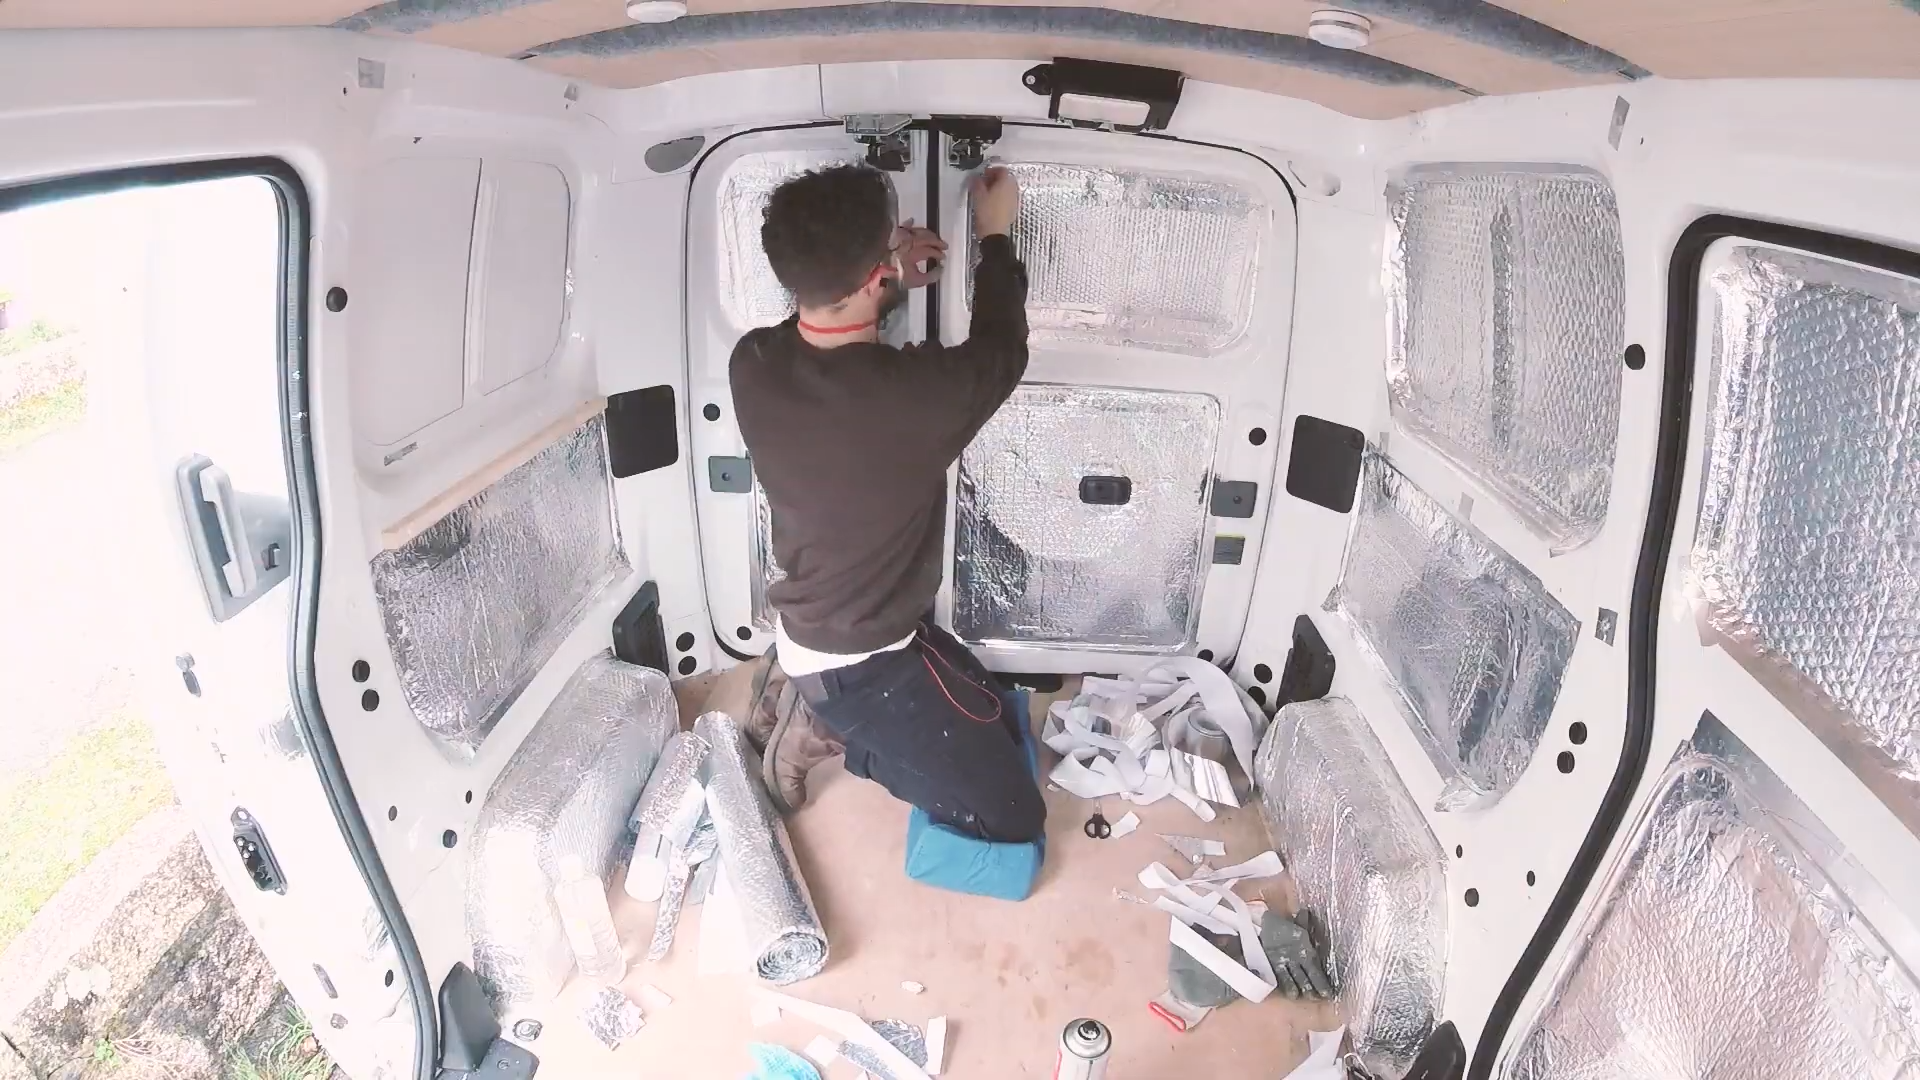
Finally, I was left with a very silver interior to my van, but once it is all carpeted over it should be a very comfortable, warm place to sleep in.

If you want to see more of my camper van build in action, please CLICK HERE.


(Affiliate links which help support this website)

3 responses to “Insulating My Small Camper Van”
[…] Next, I cut a large piece of foil insulation to the size of the panel and taped it in place, replacing the plastic sheet that was there previously. After the U-brackets went back on I was finished and ready for the next step in my van build – insulating the entire van! […]
LikeLike
how many cans of spray glue did you go through
LikeLike
I think it was roughly 2 for insulating and 6 for carpeting. I used high temperature stuff: https://amzn.to/4cmNvrp (affiliate link) which has held up very well with time.
LikeLike