
This article is a written account of a video from the Lens Of James YouTube channel. Watch the video above and subscribe if you like what you see!
This article contains affiliate links to relevant products I have used in my videos. By buying through these links, I receive a small percentage of the sale at no cost to you which helps me support and grow my website and YouTube channel, so I can create more content like this in the future. Thank you for your support.
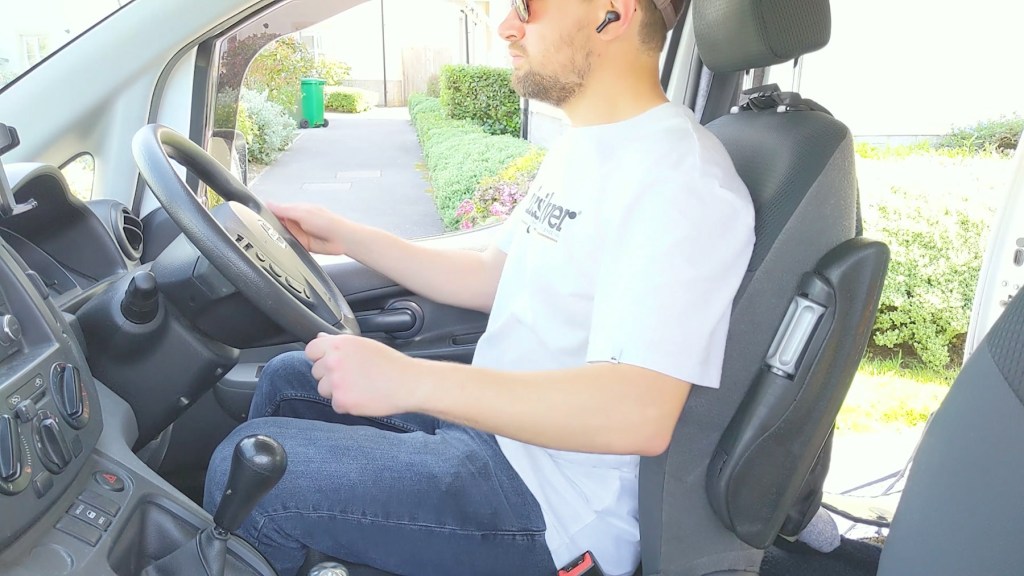
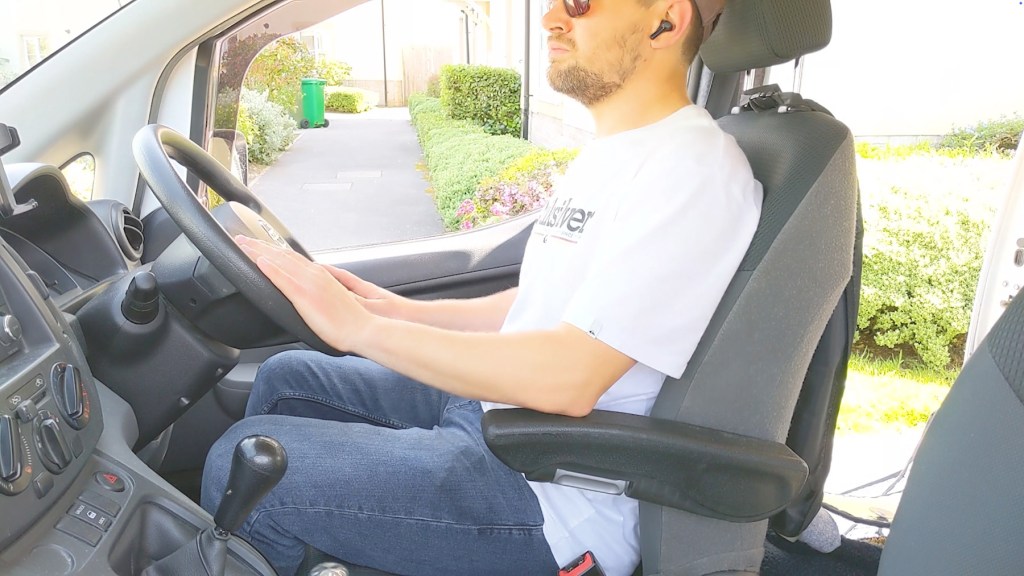
Adding an armrest to your vehicle can significantly enhance comfort, especially on long drives. A while ago, I installed a fold-down armrest on the driver’s seat of my van, and it completely transformed my driving experience. Now, I’ve decided to do the same for the passenger seat, and this time, I’ll show you how to install an armrest in your vehicle step by step. This guide is perfect for anyone looking to perform a DIY armrest installation or tackle car interior repair and upgrades.
What’s in the Box?
When you purchase a universal car armrest, the kit usually includes:
- The armrest itself
- A mounting point
- A bag of fixings
It’s important to select the correct car armrest replacement for your vehicle and ensure you have the proper mounting point for either the right or left side. I’ve provided affiliate links to the armrest I used through the article, which worked perfectly for my Nissan NV200 and will with many other vehicles.

Preparing for Installation
Before starting the vehicle armrest installation, I needed to move my van’s bed to access the back of the passenger seat. This was straightforward because my van build furniture is removable. In most vehicles, you may only need to adjust nearby items or seat positions.
Click to buy your own…


(Affiliate links which help support this blog)
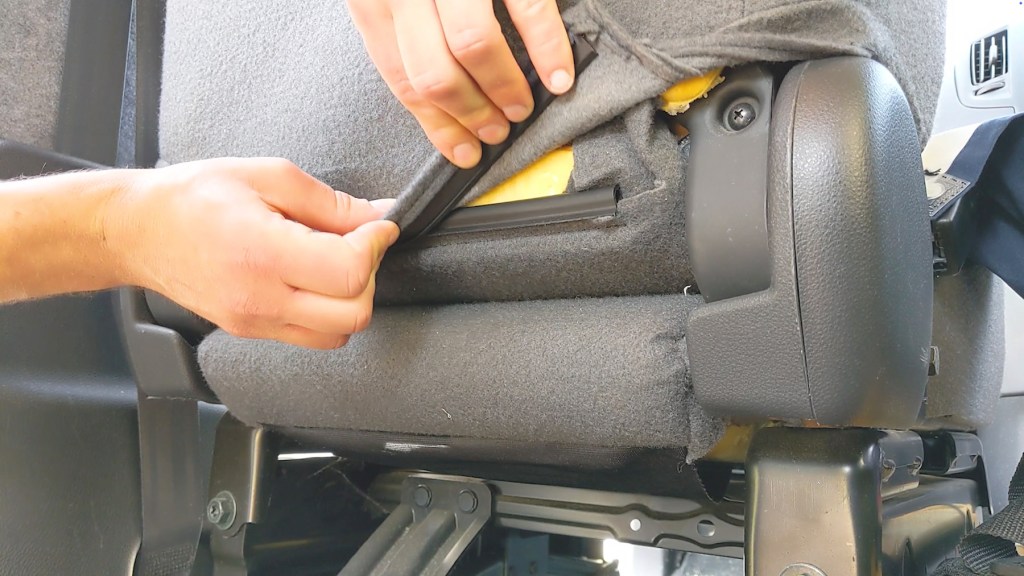
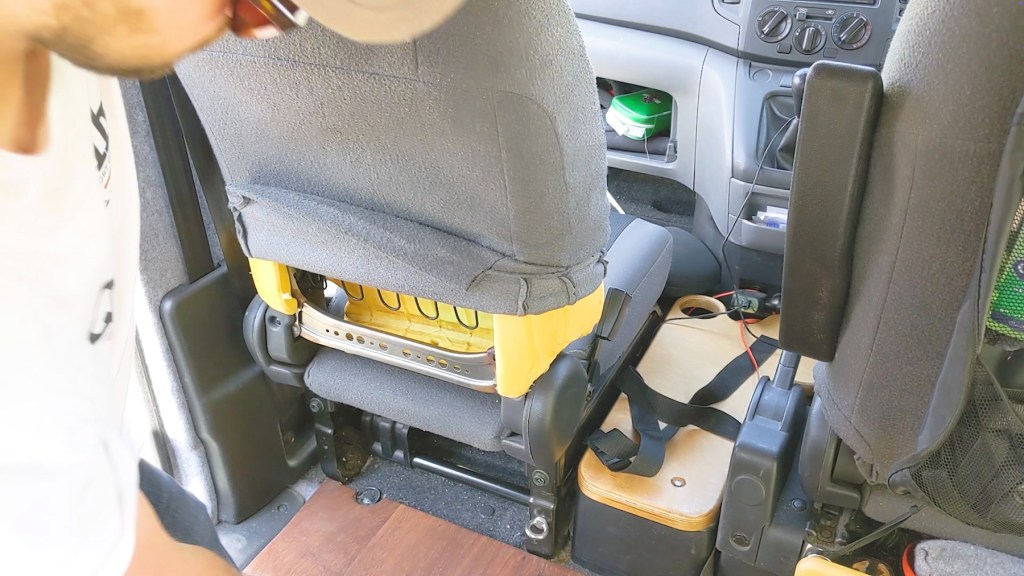
My seat didn’t have any obvious access points like zippers to remove the fabric cover. However, at the bottom of the seat, there’s usually a plastic attachment that can be separated. I also removed two clips connected to the seat’s metal frame, which allowed me to peel back the fabric and access the foam and frame underneath.


Finding the Correct Mounting Holes
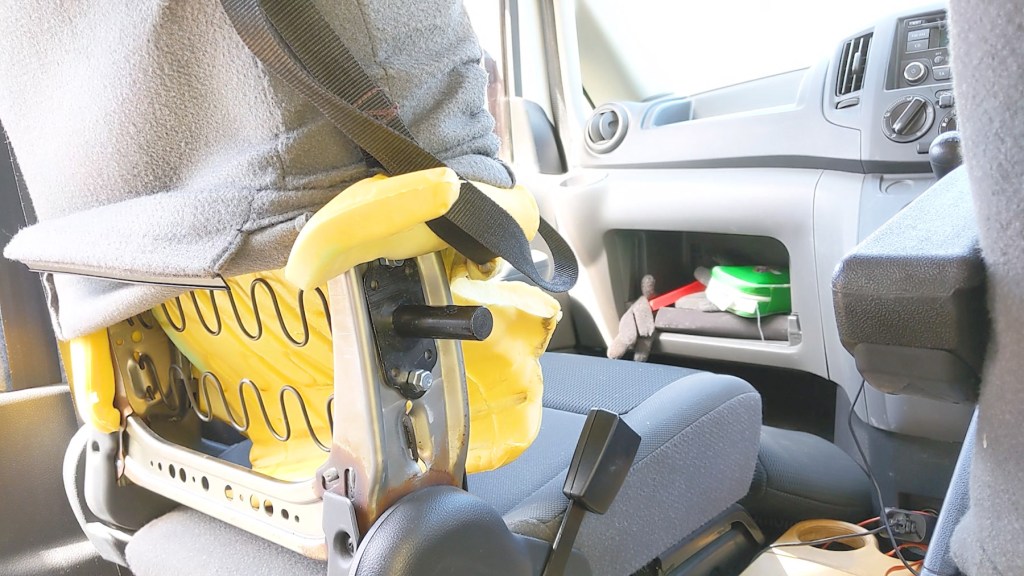
On the Nissan NV200, you need to attach the mounting point to the lower two holes in the seat frame. These holes have a wavy metal piece between them. Choosing the wrong holes can result in a poorly positioned armrest, leaving you driving with your shoulders hunched.
When you’re shopping for an armrest, ensure the mounting point is compatible with your vehicle by inspecting the seat beforehand. This will save you time and frustration during the armrest installation process.

Step-by-Step Installation
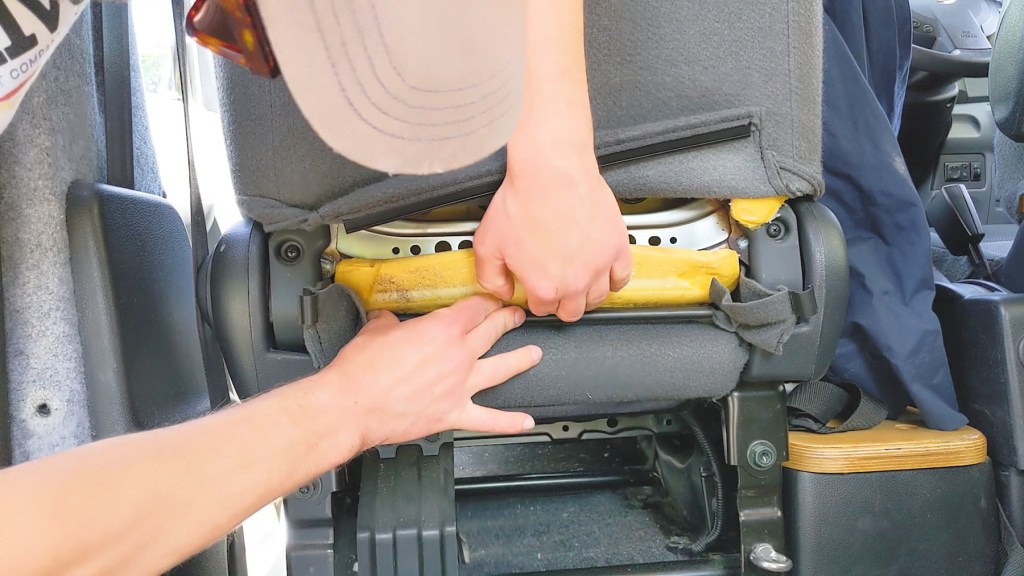
With the fabric pulled back, I found the foam of the seat was physically attached to the chair. This limited how much I could move it, so I used a ratchet strap to hold the foam and fabric out of the way.
Next, I attached the armrest mounting point to the correct holes in the seat frame using the standard bolts included in the kit. However, the holes in the mount were slightly too large for the bolt heads to sit flat. Since I didn’t have washers on hand, I improvised by screwing an extra nut onto each bolt, allowing them to sit securely.

Click to buy your own…
(Affiliate links which help support this blog)
Using a 12mm hex socket, I tightened the bolts and ensured the mounting point was secure. Pulling the foam back down, I cut a hole for the mount to fit through. Don’t worry about being too precise here, as the outer fabric will cover everything.
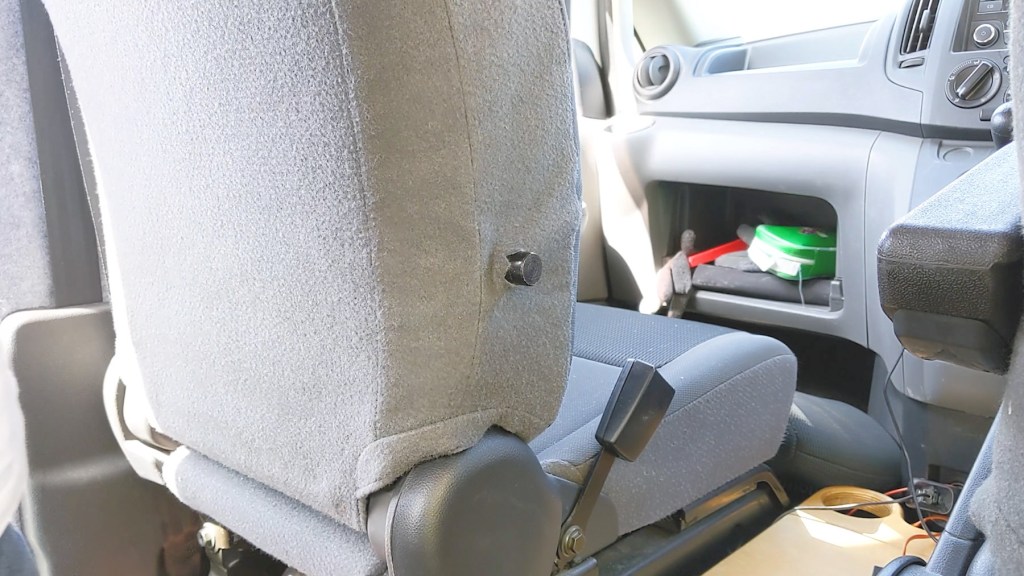
When refitting the fabric, avoid cutting the hole for the mount prematurely. Wait until the seat cover is completely back in place, or you might end up with a misplaced hole. Once the fabric was fitted, I cut an X over the mount opening to allow the metal to poke through.
We’re also on Instagram!
Check out yogi.the.van to keep up-to-date with all our adventures in the van!


Attaching the Armrest
With the mounting point exposed, it was time to attach the armrest. Using the ratchet strap again, I adjusted the armrest into the correct position on the mount. The process required some finesse, as aligning the bolt and thread at the right angle can be tricky.
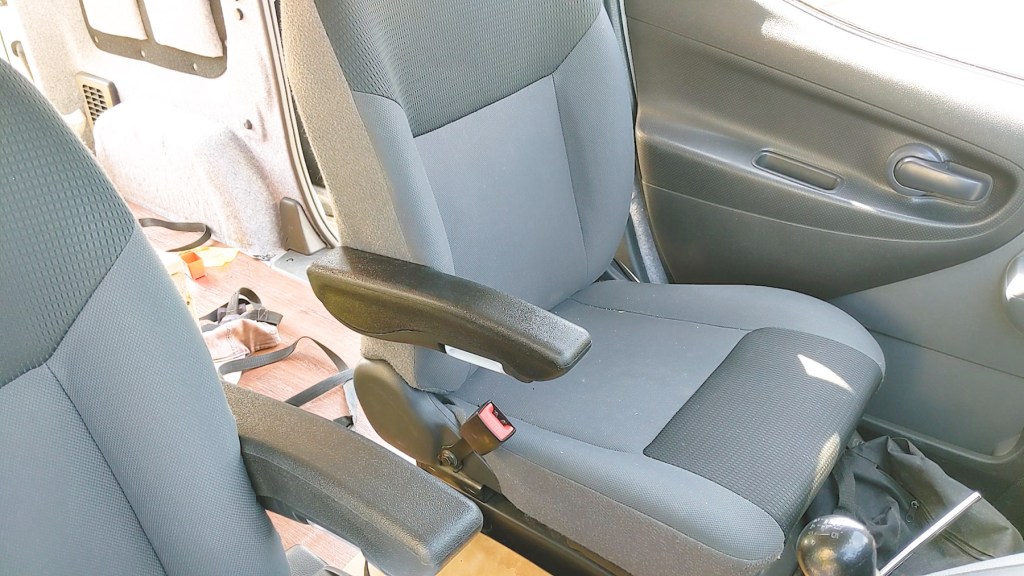

Once aligned, I used a hex key to tighten the armrest securely. After releasing the strap, I adjusted the armrest’s position and tested its ergonomic benefits. The final touch was fitting the plastic cap over the mounting point, giving the installation a clean, finished look.
Click to buy your own…
(Affiliate links which help support this blog)
Final Thoughts
Reassembling the van’s interior, I found that some of the extra fixings in the kit weren’t necessary for this particular vehicle. Since it’s a universal car armrest, these additional parts are likely intended for other makes and models.


This car interior comfort upgrade has made a noticeable difference, providing a more relaxing experience for passengers. If you’re considering a similar project, remember to:
- Choose the right armrest for your vehicle.
- Verify the compatibility of the mounting point.
- Take your time to ensure proper alignment and fit.
By following these steps, you can achieve a professional-quality installation without the expense of hiring someone else.
Click to buy your own…
(Affiliate links which help support this blog)
