
This article is a written account of a video from the Lens Of James YouTube channel. Watch the video above and subscribe if you like what you see!
This article contains affiliate links to relevant products I have used in my videos. By buying through these links, I receive a small percentage of the sale at no cost to you which helps me support and grow my website and YouTube channel, so I can create more content like this in the future. Thank you for your support.
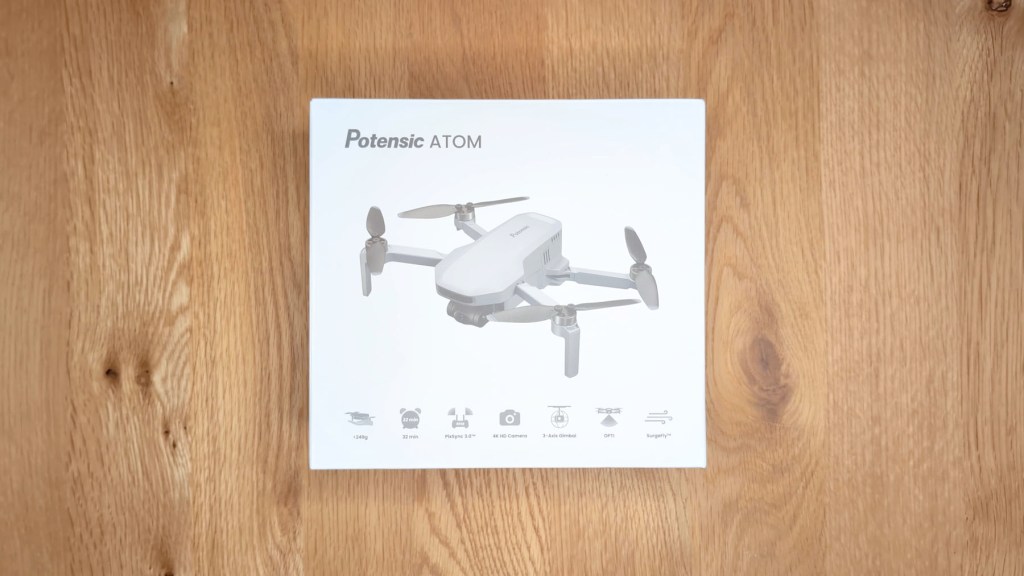
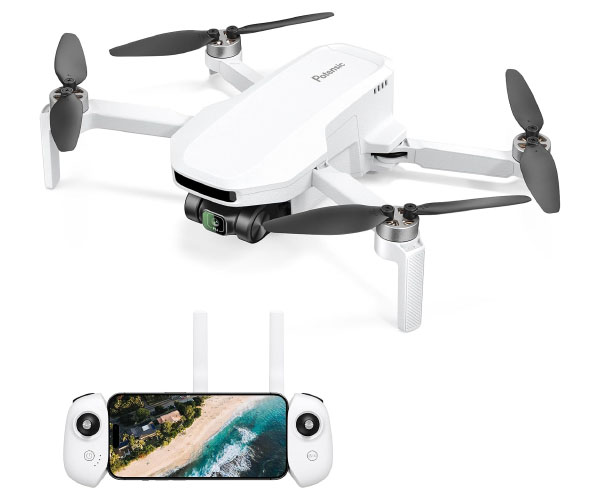
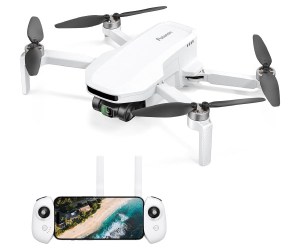
Introducing The Potensic Atom 4k Drone
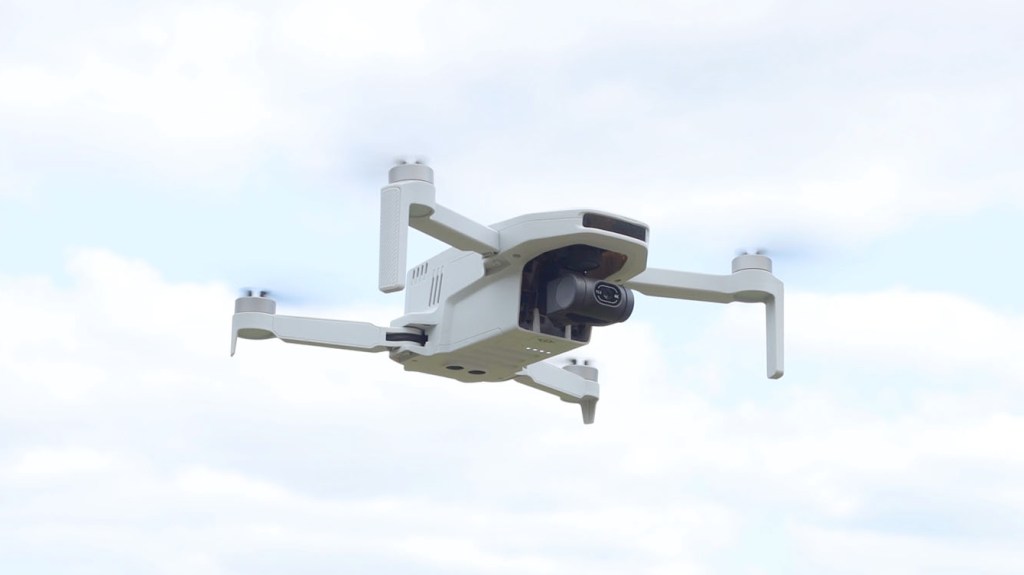
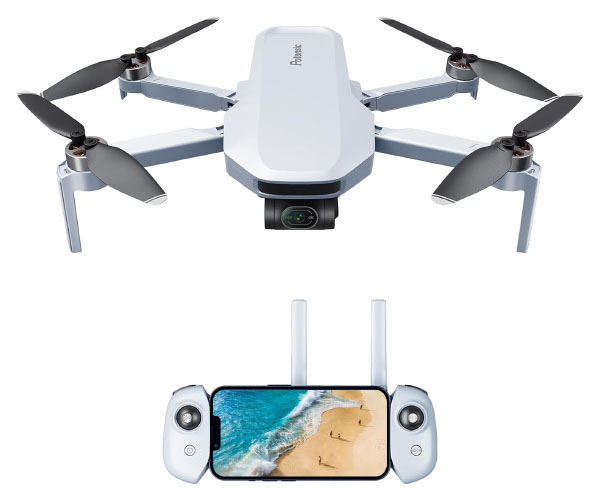
This is the Potensic Atom 4k GPS drone. It films gimbal stabilised 4K footage at 30 frames per second, has subject tracking, up to 32 minutes of flight time, and is a sub-250g drone.
The Atom is at the entry level side of the market, making it the perfect first step into aerial filming photography for beginners, and also for travellers as it’s so compact and light.

It also has 6km video transmission, level 5 wind resistance, which is a maximum of 19 to 24 mph, and also return to home.
One of its big asset is its price you can get the drone and controller for just £229 or $279 at the time of filming, or the Fly More Combo Kit for £314 or $379, which includes extra batteries, a charging hub and accessories, but more on all that a little later.
And before I go any further Potensic kindly sent me the drone to make this video though all the thoughts and opinions are my own.

If you like what you see and are interested in getting one for yourself I’ve got affiliate links to the Atom and other accessories below which help support this channel and make videos like is possible, so do check them out.
Click to buy your own…


(Affiliate links which help support this blog)
Unboxing The Potensic Atom
Let’s get the Atom out of its box and I’ve got the Fly More Combo Kit here.
The standard kit has the drone, controller and one battery, which is more than enough to get you flying, but in my experience with small drones like this one battery doesn’t last long enough. Up first in the box is the document pack which will’ll put to one side for a moment.
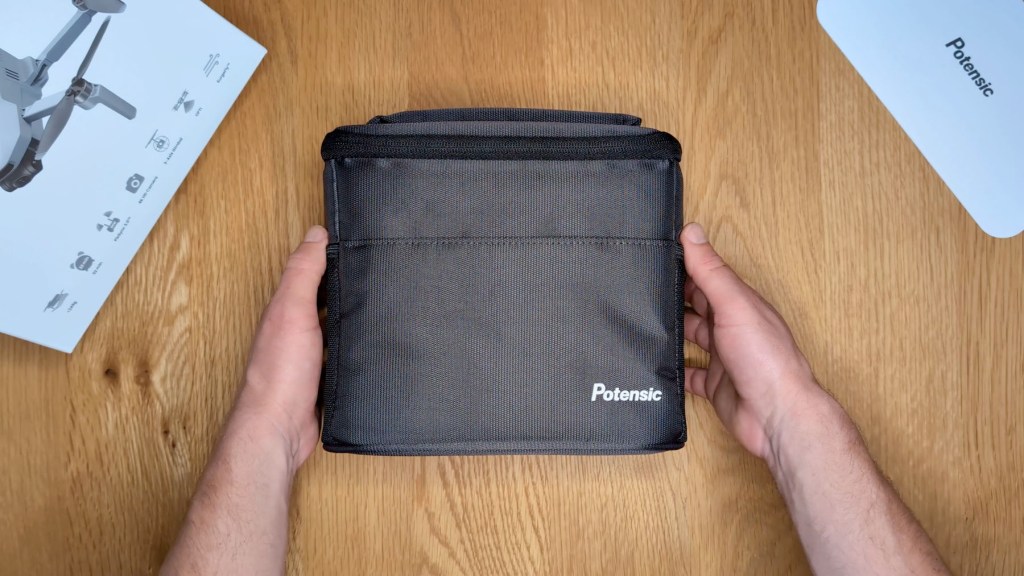
Below the branded card is the Fly More Combo case, which is a very smart bag to house all the gear you need to take the drone around with you in one place and, opening it up, it’s packed to the top.
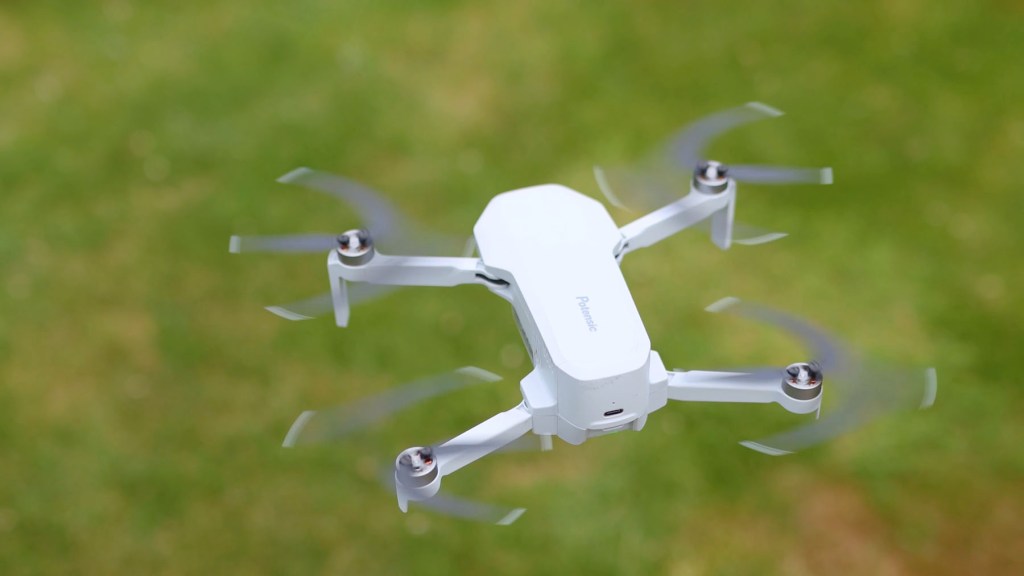
Let’s start with the best bit, the drone, and when folded down its propellers are secured with an elastic strap.
When removed the arms fold out and, once the propeller sleeves are removed, you get an idea of the overall size of the Atom which is just a little bit bigger than my hand and is incredibly light.
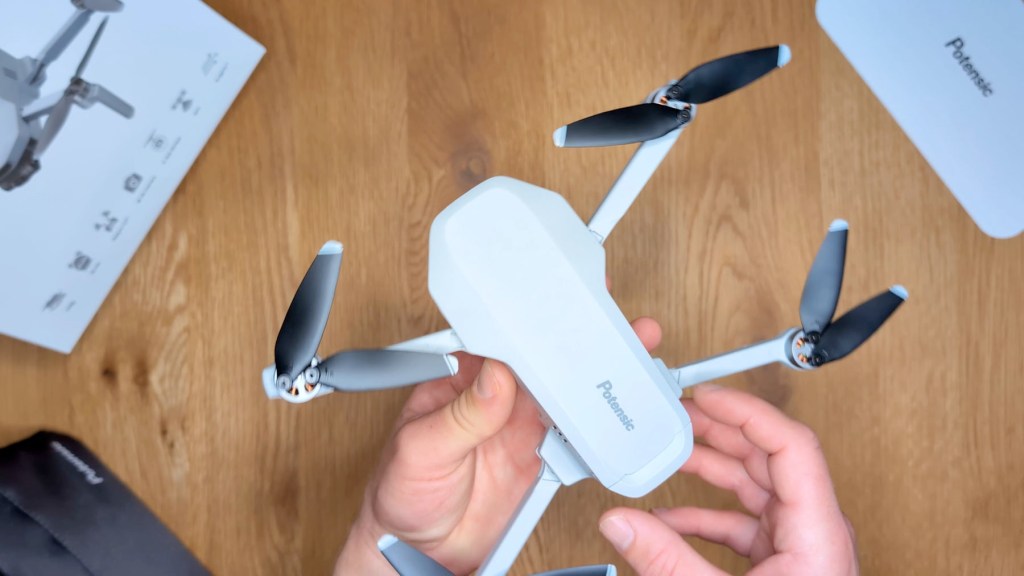
On the front you have the camera and gimbal protected behind a plastic cap and at the back you have the battery and some ports.

The camera is very small and moves freely on the three-axis gimbal whilst the drone isn’t on . You can see that we’ve got a 4k camera with a fixed aperture of f2.2.
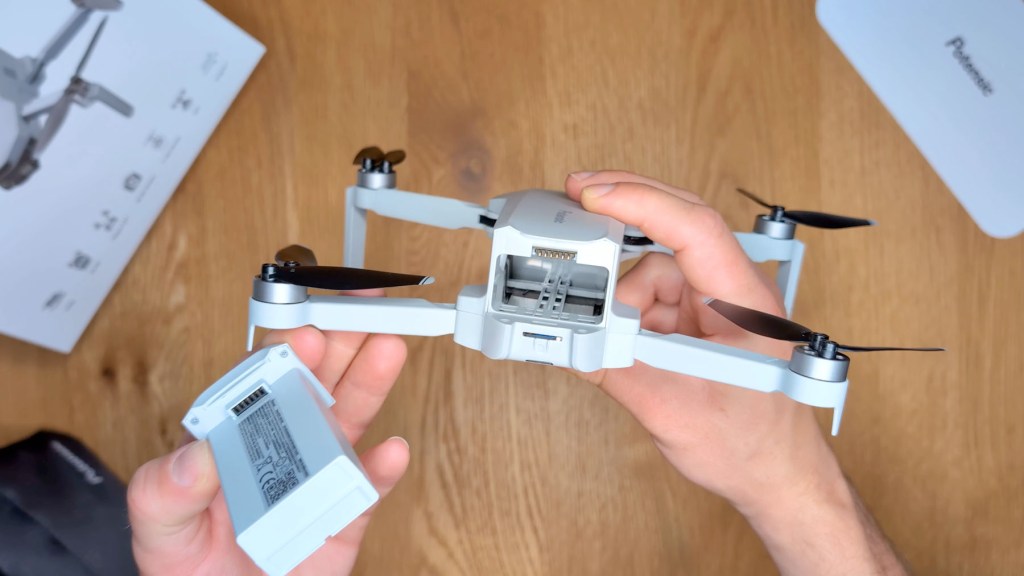
The battery is easily removed thanks to the push clip and is really the bulk of the drone. It has a USB-C port on it, meaning you can remove it from the drone to charge it, and each battery has a capacity of 2,230mAh hours.
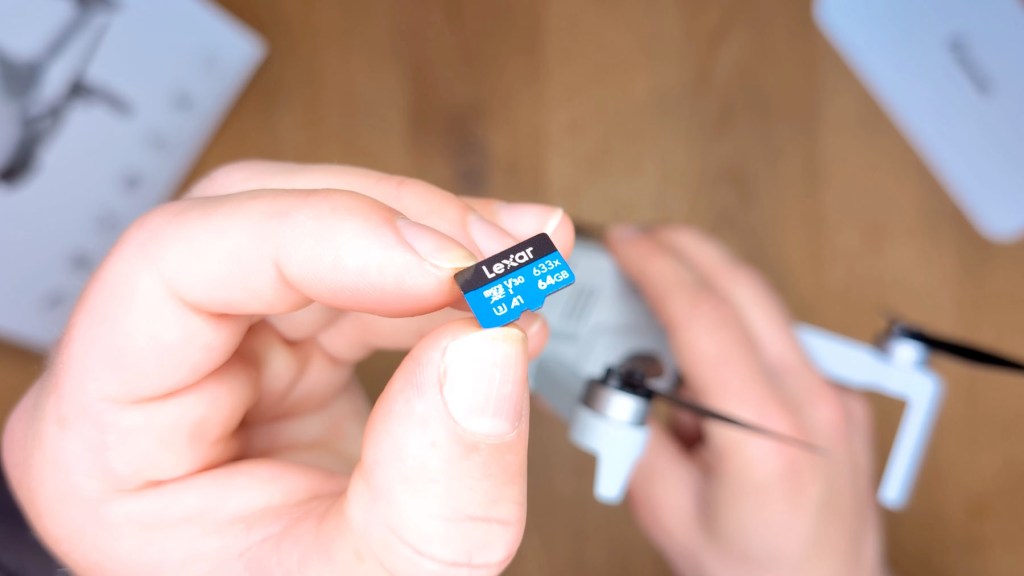
Below that is the micro SD card slot, and the Atom comes with a 64 GB memory card which is plenty big enough for shooting lots of 4K video .
On the bottom of the drone is the power button and battery charge lights, two downward facing sensors and an LED light which changes colour depending on different modes and to indicate warnings. When folded it’s incredibly compact and weighs just 245g.
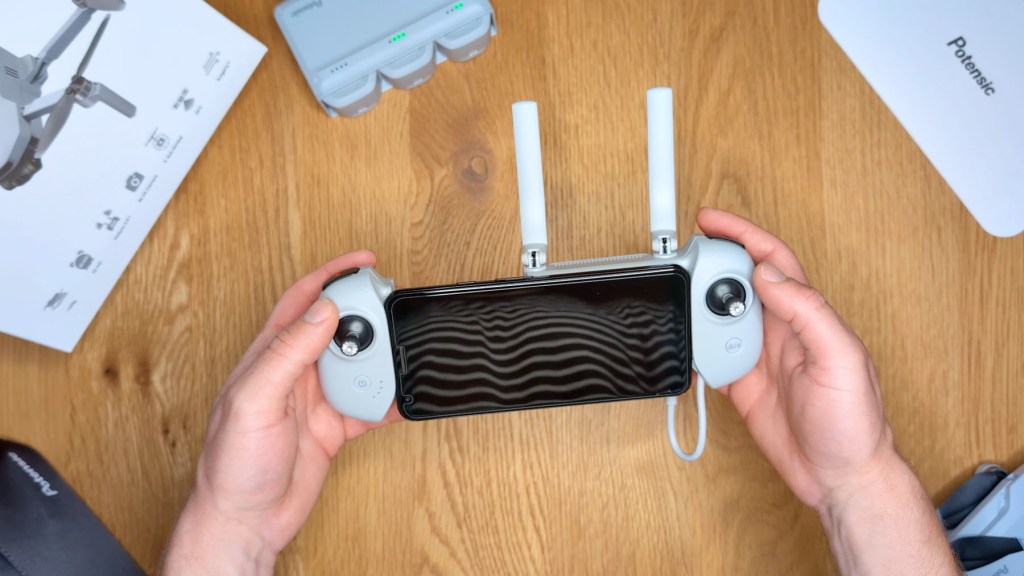
The Potensic controller looks similar to that of a games console and has two rotatable antennas which fold out to transmit to the drone, providing playback on your phone at 720p at 30 frames per second. To accommodate a wide range of phones, the left side of the controller pulls out and can fit a phone with a length of approximately 17cm. My phone is a Pixel 8 Pro and with a case has only a few millimetres to spare.
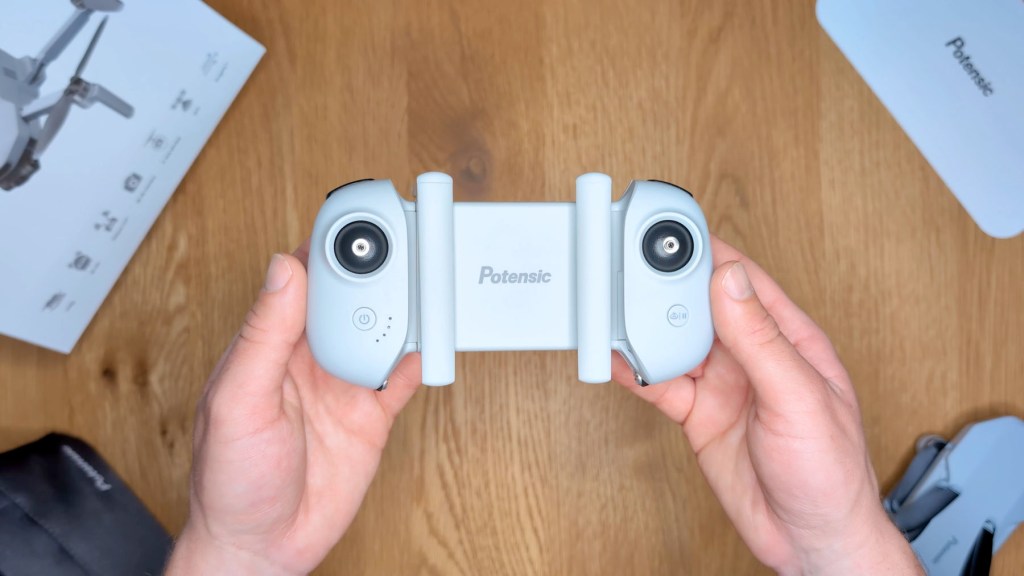

The joysticks for the controller are stored on the base, which is standard for drones, and there’s also a USB-C port for charging the controller at the bottom.
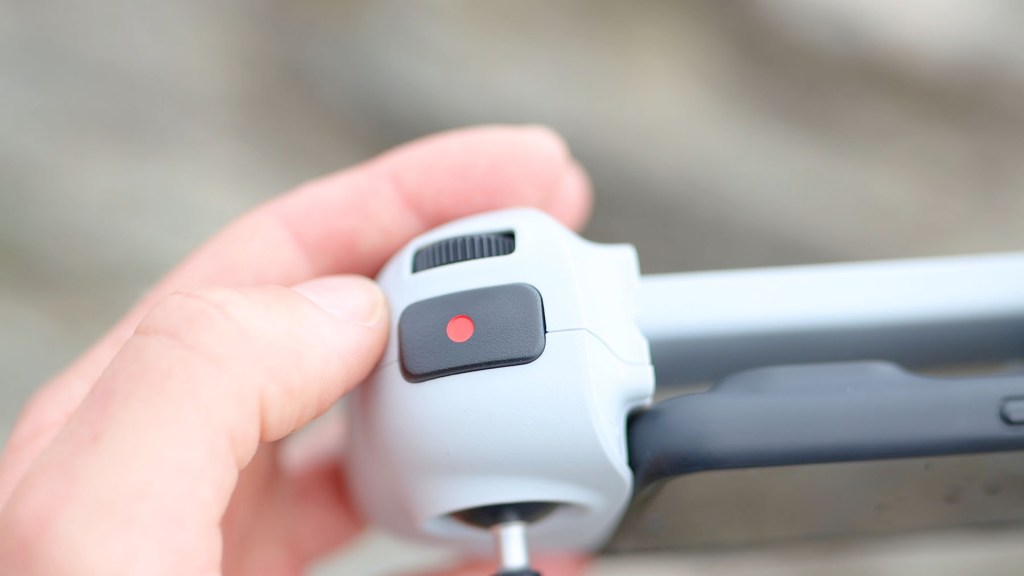
In the top left corner there’s a dial for changing the gimbal angle and a larger button for taking photos, or starting and stopping the capture of video, depending on which mode you’re in, and in the top right there’s a button for switching between shooting photos and video. The joysticks move freely and have a nice smooth motion to them, springing back to the centre when released.
Next up is the charging hub and it comes with two spare batteries, in addition to the one included in the drone. When the batteries have been activated after the first charges, the power button will light up the LEDs to show how much charge each battery has.
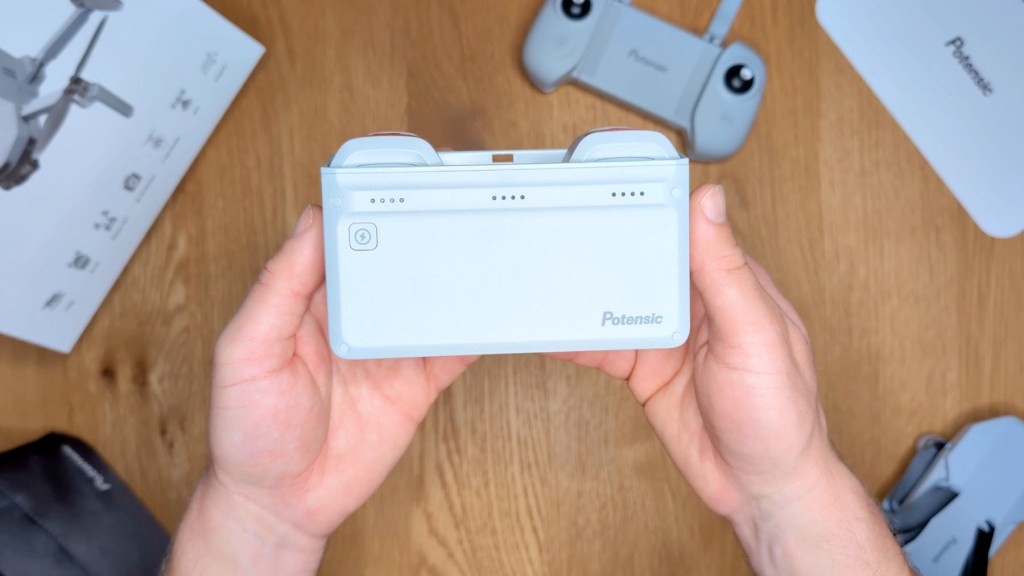
The ports on the side allow for DC power in, and then there’s a USB-A a port to plug the controller in, so you can charge that as well as the batteries at the same time. The charging hub has 60w quick charging and will charge all three in 1 and 1/2 hours.
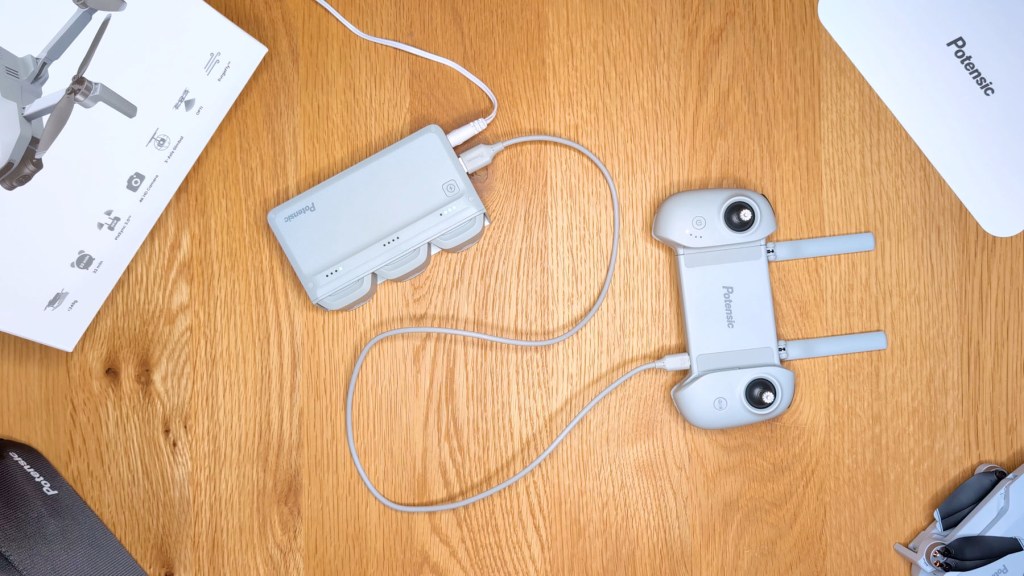
Next there’s the DC charger for the charging hub and a whole lot of information to help you get set up and fly safely. The main Atom manual can be found online if you need more information.
Moving back to the case, it’s smart, compact and feels really nicely made. It has four compartments inside and comes with an adjustable shoulder strap too.
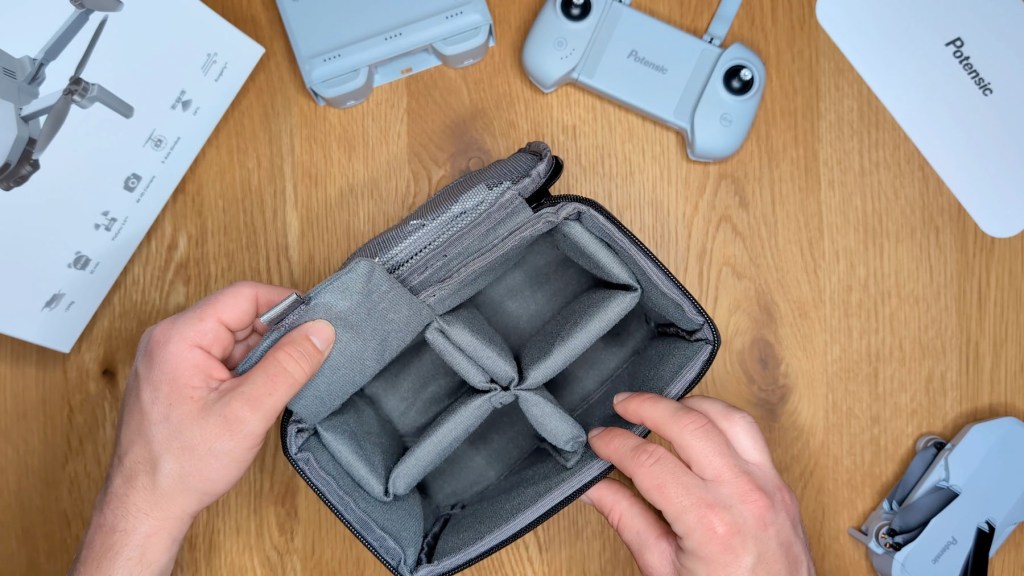
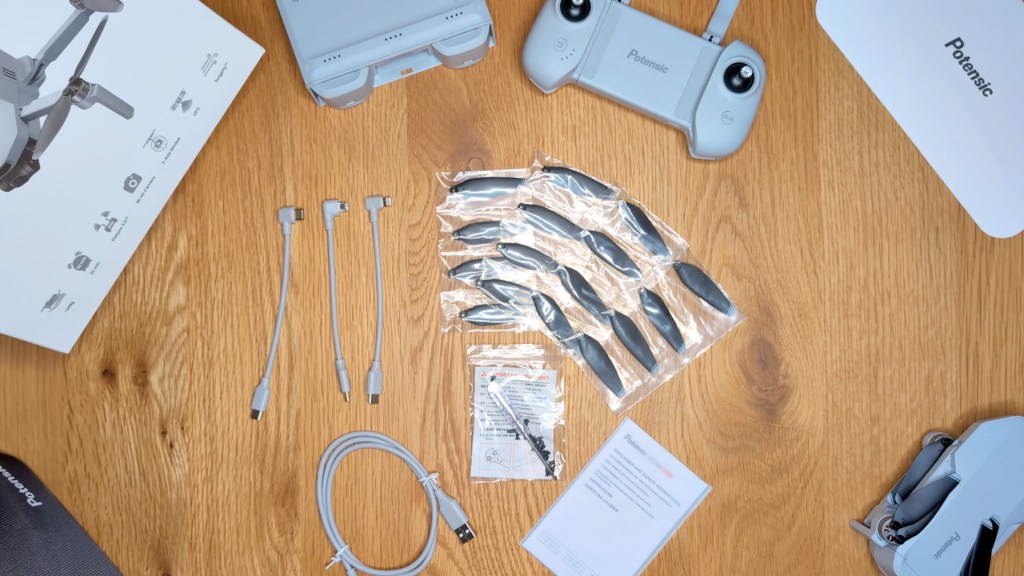
In the zipped are in the lid it has a number of extras. First there are three cables to connect the controller to your phone; a lightning to USB-C, a Micro-B to USBC, and a USB-C to USB-C. There are also 16 spare propellers, the USB-A to USB-C charging cable for the controller, a mini screwdriver and spare screws for the propellers, and another set of information.
Setting up the Atom & Potensic App
Before you get flying you’ll need to set the drone up and you can start by charging the batteries to activate them and the controller too.
Then download the Potensic app from your chosen App Store.
Once downloaded, follow the setup instructions and allow the relevant permissions.
When done grab your phone and plug the right angle end of the relevant USB-C cable into your phone.
Slide it into the gap in the controller and then plug the other end of the cable into the controller.
You can then start connecting the controller to the drone.
Press the power button on the remote until the LEDs come on, and then short press and long press the power button on the underside of the drone until its lights come on.
The big LED on the underside rear of the drone will be solid blue when unpaired, flashing cyan in Opti mode, flashing blue in attitude mode, and flashing green when successfully paired and connected to GPS.
Once the drone and remote are connected you’ll be taken to the flying screen of the app or you can press enter device.
Click to buy your own…

(Affiliate links which help support this blog)
How to fly the Potensic Atom drone
Now for the exciting bit – flying!
Head outside into a clear area and, to get airbourne, tap the upward arrow on the left side of the app and then the slider on the button that pops up over to the right.
This two-step process will send the drone hovering to a height of 1.2m.
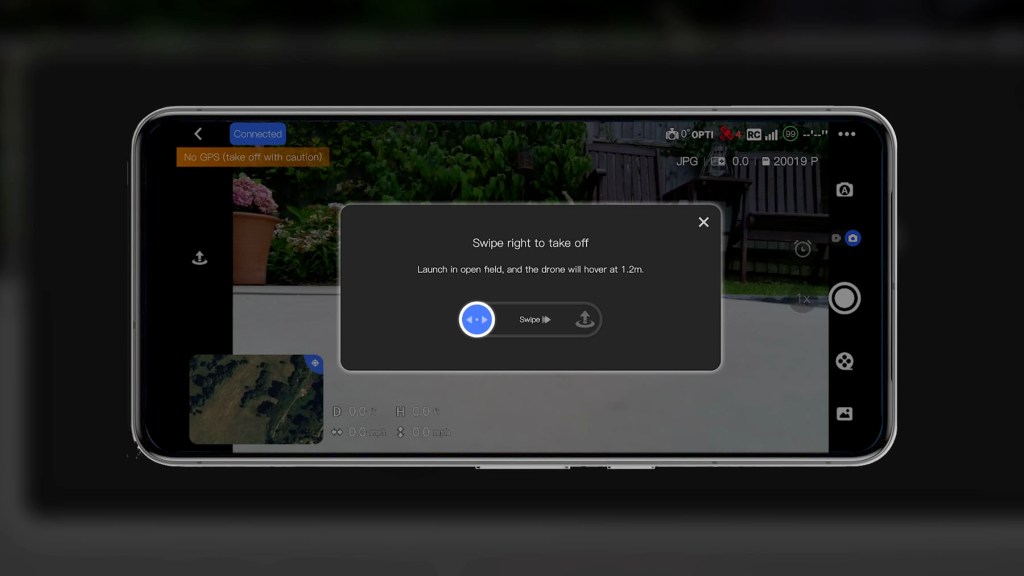
To get the drone down do the same process, or just pull the left joystick towards you to go down and, when close enough to the ground, it will automatically land and cut off the power to the propellers.
With the drone hovering in the air you’ll see it holds pretty steadily in the same spot with minor movement depending on the wind.
It will move more if you’re on the Opti settings, as opposed to GPS, as the drone is trying to work out its location through built-in sensors, but once the drone picks up enough satellites it will automatically switch and flight will get more stable, though you can’t manually switch between Opti and GPS.
To put the drone up higher press forwards with the left joystick, to lower it press backwards.
Press the control stick to the left to pivot the whole drone left and press to the right to pivot right.
With the right control stick press forwards to move the drone forwards and press back to move backwards.
Press to the right to move the drone along to the right and press to the left to shift left.
More flying controls
There are a few other bits on the remote control that it’s important to know too to get the best flying experience.
On the top left you have the dial and this changes the shooting angle of the gimbal.
It has a 90° downward range to face the ground and also tilts upwards 20°.
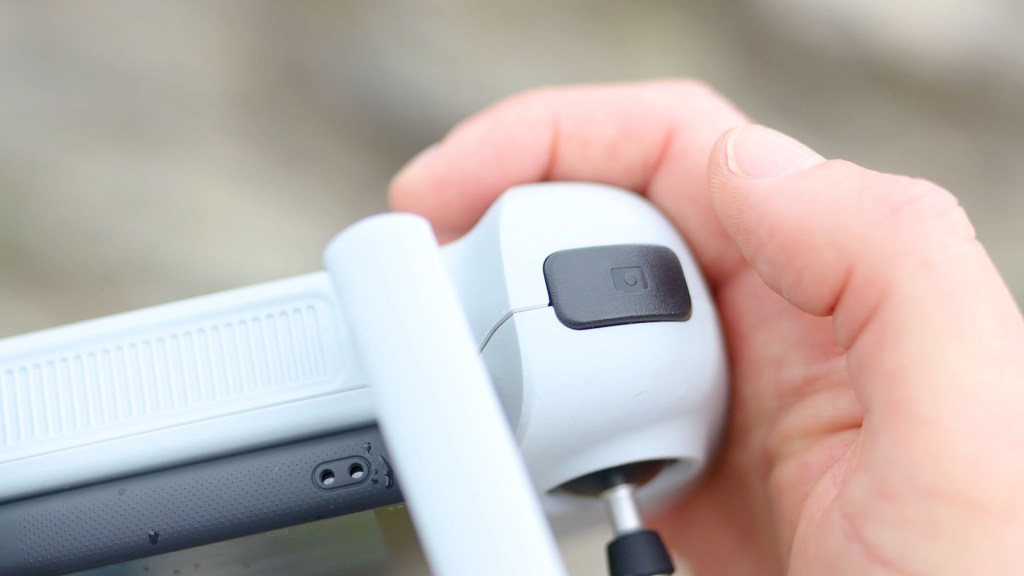
The video or photo button next to it starts and stops recording or takes a picture, whilst on the top right of the remote you’ve got the camera rotate button, which will switch between filming and photos.
Press the H or pause button for 1 second when in GPS mode to begin returning to home, which happens automatically when the battery gets too low, or short press it to pause automatic flight, such as the quick shots feature I’ll mention shortly.

The Potensic flying app
Moving back to the app, once you’ve mastered takeoff and landing there are lots more settings to explore.

Starting in the top left of the app screen you’ve got the status of the drone, and in the top right the degrees the gimbal is tilted, the method of connections be it GPS, Opti or Attitude mode, how many satellites you’re connected to, the remote control signal, the remaining battery, the remaining flight time and then three dots which take you into the settings.
We’re also on Instagram!
Check out yogi.the.van to keep up-to-date with all our adventures in the van!


Potensic App Settings
The first setting is safety, and here you have a beginner mode, which the drone has set as standard, which limits the maximum flying height of the drone though you can press the toggle to lift this limit.
You can switch between metric and imperial units and change the flying speeds of the drone.
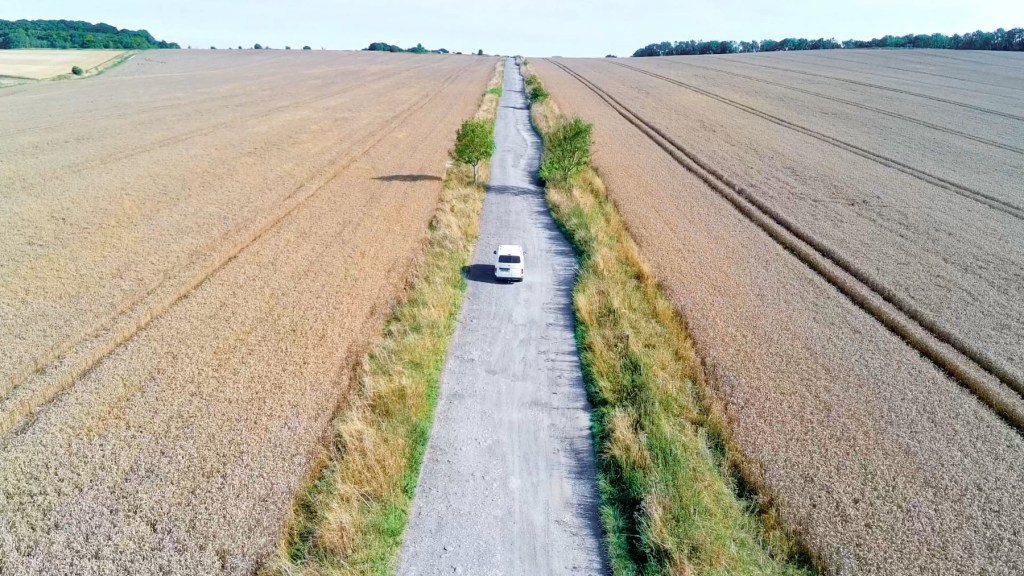
Video is the slowest and provides the smoothest footage, with Normal the medium paste and Sport the fastest pace, though the drone needs to be flying above 8m to activate this.
The speed differences are really noticeable, and are great for getting action footage or impressive cinematic shots.
You’ve also got settings around what should happen if the remote and drone lose connection, and the ability to set the height and distance limits of the drone, with a maximum of 120m and 4 km respectively.
Finally you can turn off the safety tips which repeat on the bottom of the flight screen, and view battery information.
Under the next setting, Calibration, you can adjust the compass calibration, which is done whilst holding the drone, you can calibrate and fine-tune the gimbal, calibrate the remote control, and re-pair the drone.
Under the control setting you can change the control stick mode if you’re used to controlling drones with other setups.
Next you can adjust the gimbal pitch speed, the current pitch angle, and switch the mode from stable where the gimbal is locked and stabilises the footage to FPV mode where the gimbal is unlocked and moves with the drone, a bit like if you’re on a rollercoaster.
If on FPV mode you can also adjust the roll smoothness.
Under the Camera setting, you can adjust the white balance, which you can also do on the flying screen, you can add grids to the flying screen, as well as segment the recordings into smaller files of 1, 3, or 5 minutes.
There are also SD card settings where you can view remaining capacity and format the card.
The final setting is About and here you can view the device model, firmware version and app version.
Back on the flying screen you have the option of switching between auto and manual shooting modes.
Under auto you can increase or decrease the brightness, and adjust the shooting quality.
Under manual you can adjust the white balance, choosing from auto or manual and adjusting via the slider, you can change the shutter speed and the ISO, and the exposure slider at the bottom just shows you the difference between your settings and the camera’s auto-exposure settings.
You can also adjust the resolution and frame rate here, as well as format the SD card and switch between the SD card showing time or storage.
On the flying screen or using the remote control you can switch between videos and photos with the latter offering single photos in JPEG or RAW and JPEG at 12mp.
There’s also interval timer shooting mode where you can choose to take a sequence of photos in intervals of 1 to 30 seconds, to compile for an aerial time lapse.
Next is the digital zoom which offers a 2x zoom for 4K resolution and up to 3x for 2.7k or 1080 resolution.
You lose a bit of quality as you’re just cropping in on a sensor, but it’s a nice feature to have available.
Click to buy your own…

(Affiliate links which help support this blog)
QuickShots Automated Drone Flight
One of the best features are the QuickShots, which are built-in automatic flying modes that track you or your chosen subjects and there are five of them to choose from.

With Pull Away, the drone flies backwards and ascends with the camera locked on the subject.
With Rocket the drone ascends vertically with the camera pointing downwards at the subject.
With Circle the drone circles around the subject starting from the current position.
With Spiral the drone ascends in circles around the subject.
And finally with Boomerang the drone flies around the subject in an oval path, ascending as it flies away from its starting point to the furthest distance, and ascending as it flies backwards.
You can choose flight directions and the number of circles it does around you.
Visual Tracking on the Potensic Atom Drone
There’s one other exciting feature to add to these; subject tracking.

Select your subject be it yourself, or something or someone else, and the drone will follow it around.
You can choose how long the recording period is out of 1, 3, 5 minutes or continuous.
It’s a fantastic feature that some similar budget drones don’t have.
In the gallery, you can view the clips on your drone memory card in low resolution.
You can also download them to your phone, again in low res to view there.
As you’d expect there’s a map with things like your drone location on and your current home point, so you can have an idea of where your drone is especially if it goes out of sight.
If your drone gets too low on battery it will automatically return to home.
Although you can turn it off on the flying screen, I found it came back on and insist on landing, beeping loudly in the process, but you do have a bit of time to maneuver it to your landing spot.
ATTI, OPTI & GPS Modes
There are three modes that you may be flying in and these are automatic and you can’t change them.
The first is Attitude mode which is when you’re flying without being connected to GPS or Opti mode .
Opti mode appears when there’s weak GPS satellite coverage and you can fly but with limited speed, and the drone will use its downward facing sensors to work out its positioning.
If you’re in a confined space such as indoors or a woodland that doesn’t get good signal then it will be difficult to fly smoothly and the drone will be doing most of the controlling.
The last is GPS mode which provides precise positioning and full control of the drone.
Video quality and camera details
One of the biggest draws of this drone is the fact that it films in 4k at 30 frames per second.
You can also film in 2.7K at 30 frames per second and at 1080 at 60 frames per second.
The camera uses a 1/3 Sony CMOS sensor, filming at a set aperture of f2.2 with fixed focus and a 78° field of view.
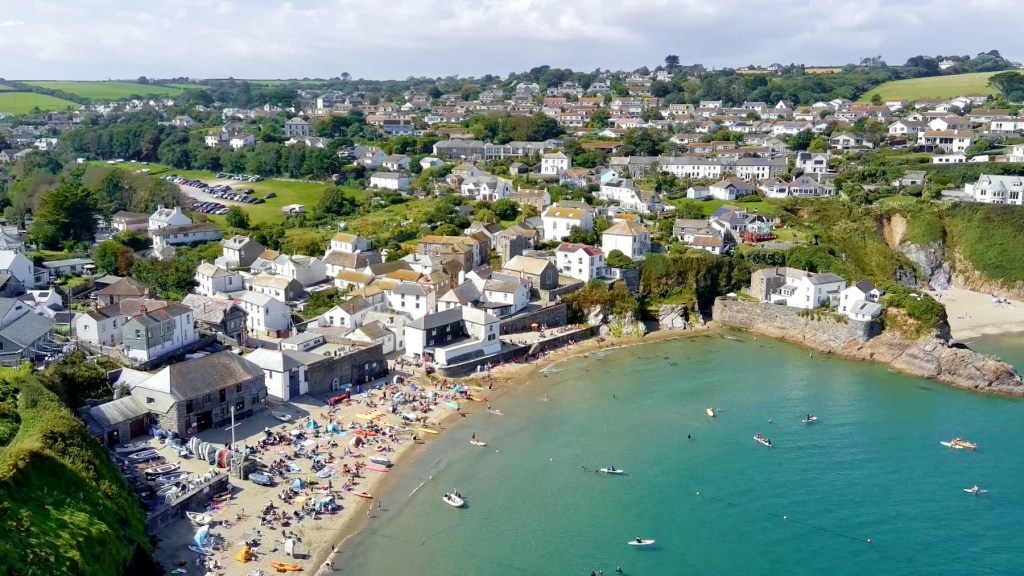
The 4K is really high quality and for personal use or YouTube it’s absolutely ideal.
Even the 2.7k is great and at 1080 the footage is still very good despite the resolution drop and, if this is all you need, then you won’t be disappointed.
The 3 axis stabilised gimbal is motorised and does a fantastic job at stabilising the footage, even in windy conditions, and don’t forget you can switch between follow and FPV mode in settings.
Flying the Potensic Atom legally
Getting flying isn’t always as simple as just pushing the flight button though.
In many countries there are restrictions on how and where you can fly always check the regulations in your home country before flying, but as the Potensic Atom is a sub-250 g drone, actually coming in at 245g, it’s less regulated and slightly easier.
Rules vary from country to country but in the UK, if your drone isn’t a toy and has a camera, then you’ll need an annual Operator ID, which costs £11.13 per year as of 2024, and it’s recommended you get a free Flyer ID at the same time.
There’s a 40 question online test which takes about 20 to 30 minutes and at the end you’ll get an ID to print out.
Be sure to check the regulations in your area to find out what you can and can’t do with this drone.
Should you buy the Potensic Atom 4k GPS Drone?
I’ve spent hours flying the Potensic Atom drone and I have to say I’m very impressed with it.
The Opti mode took a bit of getting used to, but flying in the open in GPS mode is fantastic, with the QuickShots and visual tracking features being the icing on the cake.
I haven’t had any connection issues between the drone and the remote either they’re both well built and the software stability is there to match.
There are two other Potensic drones that are also worth considering.
Whilst the Atom is their flagship entry level model, Potensic also have the Atom SE which uses digital stabilisation instead of a gimbal at around £200 or $230, and the newly released Atom LT which offers a whopping 40-minute flight time, compared to the 32 minutes of the Atom, though it has to be flown outdoors and has a maximum video quality of 2.5k, though if you’re after a smaller drone at a better price point then this one comes in at just £200 or dollars.
If you’re interested in finding out more or getting one for yourself I’ve got affiliate links which help support this channel and no extra cost to you.
Thanks for stopping by!
Click to buy your own…

(Affiliate links which help support this blog)
