
This article is a written account of a video from the Lens Of James YouTube channel. Watch the video above and subscribe if you like what you see!
This article contains affiliate links to relevant products I have used in my videos. By buying through these links, I receive a small percentage of the sale at no cost to you which helps me support and grow my website and YouTube channel, so I can create more content like this in the future. Thank you for your support.
In this article…
- An Introduction To The Carpuride W903
- Unboxing the Carpuride W903
- Features of the Carpuride W903
- How to install the Carpuride W903
- Apps & Connectivity on the Carpuride W903
- Exploring the Settings on the Carpuride W903
- How to install a rear view camera
- Carpuride W903 4K Dash Cam Image Quality
- How much is the Carpuride W903?
- Should you buy the Carpuride W903?
An Introduction To The Carpuride W903
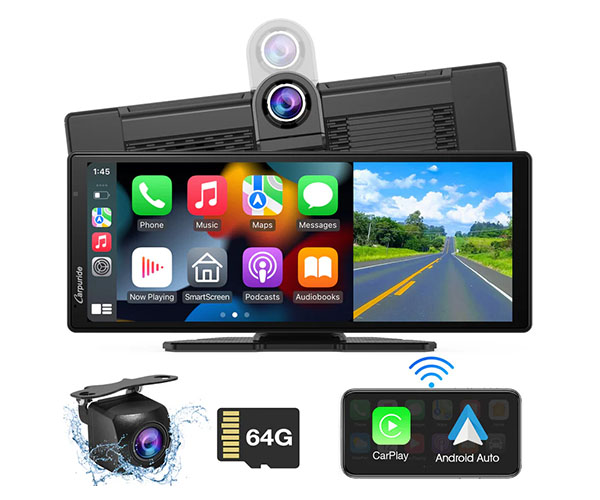
This is the Carpuride W903 portable dashboard console, which puts Apple CarPlay or Android Auto into 99% of vehicles with just a 5 minute install.
But not only that, the W903 stands out from the crowd with a 4K rotatable dash cam, plus an optional 1080 reversing camera that doubles as a rear dash cam, so your vehicle’s covered from both ends.
The W903 connects to your phone for easy navigation and music controls with a sleek, unobtrusive screen on your dashboard to put the tech of new cars in any vehicle with a 12v port and, yes, your bluetooth steering controls will work when using this device.
I’ve reviewed a couple of Carpuride’s devices now and think this one might be the best they’ve built to date so be sure to hang around to find out why that is.
And just so you know, Carpuride provided the device for me to make this video, though all the thoughts and opinions are my own. If you like what you see I’ve gots affiliate link throughout this article and using the discount code LENSOFJAMES at checkout will get you an exclusive discount off your order from carpuride.com.
Click to buy your own…


(Affiliate links which help support this blog)
Unboxing the Carpuride W903
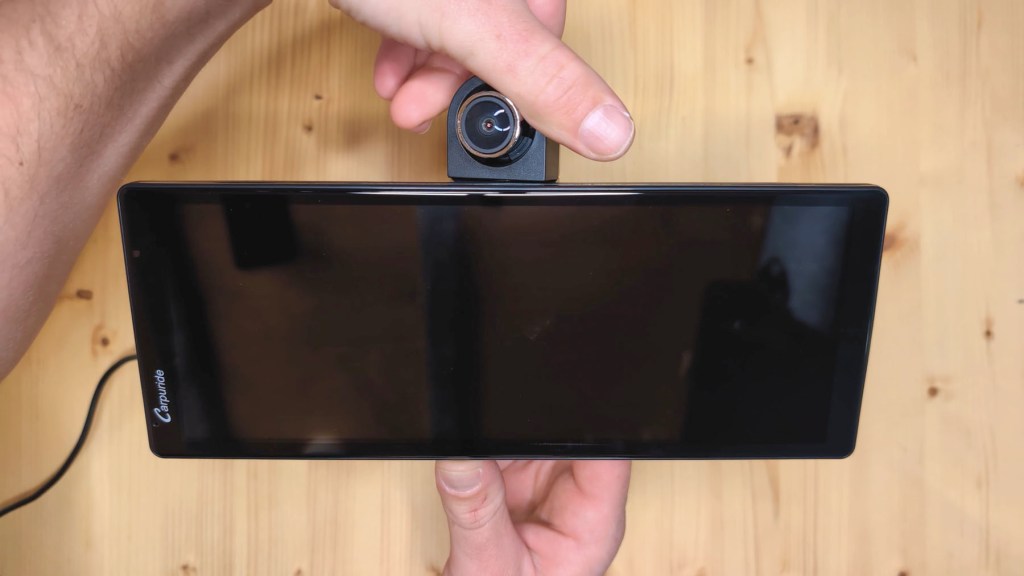
Getting the W903 out of the box, it’s a really sleek device with a 9.3 inch screen.
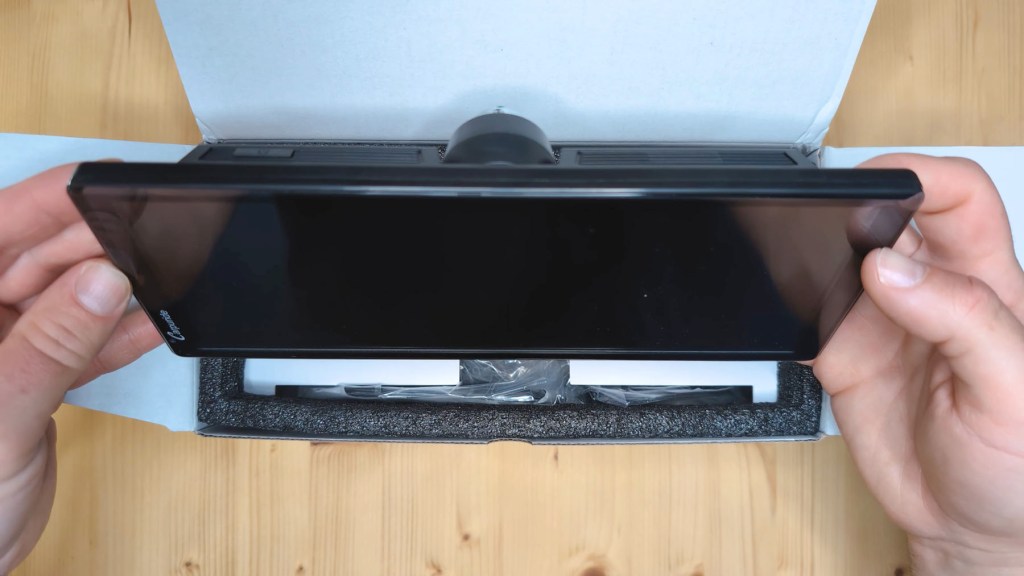

Compared to other models it has less of a bezel around the screen which is more apparent when you turn it on and the Carpuride logo has now shifted to the left.
Also in the box are a number of accessories to use with the W903.
Up first is the 12v to USB-C power cable which also has a USB-A port on the end which is a new addition.
Then there’s the first of two mounting options, the sticky pad mount. This is also an upgrade on the mount that came with previous models. It has an adjustable mounting plate which goes up and down and tilts too, and it also has a flexible base which will be great for fixing it to curved dashboards like mine.

The mounting points are still the same as previous devices though, so if you’re upgrading your Carpuride console then you can still use the same mount if you’d like.
This new design doesn’t have quite as much tilt as the previous versions, but it still tilts enough for most applications and I think it’s a much nicer looking mount.
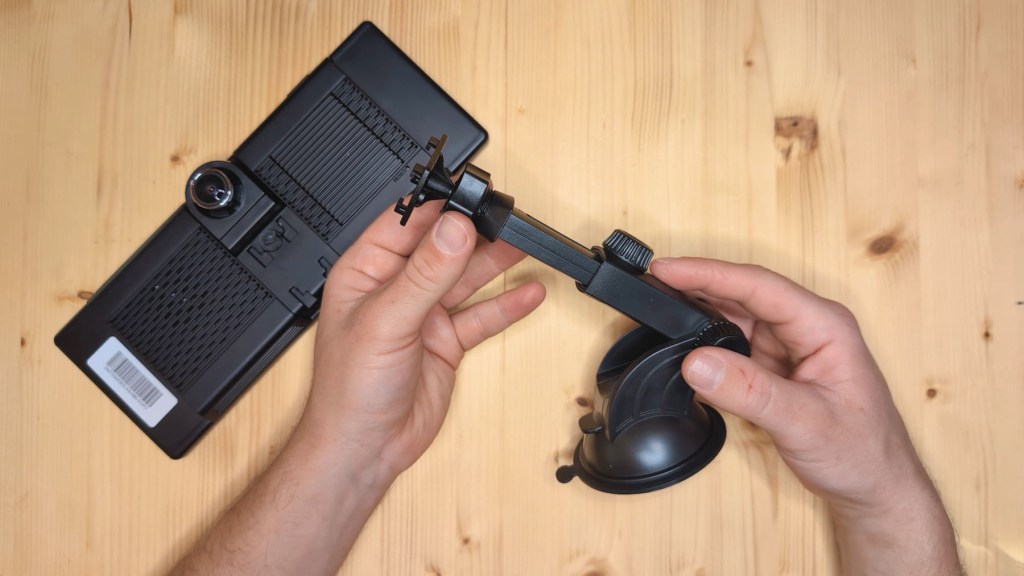
Next is the second mounting option, a suction cut mount with an adjustable arm. The suction cup is very sticky and provides a super strong adhesion. You can remove the suction cup for reuse in other vehicles, though it’s a bit of a struggle to get it off as it’s such a strong fix and, once removed, it won’t stick quite as well as the first time you used it.

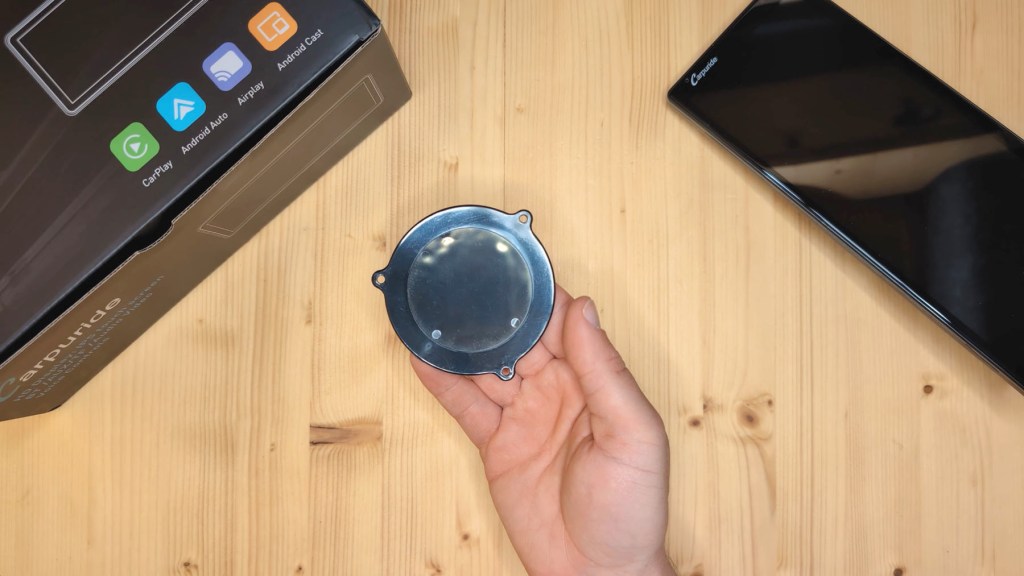
There’s also a mounting plate included in case that’s needed for your surface.
Then there’s the AUX audio cable for wired playing of music through your car speakers.

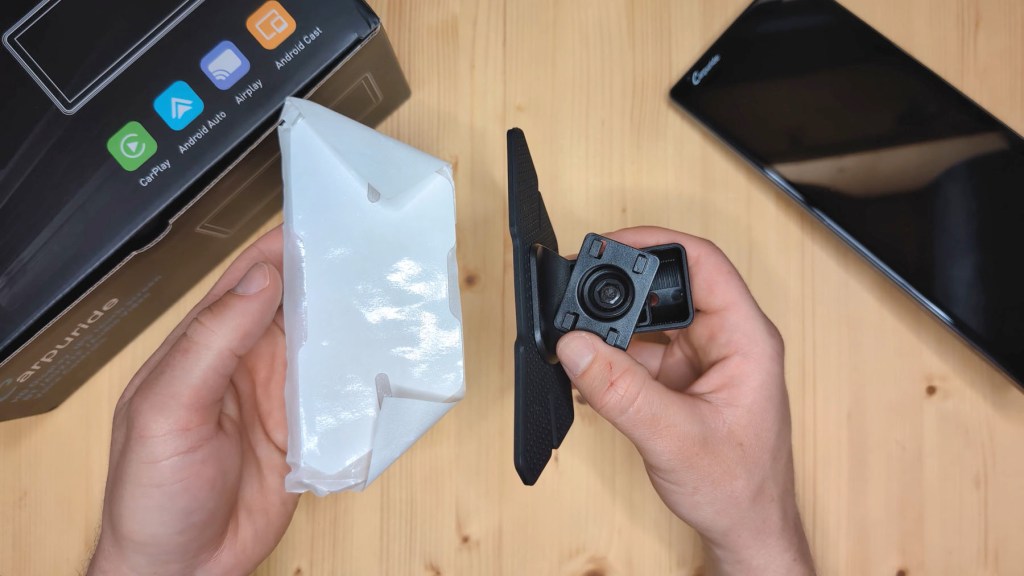
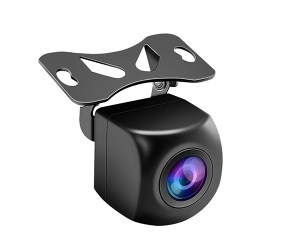
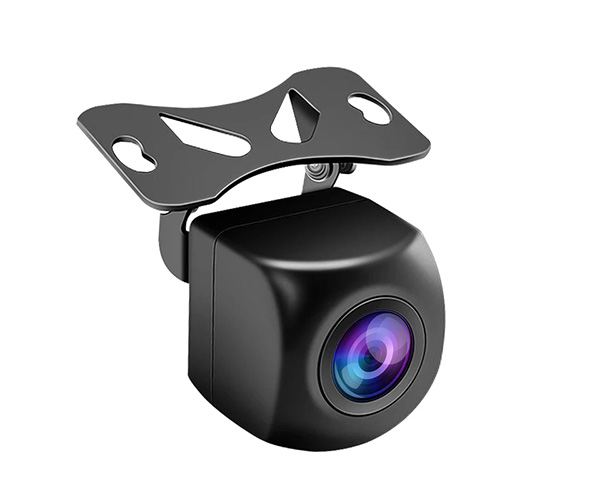
And finally there’s an optional reversing camera which has a 2.5 mm jack on the end of a 6m wire and a red wire for connecting to your reversing light so you can have a reversing camera. I have a full video on how to install a rear view camera.

To get you started there’s a 28-page user manual which is very thorough and covers pretty much everything you’ll need to know.

Features of the Carpuride W903
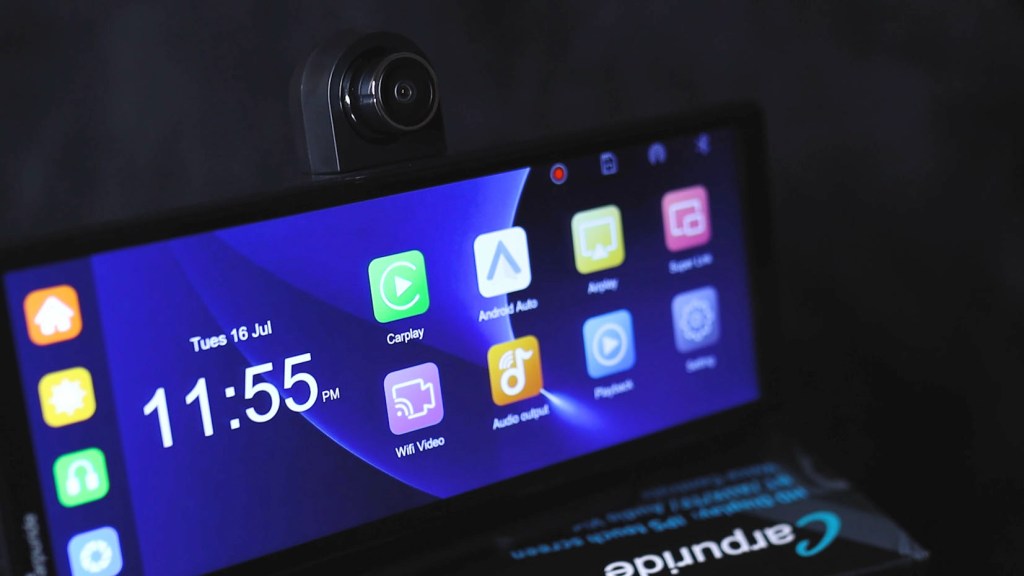
Going back to the screen, there’s a power button on top though the console does turn on automatically when the ignition is turned on and then. on the back, there’s one of the most exciting features; the dash cam.
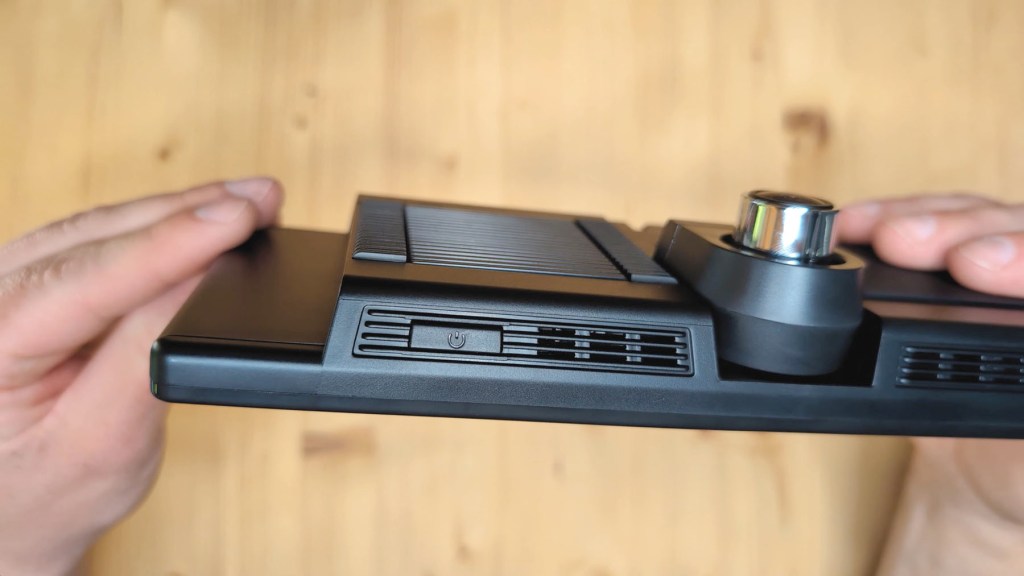
The 4k camera model is very adaptable with the ability not only to push it up for a better view of your dashboard, but also to rotate the lens around to nearly a 360° angle which is handy for getting it pointed wherever you need it; whether that’s at the road or into the cabin. The silver lens of the dash cam can also be moved to for more precision adjustments.


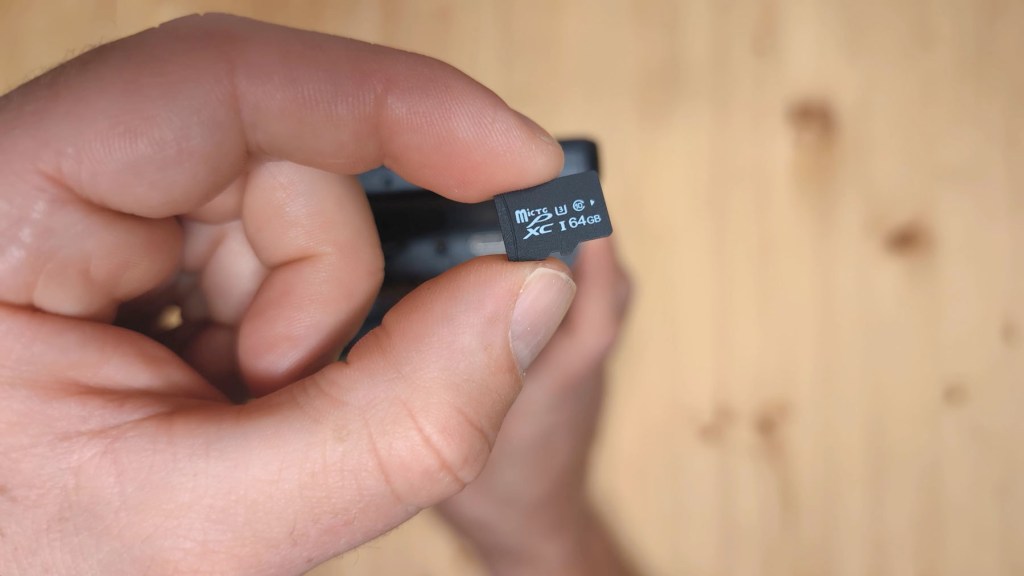
On the side you have your ports and Carpuride have really stripped down how many ports they have put here, which I think is a good thing as there were a few that I just didn’t use on previous models. On the W903 there are four ports consisting of the 3.5 mm AUX port for wired audio, the micro SD card slot – and the 903 comes with a 64 GB card already in the device – a 2.5 mm AV import for the rear view camera, and a USB-C port for powering the console.

On the back there’s a reset button, a speaker behind the plastic housing and the mounting area.

We’re also on Instagram!
Check out yogi.the.van to keep up-to-date with all our adventures in the van!


How to install the Carpuride W903
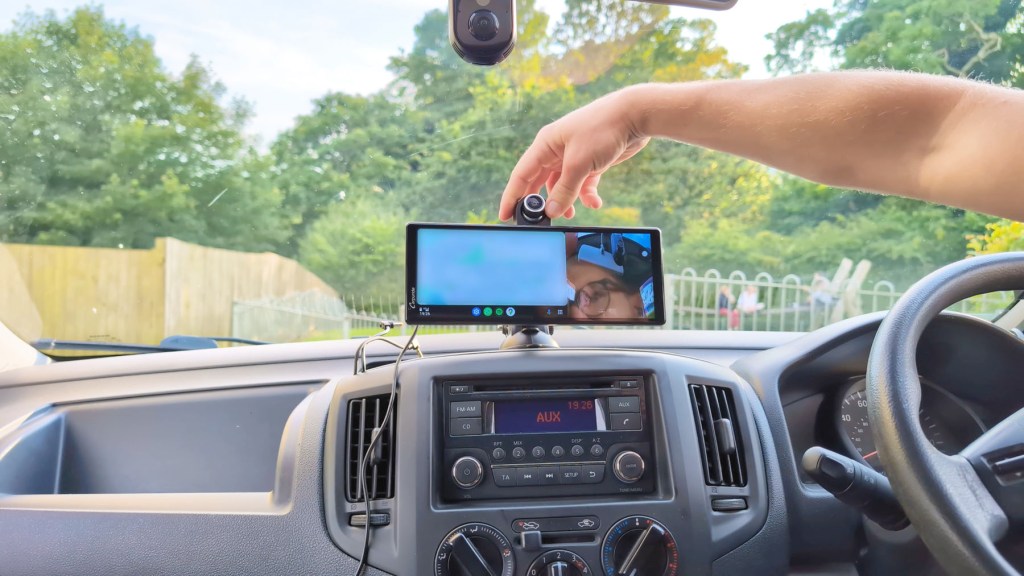
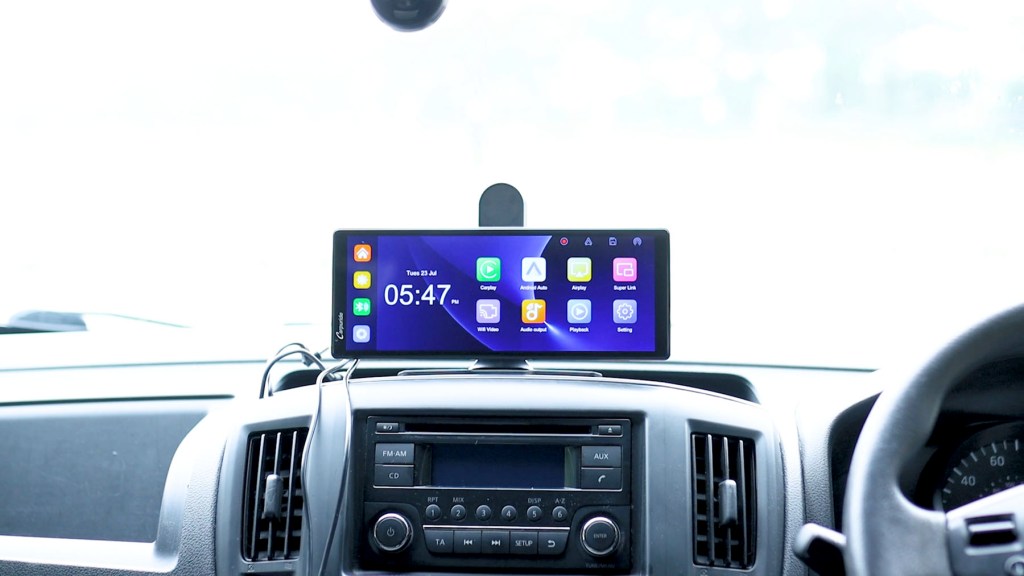
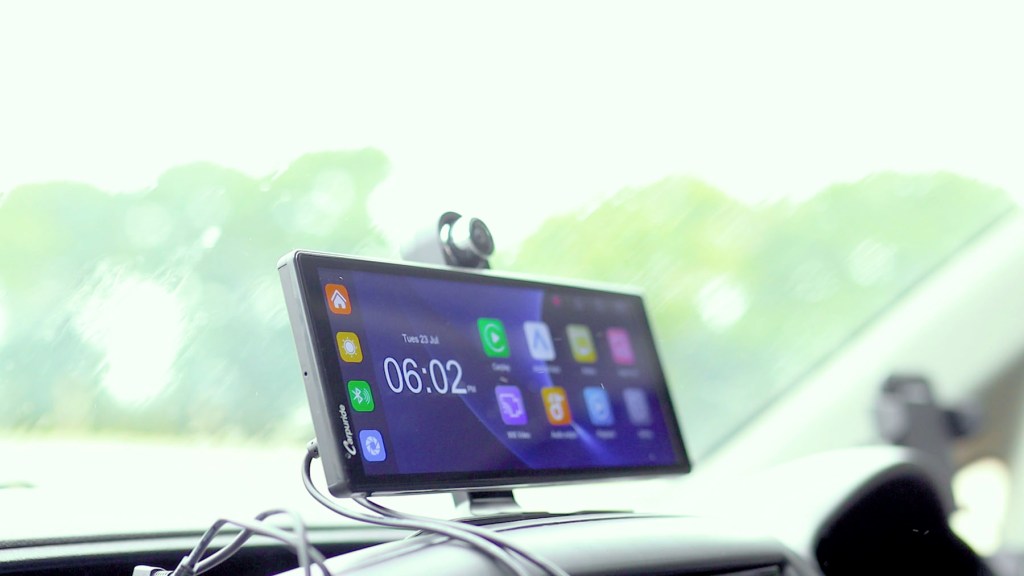
It really is a quick and easy job to install one of these devices in a vehicle. Choose either the suction cup or sticky pad mount and where you want to fix it. It could be on the dashboard, on the windscreen, or overhanging your existing radio.
With the mount stuck down, simply push the device in place and plug the USB-C cable into the port, with the other end going into the vehicle’s 12v socket. It’s really as simple as that. Once the vehicle turns on so will the 903.
The only other thing you could do is hide the wires as you can see here I’ve got a couple of wires hidden in the dashboard trim from previous devices to neaten them up.


How to remove the trim is different for every vehicle but most of it just pops off. The orange tols I have are a trim removal tool set that won’t damage your dashboard if you do want to try this yourself.
Click to buy your own…

(Affiliate links which help support this blog)
Apps & Connectivity on the Carpuride W903
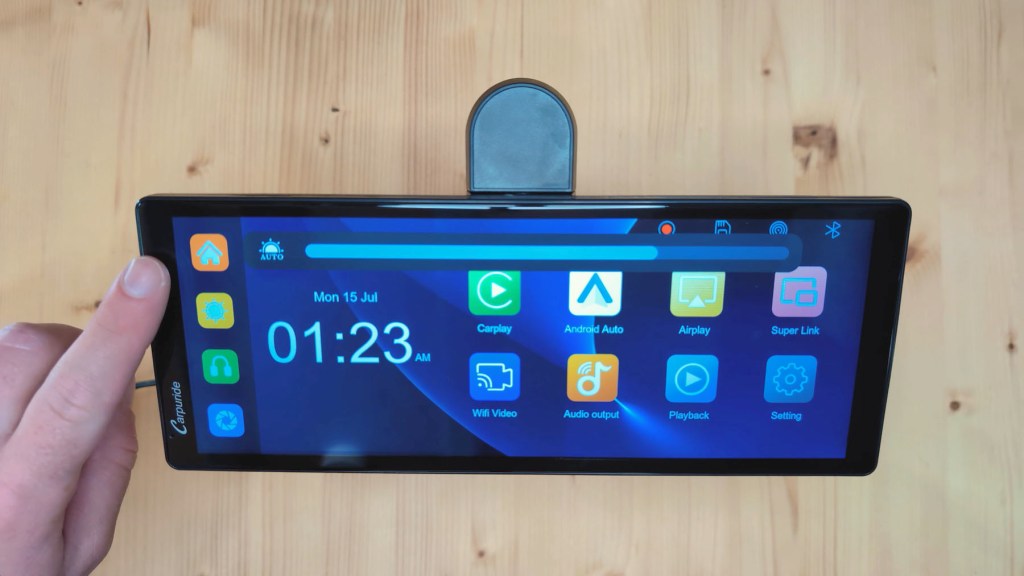
Turning the 903 on, the Carpuride logo will show before moving to the home screen, which immediately starts recording through the camera just as a dash cam should.


It takes 7 seconds to get to the home screen.. and eight more seconds to start recording and be ready, whilst taking 22 seconds to go from off to the Android Auto screen if you’re using that function.
You’ve got a lovely bright display which is very sharp and perhaps one of the best quality displays I’ve seen on a dashboard console. The layout feels cleaner and less cluttered than previous devices too.
If you’re seeing a few artifacts or lines in the photos it’s purely from my camera and not the screen display which is bright and sharp – a camera really doesn’t do it justice.
Let’s get started with the apps and on the left you have the home button at the top and below that the brightness button. Pressing it brings up the adjustable bar and there isn’t much lag on it at all. Press the sun symbol and auto brightness will come on which is controlled by the sensor just visible on the left screen bezel. By putting my finger over it to simulate darkness, you can see the screen dimming.
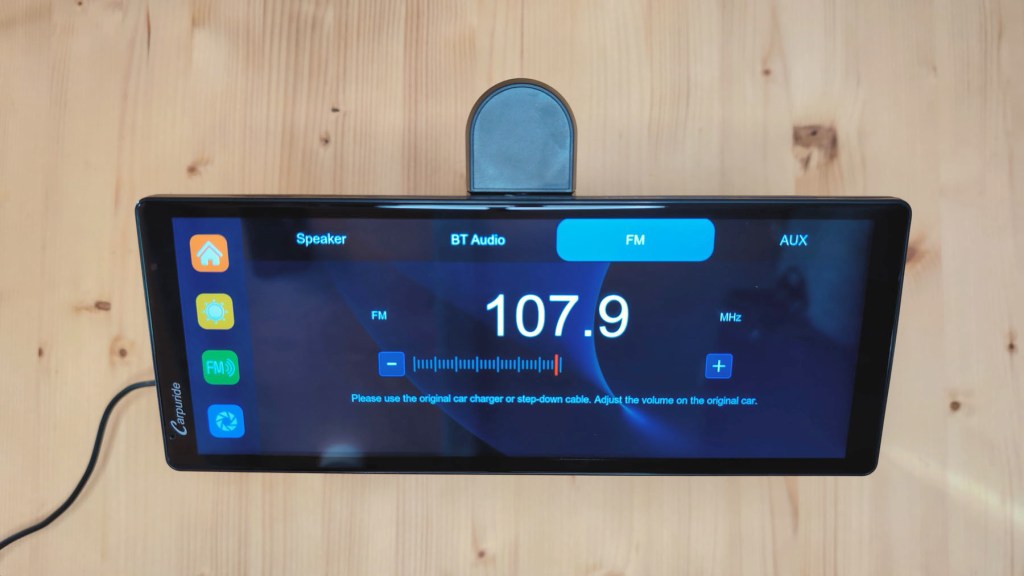
The next button is the sound button and this is a changeable button based on how you’re listening to the music on the device. If the headphone symbol is showing then you’re listening via a wired AUX cable and you’ll be taken to the audio output page. If a speaker symbol is showing you’re using the built-in 903 speaker, so we’ll get a volume bar to turn it down. You can also get an FM symbol for radio transmission and a bluetooth symbol for wireless playback through your vehicle.


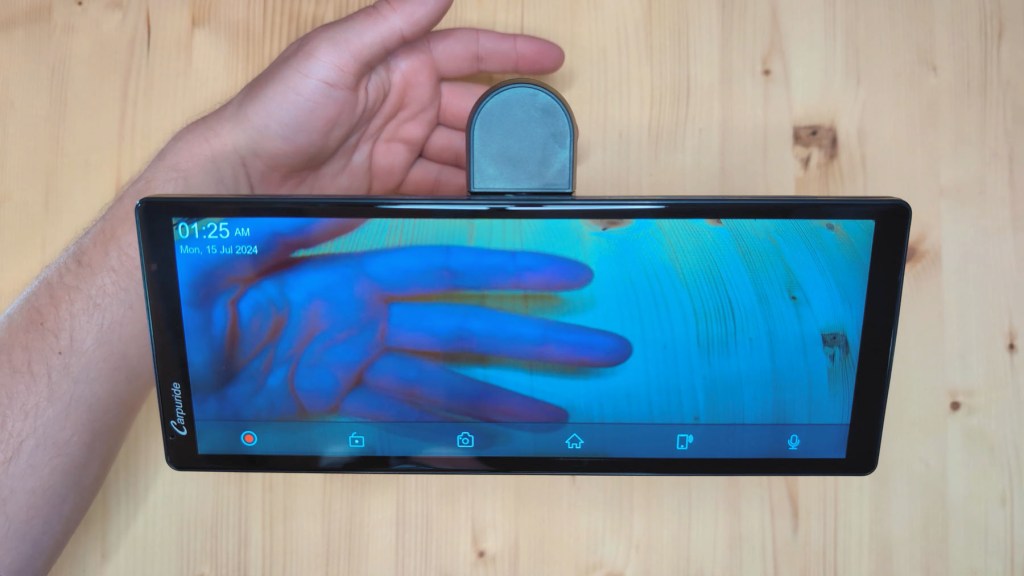
The fourth and final button on the left hand menu is the dash cam and here you can view the cameras that are recording. If you’ve just got the front camera recording you’ll just see that, but if you’ve got the rear camera recording too you’ll have the ability to swipe between cameras or view them both in split screen.

It’s worth noting here that the 903 can shoot footage in up to 4K but came set up in 1080, though I’ll go through how to change that in the settings a little later.
Along the bottom are a number of buttons to play with. The first first is to stop or restart recording. Remember it automatically starts recording when the device is turned on.
The next option is to lock the current clip so it can’t be overwritten, or unlock it again. The third symbol is to take a photo of the current scene, whilst the fourth is to return to the home screen.
Next is a shortcut to the playback screen which I’ll go into shortly, and the last icon turns the device microphone off so you aren’t recording sound on the dash cam while you’re driving.

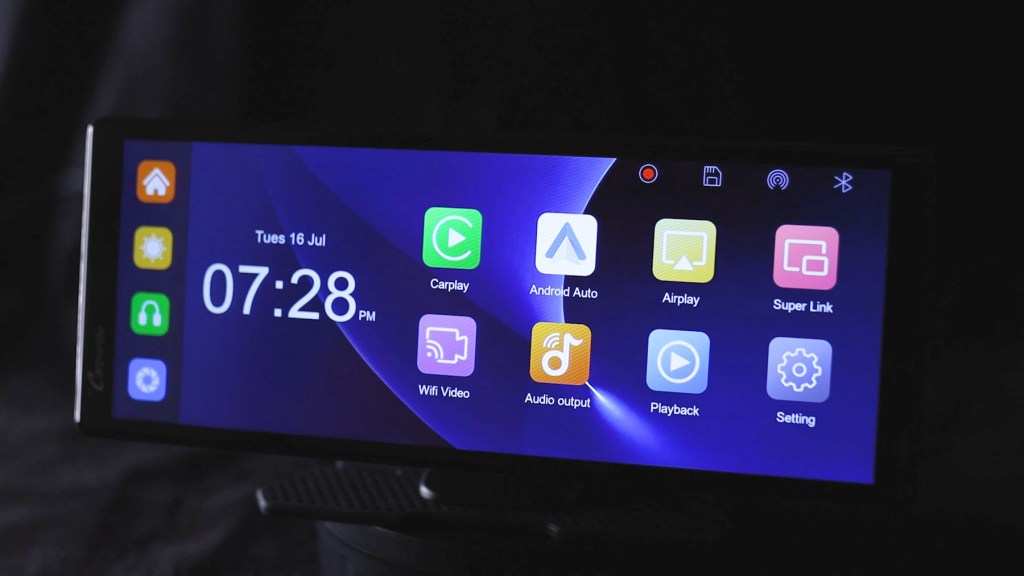
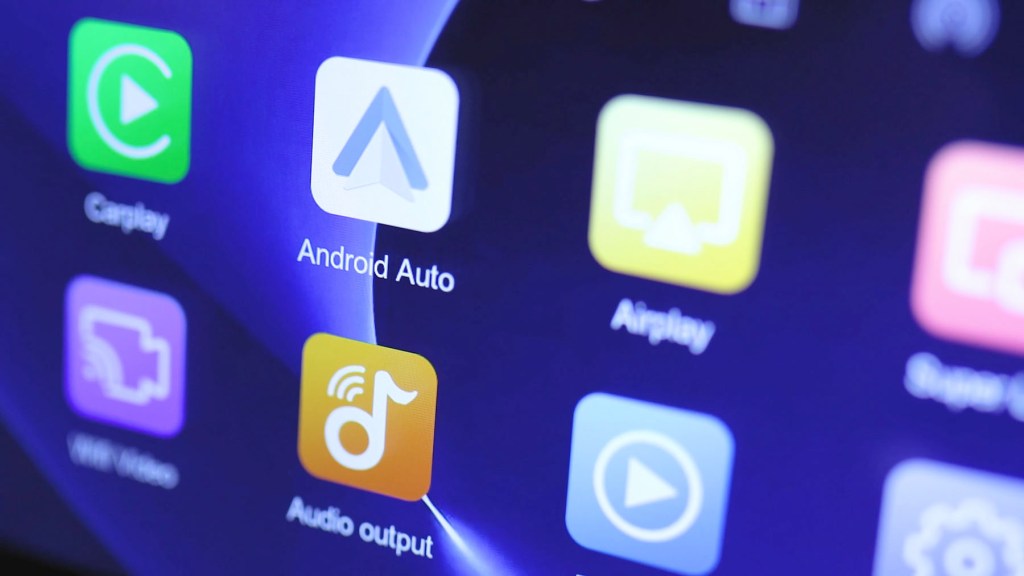
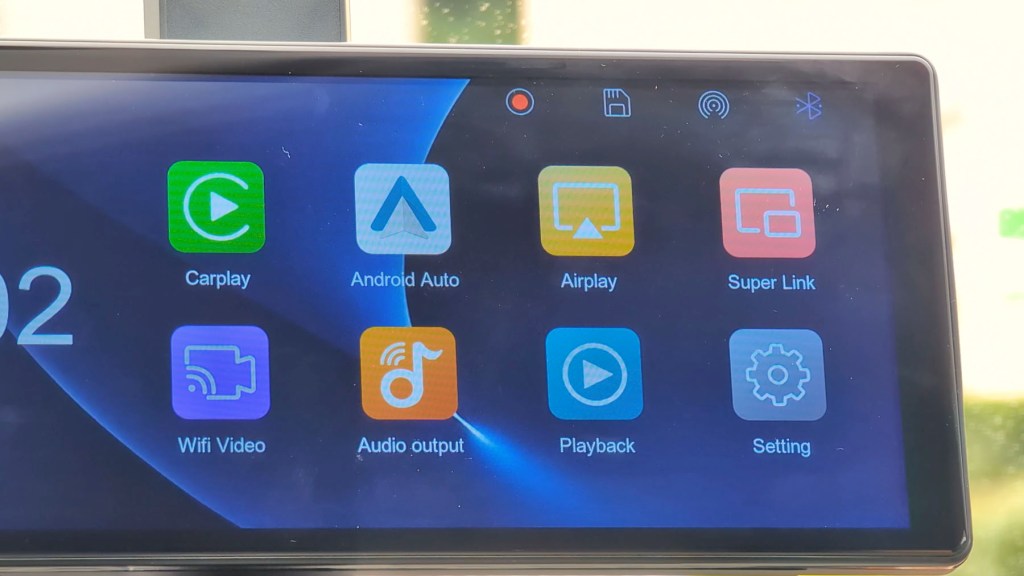
Back on the home screen and moving to the right, the date and time feature prominently on the screen before a selection of eight apps take up the other half of the display.
First is CarPlay and this is how you’ll wirelessly connect your iPhone via Bluetooth. Find the Carpuride device in your Bluetooth settings, go through the permissions and you’ll be connected. When turned on ,the device will automatically connect to your phone and CarPlay will launch on the 903 screen to play your music and navigate.

On this screen you can access a number of connection options and you’ll notice as I move between them that you can’t be connected to more than one option at a time, which is standard for these types of devices and also stops you using apps you shouldn’t when driving.
The next tab along the top is Android Auto and you connect an Android phone to the 903 in the same way as you do an iPhone. It’s a really simple setup for what is one of the best and most used features of dashboard consoles like the 903.

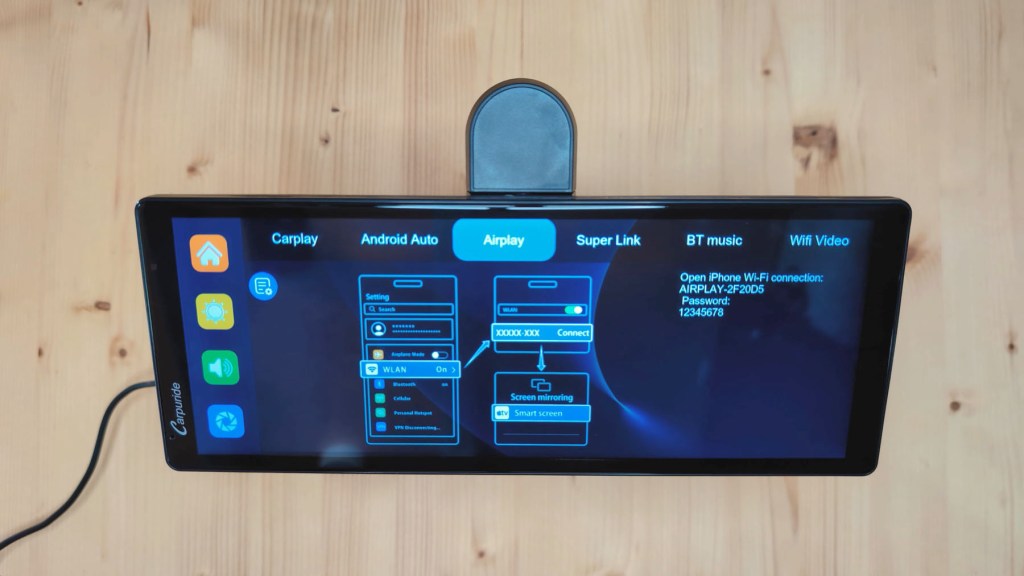
Next is AirPlay and, if you have an iPhone, you can mirror your screen so if you were watching a YouTube video you could show it on the dashboard with ease.
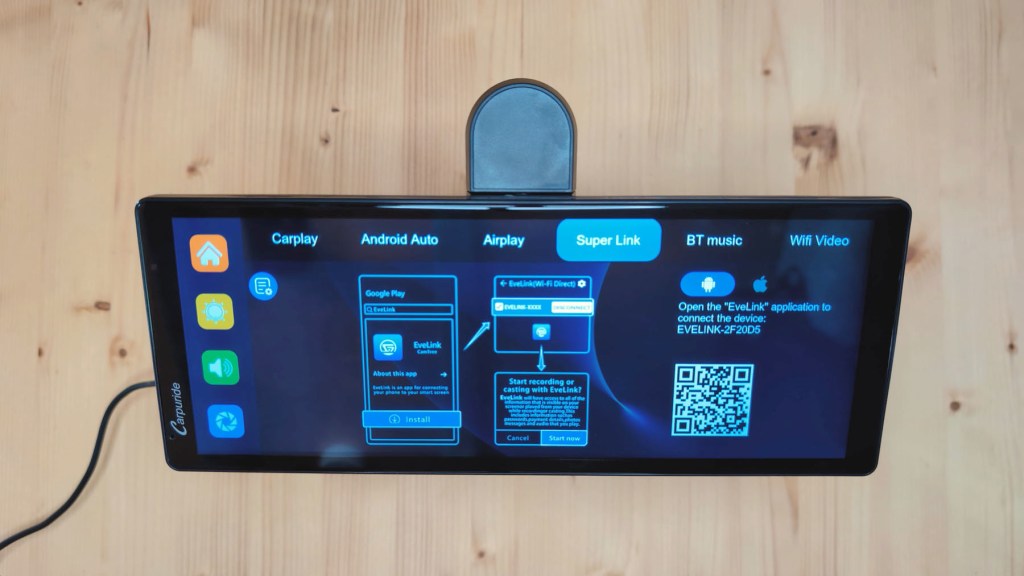
Android phones don’t have a similar function built in, but screencasting is also possible, though it’s a little more long-winded. Tap the Super Link Tab and you’ll get instructions to download the Evelink app, a third party app that will allow you to do much the same as AirPlay.
Once downloaded and connected you get three options; online video, mirror casting and airdrop.
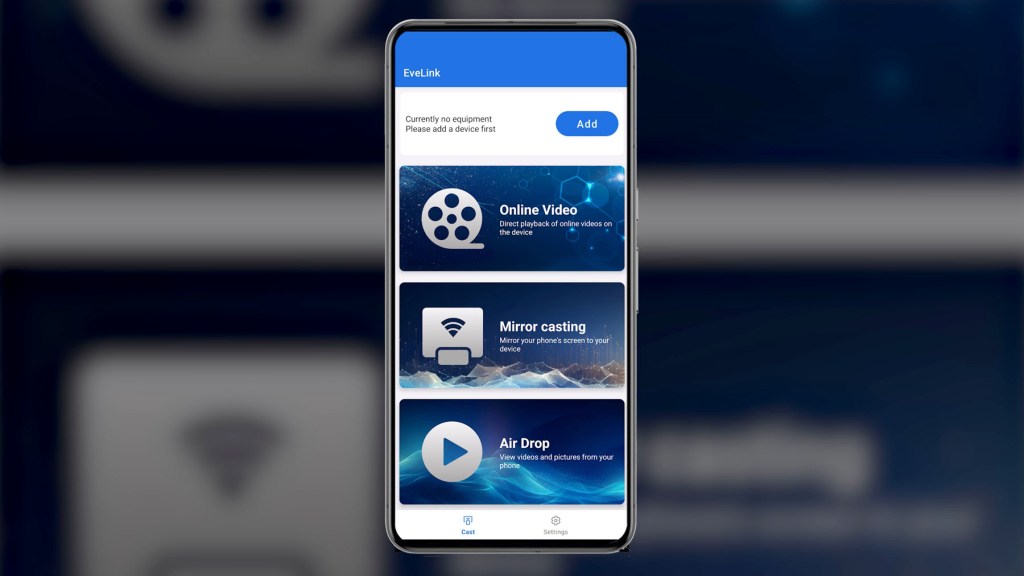
Tap online video and the 903 will display a selection of supported apps for playing videos on your dashboard.


Tap mirror casting and you’ll see your phone screen on the 903.


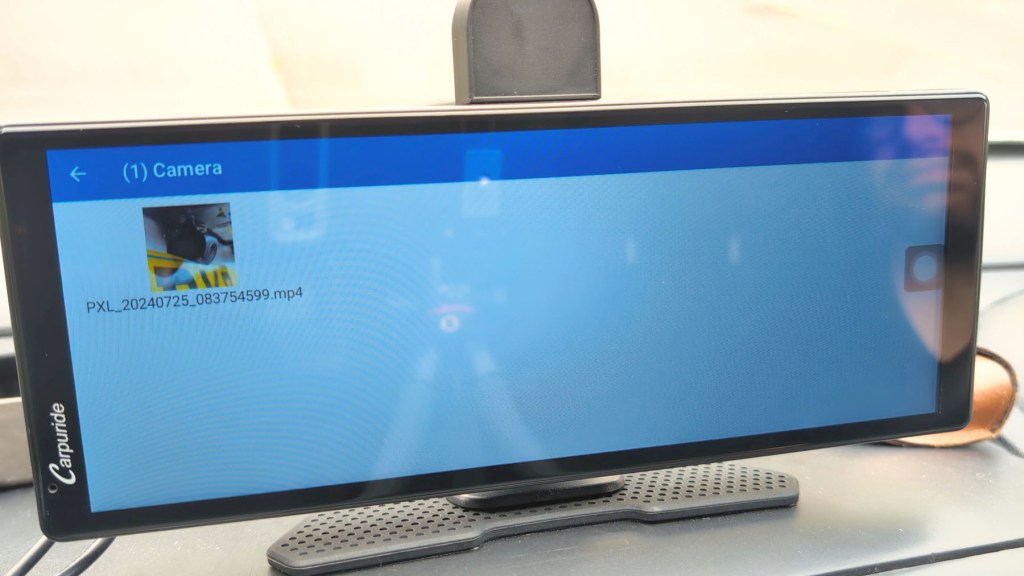
Tap airdrop and the 903 will display your photo album so you can browse your images on the device.

It’s a pretty handy addition to have it’s just a shame it isn’t all natively baked into Android phones like it is for iPhones. It’s also worth noting that Evelink works for iPhones too.
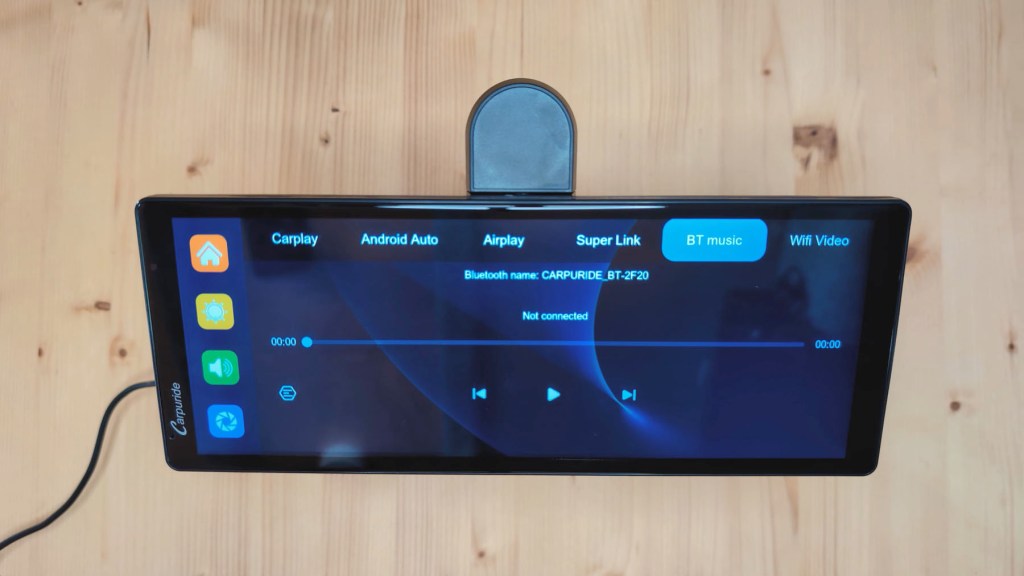
The next tab is BT music, which is separate from the CarPlay or and Android Auto connection. If you have your phone connected to the 903 via bluetooth, but are not using CarPlay or Android Auto, then this is where you’ll see what music you’re playing.
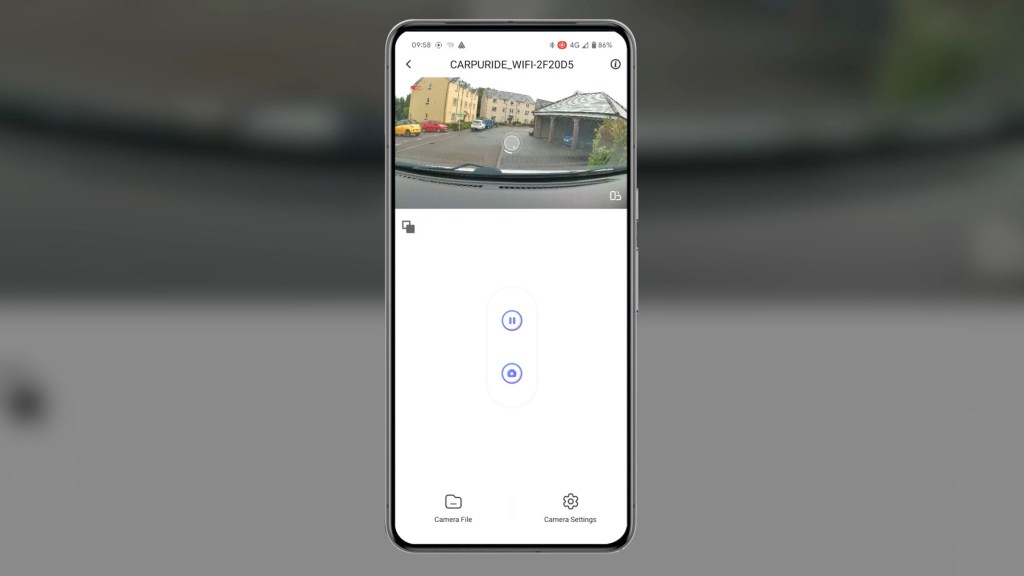
The final app is Wi-Fi video and, by downloading the Viidure app on your phone, you can add your dashboard camera and live view your vehicle and view recorded clips remotely, which is a great functionality to have.

Going back to the home screen again, you’ll see that all the tabs we have just covered are in fact individual apps on the home screen for quick access, with the exception of BT music. As we’ve already covered the first five, next we’ll head for the sixth app, audio output, and this again takes us to another page we’ve already seen, also accessible via the green button in the left menu.
The next app to explore is playback and this is where you can view all of your dash cam videos photos and lock content which are stored on the micro-SD card. It’s really nice to have the ability to playback footage instantly on a big screen, as some dash cams don’t offer this feature at all.
Exploring the Settings on the Carpuride W903
Finally the last app is settings and there are a number of things to explore here.
The first tab is general and you can change the screen saver duration, let the device know which side of the road you drive on, choose how you want your split screen mode to look in CarPlay or Android Auto, set your auto brightness parameters and toggle auto brightness on and off.
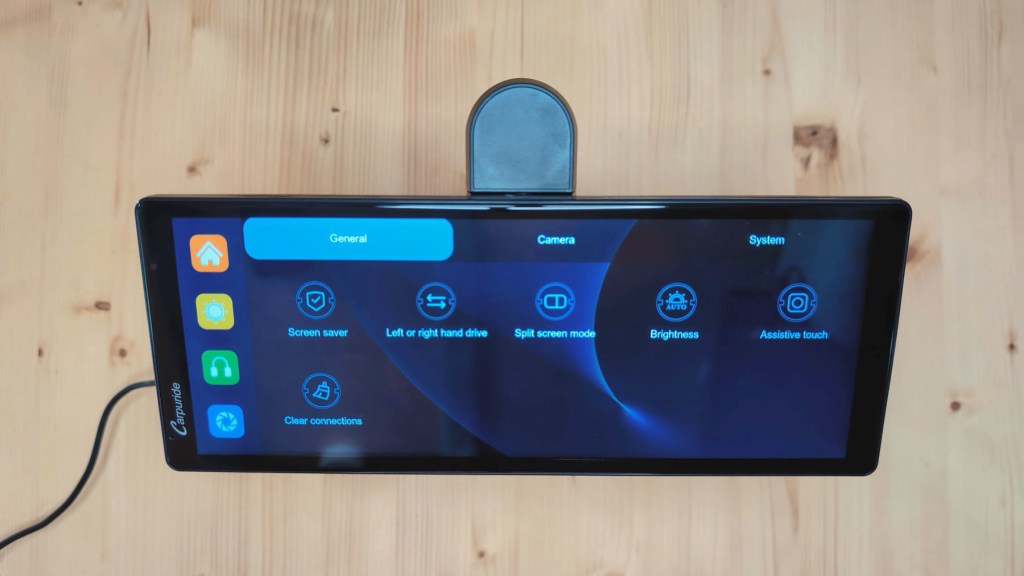
Next is Assistive touch and, if turned on, when you use the CarPlay or Android Auto interfaces, a small movable button will appear which enables you to quickly access the home, bluetooth, camera and brightness settings. The final button on this page is clear connections and this will reset all of your previous connections to devices.
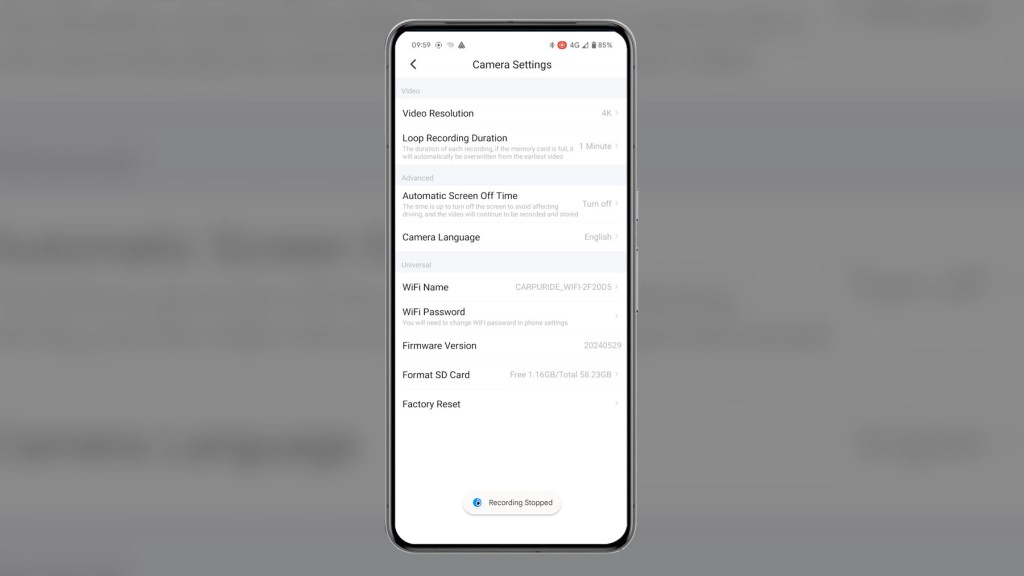
The second tab is the camera settings and first we have camera format which shows 720P, 720N, 1080P and 1080N. At first glance I wasn’t sure what these settings did as they don’t control the dash cam resolution, but when I plugged the rear dash cam in all I got was squiggly feedback lines instead of a clear image. As it turns out for this rear camera you need to select 1080p to get an image through. I assume all the other settings are to enable use with different rear view cameras.

The next button is record resolution and here you have 720p, 1080p, 2.5k and 4k resolutions. Next you can choose your segment duration or how long you want your dash cam clip to be before it cuts and starts another clip. As with the majority of dash cams, once your memory card is full the 903 will start overwriting the earliest footage, unless it’s protected, so you will always have the latest footage to hand and don’t have to constantly clear your memory card.
Collision sensitivity is also adjustable, which suggests that the dash cam would detect incidents automatically and protect the footage provided the device is powered on, though I don’t have any proof of this and don’t intend to crash my vehicle to find out.
Next you have another way of turning the microphone on and off, and the ability to flip or mirror the rearview image to suit your your preference. Finally is reverse line calibration and you can adjust the reversing lines you use to suit how you’ve installed the camera. For example, if it wasn’t installed centrally or you couldn’t see certain parts of the road through your rear view camera, you could adjust the lines to counter this when reversing.
The final settings tab is system and here you can choose your language, choose to turn on or off tapping sounds, change the date and time, check out your storage info based on the memory card you have in, format the memory card to wipe it, perform a factory reset on the device, and check the firmware version.

Lastly along the top right corner are four symbols but these aren’t pressable.
When recording the red dot will show that it will disappear when you stop, the storage button will show a line through it if you remove the memory card, and the Wi-Fi and Bluetooth symbols will be illuminated when connected in those ways.
How to install a rear view camera
The optional rear view camera offers the ability to have a rear dash cam and a reversing camera.
If you just want the first or both options, then either way you’ll need to feed the long 6m wire to the back, feed it through the inside of the rear door to the outside and screw the camera in place.
The long wire will need to be hidden some way in the vehicle and then the camera can be adjusted to get the right filming angle and tightened.
The only difference to use this as a reversing camera is that the red wire will need to be attached to the reversing light wire, so that when you put the car in reverse the camera knows this and the 903 device will automatically bring up the reversing screen.
I have a full detailed video on how to install this type of rearview camera to the reversing light that I made recently. It’s really not as bad as you think and in my opinion is well worth the effort.
Click to buy your own…
(Affiliate links which help support this blog)
Carpuride W903 4K Dash Cam Image Quality
With the built-in 4K dash cam you can expect some pretty good image quality. Dash cams as a whole lack for quality of, say, a phone filming in 4k, as they have to capture and store so much footage in the smallest possible size so it’s compressed.
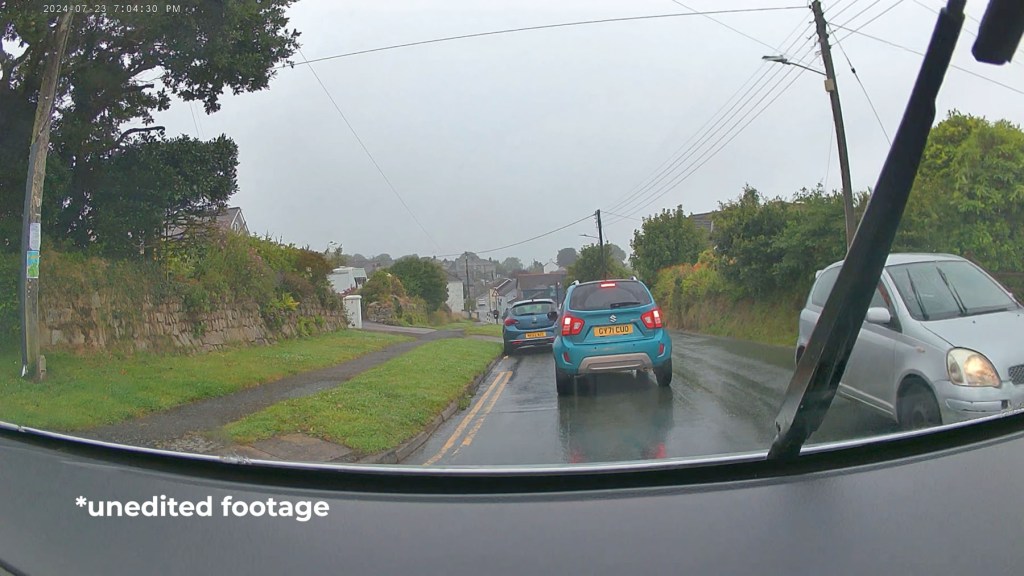
That said the 903‘s footage is pretty decent considering it’s a dashboard console first and a dash cam second.
Number plates are clear in daytime recording and important details are visible at night too.


Here you can see 4K, 2.5k, 1080 and 720 footage of the front camera side by side, so you can get an idea of the difference in resolutions the full HD rear camera quality is great and having the dual purpose as a reversing camera is a worthwhile addition.

How much is the Carpuride W903?
I looks like there are two versions of the 903 available to buy on Amazon, so be sure not to get them muddled up.
The first has a 2.5k front dash cam and the second is the one I’ve reviewed here with the 4K dash cam. Other than that I believe they are identical. I couldn’t find the 2.5k version on the Carpuride website, so it may be that the 4K version has superseded it.
Prices vary depending on where you look, but both the 2.5k and 4K versions could be found for between £150 and £200 at the time of filming.
I’ve got affiliate links to the Carpuride and Amazon stores so have a browse to find the best price, and be sure to use the discount code LENSOFJAMES at checkout to get you an exclusive discount off your order from Carpuride.com
Should you buy the Carpuride W903?
The Carpuride W903 is one of the best dash cam consoles I’ve come across so far.
It’s packed with everything you need and they’ve stripped away everything you don’t, making it a simple yet effective device.
It’s quick to load the software is stable and it’s easy to use too. I’ve had no problems during testing and feel like I have a quality piece of tech on my dashboard.
Being able to put Apple CarPlay and Android Auto in pretty much any vehicle without the hassle of wiring and removing radio head units, or having to pay for a brand new vehicle, is a no-brainer and the addition of the front and rear dash cams make it twice as functional and remove the need for a separate dash cam on your windscreen.
Thanks for stopping by!

Click to buy your own…
(Affiliate links which help support this blog)
