
This article is a written account of a video from the Lens Of James YouTube channel. Watch the video above and subscribe if you like what you see!
This article contains affiliate links to relevant products I have used in my videos. By buying through these links, I receive a small percentage of the sale at no cost to you which helps me support and grow my website and YouTube channel, so I can create more content like this in the future. Thank you for your support.
WHy Replace Your Radio Screen?
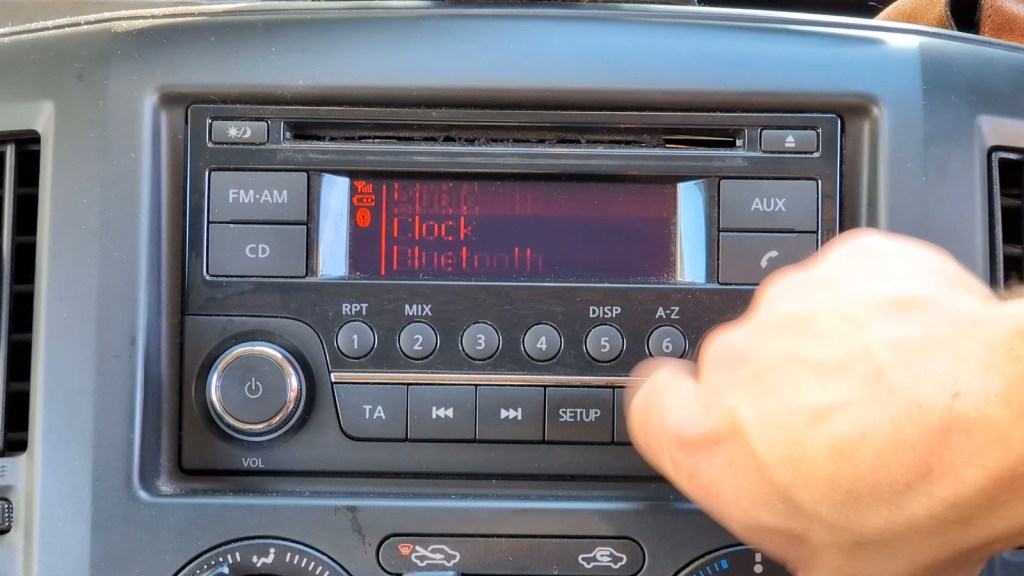
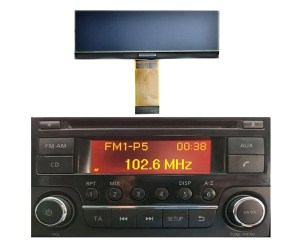
If your radio head unit display is faulty or looking faded, particularly when it gets hot and you want to replace it yourself, then this article is for you.
I’m replacing the screen on my Nissan NV200, but the screen is used in lots of other Nissans such as the Micra, Juke, Navara, Qashqai, Pathfinder and more, plus other brands including Dacias, Suzukis and Renaults (full list below). Be sure to always check compatibility before purchasing.

| Dacia Dokker (models from 2012 to 2021); | Dacia Duster 1st-gen (models from 2012 to 2017); | Dacia Duster 2nd-gen (pre-facelift models from 2017 to 2021); |
| Dacia Logan 2nd-gen (model since 2012); | Dacia Lodgy (models from 2012 to 2022); | Dacia Sandero 2nd-gen (models from 2012 to 2021); |
| Lada Xray (models since 2015); | Mercedes Citan W415 (models from 2012 to 2021); | Nissan Dualis (post facelift models from 2010 to 2014); |
| Nissan Frontier (post facelift models from 2011 to 2015); | Nissan Juke (pre-facelift models from 2010 to 2014); | Nissan March (models from 2010 to 2018); |
| Nissan Micra (models from 2010 to 2018); | Nissan Navara (post facelift models from 2011 to 2015); | Nissan Note Mk1 (models from 2009 to 2012); |
| Nissan Note Mk2 (models from 2012 to 2017); | Nissan NV200 (models from 2009 to 2019); | Nissan Pathfinder (models from 2012 to 2019); |
| Nissan Pulsar B17 (models from 2013 to 2017); | Nissan Pulsar C12 (models from 2013 to 2018); | Nissan Pulsar C13 (models from 2014 to 2018); |
| Nissan Qashqai Mk1 (post facelift models from 2010 to 2014); | Nissan Sentra B17 (models from 2012 to 2019); | Nissan Sylphy B17 (models from 2012 to 2019); |
| Nissan Terrano (models from 2013 to 2020); | Nissan Tiida C11 (models from 2004 to 2013); | Nissan Tiida C12 (models from 2011 to 2018); |
| Nissan Tiida C13 (models from 2014 to 2018); | Nissan Versa (models from 2013 to 2019); | Nissan X-Trail T31 (models from 2007 to 2014); |
| Renault Captur (models from 2013 to 2019); | Renault Clio IV (models from 2012 to 2019); | Renault Duster (models since 2012); |
| Renault Duster Oroch (models since 2015); | Renault Kangoo 2nd-gen (post facelift models from 2013 to 2021); | Renault Logan (models since 2012); |
| Renault Master 3rd-gen (post facelift models from 2014 to 2019); | Renault Pulse (models from 2012 to 2018); | Renault Symbol 3rd-gen (models since 2012); |
| Suzuki Equator (models from 2011 to 2015). |
The tools you’ll need for the project are as follows: a large and small cross-head screwdriver, a Torx T20 screwdriver, trim removal tools, a spudger which you don’t might damaging, a pair of pliers and a soldering iron and solder removing tool.
The replacement really wasn’t too bad and could easily be done in a couple of hours, maybe quicker, especially if you’re not filming it for YouTube. I’ve got affiliate links to the screen you need and all the tools throughout this article.
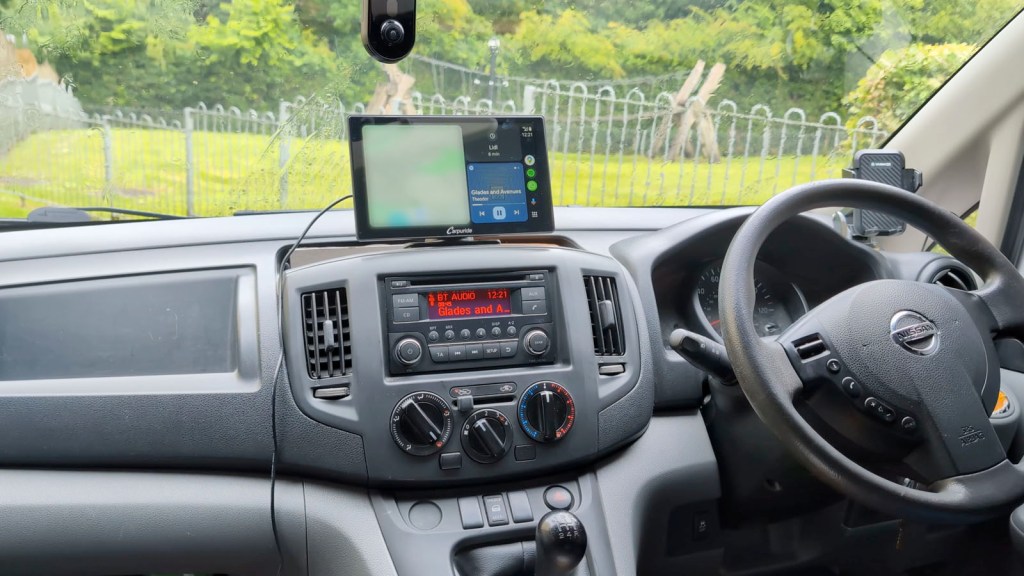
As you can see, the screen had really deteriorated to the point that I could barely read it, so changing it out was long overdue. If you’re just here for the screen change and not how to remove the head unit, then head further down the article for the relevant section.
Click to buy your own…
(Amazon affiliate links which help support this blog)
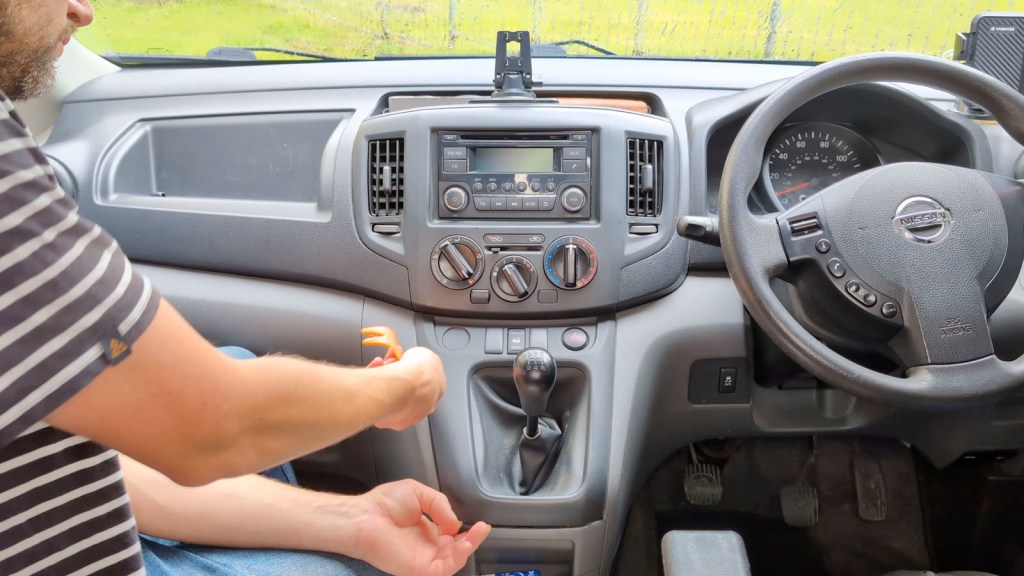
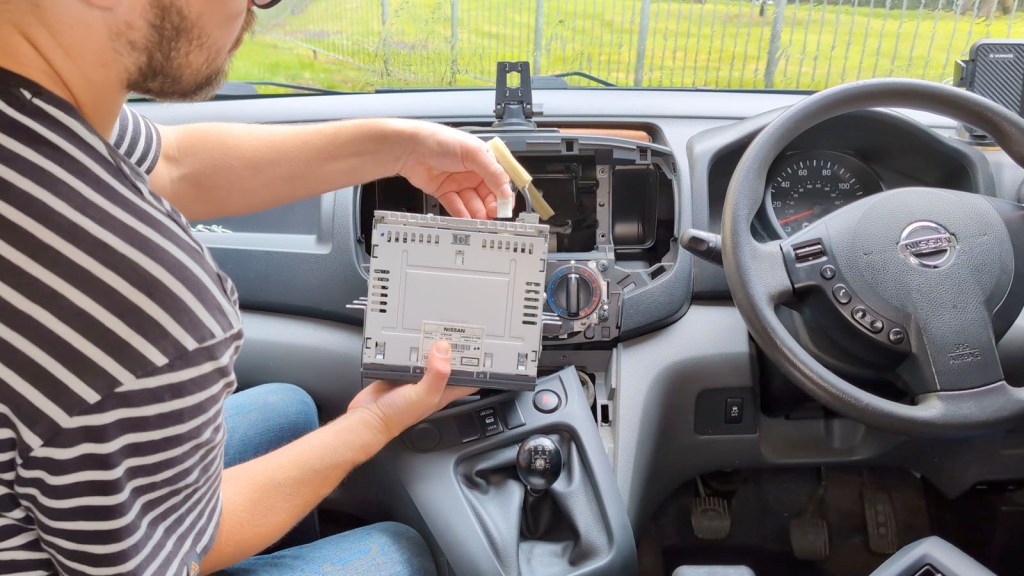
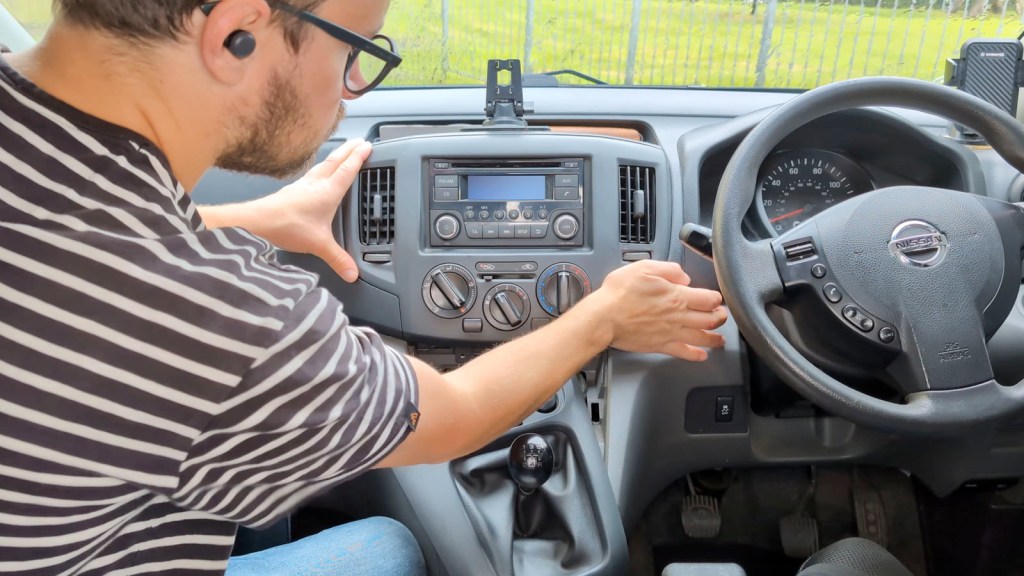
How To Remove head unit Of A Nissan NV200
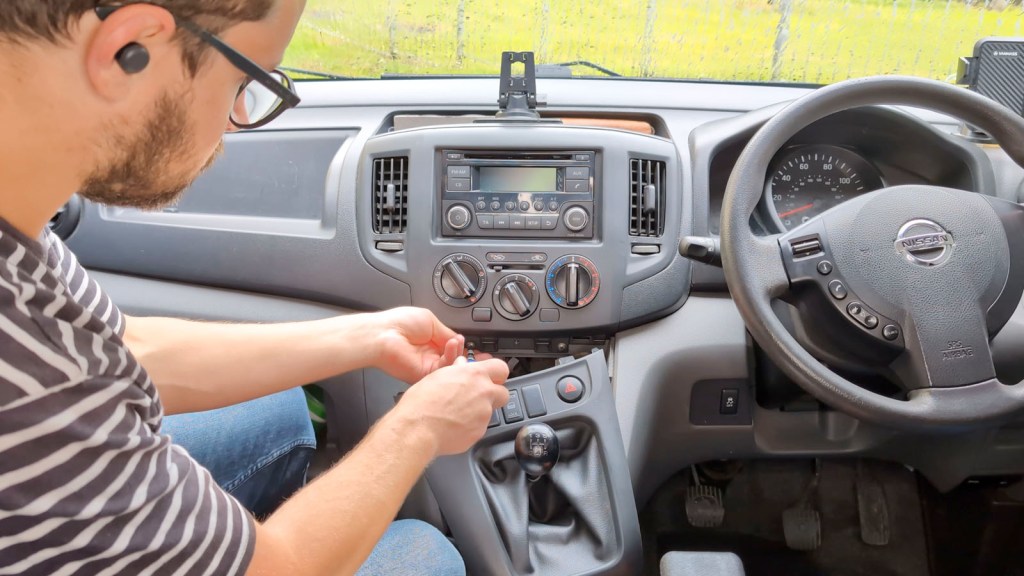
The first step is to remove the radio head unit from the van. Begin by taking off the vent slider knob in the middle of the dashboard. To do this, push up and it will pop right off.

Then using the plastic trim removal tools, go around the bottom section of trim. This won’t damage the trim as it’s held on by clips. This piece of trim is connected to the van via wires and fed through the gear stick, so can be left lying where it is.
There are two screws behind this piece of trim which secure the trim above to the van and need to be taken out using a crosshead screwdriver. These weren’t too difficult to remove by hand but take extra care as if you drop them they could fall into the van.
With the screws out, take the trim removal tools and work your way round the edge of the upper trim. Again, this will loosen the clips and a little persuasion will pop off completely without any damage. This can be put to one side for now.
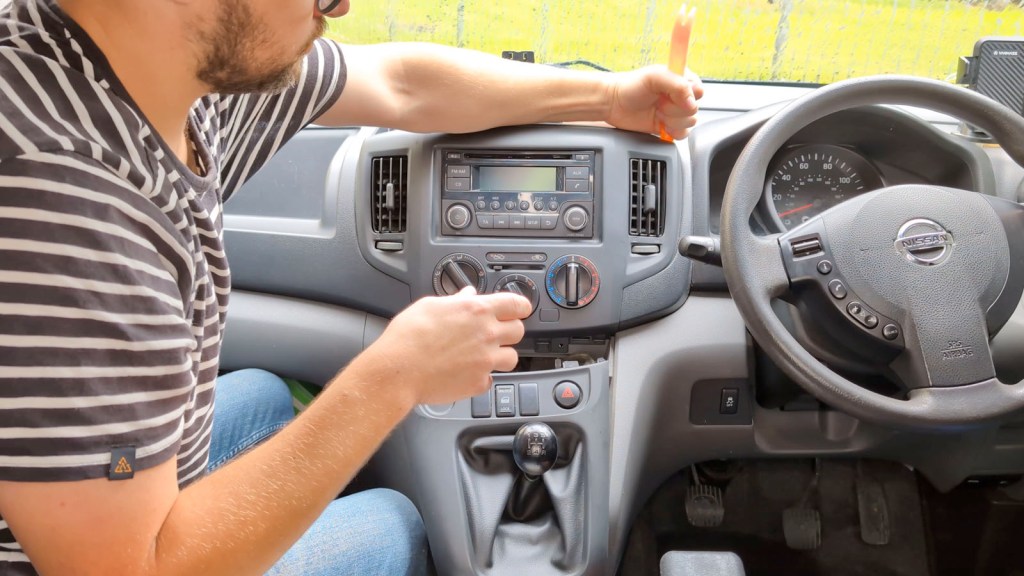
With the head unit exposed, there are four screws – two on each side – securing it in place and these need to be removed. Take care again as there’s another bunch of gaps that screws could fall down into.
We’re also on Instagram!
Check out yogi.the.van to keep up-to-date with all our adventures in the van!


It’s worth noting here that most vehicles will require a radio code to be inputted if you unplug the radio from the battery, so make sure you have this before disconnecting – it’s usually found in your car or van manual.
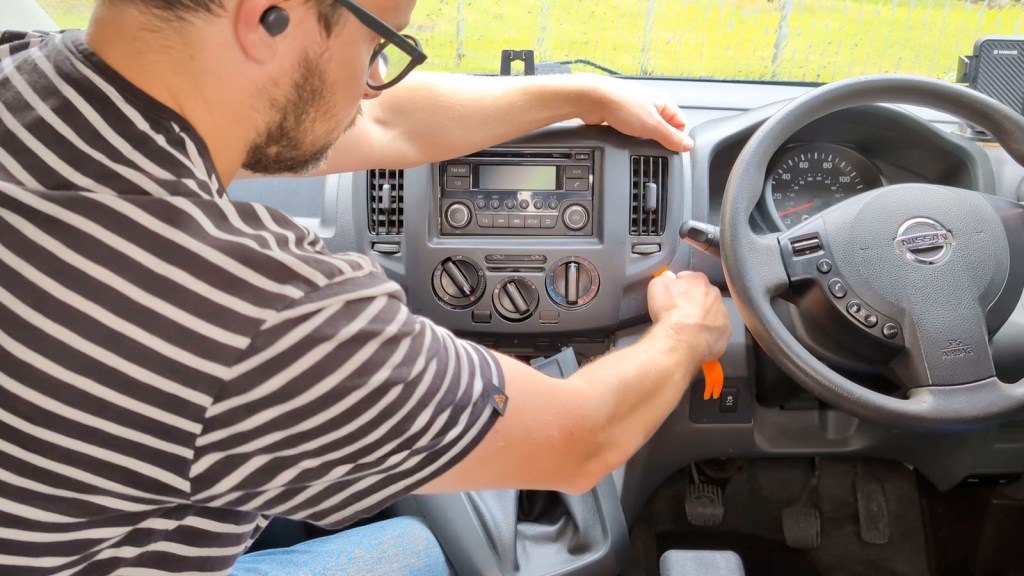
Once the screws are removed, the head unit is free and will pull out a little to expose the four harnesses of cables that connect to it.

These can all be unplugged and, if you’re worried about scratching the dashboard plastic with the metal of the head unit, you can always put a cloth down to protect it. Each of the wiring harnesses has a push clip, so are fairly easy to remove.
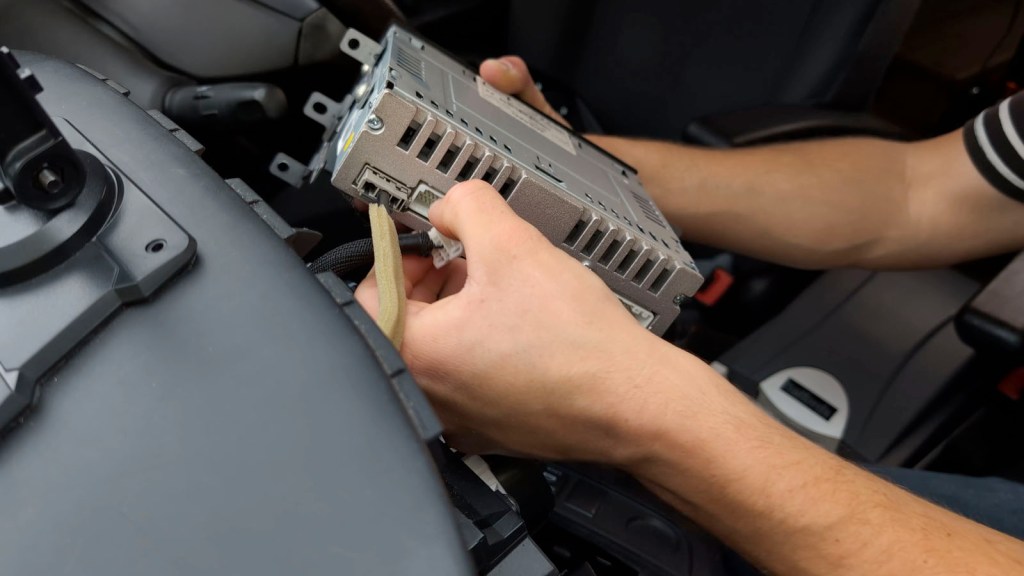
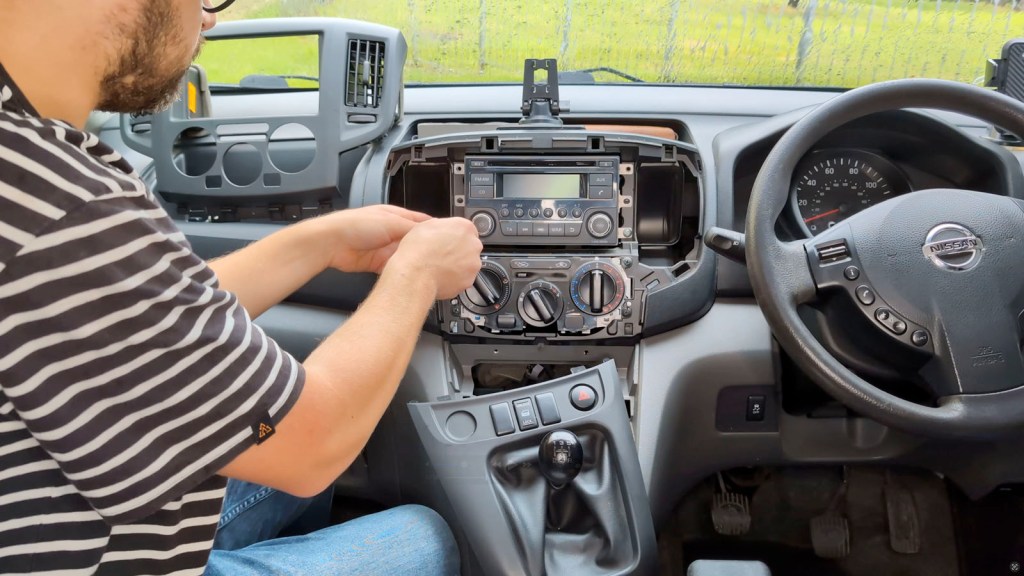
Once removed, the head unit is completely free and ready to take inside to change the screen!
How To Replace The Faded Screen Of A Nissan Radio
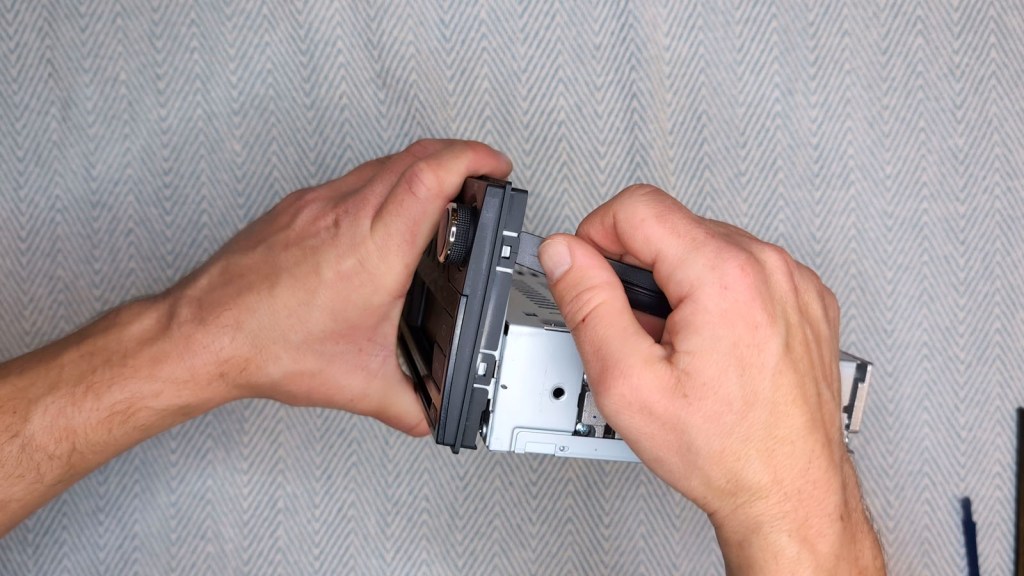
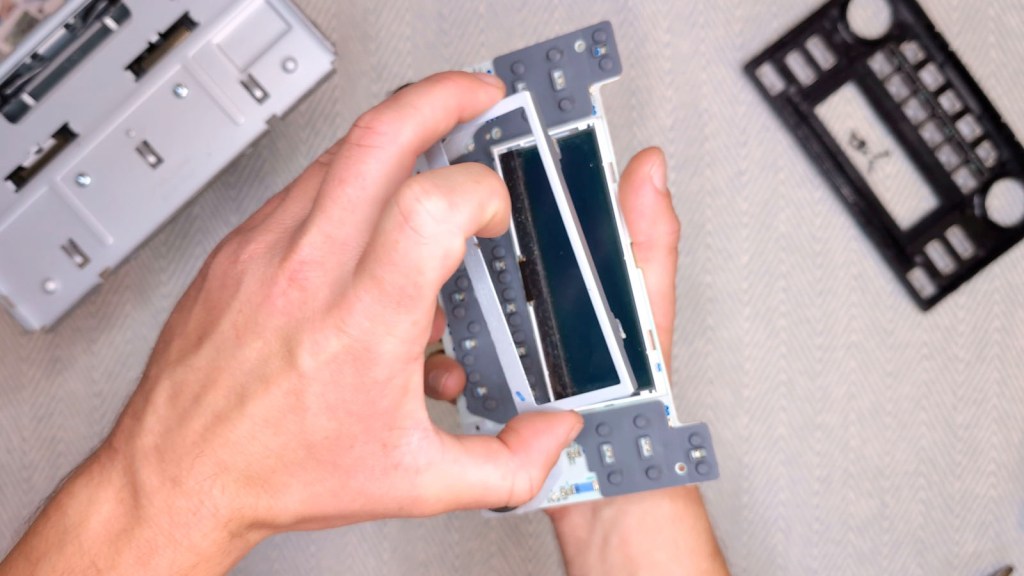
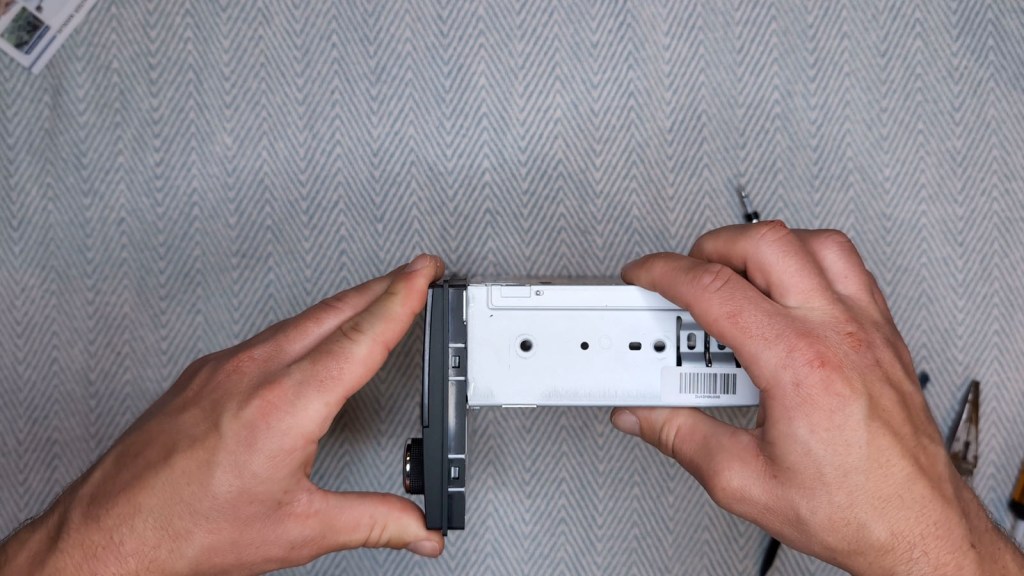
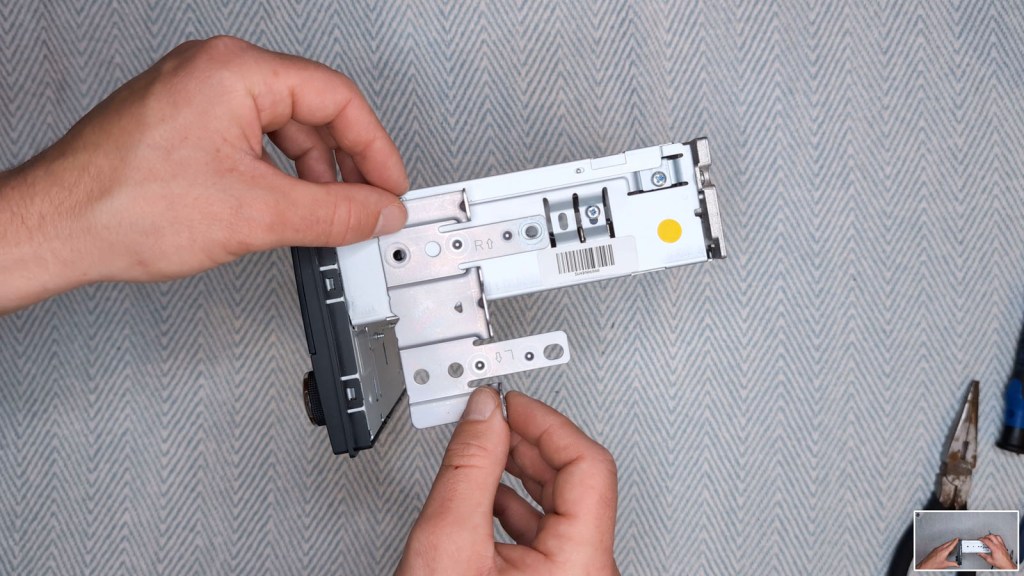
With your tools and the replacement screen to hand, get the head unit and remove the two screws on each side to remove the brackets and these will need the Torx T20 screwdriver. I found them to be on very tightly, so take care when unscrewing.


Once the brackets are off, take a trim removal tool or spudger and pry up the eight clips holding the front of the head unit to metal housing. I found these to be the most difficult part of the project but with a bit of patience they do come up.
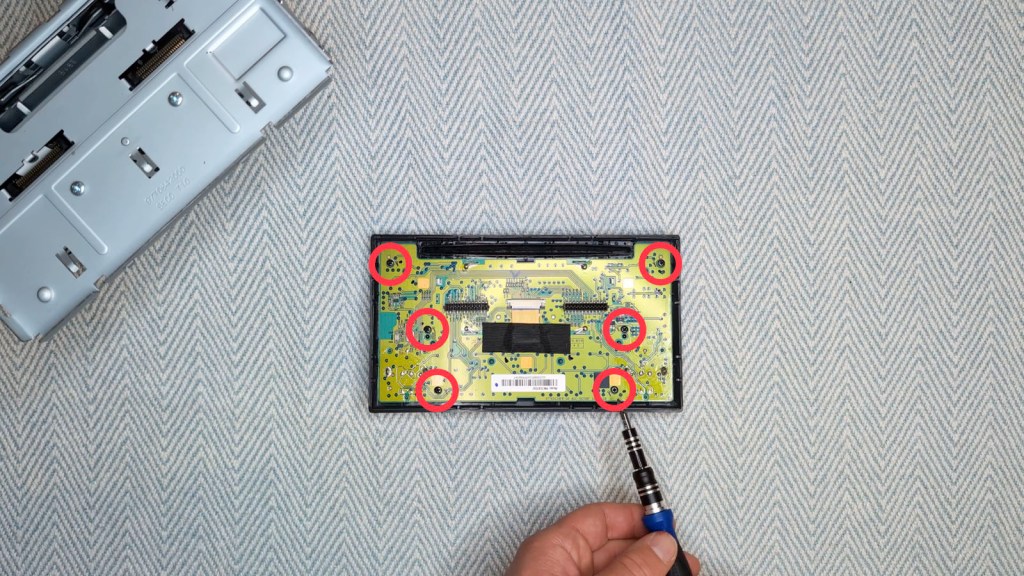
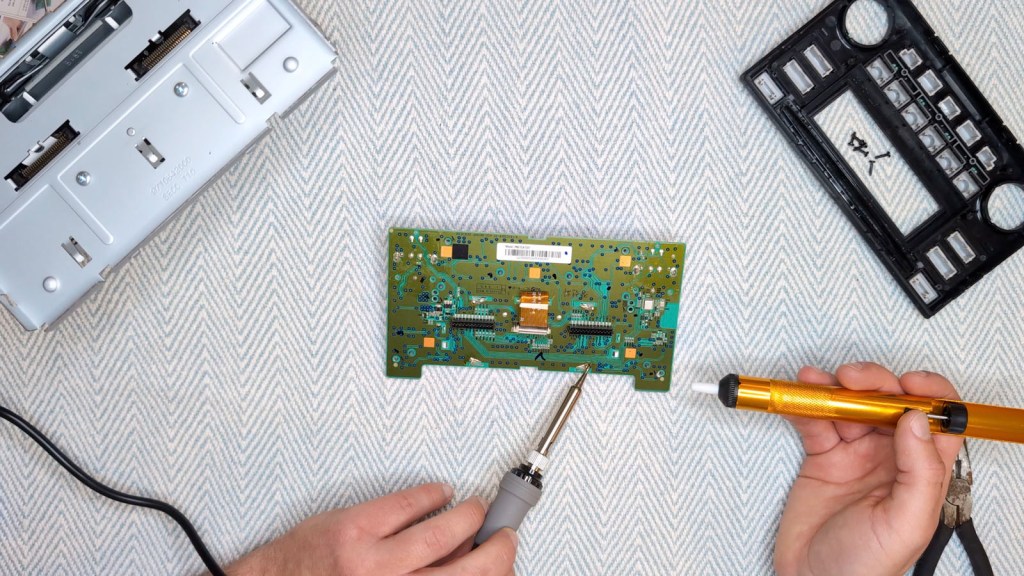
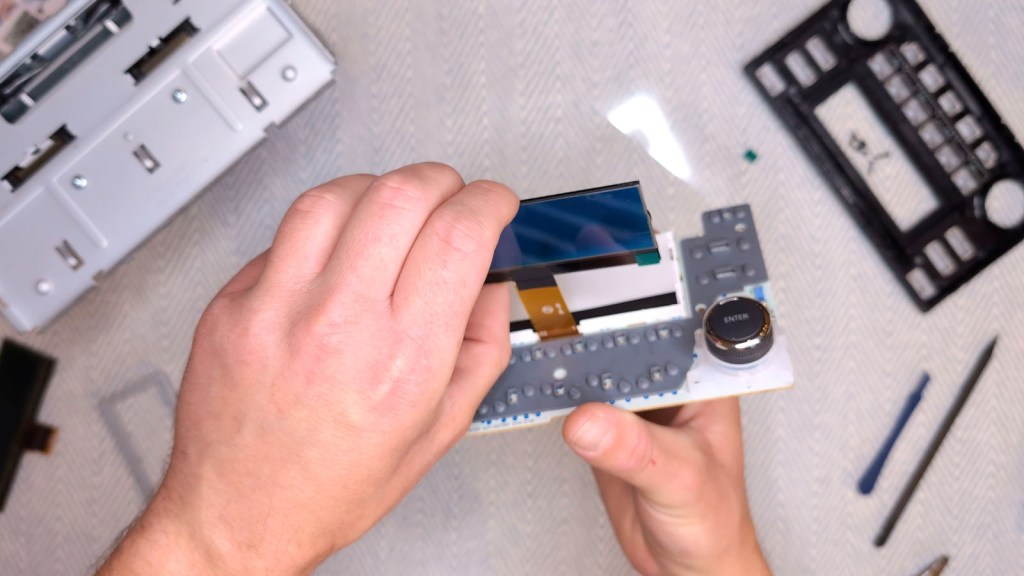
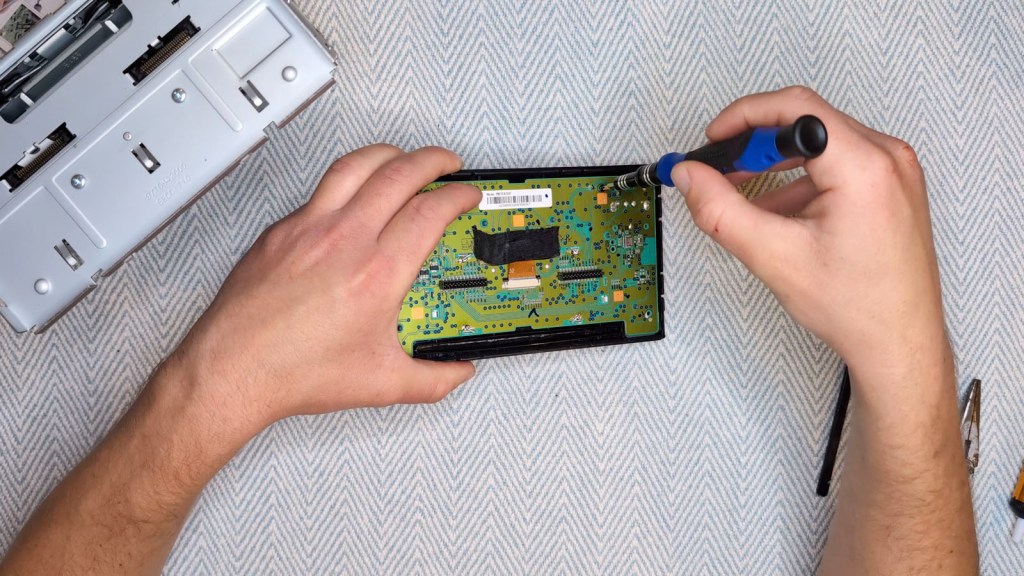
Put the metal head unit to one side and locate the 6 screws holding the circuit board to the front of the head unit. Remove these to free the circuit board and the screen replacement can begin.
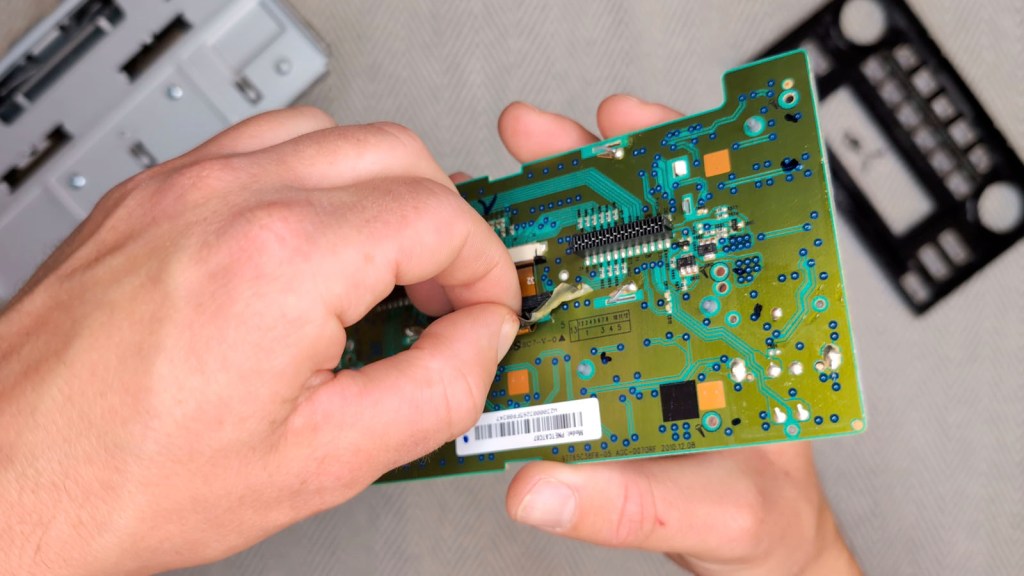
Remove the black tape holding down the ribbon cable , which I found a little fiddly. As the tape was so sticky, I lifted it enough to free it from the circuit board, but left it attached to the ribbon cable for now.
Click to buy your own…


(eBay affiliate links which help support this blog)
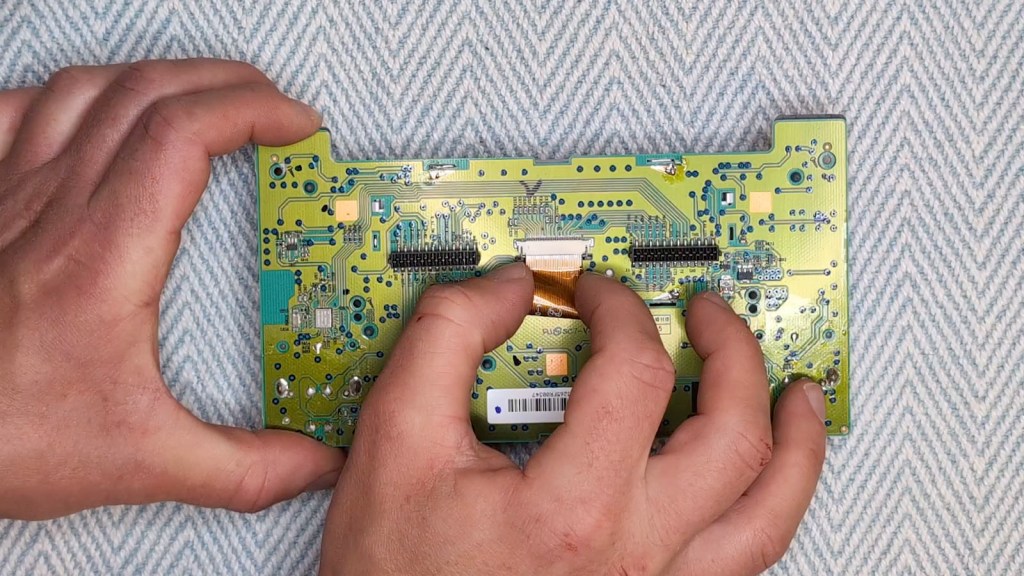
With a spudger, carefully pop up the pins holding the ribbon cable in its connector and then slide the ribbon cable out. As this cable will be replaced, I removed the tape at this point.

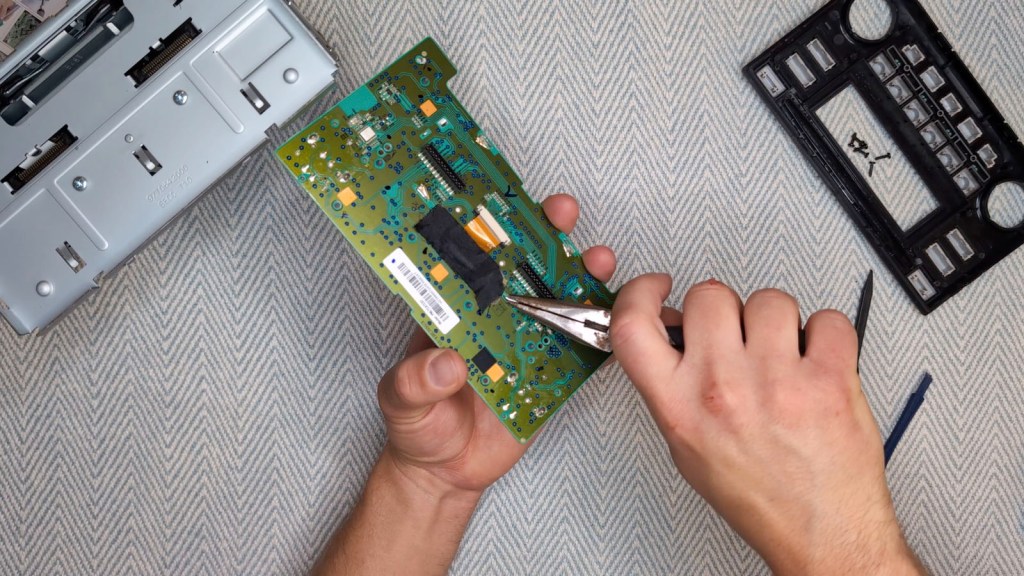
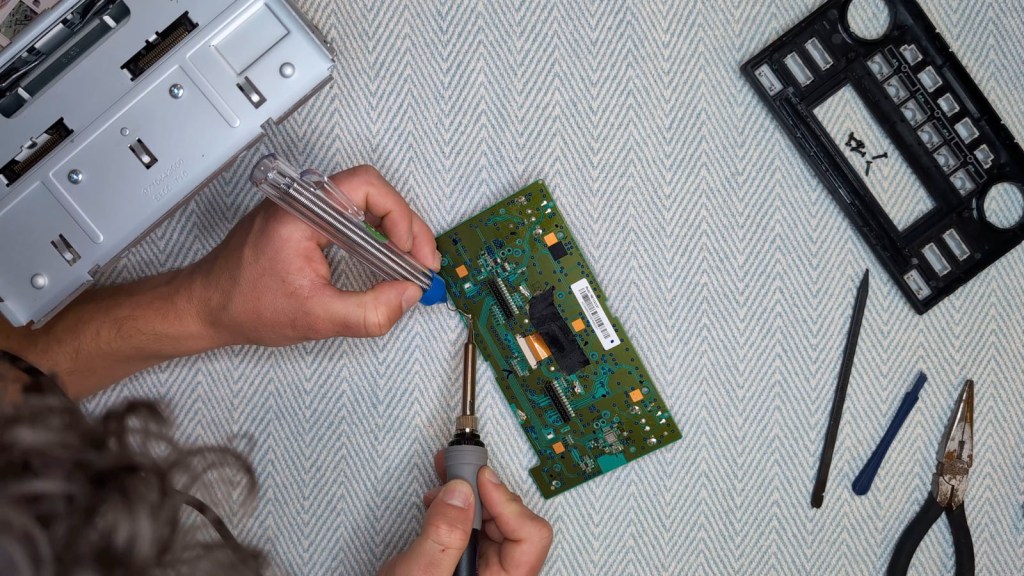
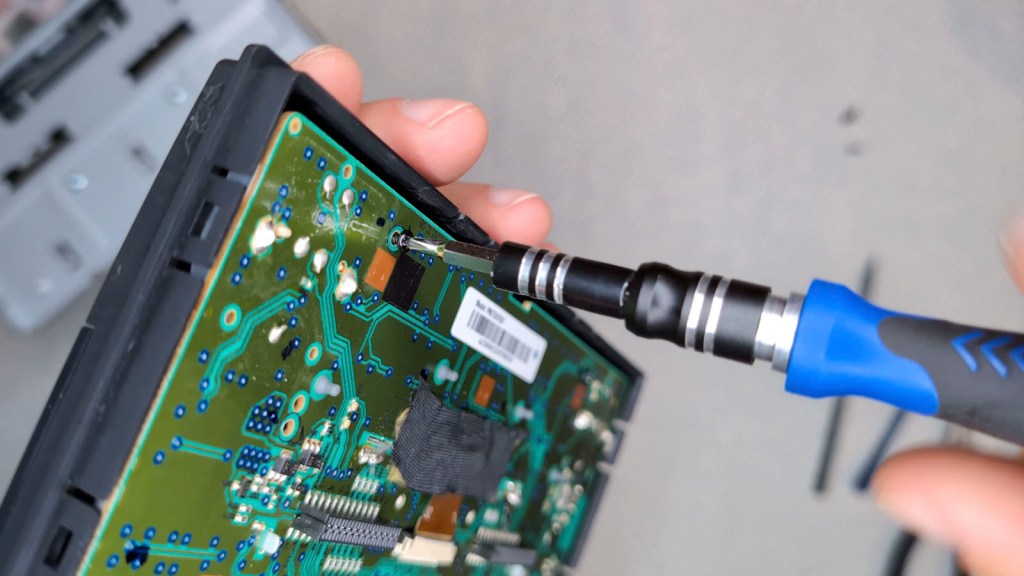
There is a metal casing holding the screen in place and this is soldered to the circuit board. You could potentially get away without using a soldering iron and just breaking the solder away with some pliers, but I don’t think it would be worth the risk for a extra few minutes work.
The solder isn’t connected to any electrical components and just secures the metal case to the circuit board, so simply heat up the solder around each of the clips, remove it, and bend the pins of the metal case straight.
They will then be able to fit through the slots in the circuit board, the metal case can be removed and the screen will fall out.
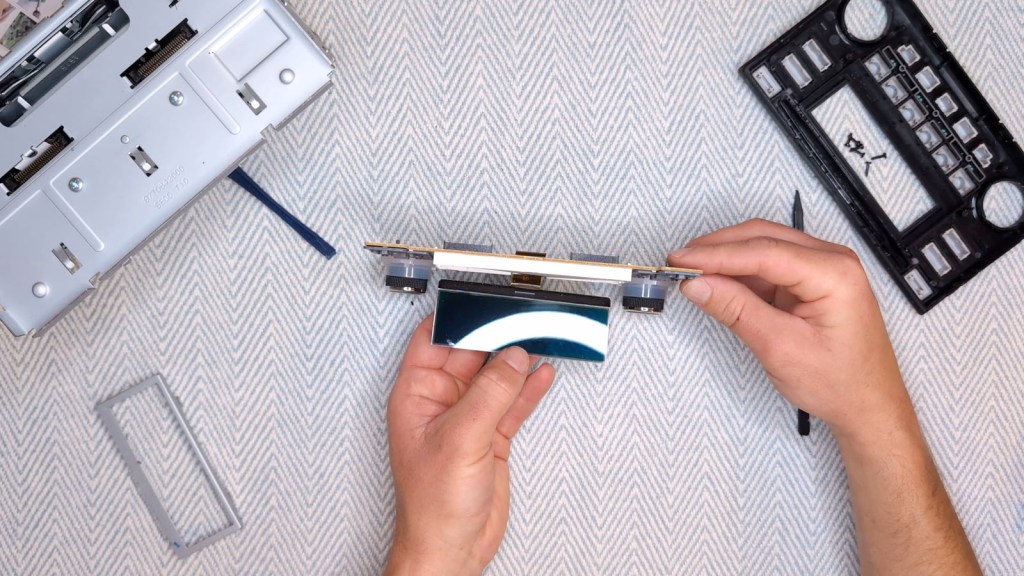
The old screen can be put to one side and I found it to be a good opportunity to blow some air around the screen holder whilst it’s open.
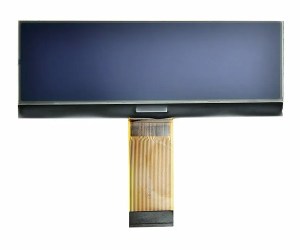
Next, get your new screen. Mine didn’t say which was the front and back but I noticed that both the old and new had a slight notch on the right hand side which I took to be an indicator of which side faced inwards and out.
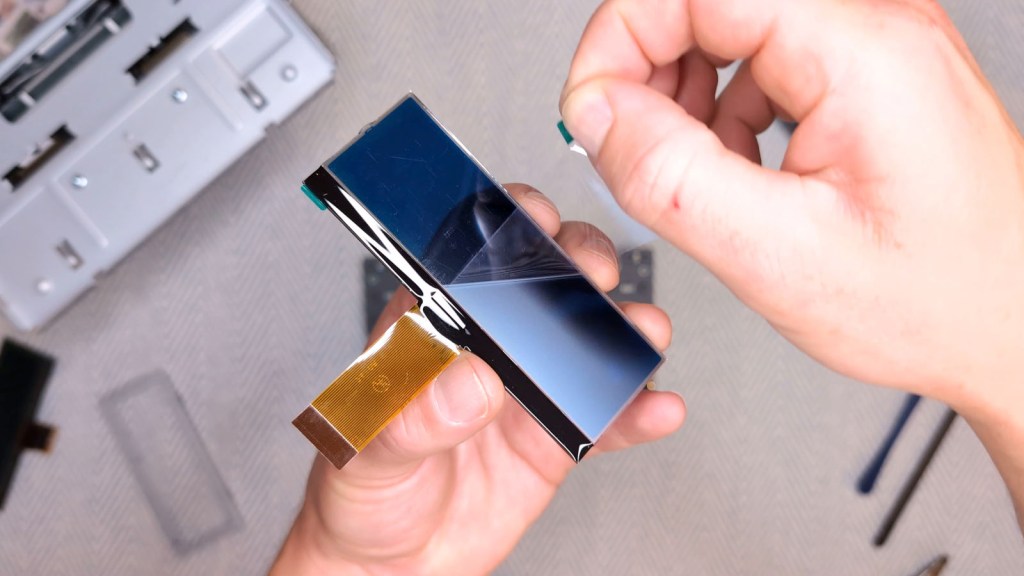
Peel the inward protective film off, feed the cable through the slit in the circuit board, place the new screen in the opening and then peel the outward film off too.
Next, insert the ribbon cable into the connector. I found it went in about 5 or 6 millimetres and left a little of the metal exposed. Once seated, push both puns back in to lock the cable in place.

Make sure the ribbon cable is pulled through fully and replace the black tape to secure it to the circuit board.

Then the metal case can be secured to the circuit board again by twisting the pins and adding a little solder. I haven’t soldered for years, so it was a little messy, but luckily will never be seen.
Pop the circuit board back into the black front piece and add the 6 screws back.
Push the front piece back onto the metal head unit, making sure all the clips are seated well.
Finally, add the left and right brackets back to the side, tightening firmly, and you’re ready to add the head unit back to the vehicle.
Click to buy your own…
(AliExpress affiliate links which help support this blog)
Reinstalling the head unit in a nissan NV200
All you have to do hear is work in reverse to taking the head unit out, but first, plug the cables back in – and they’re all unique shapes so you can’t get them mixed up – and then hold your breath, turn the ignition on, check that the screen works and then, hopefully, breath a sigh of relief.
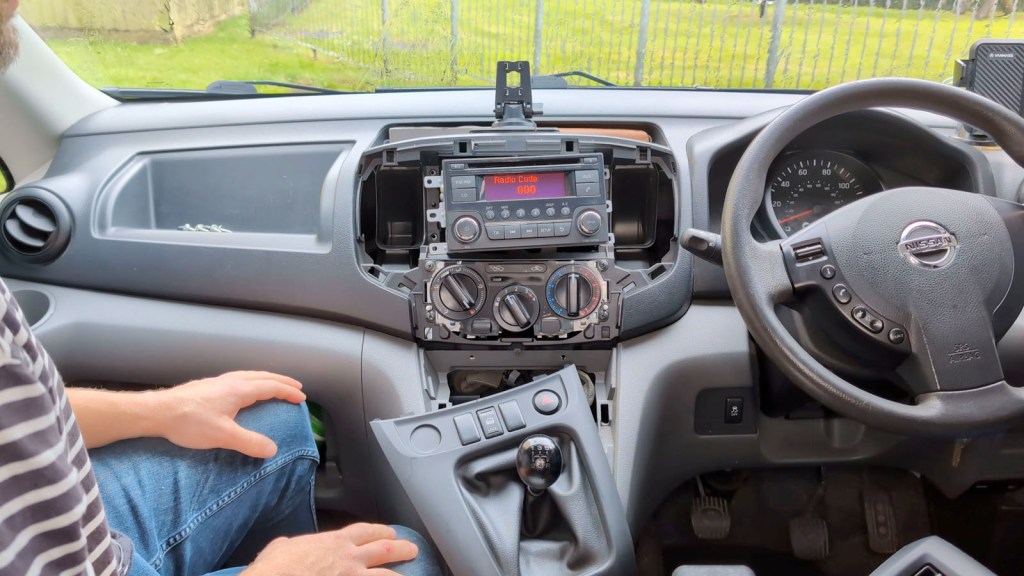
After inputting the radio code, which on mine required pushing the number one five times to get the number five and so on, the screen should work as normal and look much better than before.
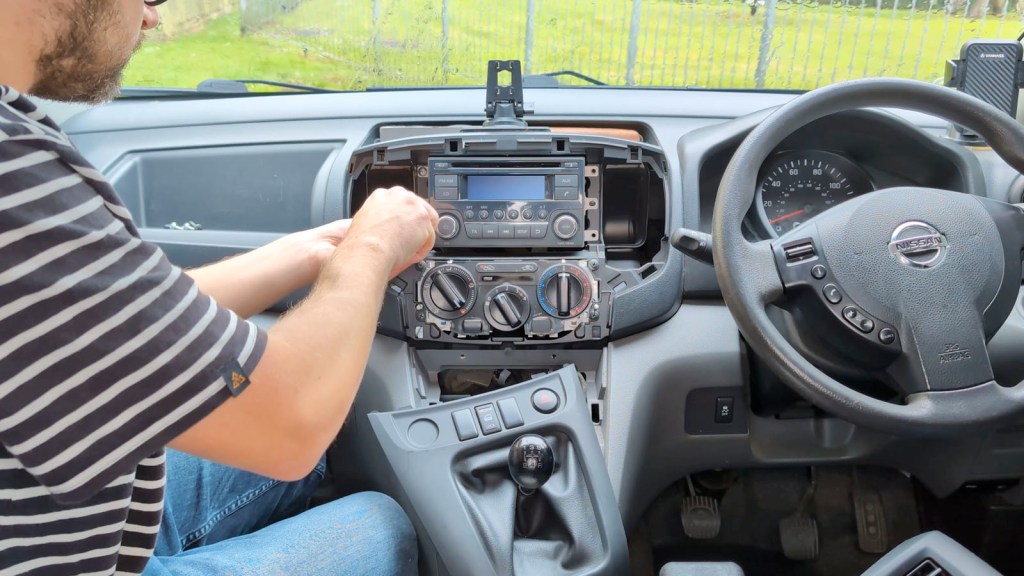
To finish up, turn the ignition off, fix the head unit in place with the four screws, reattach the top trim piece with the two screws at the bottom, reattach the bottom trim piece and, finally, push the vent slider knob back on – you’re finished.

You can pick up a replacement screen from my affiliate links here at Amazon, AliExpress or eBay, for around £50 – £70.
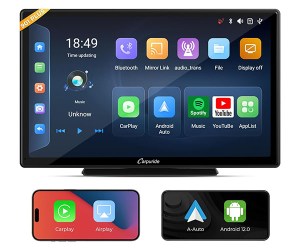
If you’re wondering what the screen above my radio is, it’s the Carpuride W901 Plus, which I’ve just made a video on, and it’s one of a range of screens which easily puts CarPlay or Android Auto in any vehicle without dealing with any wiring.
Thanks for stopping by!
Click to buy your own…

(Affiliate links which help support this blog)
