
This article is a written account of a video from the Lens Of James YouTube channel. Watch the video above and subscribe if you like what you see!
This article contains affiliate links to relevant products I have used in my videos. By buying through these links, I receive a small percentage of the sale at no cost to you which helps me support and grow my website and YouTube channel, so I can create more content like this in the future. Thank you for your support.
In this post, I’m sharing how to build a removable van conversion, as well as answering why you would want a removable van bed and furniture, what makes a van conversion removable and how to do it.
Why would you want a removable van conversion?
I think the main reason to have a removable or modular van conversion would be that the van can be used for other purposes other than just as a camper van; whether that’s for work so you can empty the furniture out and put all your work gear in, or whether that’s just occasionally because you need to move house, you need to move some big items around.
What makes a van conversion removable?
Is it being able to get it back to the bare metal, like when it came out of the factory? Or is it just being able to remove the furniture and free up space in the van for other purposes?
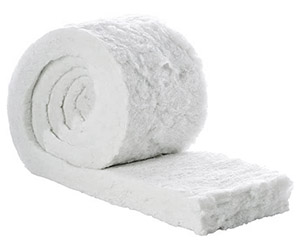
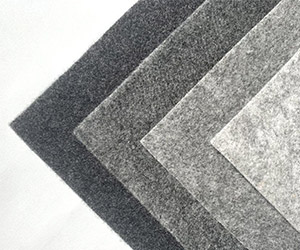
I’ve put spray foam insulation in the roof beams and covered them with carpet, which is permanent. Other methods, such as loft insulation, recycled plastic bottle insulation and foil bubble wrap insulation, provided they’re not stuck down with an adhesive, could easily be removed if that was needed in the future.
It’s certainly possible to keep just the furniture removable so that it can all be taken out if access is needed to certain parts of the van, or if the van is needed for another purpose.
So that leads us onto the question…
Click to buy your own…

(Affiliate links which help support this website)
How do you make a van conversion removable?
I want to share the methods I’ve used to keep my van furniture removable.
It all began in the design process. I didn’t want to completely commit my vehicle to being a camper full time, and so tried to come up with ways to make it removable, which also goes hand-in-hand with not attaching things directly into the framework of the van – so less permanent, but also less destructive.
To achieve this, I decided to work with what was already in the van, namely the load rings and built-in screw threads. Both of these are present in most vans, but I’ll be referring to NV200 as that’s what I’ve got!
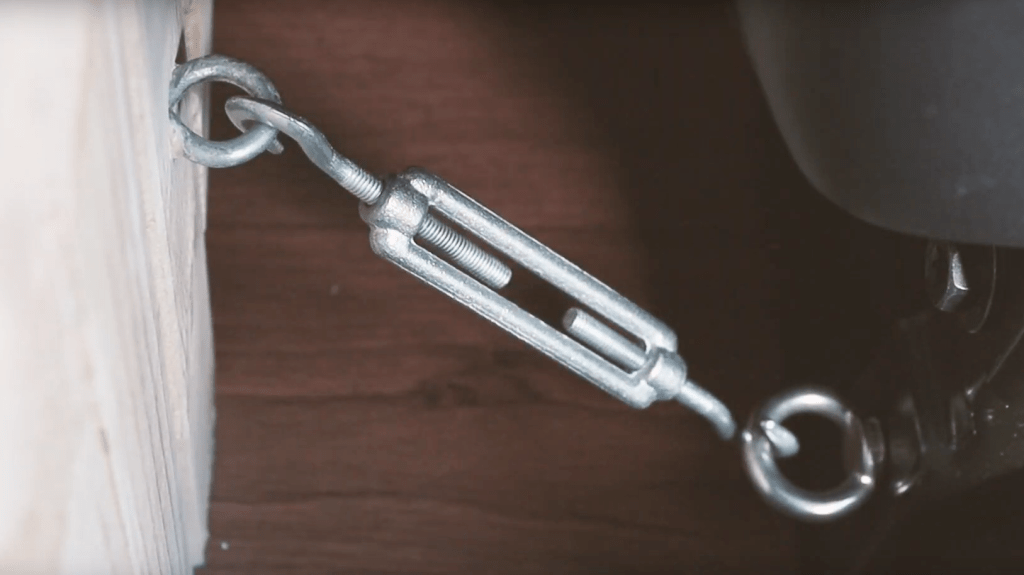
Turnbuckles
There are 6 load rings in the Nissan NV200 that run along the sides of the van – 2 at the front, 2 in the middle and 2 at the back and, as their name suggests, they are purpose built to attach loads into the van, keeping them secure and keeping the vehicle – and its passengers – safe.
I’ve used 4 of these load rings in my van conversion. One at the front and back for the bed and, on the other side, the middle and rear ones to attach the wheel arch storage box.
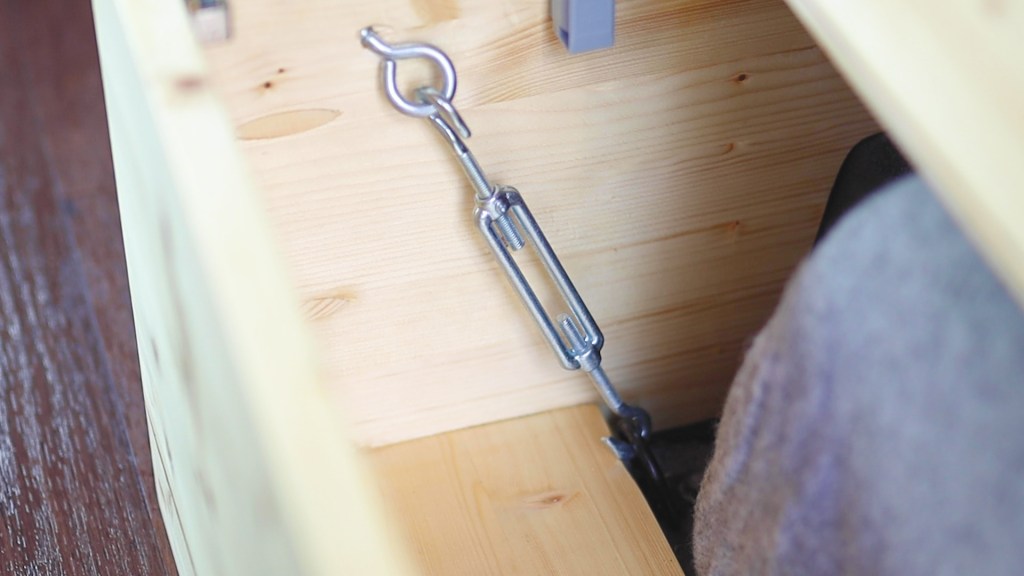
On all 4 rings I got some turnbuckles, which are super strong and practical items, which hook onto the ring on one end, while the other end hooks onto metal eyes that I’ve screwed and epoxied into the furniture. Once tightened and tensioned, they keep the furniture so firmly in place that I reckon you could flip the van upside down and it would all stay there, though I’m not going to try it!
You could also use rope or straps in conjunction with the load rings, but don’t use bungees or anything with give in it, as they won’t hold things firmly.
We’re also on Instagram!
Check out yogi.the.van to keep up-to-date with all our adventures in the van!


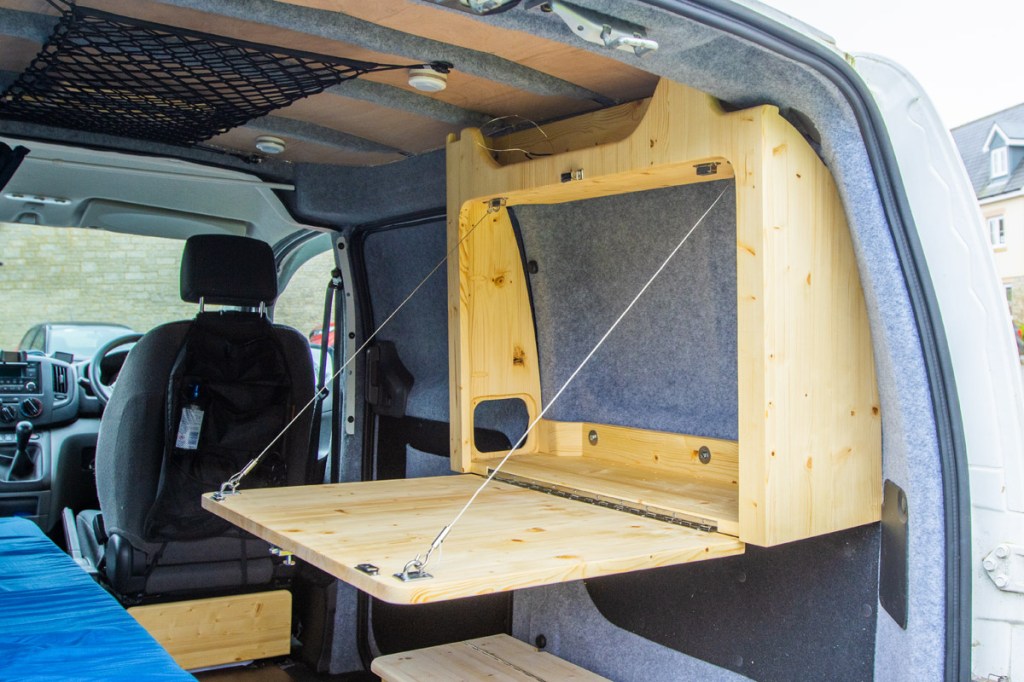
Built-in screw threads
The screw threads can be found all over the place on the NV200, but particularly on the walls and on the rear base of the front seats. Being built into the van, these are ideal to bolt into for solid fixing points
My main use of the screw threads has been the folding table unit, and I’ve used 5 high tensile M6 bolts (eBay affiliate link) to hold it to the wall. Like the bed and storage box, it’s very firmly attached.
I’ve also utilised the screw threads on the driver’s seat to create a small secret cupboard to house smaller items and stop them rolling around in the van whilst driving, and have also put a bolt through the leg of the bed to provide an extra mounting point and a bit of extra peace of mind.

So both load rings and screw threads have proven to be great ways to attach furniture, provided it can be done safely.
And on the topic of safety – if you intend to convert a van, whether removable or not, always make sure that it’s done safely and securely, so that if the worst was to happen, you’re not putting yourself or others in any danger.
How long does it take to remove the furniture from my van?
It’s not long! Watch the video at the top of this page to find out!
Now I wouldn’t want to remove everything often, however I think it’s really important that, when necessary, I can use the van for other purposes, whatever they may be.
If you want to see more of my camper van build in action, please CLICK HERE.
Click to buy your own…


(Affiliate links which help support this website)
