
This article is a written account of a video from the Lens Of James YouTube channel. Watch the video above and subscribe if you like what you see!
This article contains affiliate links to relevant products I have used in my videos. By buying through these links, I receive a small percentage of the sale at no cost to you which helps me support and grow my website and YouTube channel, so I can create more content like this in the future. Thank you for your support.
It’s time to do a van build review and inspect the functionality of my van conversion, mistakes and all, after over a year of days out, camping and adventure. In this van conversion follow-up, I go through the different elements of my van build and share what I would change about my van. I’ll also be removing my recycled plastic insulation to see if it’s insulating correctly or whether it’s damp and covered in mould.
How is the carpet doing?
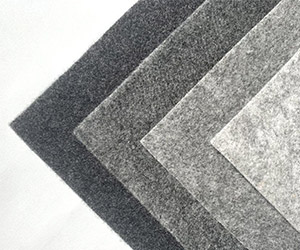
Let’s start with the carpet. I’m so pleased I carpeted the walls, instead of using heavy, space-consuming wood which would have been screwed into the van walls. The smoke grey finish hides marks, and the carpet itself actually acts as an insulator, reducing condensation.
I stuck carpet over foil bubble wrap insulation in some problem areas – no problems in these areas either, and I’m pleased to say that the carpet still looks as good as the day I put it in.
How are the carpeted doors doing?
I get asked about rubber trim around the doors a lot and whether it’s still stuck well. I did a lot of research into adhesives prior to doing the doors, and the rubber is still solid.

Click to buy your own…


(Affiliate links which help support this website)
What about the vinyl floor?
Onto the wood effect vinyl floor, and again no real problems. I have made a few marks and scratches on it, but other than that it just needs a good clean!

How is the van furntiure holding up?
The bed and mattresses have been brilliant, and for those who don’t know I made it in 3 sections so I could fit my surfboard through the centre of the van. I changed the draw from metal sliders and a peg in the leg to a couple of wooden rails with a stop. I also fitted a bolt to the far side of the bed, attaching it into a screw thread in the van. With the addition of the 2 turnbuckles, it’s solid.
Moving on, the curtain is still firmly in place, the headliner is still free from mould, and the storage box is working perfectly.
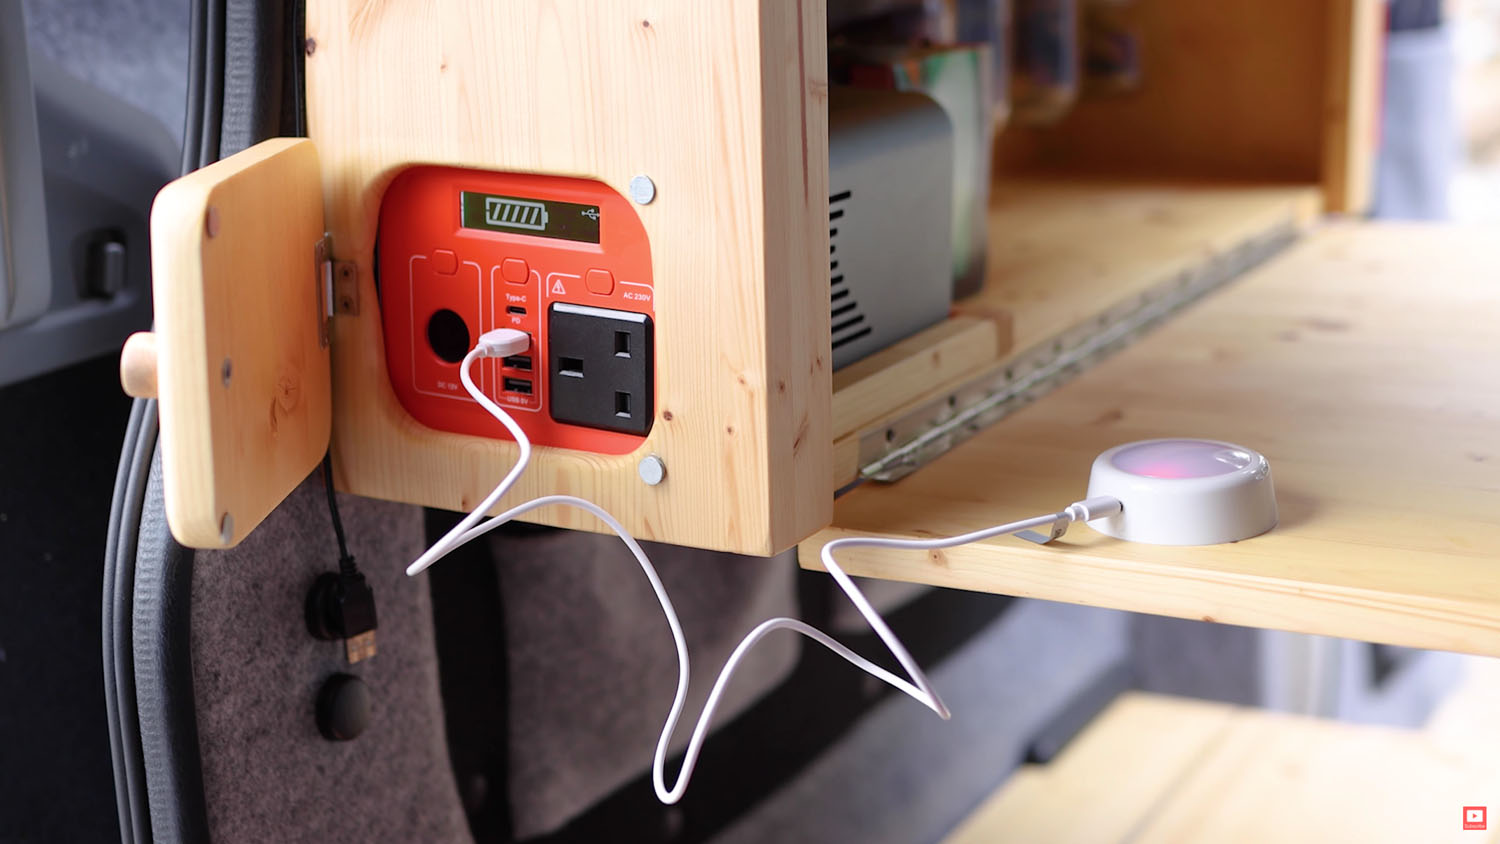
The table has been a real game-changer. It’s so sturdy, and it’s great having a large table to eat lunch or dinner on. I added some jars to store some of the most essential items we need when out and about – coffee, snacks and charging cables!
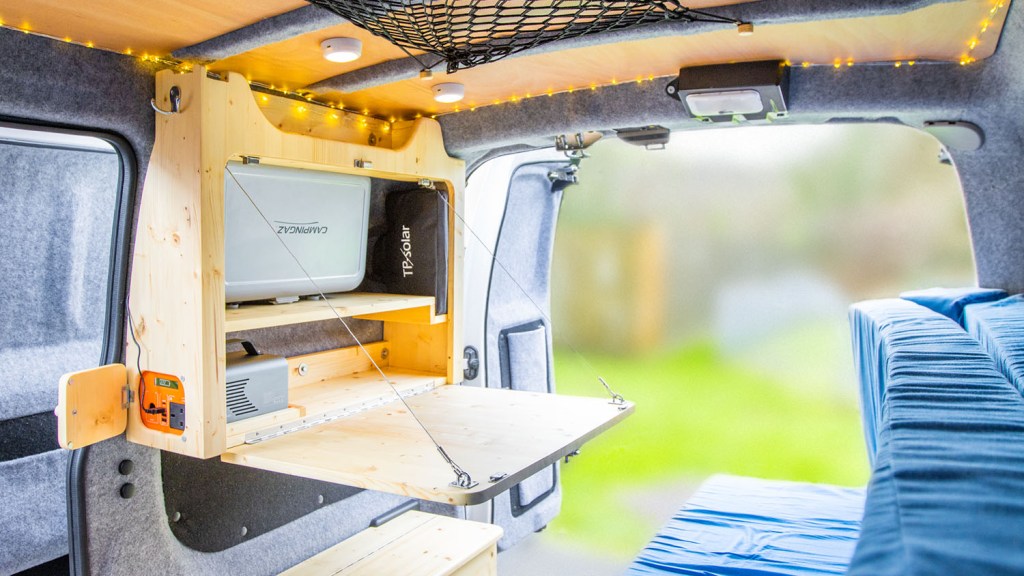
Are the electrics and appliances suitable?
I keep a small gas stove, folding solar panel and carbon monoxide detector there. The Novoo power station battery has been brilliant and it’s great having access to the sockets without having to pull the table down.
I swapped out the AAA ceiling lights for some USB chargeable ones, meaning I can easily charge them from the battery if needed. Oh, and I also gave the ceiling some varnish to protect it from condensation.
We’re also on Instagram!
Check out yogi.the.van to keep up-to-date with all our adventures in the van!


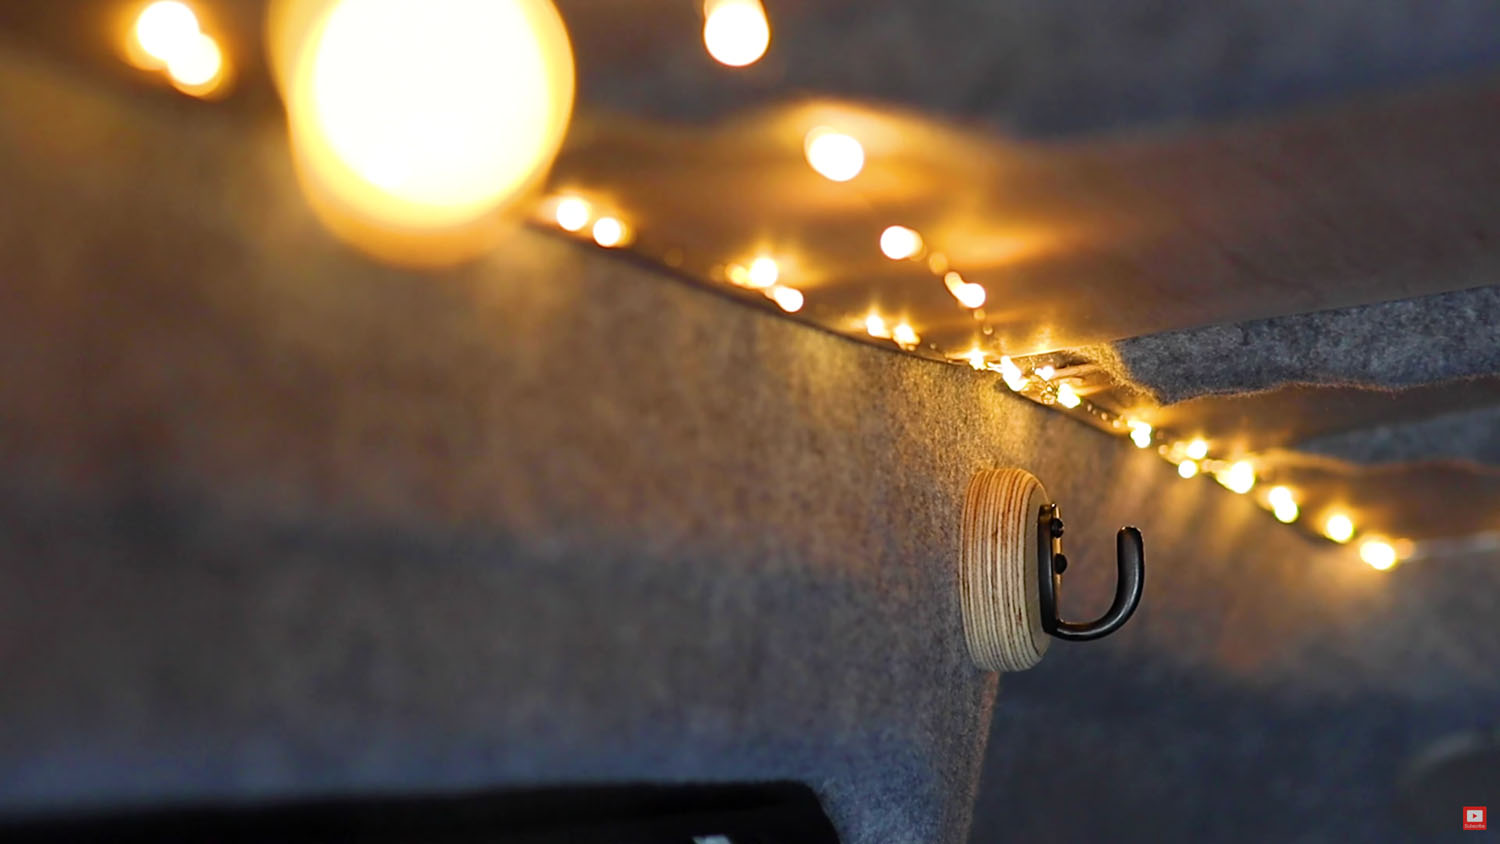
The fairy lights are probably one of the most used features when camping, transforming the van into a really cosy space.
Click to buy your own…

(Affiliate links which help support this website)
Checking the van insulation
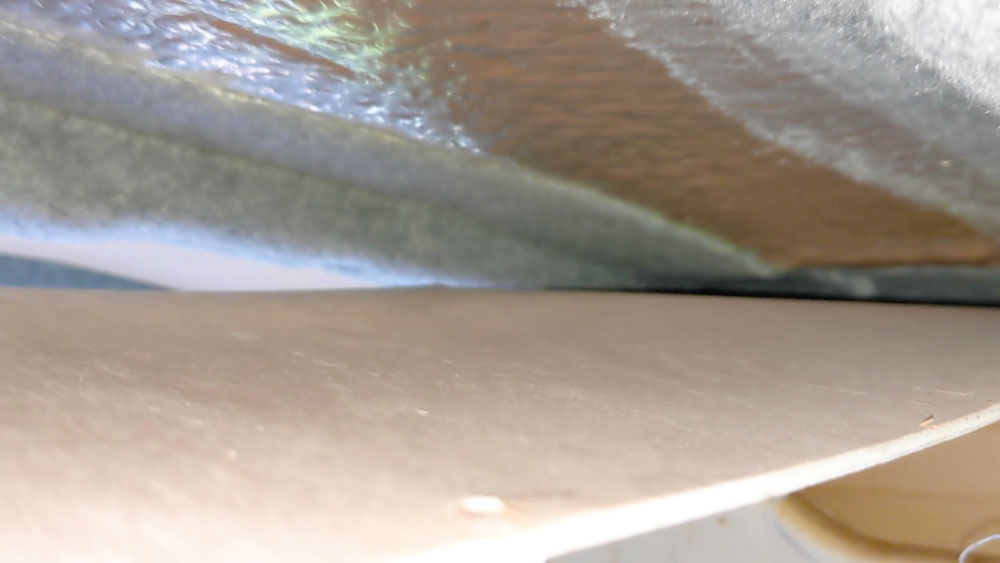
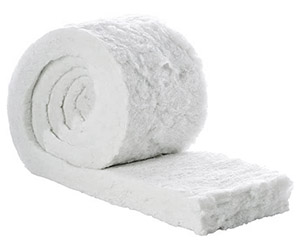
I’ve previously removed one of my ceiling plywood panels to see how the foil insulation was doing, and I was pleased to see that it was keeping condensation away, but the soft loft insulation, which is made from recycled plastic, is a different matter.
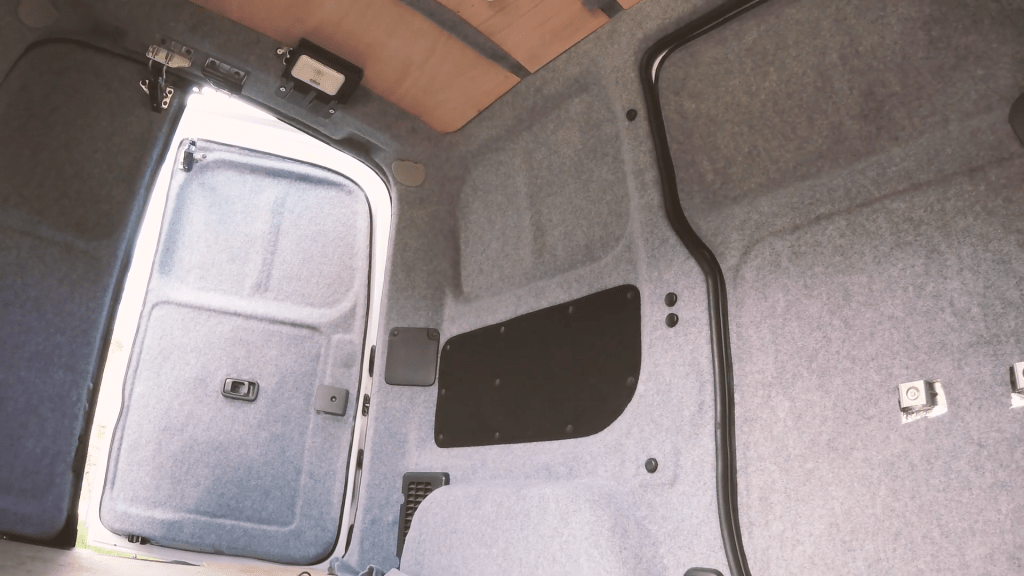
The first area I checked was the column by the back doors. Before insulating the van, I knew condensation gathered here so I was keen to check it out now. I’m really pleased to see that the insulation is still dry and clean, and so is the inside of the cavity.
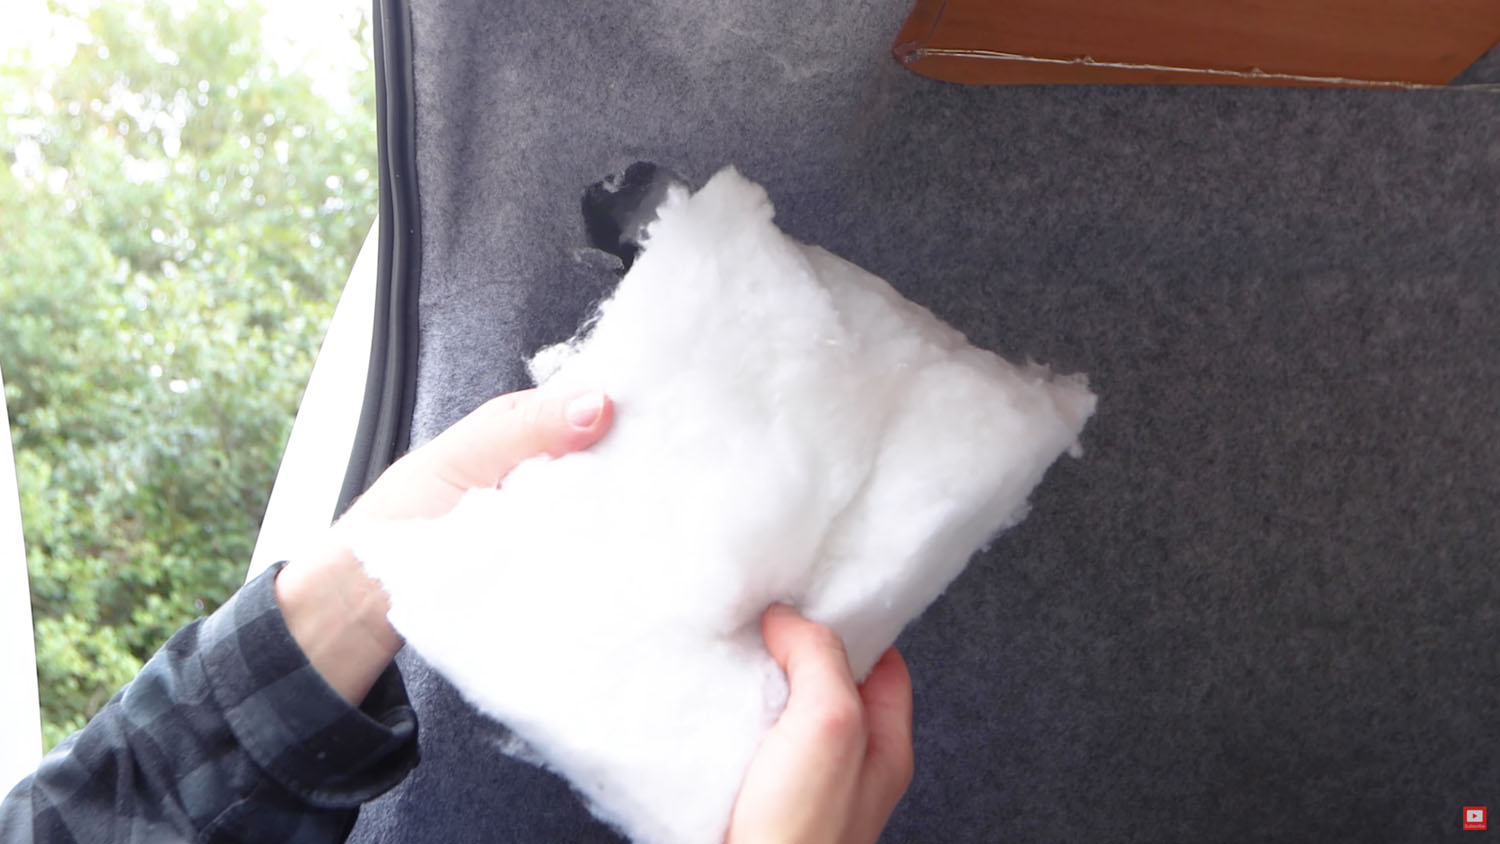
I chose the next area because had left the foil insulation exposed behind the door card, which I now thought would be easier to cut through and patch back up. After removing the door card, I sliced into the foil bubble wrap and created enough space to pull some of the loft insulation behind it out.
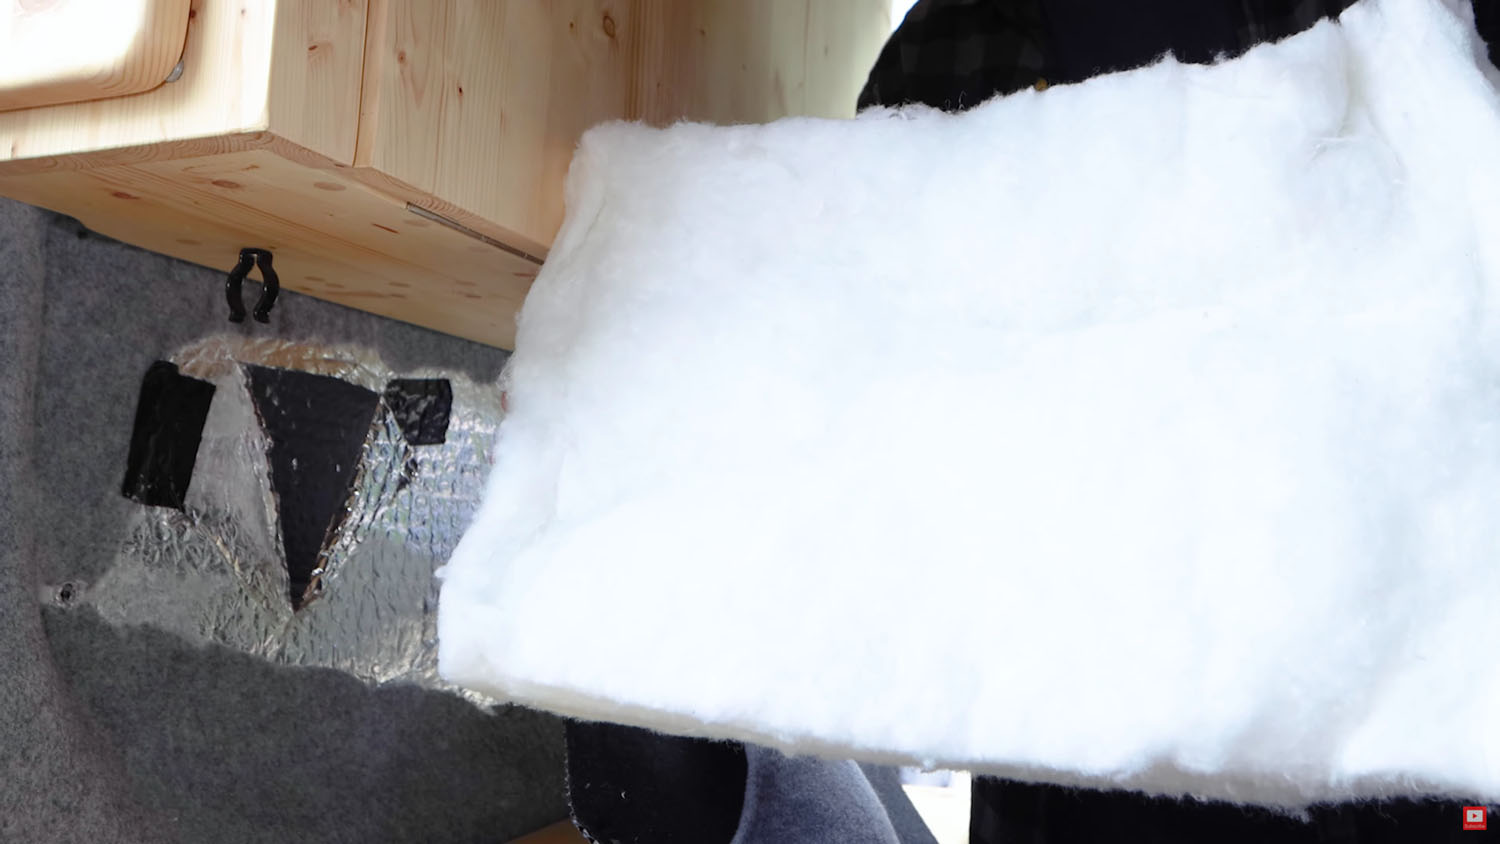
What a relief – the insulation looks as good as the day I put it in.
Thinking about it, this insulation has now seen 2 damp British winters so I’m pretty pleased about this. Inside the cavity it looked as good as when it was last sealed up.
Using a bit of foil tape I could seal up the bubblewrap insulation, and then replace the door card.
It’s nice to know that things are doing ok on the inside of the walls of the van…and that someone with no experience can undertake a van conversion.
If you want to see more of my camper van build in action, please CLICK HERE.
Click to buy your own…
(Affiliate links which help support this website)
