
This article is a written account of a video from the Lens Of James YouTube channel. Watch the video above and subscribe if you like what you see!
This article contains affiliate links to relevant products I have used in my videos. By buying through these links, I receive a small percentage of the sale at no cost to you which helps me support and grow my website and YouTube channel, so I can create more content like this in the future. Thank you for your support.
If you’d like to read or watch part one of my tiny camper conversion van table build, please CLICK HERE
In part 2 of my folding van table build, I share how I turned the folding table unit I built in part 1 into a practical and useful space for storing appliances for my van build.
How the table will be used
I thought I’d start this video by sharing what I hope to keep in the table unit, and I should point out that I use the van frequently for day trips, for camping around 30 nights a year, and that, as I don’t live in the van, these are all tailored for my personal use.
These appliances are:
But the first thing I did was to add a double hook to either side – using silver ones to match the table fixings.
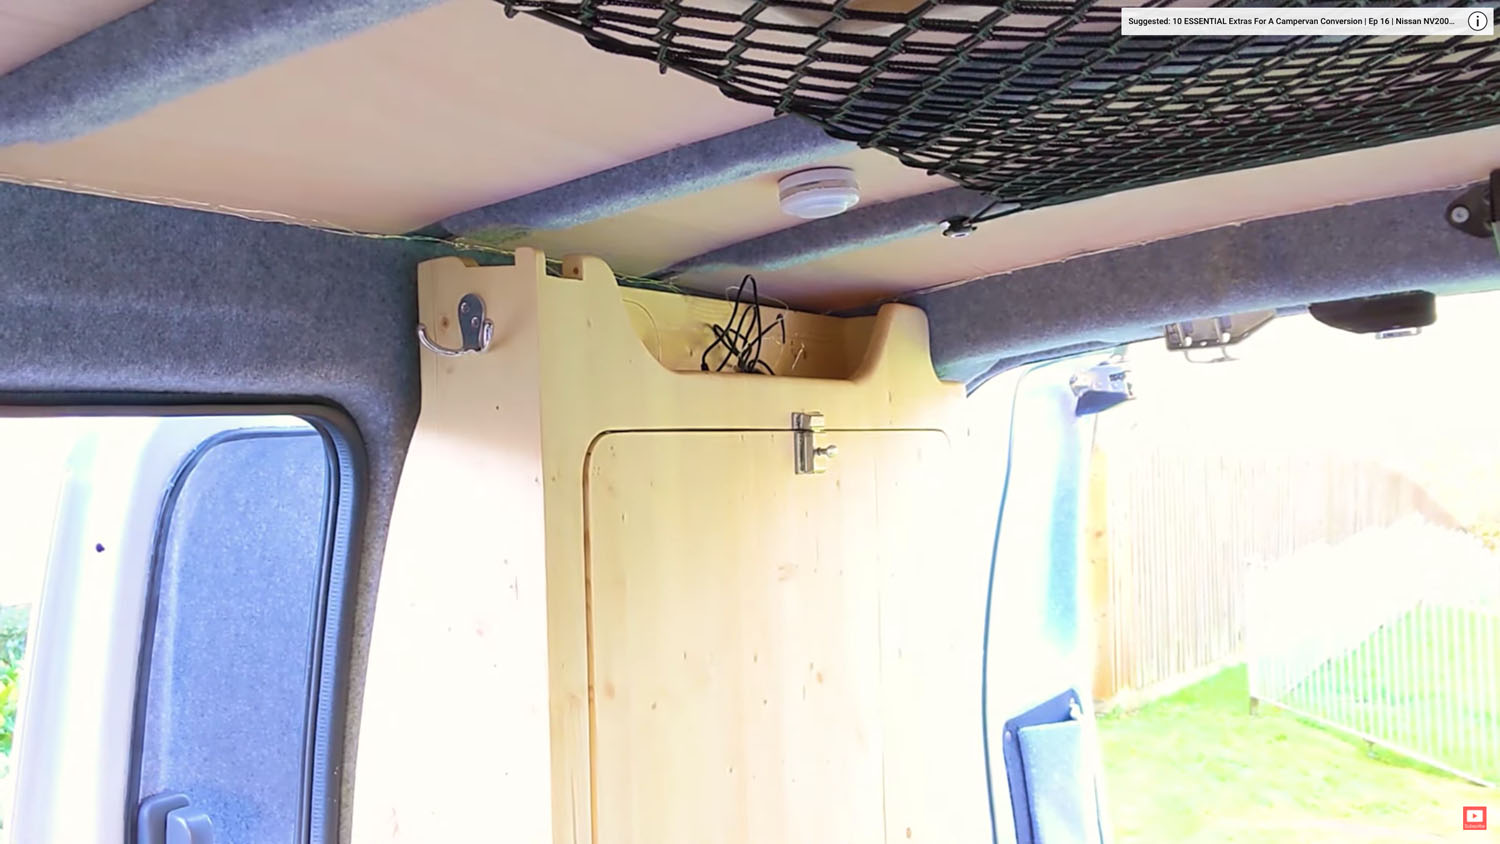
With my coat hung up, I could begin work on the next addition to the table – a shelf across the middle.
Building the shelf
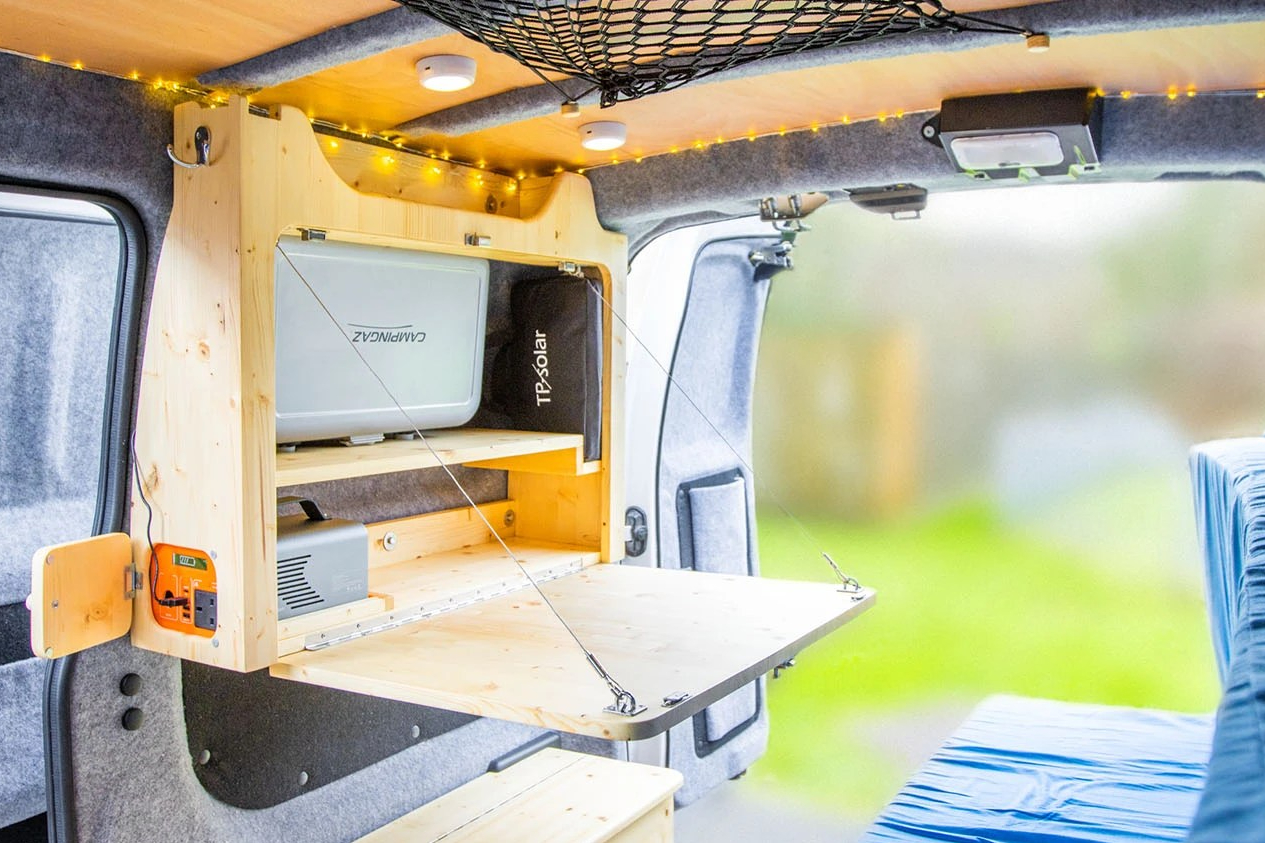
Next, I built a shelf across the middle of the table. This would hold the gas stove and solar panel, with the battery sitting in the opening below. But before installing the shelf I needed to take care of the battery while I still had the space to work.

Creating a battery holder
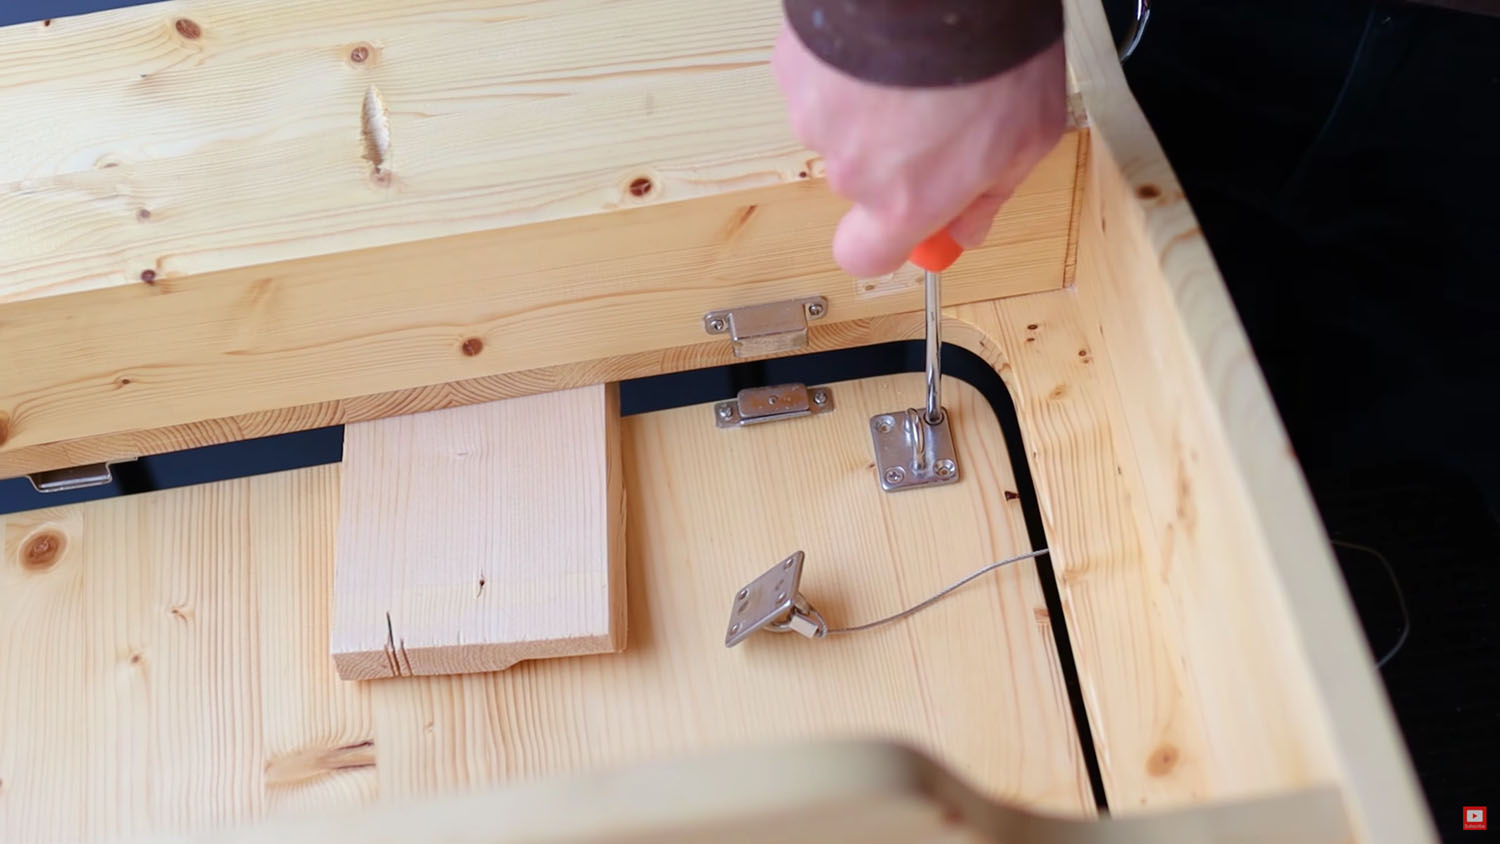
Battery movement when I’m driving has been a bit of a concern for me, so I needed to find a way to hold it in place at the opening in the table, whilst still being able to remove it when needed. My idea was to create a simple holder around the battery. It’s a basic idea, but by leaving a bit of room behind the battery, I could slide it back and lift it out, though I’ll address the gap behind the battery shortly.

Happy with the design, I cut some wood into 18x18mm pieces and attached them from the underside of the table. Finally, to stop the battery sliding backwards, I made this small block which could sit behind the battery to keep it in place. Super basic, but it does the trick.
Click to buy your own…


(Affiliate links which help support this website)
Covering the table wire ends
And before I go any further, I want to share how I dealt with the exposed ends of the table support wires that I had cut to length in the previous table video. I purchased plastic end caps (eBay affiliate link) as I didn’t like the idea of having sharp wire sticking out near my hands, and these push on the ends and really neaten them up. I added a dab of superglue to hold them in place permanently.

We’re also on Instagram!
Check out yogi.the.van to keep up-to-date with all our adventures in the van!


Installing the shelf
I could now finally install the shelf, and it would have been a bit easier if I had taken it off the wall but eventually I got the pocket holes filled with screws and I plugged them with dowels and wood glue afterwards.

With the glue dry, I could sand the protruding dowels flat and give the areas I had worked on a final sand before coating with a polyurethane varnish for protection and to match the rest of the table.
But the story of the table doesn’t end here…there were still a few more tweaks I wanted to make to the table.
Fixings
The first was to swap out the screws which I had used for the eye plates, which hold the wires and thus all the weight that I put on the table. I wanted to use stainless steel instead, and I also took the opportunity to add a dab of epoxy into each of the screw holes, as well as on the base of the eye plate, just to hold everything in place firmly.
The Battery Door
I then added a door in front of the battery to protect it from the elements. Whilst it isn’t the sleekest of doors, it’s functional and will do for now. I should have considered building in a door when designing the table, but I can always revisit it later and try a different design.

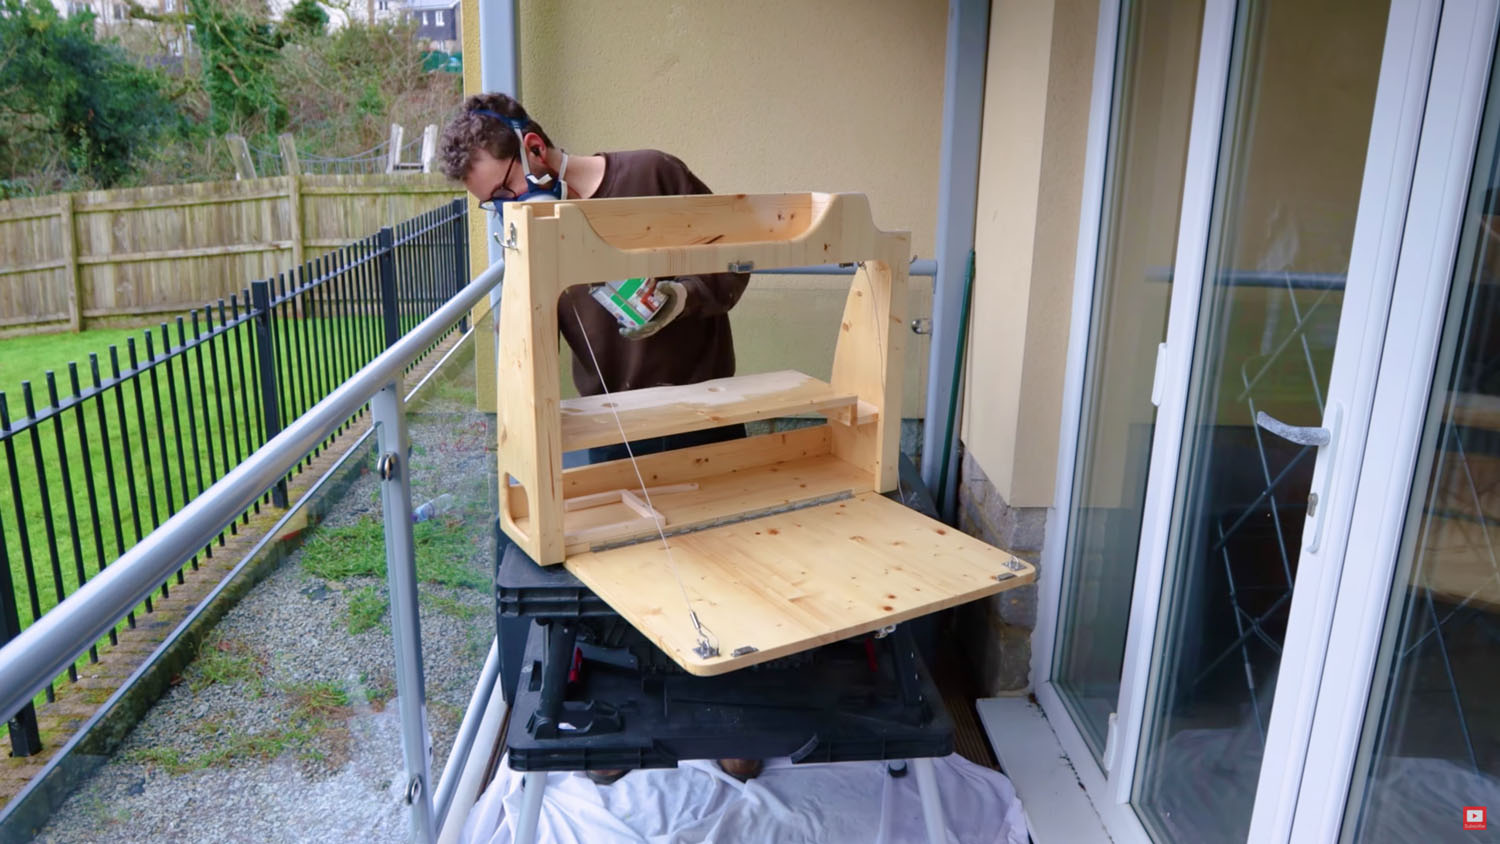
Installing the table in the van
I had completed all of my main additions to the table, so I could finally reinstall it in the van.
This table has definitely been a lot of work, but I’m really pleased with the results and I’ve now got everything I need for days out securely stored in the van – be it in the table or in under bed storage. I’ve no doubt I’ll keep adding little bits to the table as I use it more, but for now it’s the perfect set up for my van build.
If you want to see more of my camper van build in action, please CLICK HERE.
Click to buy your own…


(Affiliate links which help support this website)
