
This article is a written account of a video from the Lens Of James YouTube channel. Watch the video above and subscribe if you like what you see!
This article contains affiliate links to relevant products I have used in my videos. By buying through these links, I receive a small percentage of the sale at no cost to you which helps me support and grow my website and YouTube channel, so I can create more content like this in the future. Thank you for your support.
In this video, I’m finally organising my main van draw which houses all my essential day trip items, by creating segmented compartments as it’s become a total mess.

Why am I making drawer dividers?
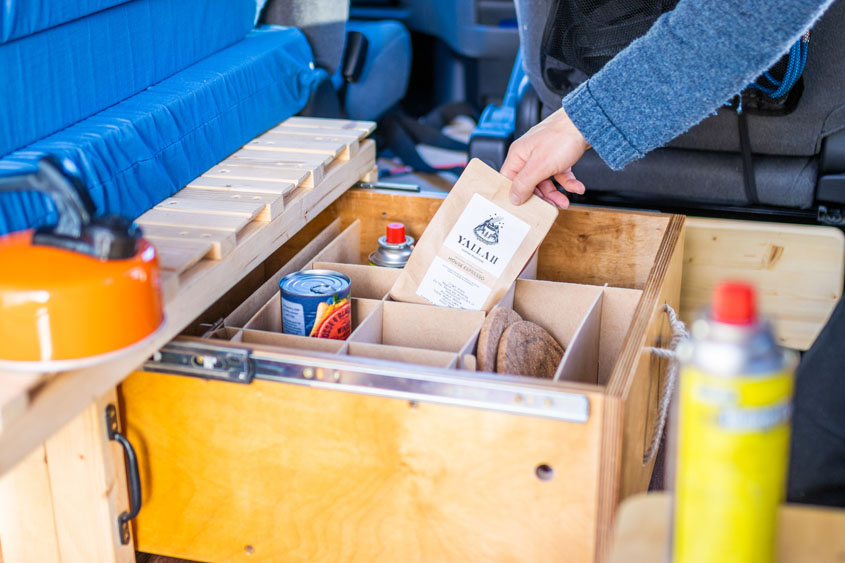
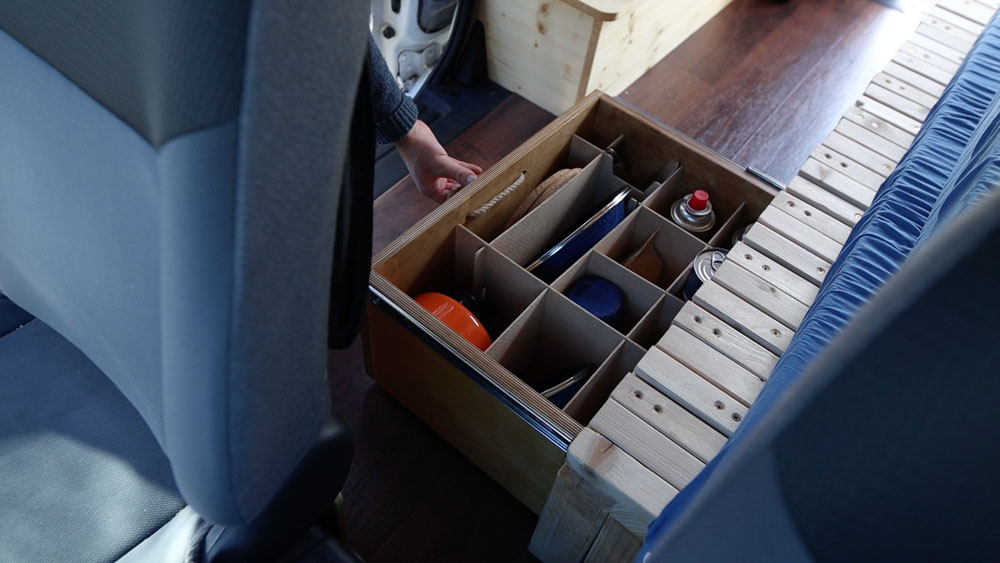
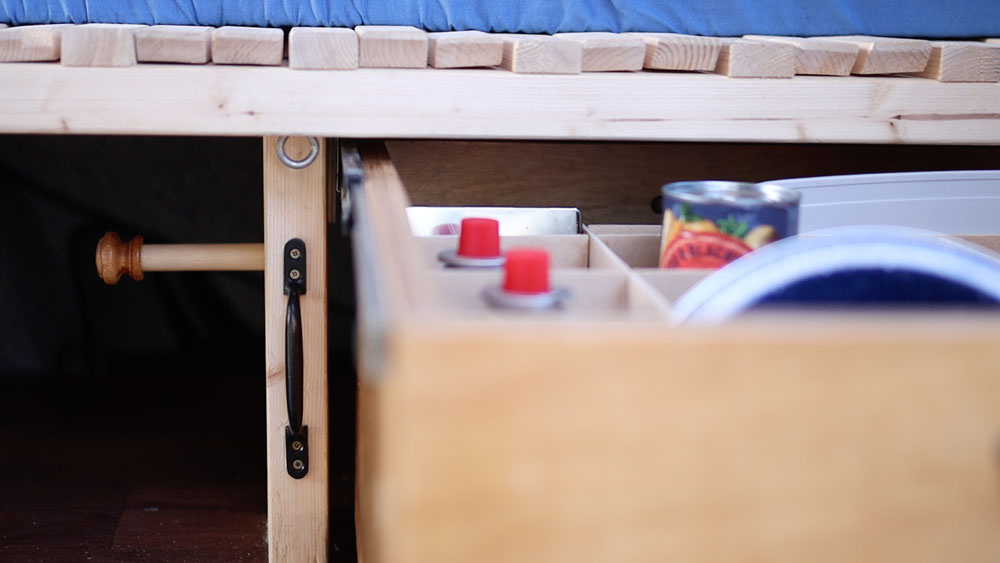
If you’ve watched my bed and bed storage videos in this van build series, then you’ll have seen that I’ve built a pretty hefty draw underneath the far end of my 3 section pullout bench/bed. It’s made out of scraps of good quality plywood, rests on two push-to-open sliders and has a peg that holds it in place. I built the draw knowing I would need decent storage in the van, and I’ve found the draw particularly handy for day trips. If we want to make lunch or coffee in the van, then you can sit 2 people on the bench and still have access to the draw, making it very practical for holding everything needed for day-to-day use.
As it’s become messy and difficult to find things, the purpose of this video is to work out a way to segment and organise it, so everything has a place and is easy to access.
First, the draw needed to be emptied. Whilst the gas stove fits inside the draw, it’s very bulky and I have other plans for it, so it’s one thing I won’t be putting back in when I’m finished.
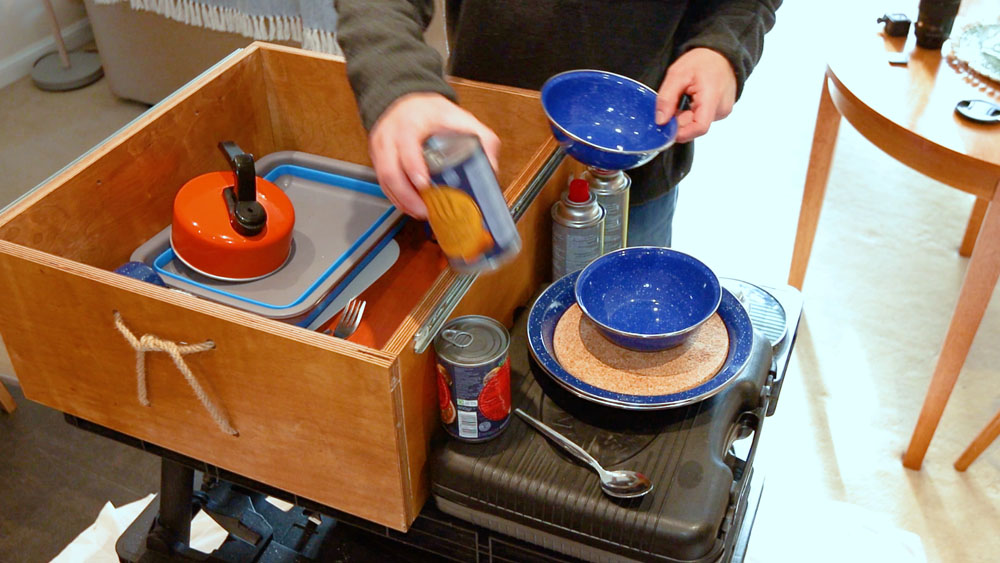
What I keep in the draw
I’ve got quite a collection of things here, so I thought I’d quickly run through my day trip van essentials that I’ll be planning my draw build around, for anyone that might be interested:
- A folding toaster
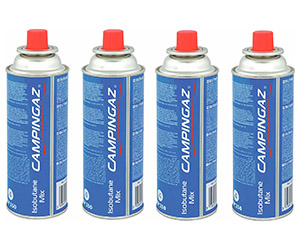
- 2 gas canisters
- 2 saucepans with lids
- 2 heat proof mats
- A chopping board
- An Aeropress coffee maker
- Coffee
- 2 tins of soup
- Bin bags
- Kitchen roll
- A whistling camping kettle
Click to buy your own…


(Affiliate links which help support this website)
Working out how to do it
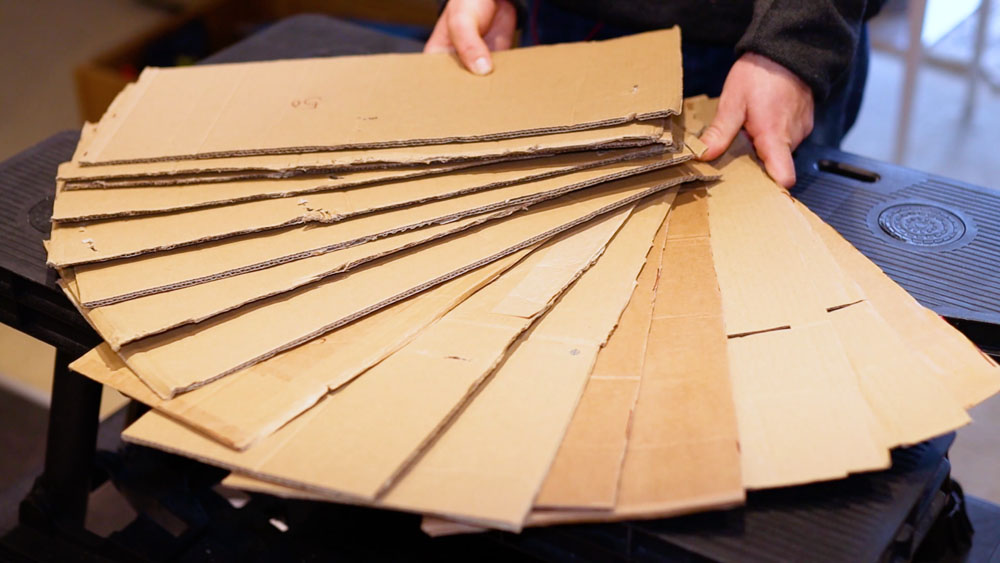
To get an idea of how the draw could be segmented, I cut a load of scrap cardboard to lengths of 50 or 55 centimetres, depending on whether they would be going across or down the length of the draw.
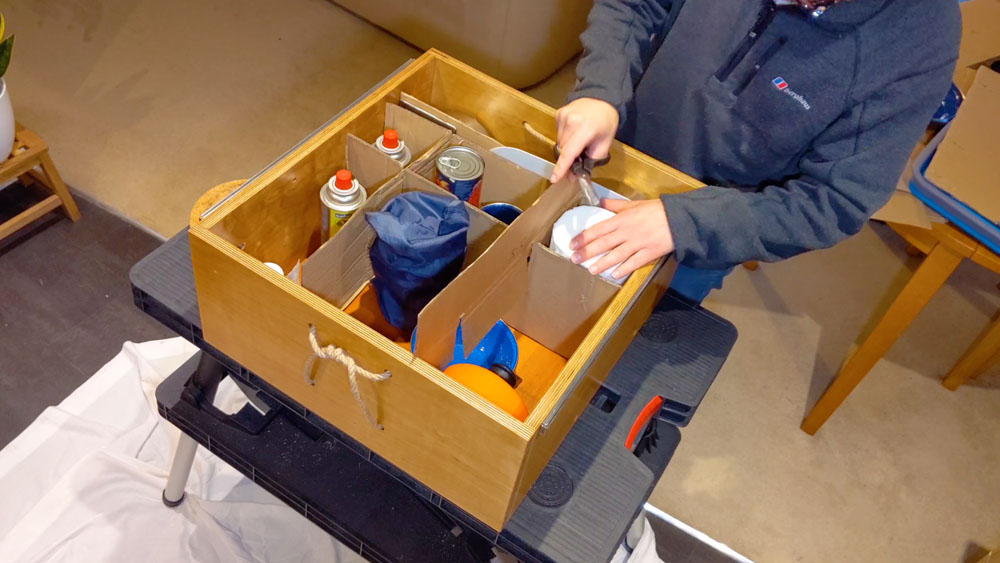
Now it was just a case of trying to fit everything in the draw, in the most logical and organised way possible. Some items were long, some tall and others just awkward, but I tried to focus on what gets the most use in the van, and making sure nothing obstruct the hole for the peg.
With everything roughly laid in, I got the cardboard and started dividing each item up to find a layout that worked.
With that finalised, I could move on to the actual material I would be using the segment the draw.
Making the draw dividers
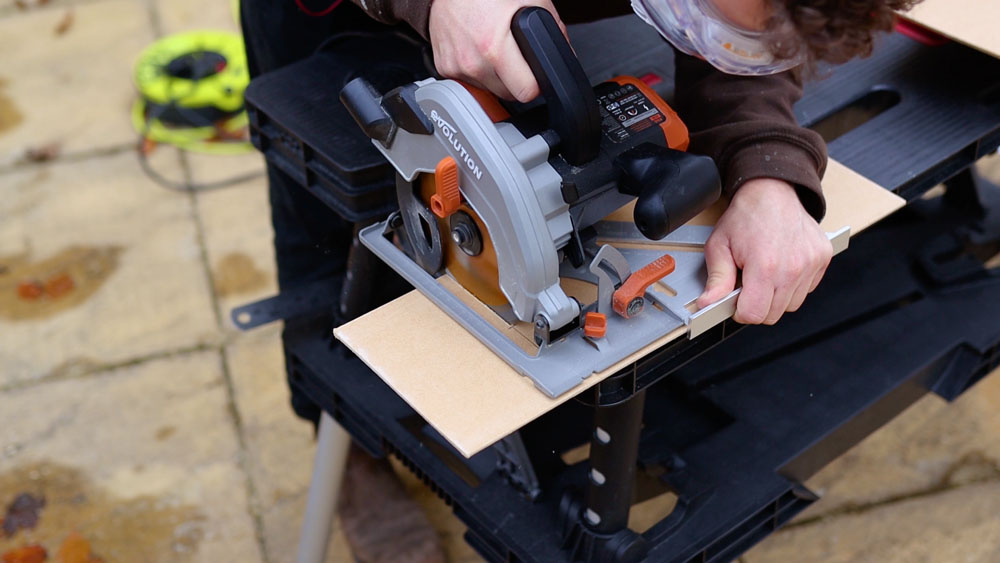
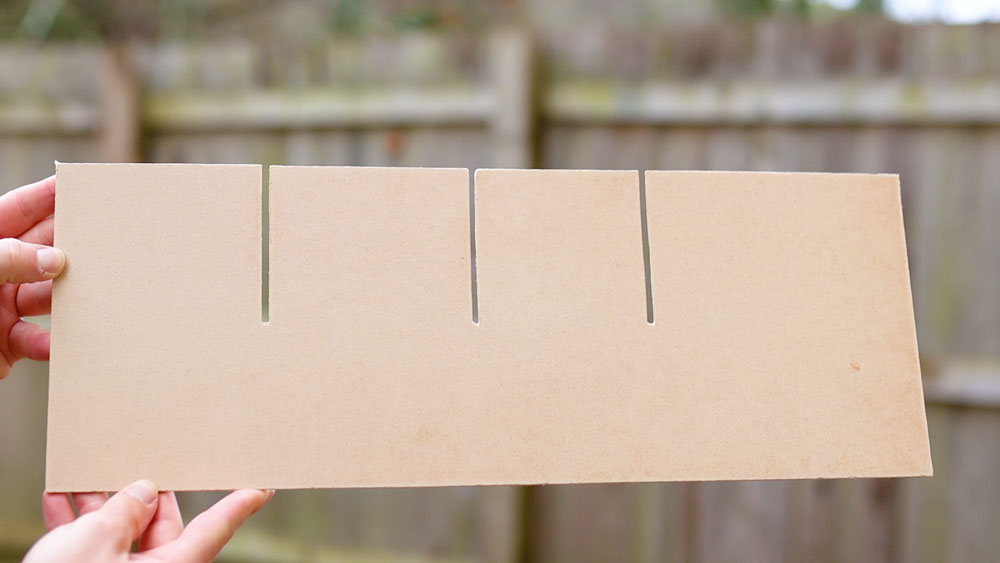
I sourced a full sheet of hardboard and rough cut it into 18cm strips with the circular saw. This depth will allow the pieces to sit comfortably below the top of the draw.

I went for hardboard because it is cheap and light, so won’t add too much weight – or cost – to my van build. I had way more board than I needed, but that took a bit of the pressure off getting it right the first time. After the wood was cut, I sanded the edges to smooth them down.
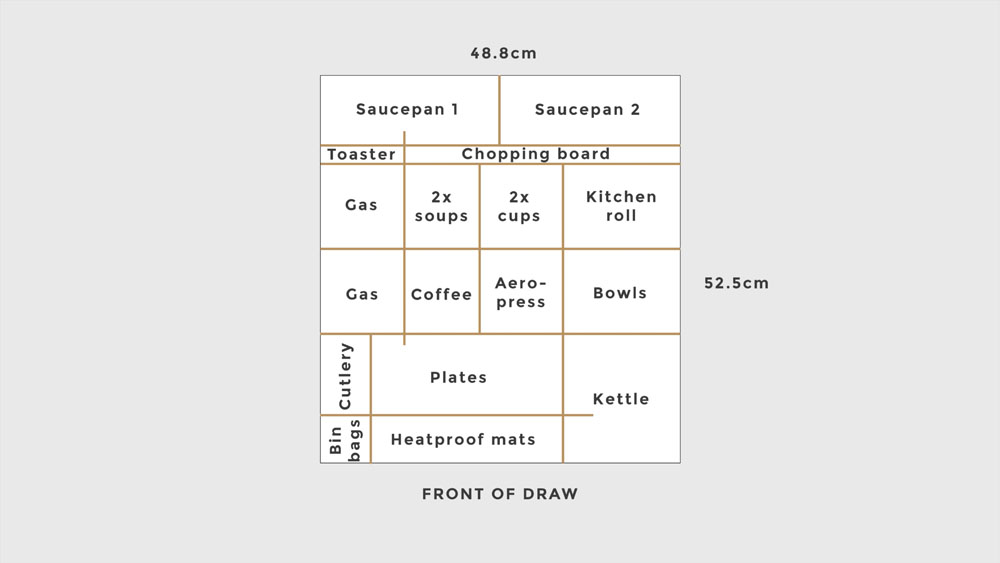
The plans
Having finalised my layout with the cardboard templates, I draw up a view from above so I knew what was going where, and then drew all of the pieces out with their measurements and cuts , so I could refer to them as I worked.

Making the cuts
I was cautious with my first few cuts but soon sped things up by using a square against the edge of the circular saw. Once I had a couple of pieces made, I could but 9cm into the depth of the board, which is halfway, to test the joins.
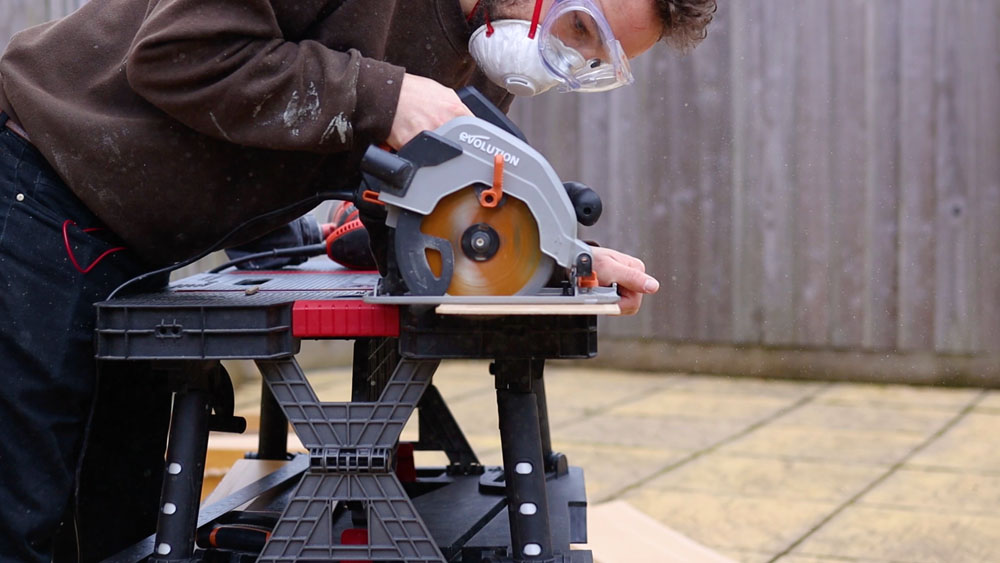
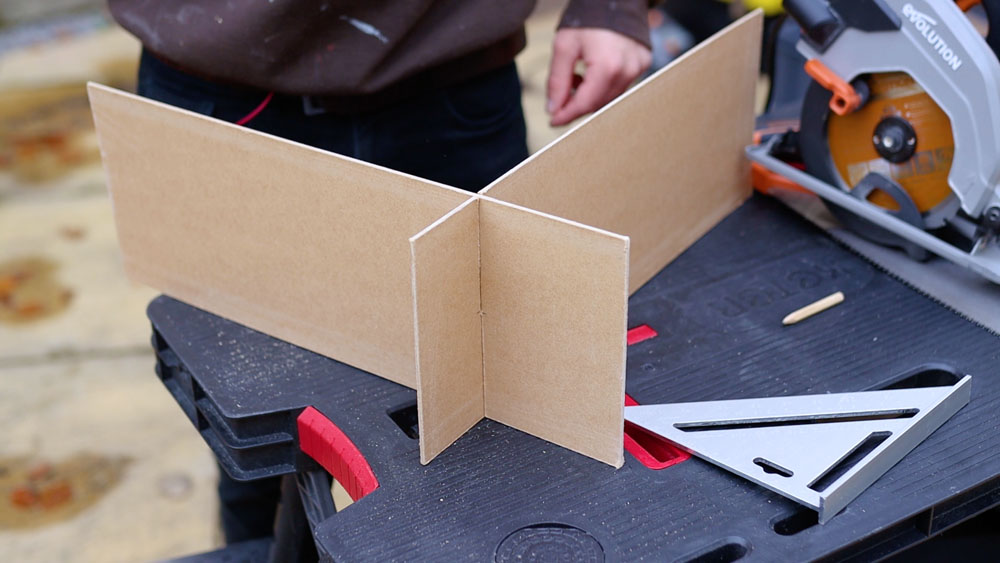
I did two passes on each cut here, as the board is 3mm thick but my circular saw blade is less than that. Where necessary, I finished the cut off with a hand saw. The joins worked well and were kind of satisfying!
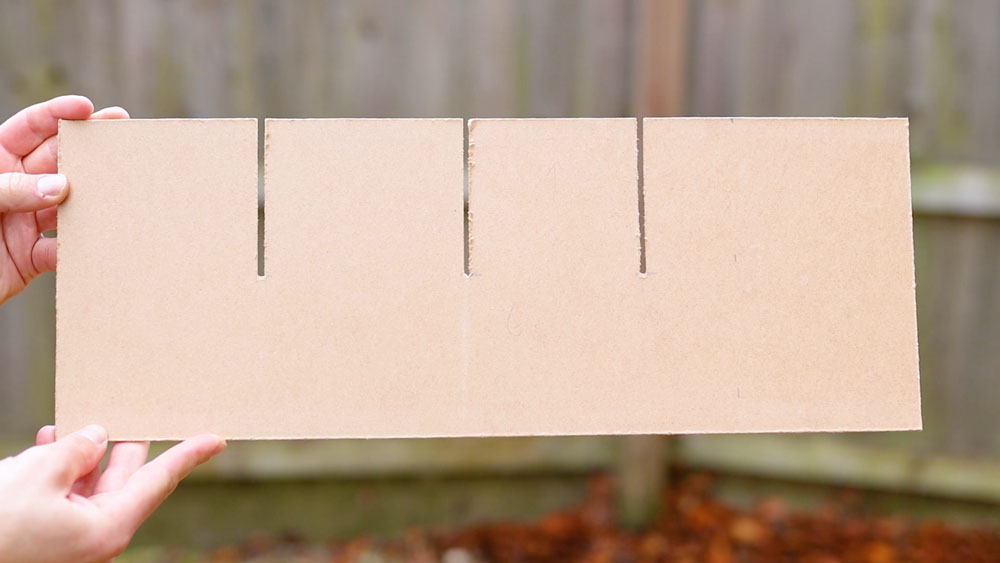
Next it was just a case of cutting out all of my pieces as per my plans. I purposely cut the pieces slightly on the proud side and then sanded them to fit
I don’t usually make detailed plans for my projects, but in this instance I’m glad I did as it sped up my workflow considerably. Before long I had all my pieces cut and it was time to find out if this idea would work, and if my measurements and saw skills were accurate enough.
We’re also on Instagram!
Check out yogi.the.van to keep up-to-date with all our adventures in the van!


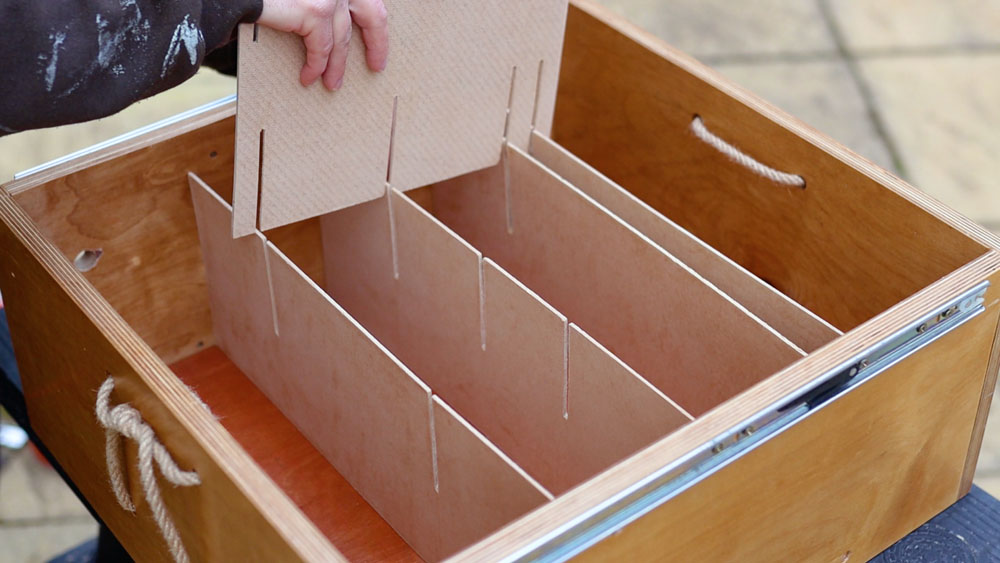
Checking the fit
I was pretty excited to get them in the box, and the first few went in well, but unfortunately it didn’t continue that way and it ended up like this…time to make a few adjustments!

Having worked out which pieces were the problem, I trimmed or remade them to get a much better fit.
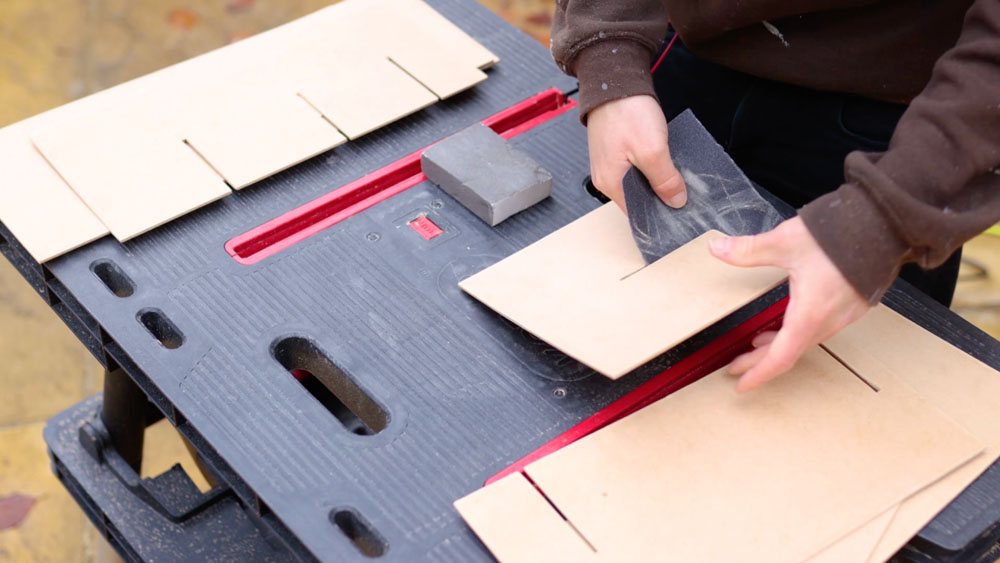
Sanding the dividers
It was also time to neaten up the dividers too. There was a fair bit of minor tearout from the saw, and it was just a case of sanding over to get a pretty good result. To improve the front edge, sawing the piece upside down – or rough side up – really helps.
I could then sand both sides and all the slots before attempting to fit them all again.
Take 2
This time, slotting the draw dividers together was really successful, and I was ready to get the draw back to the van and put all of my day trip essentials back in the draw – this time neatly and in an organised manner.

Whilst the wood is fairly soft, I’m hoping to varnish the dividers when there’s next a spell of decent weather, and that should help to protect them a bit.
The dividers are a really great addition draw and barely add any weight to the van. If I do decide to change what I keep in the draw, I reckon I could easily add a few extra pieces of hardboard and accommodate them.
With the draw full, I’m all ready for my next day out, so hopefully I’ll be able to get out and about in the van soon.
If you want to see more of my camper van build in action, please CLICK HERE.
Click to buy your own…


(Affiliate links which help support this website)
