
This article is a written account of a video from the Lens Of James YouTube channel. Watch the video above and subscribe if you like what you see!
This article contains affiliate links to relevant products I have used in my videos. By buying through these links, I receive a small percentage of the sale at no cost to you which helps me support and grow my website and YouTube channel, so I can create more content like this in the future. Thank you for your support.
I’m in the process of building a new table/side unit to sit above the wheel arch storage box I’ve just built, but while I finish that, I wanted to share the table set up which I have been using since before I even properly started this conversion.
The reason I haven’t shown it properly until now is that it’s pretty basic and rough-looking, but I reckon there’s plenty of scope for taking this basic table making it into and a nice-looking piece for any van conversion.
I genuinely think this is one of the easiest and certainly cheapest ways of getting a decent sized, functional table which takes up very little space and, having used this table a ton for the past year or so, I can say for certain that it work really well. After all, a table is a must have for any van build and turns the van into a highly usable and comfortable space.
So without further ado, this is how I made my table…
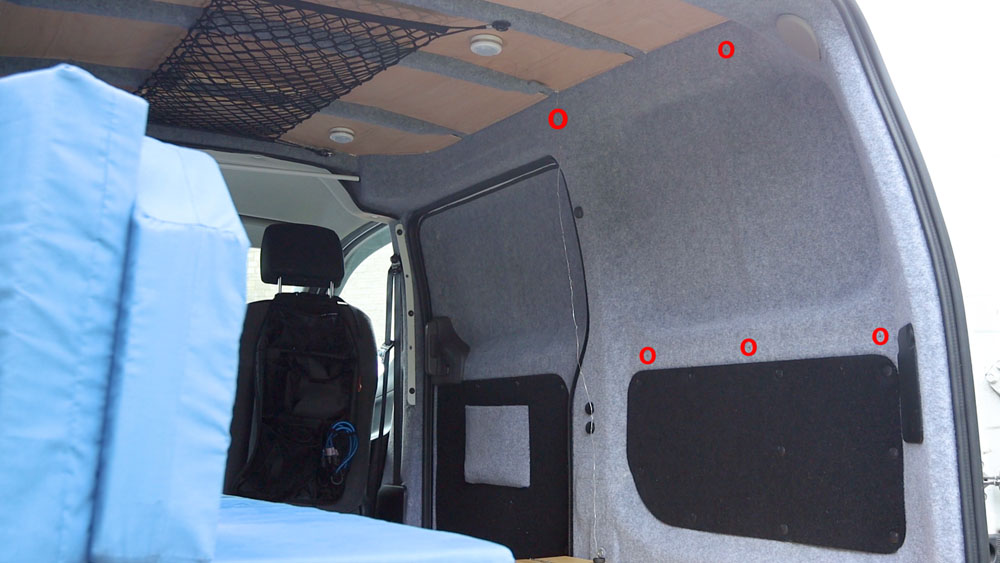
Fixing points
Along the walls of the NV200 – and I suspect most other vans too – are 3 handy M6 screw threads. These makes a very solid attachment point for any number of items, however it was a great place to start with my table.
Making the table
I got a 20x20mm piece of stripwood and cut it down from 1 metre to approximately 65cm and at this length it covers all three holes in the centre of the wall.
I then marked up where the wood in 3 places to match the 3 mounting point in the middle of the van and used a spade bit to bore a shallow hole into the wood, so I could recess the heads of the bolts which will hold this bit of wood in place.
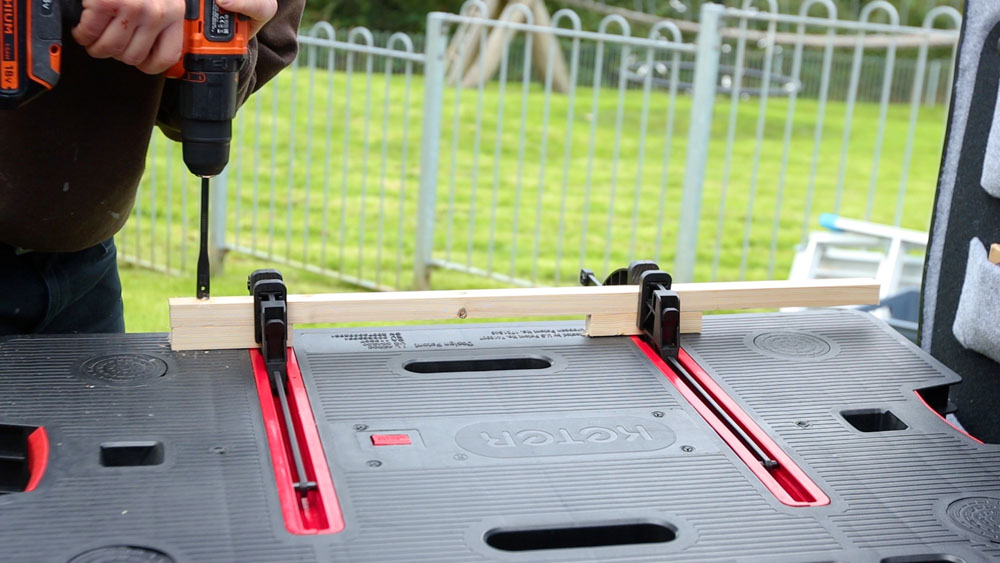
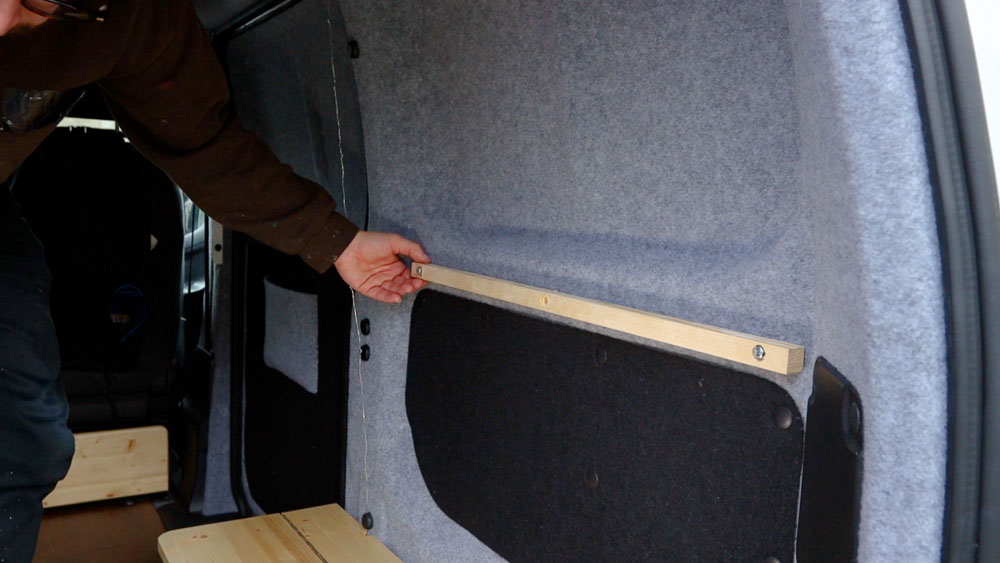
I then drilled through the 3 recesses with 6mm bit for the bolt to fit through and, once attached to the wall, I had a sturdy mounting point.
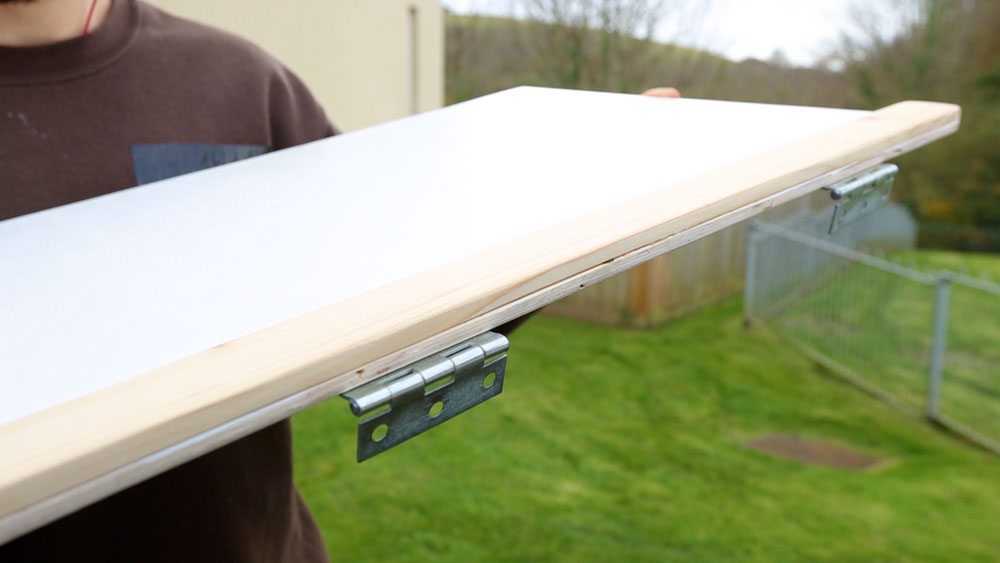
For my table, I cut a leftover piece of plywood from my original van floor to 65x40cm, coated it for a bit of protection and painted the other side white.
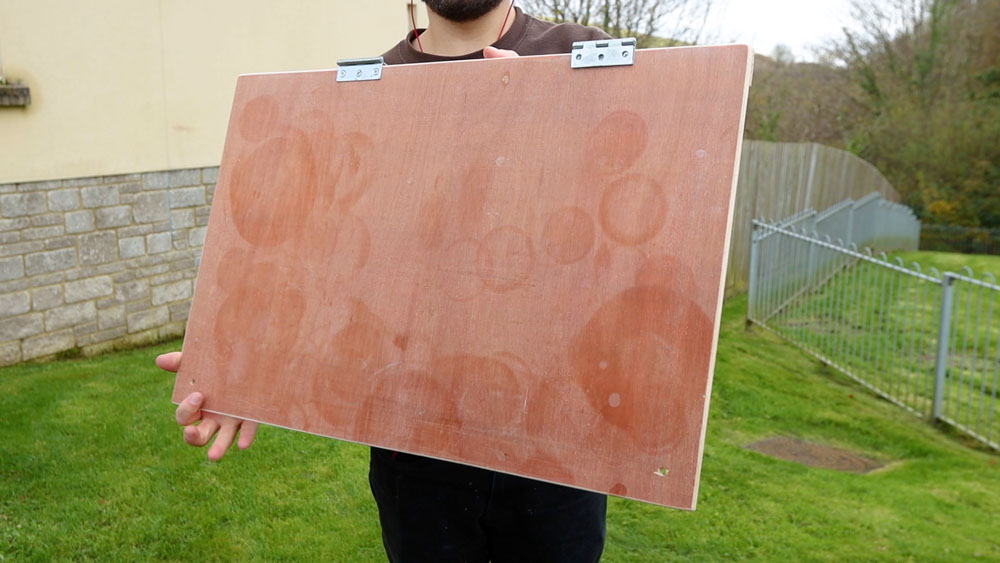

As you can see, it’s been pretty well used, which is another reason that I’ll be building a new table.
I screwed two hinges onto one edge of the wood and the strip of pine is just to thicken the area that the screws go into.
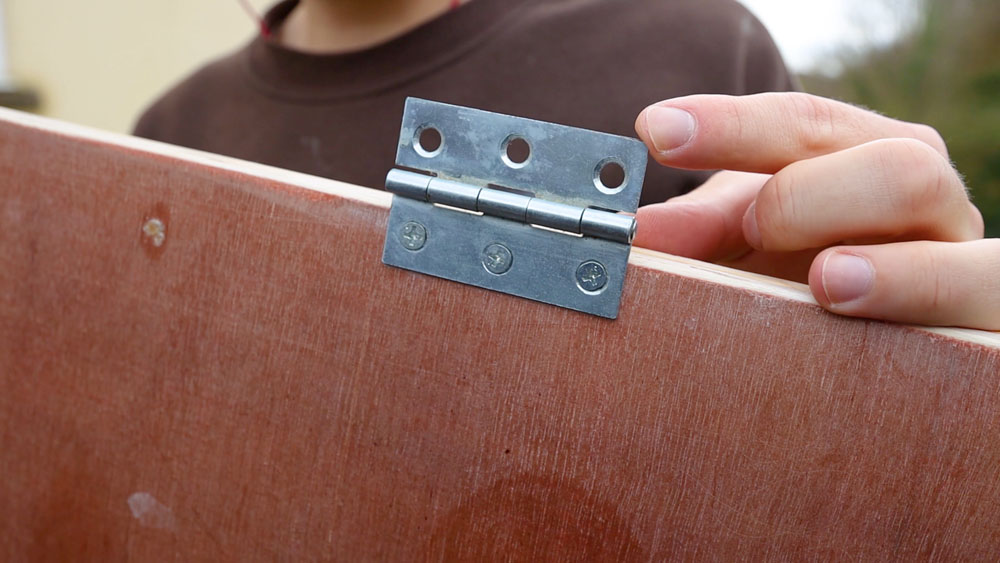
I also drilled two 6mm holes in the corners on the opposite edge to the hinges.
So again, a fairly simple concept here – time to turn this bit of scrap into a table!
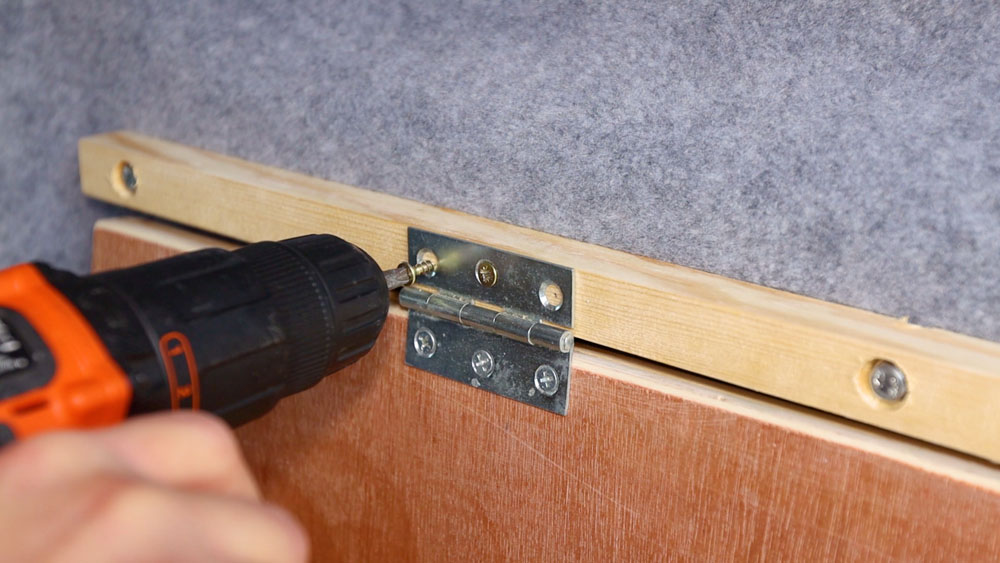
This next step was just a case of attaching both hinges onto the strip of wood already in the van.
Holding the table up
So far I have a table which is attached to the van wall, so the next step is to find a way to support the shelf and get it level.
To achieve this, I bought a few metres of 6mm thick rope and, tying a knot in one end, threaded it through the holes in the table corners.
I could then look for somewhere to tie the other end of the rope to.
Click to buy your own…


(Affiliate links which help support this website)
On the right side, I tied it to the door latch, making sure that the door doesn’t come into contact with it when closed, and on the left side I put a loop round a protruding bit of metal. I would thoroughly recommend, if trying this table yourself, that you make sure that the table is very securely tied to a solid part of the van.

I’ve no doubt there are lots of other attachment possibilities depending on which van you have, so it’d just be a case of finding the best one.
We’re also on Instagram!
Check out yogi.the.van to keep up-to-date with all our adventures in the van!


A latch for the table
So I’ve got a table that’s solid, level and folds up but I need a way to latch it safely in place when I’m not using it.
There are two more m6 screw threads built into the van near the ceiling and yet again these proved to be ideal for the task.
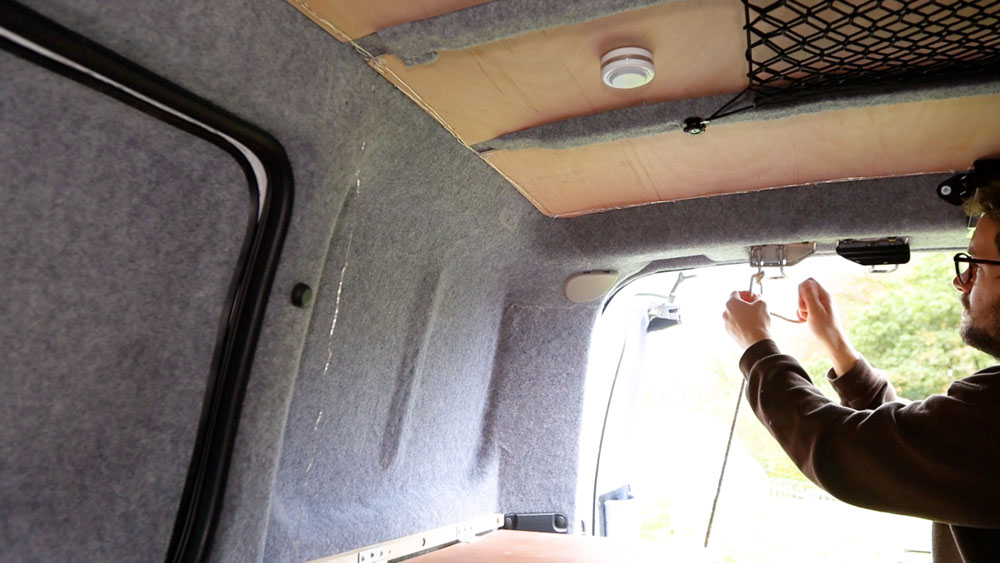
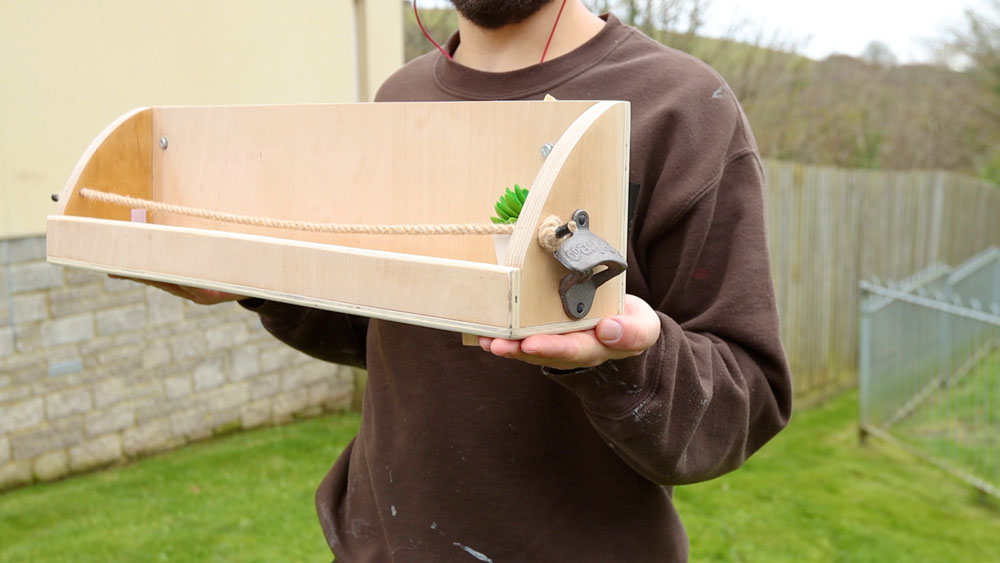
There are no doubt a lot of ways you could incorporate a latch into the van, but I decided to build a small shelf and then put a latch behind this, that may giving myself a bit more storage.
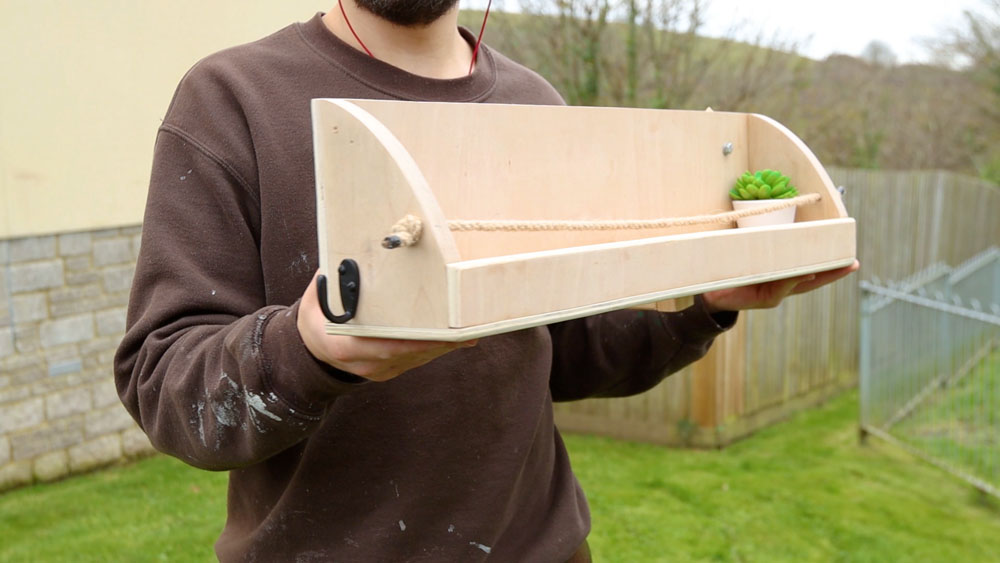
The shelf itself is a bit rough, but it’s proved very handy over the past year or so and I intend to build a similar shelf into my new table unit.
As you’d expect, it’s made up of 2 sides, a front and a back. I added a piece of rope (which matches the table) to help keep things in place and threw a fake plant in for good measure.
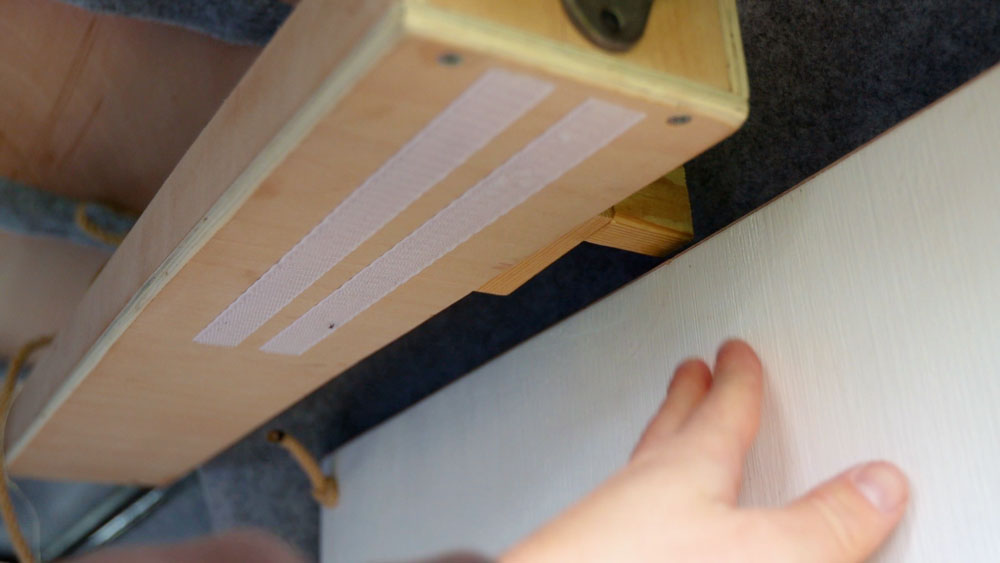
The higher set of screw threads are a bit different in that the left one sits flat, but the right one is at a bit of an angle, so I used a scrap of wood to fill the gap and correct for the angle.

I could then attach the shelf to the wall of the van, put the table up and latch it in place.
The latch is at a right angle to account for the gap between the back of the shelf and the front of the table.

I’m sure with a bit more thought this could be made to look a little nicer but the most important thing is that it works well, and I’ve never had any problems with it.

So that is basically it for the table – as I said, it’s not the best looking of designs, but there’s tons of potential with this concept and it is absolutely perfect for days and nights away in the van.
I’ve found the ropes really don’t get in the way, and it transforms the van into a great place to work, relax or just make a cuppa after a long walk.

If you want to see more of my camper van build in action, please CLICK HERE.
Click to buy your own…

(Affiliate links which help support this website)
