
This article is a written account of a video from the Lens Of James YouTube channel. Watch the video above and subscribe if you like what you see!
This article contains affiliate links to relevant products I have used in my videos. By buying through these links, I receive a small percentage of the sale at no cost to you which helps me support and grow my website and YouTube channel, so I can create more content like this in the future. Thank you for your support.
Update: This method of stopping my roof bars from leaking didn’t work unfortunately. I’ve kept this blog post up as a record of my efforts, but please check out this blog post where I finally succeeded and haven’t had any leaks since.
In this post I want to share what roof bars I’ve been using on the van, and I’ll be trying to solve one of the problems I’ve had with them – leaking!

Why do I have roof bars?
If you’ve been following my van build then you may know I’m building out my van to keep room for my surfboard down the centre, however when I’m using the bed or I’ve got the van loaded with other things, the roof bars are essential to carry the board around.
The NV200 has 3 sets of M8 screw threads in the roof, so you can fit up to 3 roof bars up there. Whilst this creates a very secure way to mount roof bars – as opposed to clamping them which I’ve had on previous vehicles – it does create the possibility of water ingress.
Afterall, if you look through one of the holes you can see straight into the van! So any roof bar that is mounted needs to adequately cover these holes.
Van ceiling plugs
Out of the factory, the mounting points in the NV200 ceiling are filled with small plastic screw-in plugs, each with a foam ring, which are meant to prevent leaks, and a cross on the top with which to screw them in. However, as I know a lot of people have discovered, over time these plugs perish to the point that dirt and water easily creep under the plugs and leave a wet spot on the ceiling, or a puddle on the floor. In addition to this, the plastic cross soon gets worn and makes the plugs unusable.
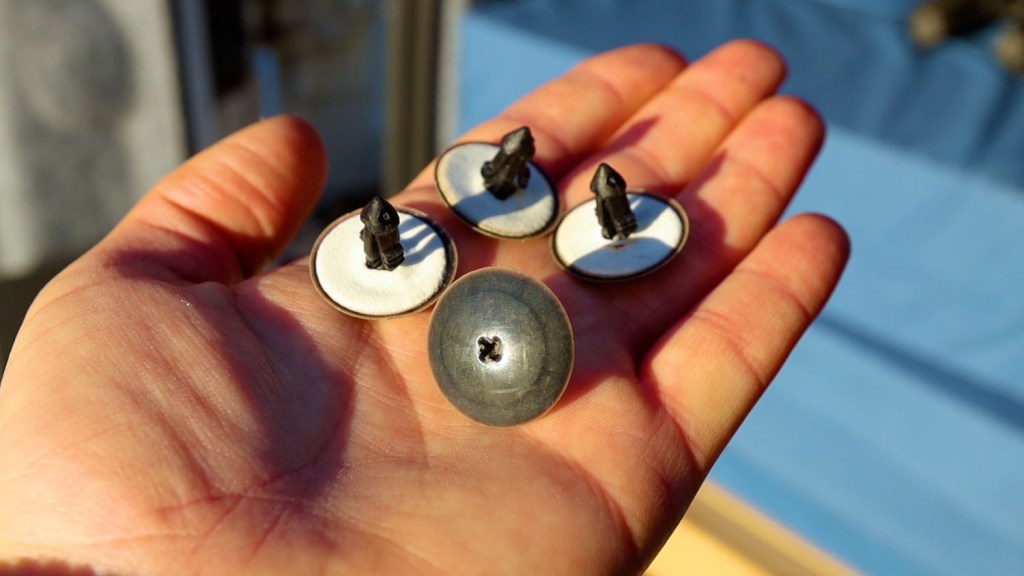
Putting on a set of roof bars should take care of 4 of the holes, so what about the other 2?
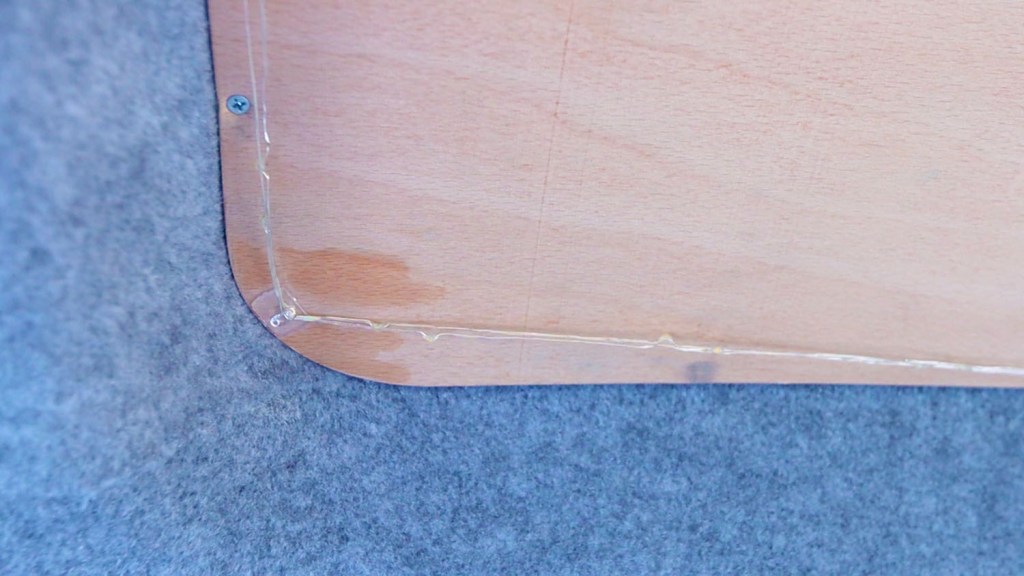
Well, with the 2 plugs completely unable to keep water out of the van, and in the knowledge that I have never used these holes for anything and am unlikely, I took the plunge and epoxied them into their holes.
Now, this might seem quite drastic and permanent, but for me it’s worked really well. I have heard of other people sealing bolts but since I stuck them in place about a year ago I haven’t had any problems with water.
Whilst this might not be an option that suits everyone, I feel if I did require use of the holes, I could easily knock the plug through from inside the van and have access again.
What roof bars do I have?
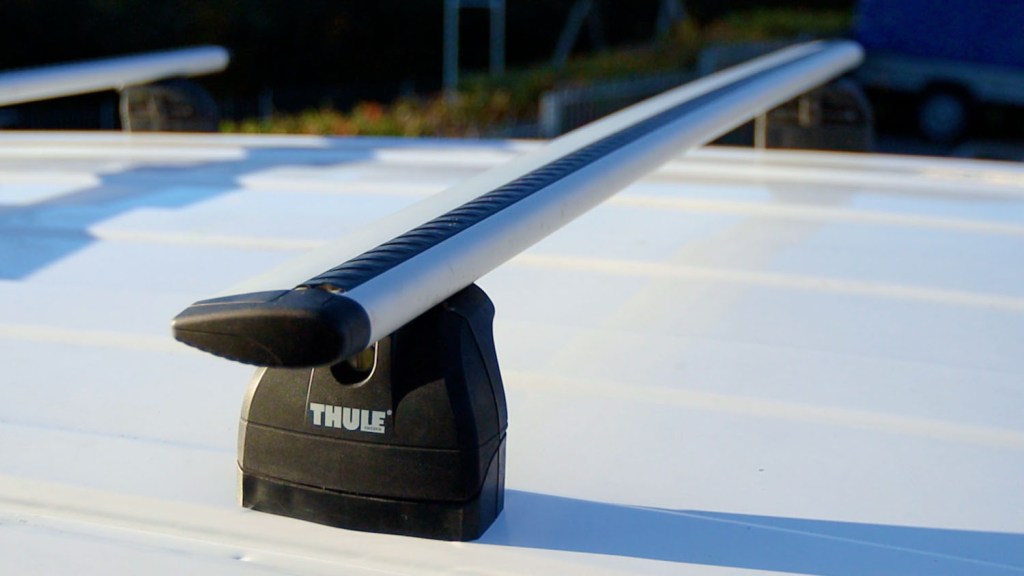
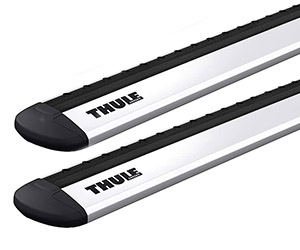
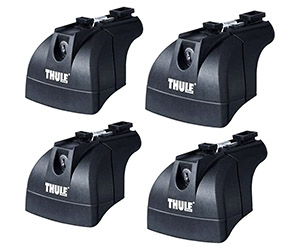
Circling back to the topic of this post, the roof bars I’ve chosen are Thule ones, made up of the 3085 fixpoint kit, the rapid system 753 feet set, and the 969 wing bars (now the Wingbar Evo 2 Pack 127).
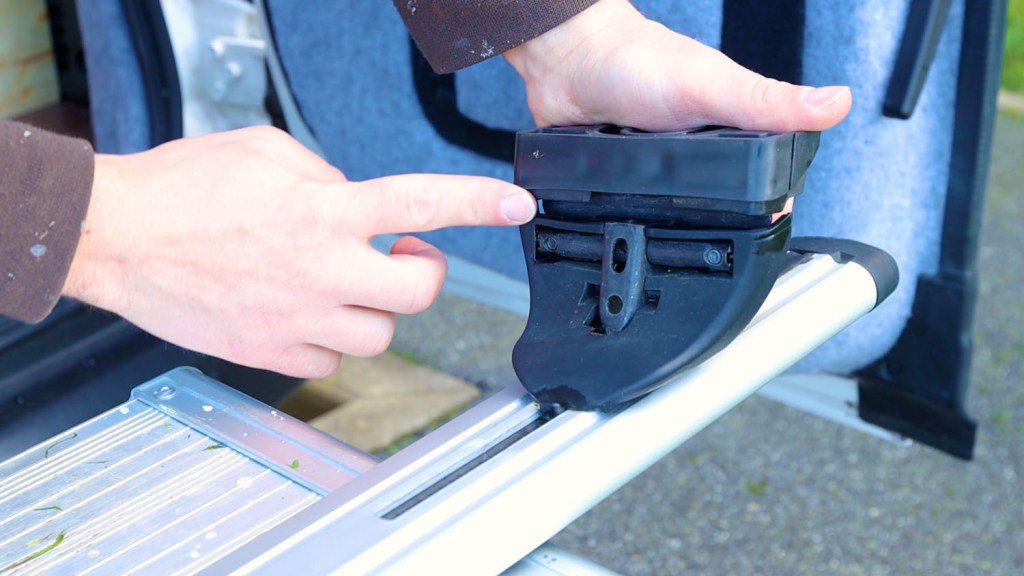
The 3085 fixpoint kit is a simple L-shaped plate with a sturdy rubber foot that bolts directly into the roof with m8 bolts.
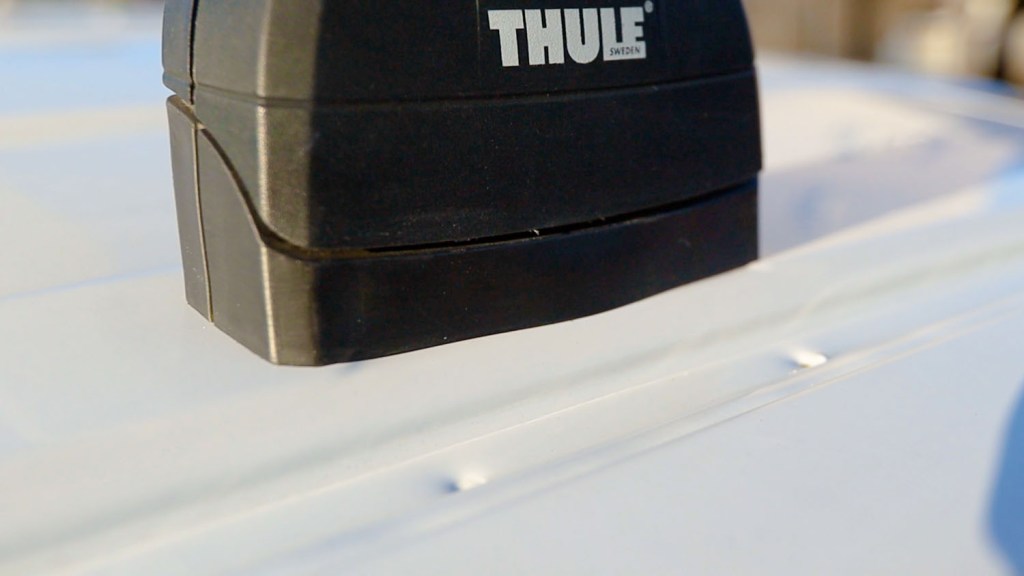
The 753 feet set screws into the fixpoint kit from the back and a lockable cover is inserted over the front to prevent access to the screws. When attached, these feet sit over the fixpoint kit giving it some protection from the elements, though in a bit I’ll go into what this protection actually means.
Finally, the 969 wing bars, which have now been superseded with the evo 127 bars and also come in black, tighten onto the feet to create a set of sturdy roof bars. They have a useful rubber strip along the top to provide some grip to whatever is placed on them.
I’ve been very happy with these bars so far – they’re very quiet, low profile and they look great – but on a couple of occasions I’ve had water getting into the van from the roof from the fixing points. Unfortunately it wasn’t just a case of tightening the feet to the roof more, as they were already firmly attached, so there must have been some water ingress which, however small, needed to be dealt with.
With winter fast approaching – which always sees prolonged heavy rainfall – I want to take this opportunity to shore up the roof bars so I don’t have any problems now or in the future.
Click to buy your own…

(Affiliate links which help support this website)
Disclaimer!
I should say at this point that the measures I’m taking on my roof bars are most definitely a DIY method to try and prevent leaks and isn’t tried and tested or backed up with any evidence, but I’ll be sure to share how I get on (see update at the top of this post!).
Also, I keep my roof bars on the van roof permanently, and so my method of waterproofing is aimed at a permanent fix.
How will I waterproof the roof bars?
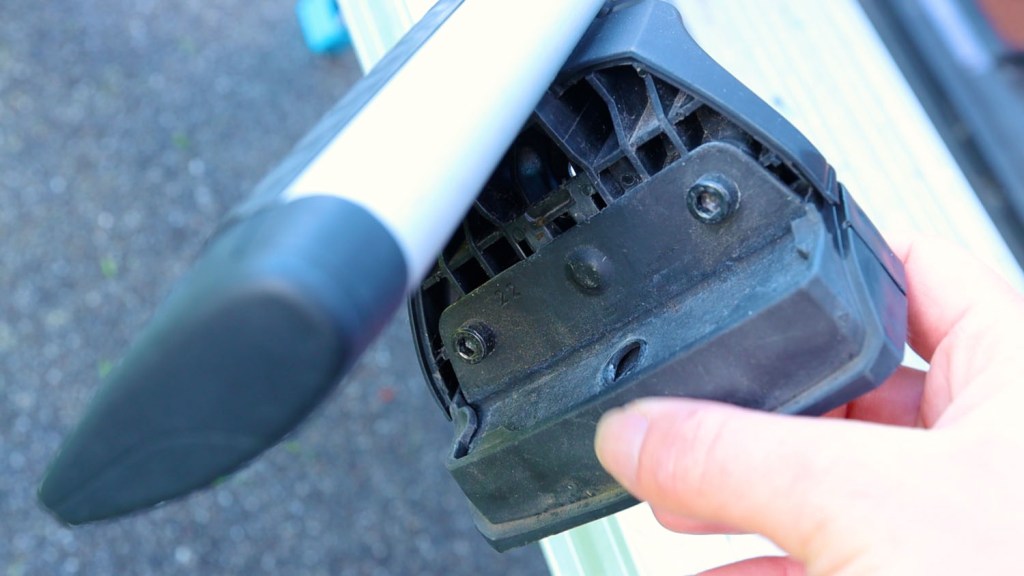
My first port of call was to study the fixpoint kit and the feet set, to work out where the water was getting in. Clearly this was through the threads on the roof, but with the rubber foot supposedly creating a seal on the roof around the thread, water was still clearly able to get in.
As I alluded to earlier, surprisingly the feet are made with a number of areas that water can get in.
Firstly, if the seal fails around the base of the foot, then water can easily make its way to the screw thread and into the van. Secondly, water can find its way in from the top of the feet, where the metal meets the rubber. Finally, and bizarrely, there is a gap in the back of the foot which will allow water in. I’m sure it has some purpose, but it isn’t helping stop water get into the van.
Anyway, my initial thought was to seal every possible place water could get in – coat the inside the rubber foot, the bolt and around the base of the foot with a weatherproof silicone sealant, but then on further inspection I realised that there is a gap behind the feet which would continue to allow water in. The last thing I wanted was to allow water to pool inside the roof bar feet.
So I ended up with the fairly simple solution of sealing the bolt into the screw threads, therefore allowing water to come and go, as it inevitably will. I looked into silicone sealant, pipe sealant, PTFE tape and liquid PTFE but settled on Loctite threadlocker to the thread of the bolt.

This particular threadlocker will seal the bolt thread, is resistant to water and heat, protects against corrosion,will lock the bolts in place and will withstand vibrations (which I think is important for vehicles), so hopefully this will prevent any problems in the future. The Loctite is medium strength which means that if the roof bars need to be removed in the future then they can be with hand tools.
My theory with sealing the bolt is that, due to the design of the roof bars, water is always going to get into and through the feet, but as long as the thread is sealed and prevents water from trickling into the van, then the water will come and go without causing any problems to the inside of the van.
Despite originally planning out quite an elaborate waterproofing method, I suppose sometimes simple is better. But I’ll certainly find out with time… and heavy rainfall!
We’re also on Instagram!
Check out yogi.the.van to keep up-to-date with all our adventures in the van!


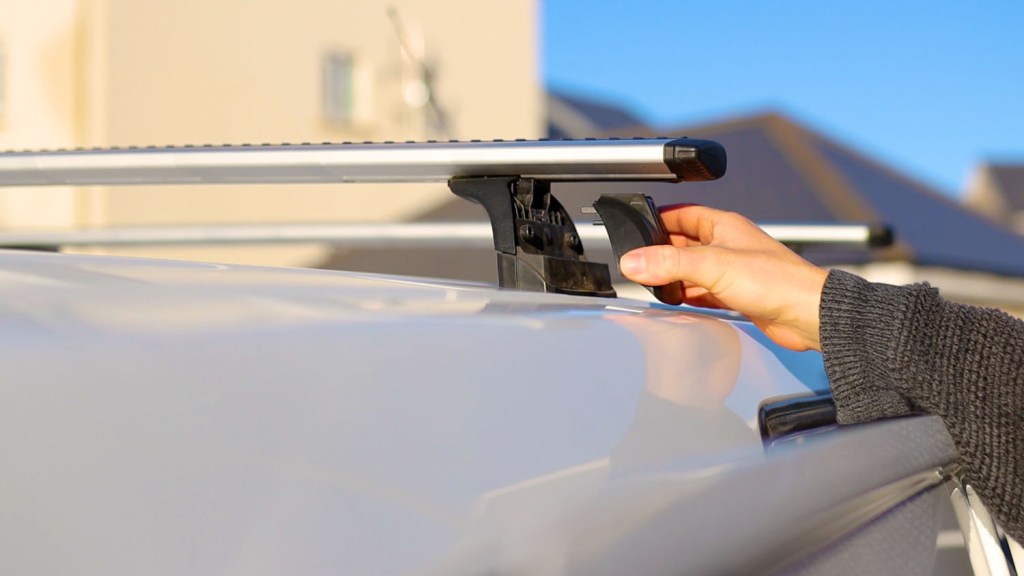
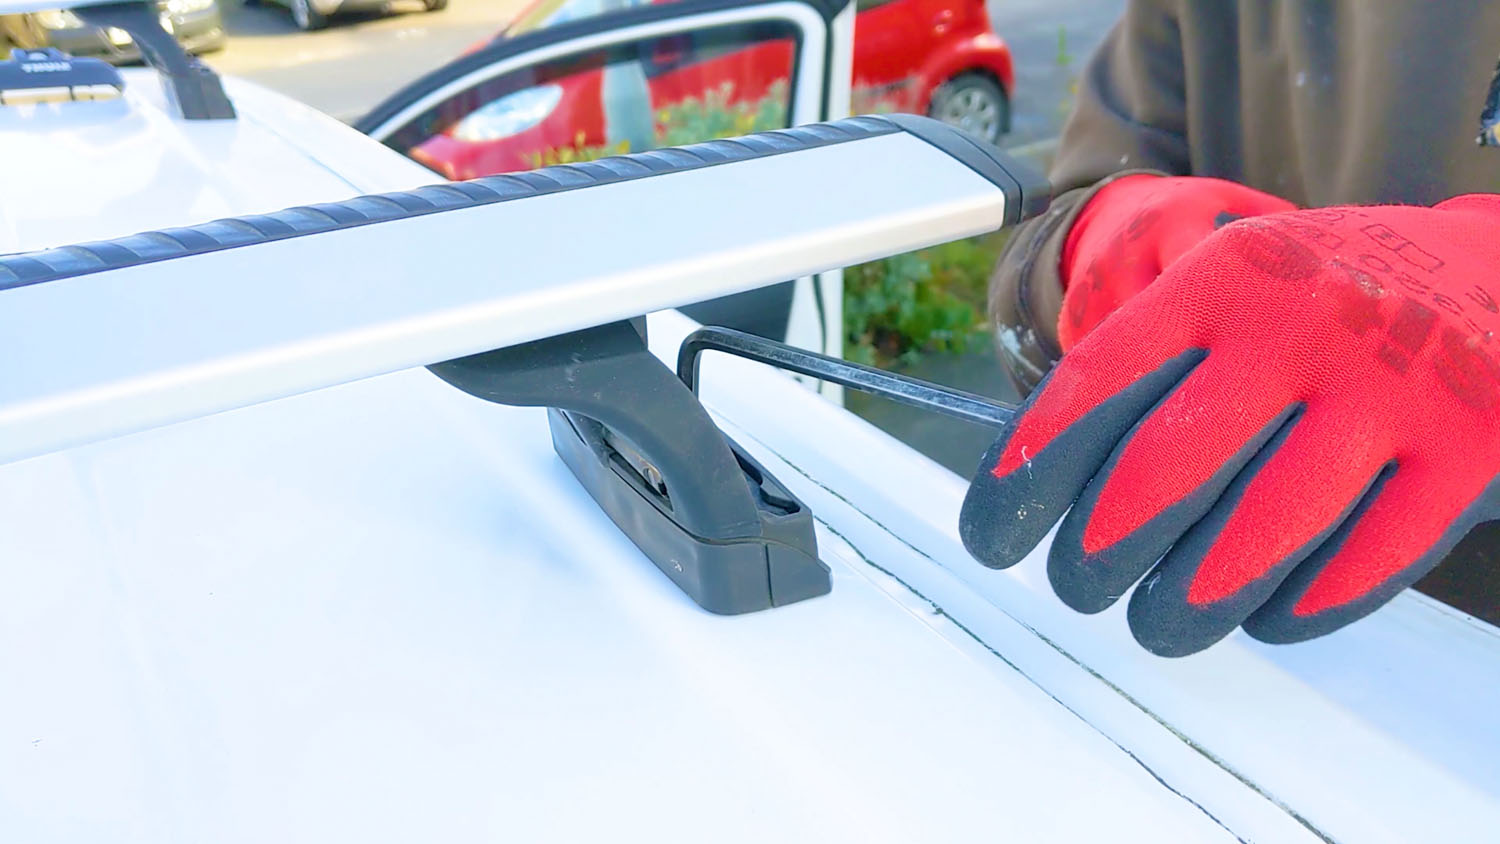
Taking the roof bars off
I first took the roof bars off the roof. It hadn’t rained the overnight, but as I took the bars off, there was water coming out from under some of the feet, which confirmed my decision to seal the roof bars.
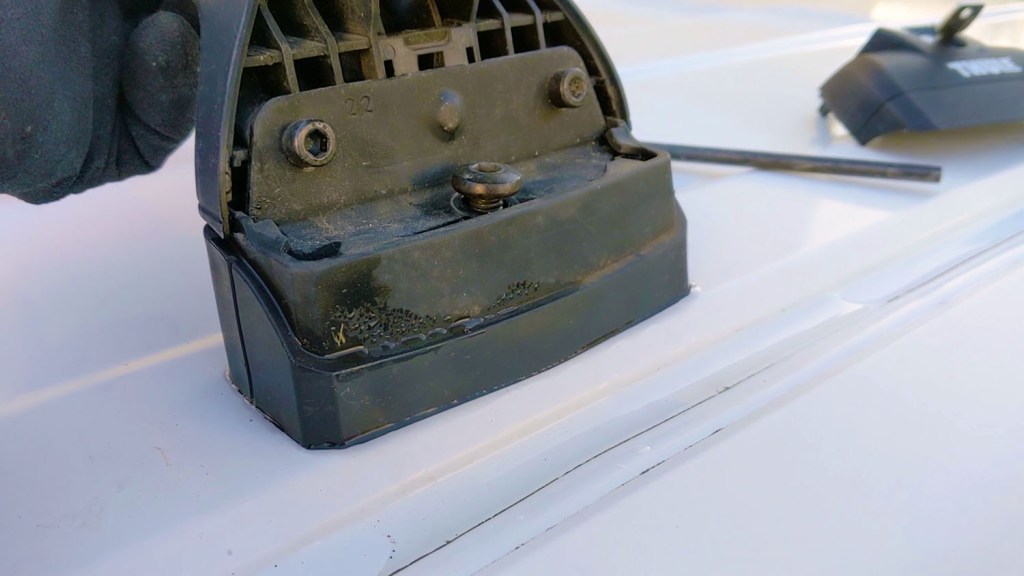

I noticed a bit of dirt and light rust in the screw threads in the van roof, so I cleaned them out as best as possible. It appears to just be surface rust, and it’s not something I’m going to worry about too much since I’m sealing the area.
I could then make sure that everything was clean and dry. Cotton buds worked really well for cleaning the roof mounting points and I wiped over the roof feet too, to ensure a good fixture later on.

With everything clean and dry, I pushed the bolts back into the feet and applied some threadlocker to their threads, turning the bolt and using the nozzle to spread it around evenly.


I then gently eased the bars into place, alternating between both sides as I tightened, until they were both firmly attached.
I did the same for the second roof bar and could let the thread locker dry.
As I said earlier, I will have to see how well this method works. In my mind, this is the best way but only time will tell whether the roof bars hold water out permanently.

If you want to see more of my camper van build in action, please CLICK HERE.


(Affiliate links which help support this website)
