
This article is a written account of a video from the Lens Of James YouTube channel. Watch the video above and subscribe if you like what you see!
This article contains affiliate links to relevant products I have used in my videos. By buying through these links, I receive a small percentage of the sale at no cost to you which helps me support and grow my website and YouTube channel, so I can create more content like this in the future. Thank you for your support.
In this post, I want to talk about awnings (eBay affiliate link), and there’s no better time to show you my set up than now – as I’ve just come back from a short trip away in the van.
Why have a drive away awning?
While the van is great on its own for a day trip or a night away, nothing beats having the additional space and shelter that an awning (eBay affiliate link) provides when at a campsite. And best of all, it provides a great place to come back to after a day out exploring.
Click to buy your own…


(Affiliate links which help support this website)
Time to get away
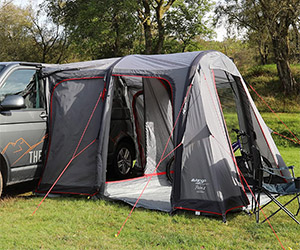
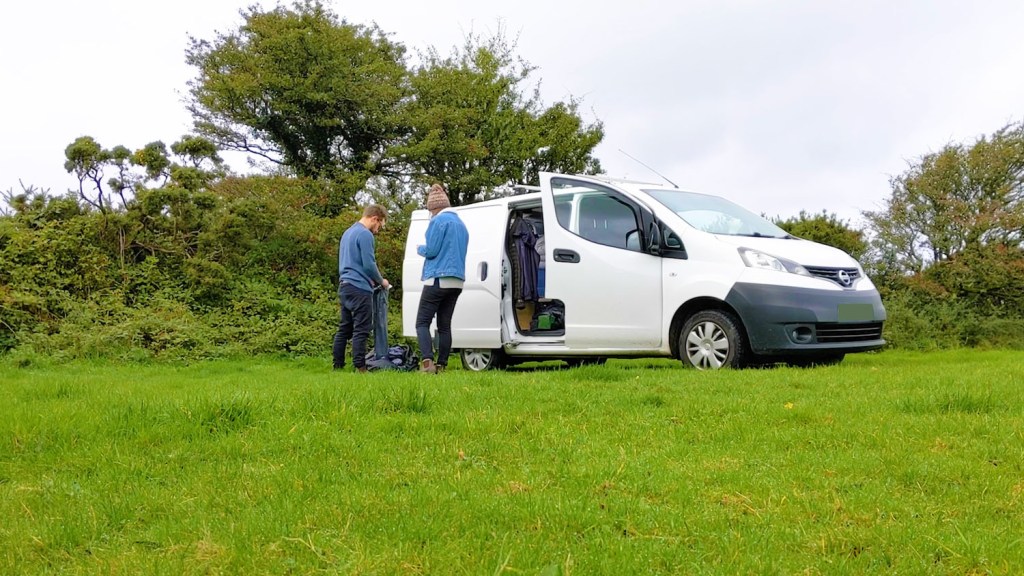
With the van loaded up, we were ready to go and the van might be pretty full now, but the beauty of an awning is that you can unload into it and free up a lot more space in the van.
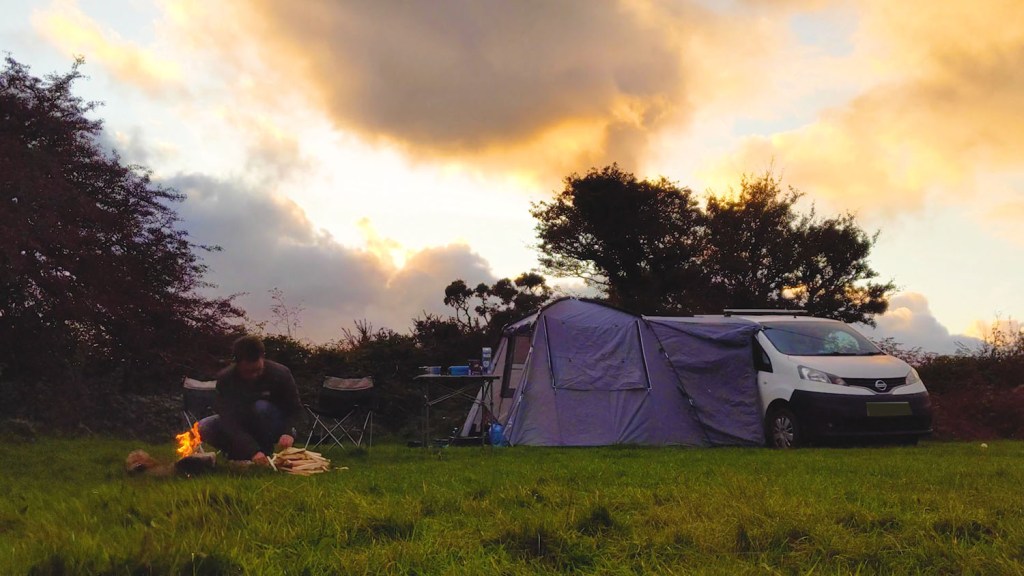
We were heading to Bodmin in North Cornwall, for a short four night getaway – to have a break, do some walking on the moors, and enjoy some of the early autumn colour.
Driving through the countryside, we reached our very quiet campsite and could set up our base in one of the fields for the next few days.

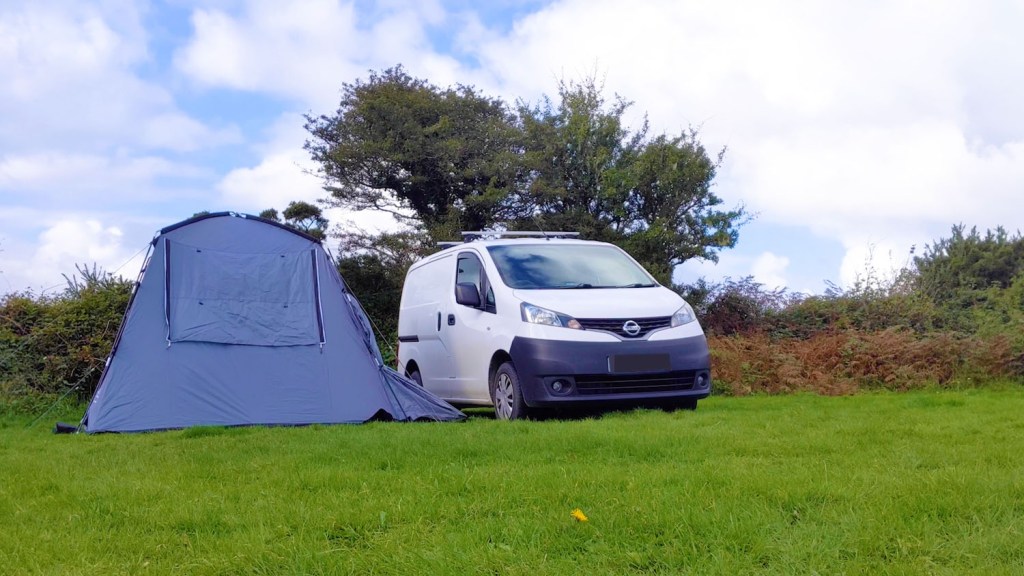
Our drive away awning
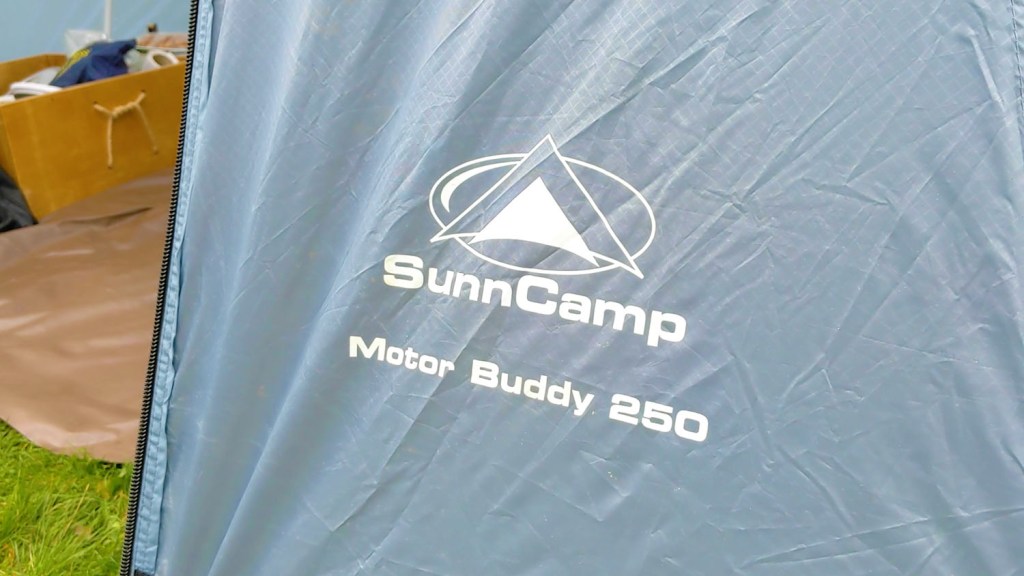
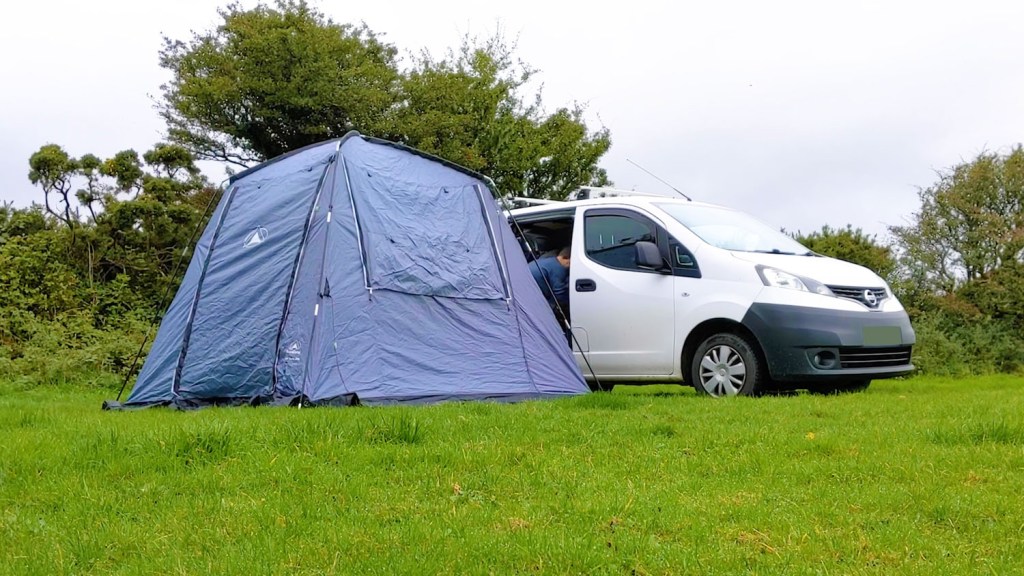
The drive-away awning we have is the Sunncamp Motor Buddy 250 (eBay affiliate link). It’s the third holiday where we have used the awning and we wouldn’t be without it now.
We’re also on Instagram!
Check out yogi.the.van to keep up-to-date with all our adventures in the van!


How do you set up the drive away van awning?
The awning goes up just like most other tents – unroll the flysheet, put the 2 sets of elasticated poles together and thread them through the loops in the outside of the tent to create the structure.
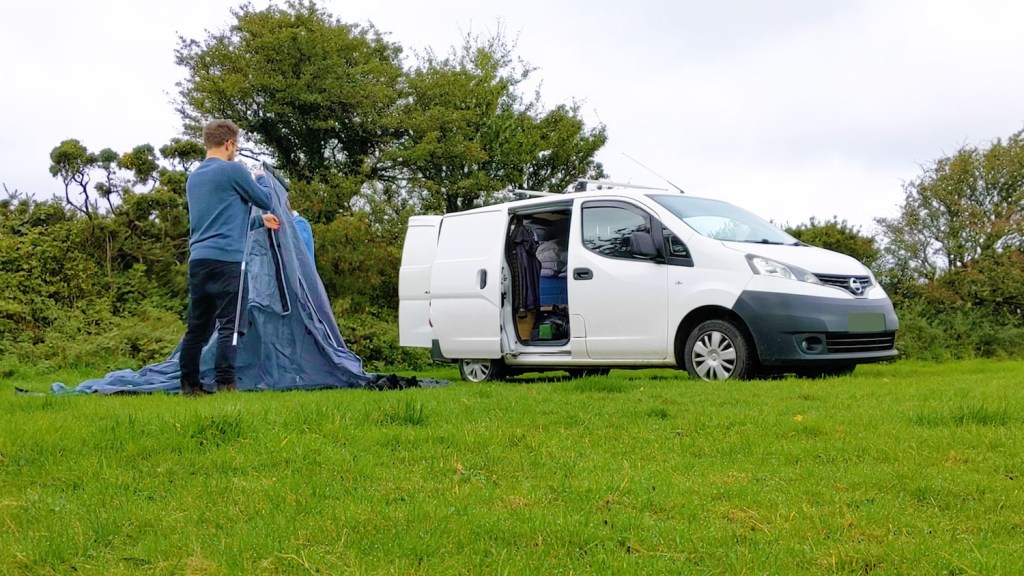
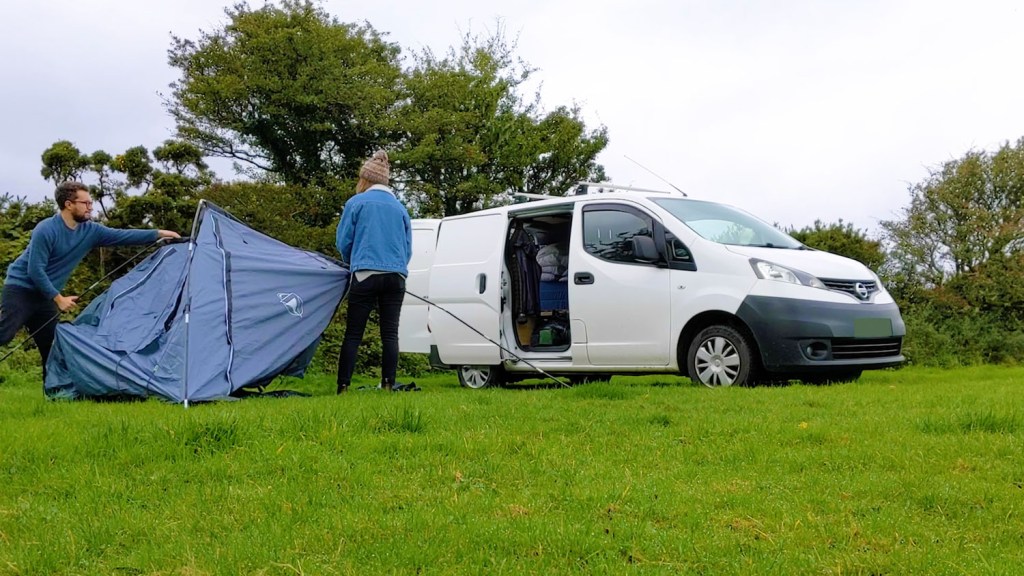
Once the awning is aligned with the van, three guy ropes are thrown over the van and pegged into the ground, creating a weatherproof walkway into the van.
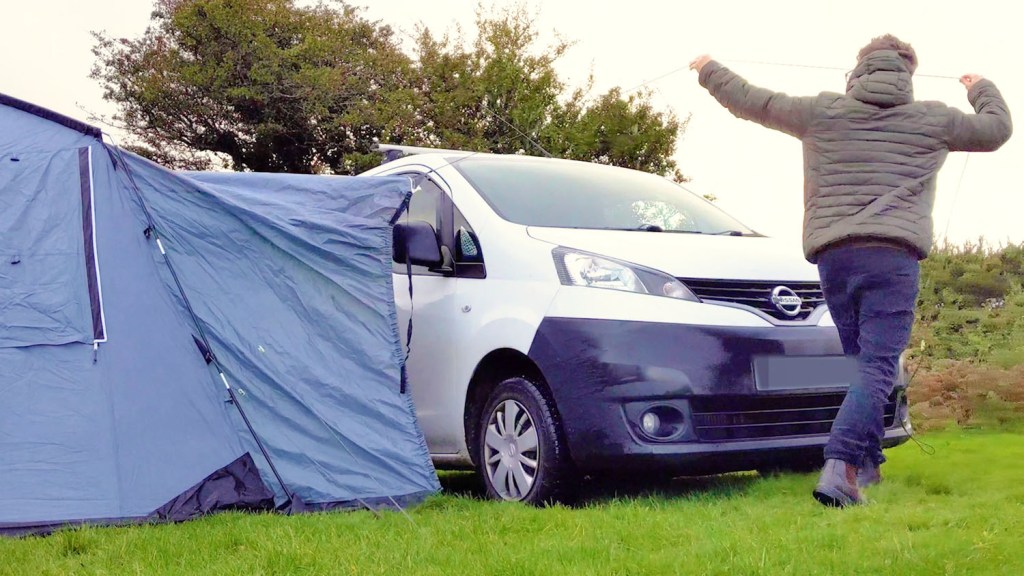
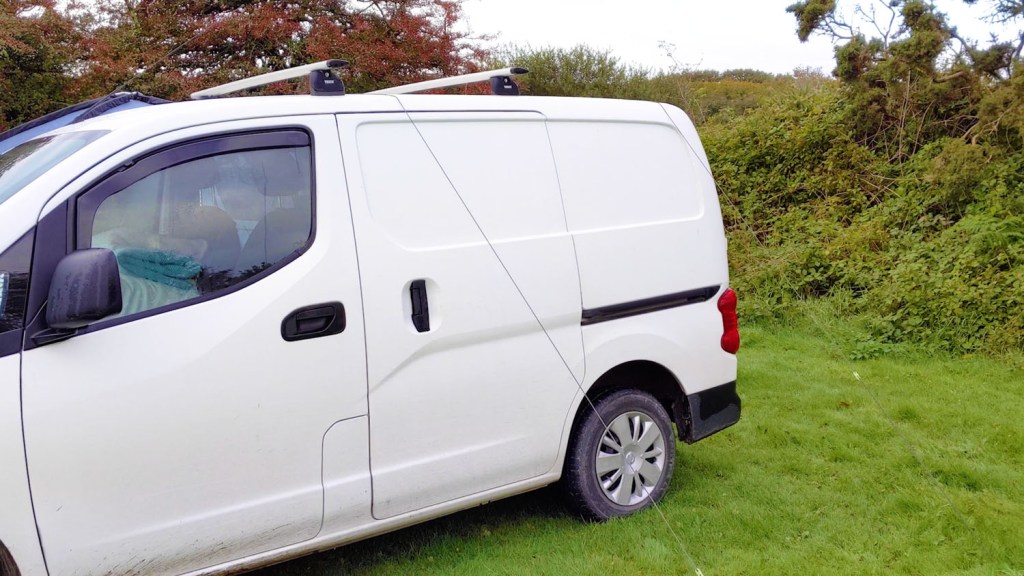
Having used the awning (eBay affiliate link) a number of times, and in some quite severe weather, I haven’t seen any damage to the paintwork of the van from these ropes being tensioned against it.
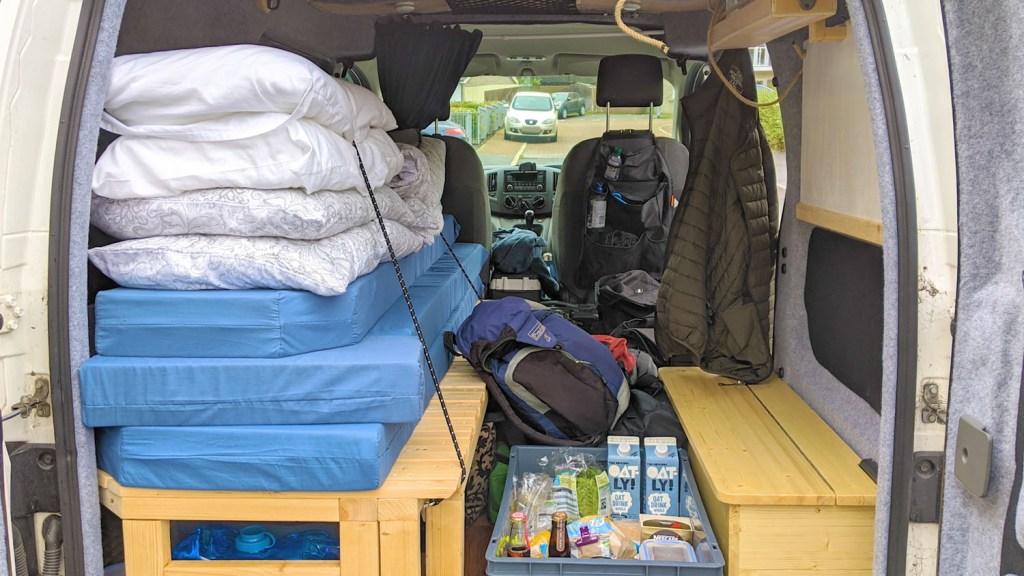
Our camping set up in the awning (eBay affiliate link) is a fairly simple one which works perfectly for our needs. Looking through the front door, down the left side we have the drawer and boxes from under the bed, and these are filled with food, cooking equipment and camping accessories, and next to these are walking boots and gas stoves. Over the top of this sits a small x-wing airer which makes good use of the space above.

On the right side is our folding table and 2 folding chairs, giving us a dry, comfortable place to eat, sit and relax.
The centre is kept clear for walking through and we have an groundsheet to keep everything dry.
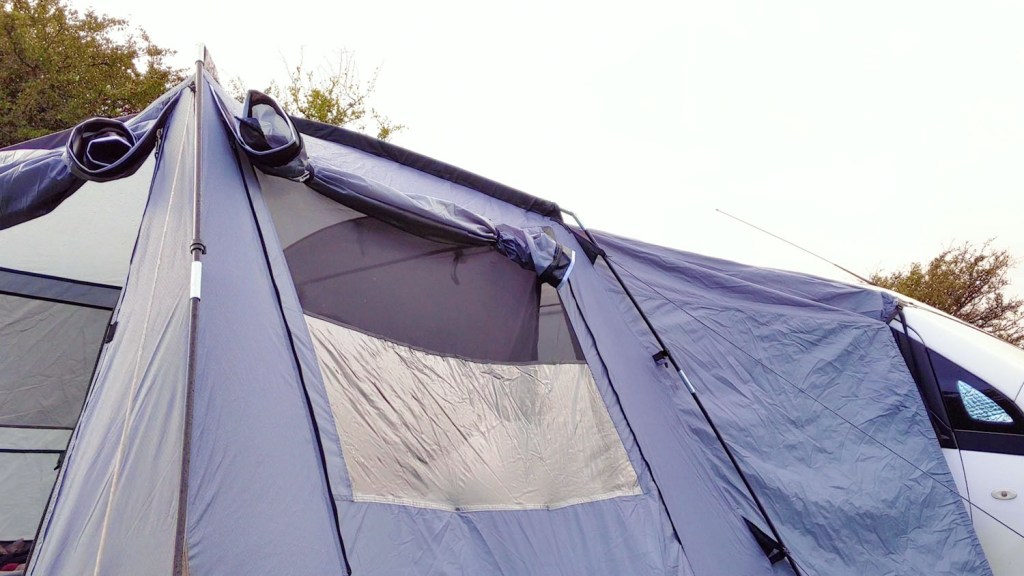
The awning itself measures 2.5×2.5m inside, with the attachment to the van adding an extra metre. There’s plenty of headroom to stand up and walk about inside, and this particular model fits vans up to 245cm high.

On the front and back are large zipped doors and on both sides of the awning (eBay affiliate link) are windows that can be rolled up to reveal see-through plastic on the lower half and mesh window on the upper, so you can still let light in even when it rains.
To detach the awning (eBay affiliate link), we simply unpeg the guy ropes, tie up the walkway to stop it blowing around and drive away.
So that’s a fairly short and sweet rundown of the awning (eBay affiliate link) we use when camping. Yet again it proved to be absolutely perfect for our camping trips and I thoroughly recommend getting one.
If you want to see more of my camper van build in action, please CLICK HERE.
Click to buy your own…
(Affiliate links which help support this website)
