
This article is a written account of a video from the Lens Of James YouTube channel. Watch the video above and subscribe if you like what you see!
This article contains affiliate links to relevant products I have used in my videos. By buying through these links, I receive a small percentage of the sale at no cost to you which helps me support and grow my website and YouTube channel, so I can create more content like this in the future. Thank you for your support.
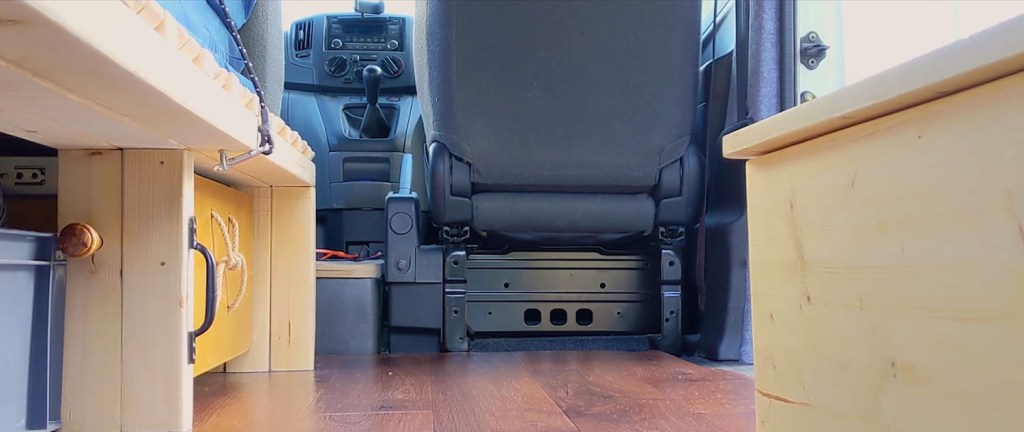
For a long time, I’ve wanted to do something with the unused area behind the driver’s back seat I turn an unused area behind the driver’s seat and turn it into a practical, useful storage cupboard.
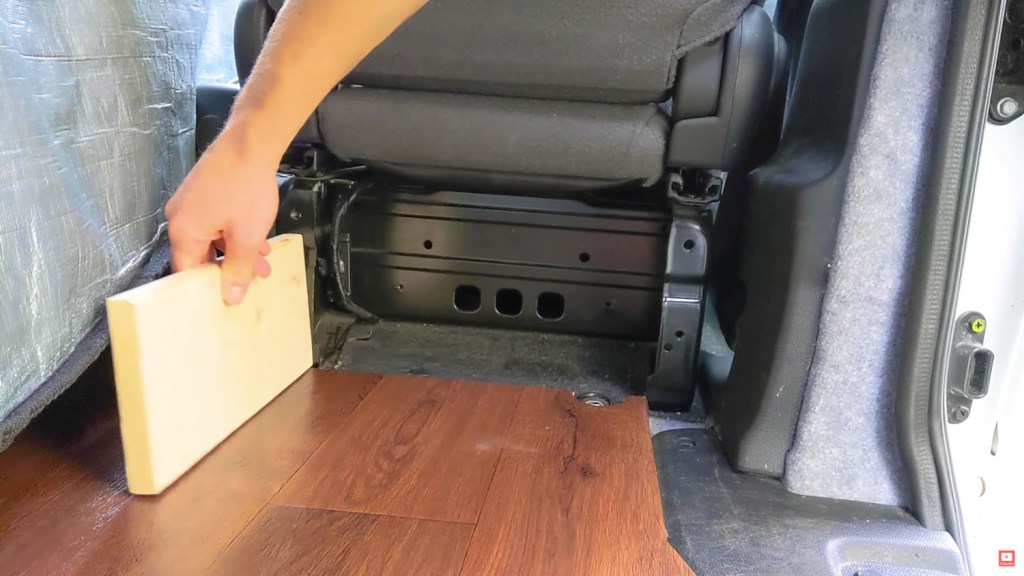
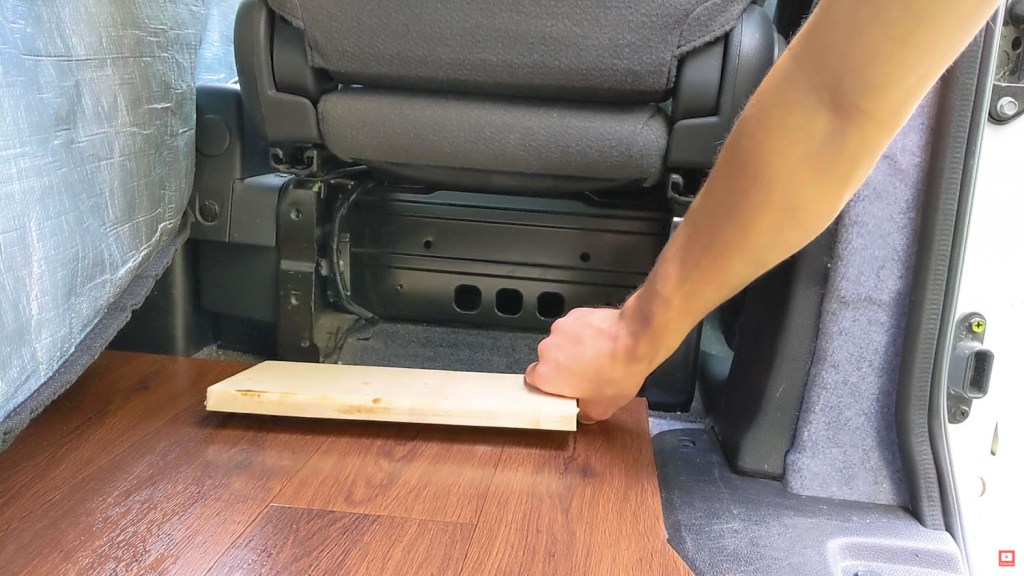
The space
Measuring 43cm wide x 15cm deep x 22cm high, it’s a decent size space which is just going wasted, so now it’s my opportunity to make the most of it.
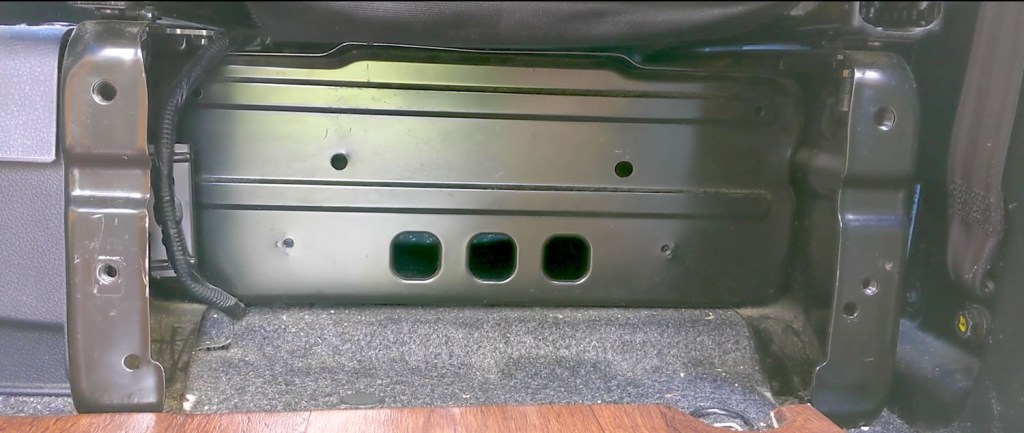
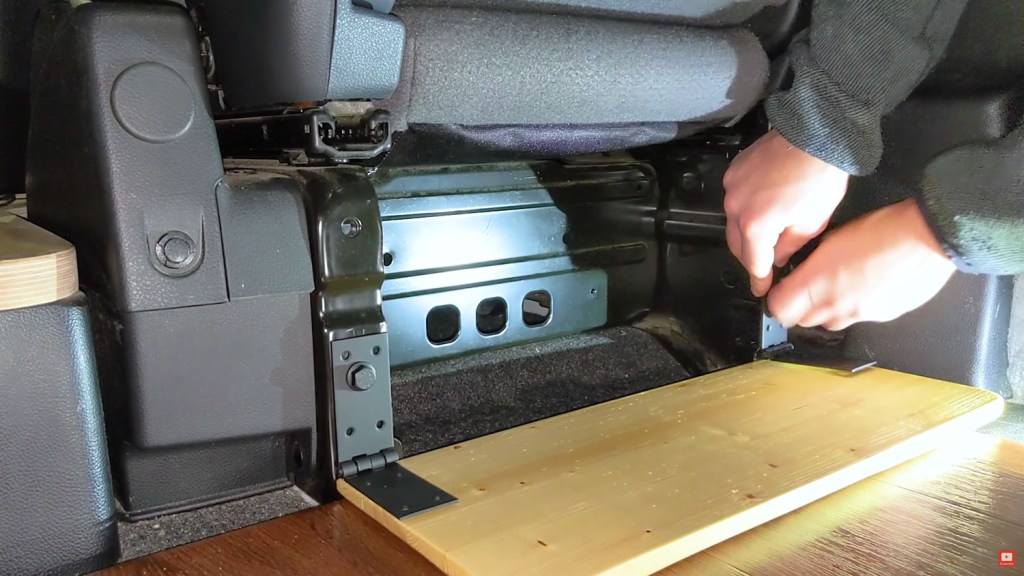
There are already screw threads in the frame of the seat, which seemed like a good place to attach a door to. The top holes on either side take an M10 bolt, and the bottom ones take an M8 bolt.
Building the door
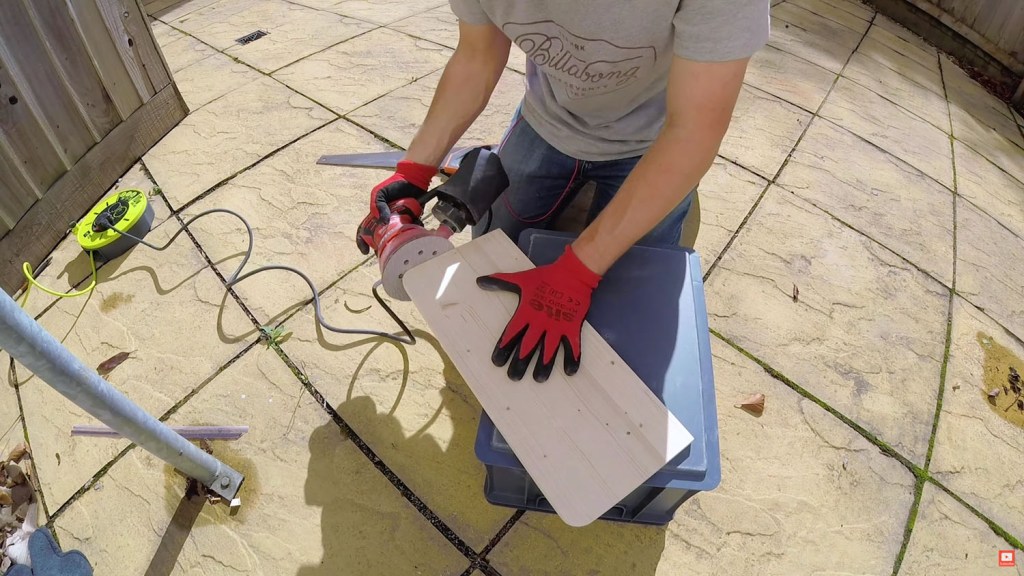
To create this door, I took some offcuts of wood from my previous storage box build, cut them to the correct length of 43cm and, using wood glue and clamps, stuck these together to get it to the correct height of 19cm.


The wood is 18mm thick, and to make the door a little sleeker I planed the glued board down to about 10mm.

After that, I cut the top 2 corners off with a hand saw, round them with a sander and proceeded to sand the rest of the board.
Click to buy your own…


(Affiliate links which help support this website)
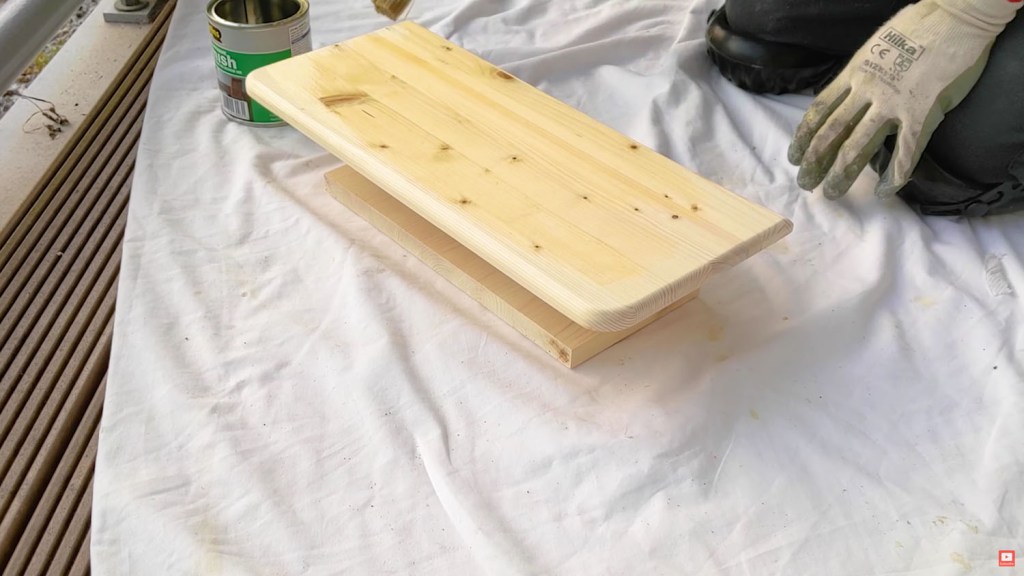
I then used a trimming router to round the edges all the way round for a much neater look.

After a final sand the board had come out really nicely and was ready for varnishing.
We’re also on Instagram!
Check out yogi.the.van to keep up-to-date with all our adventures in the van!


I used the same matt-finish polyurethane varnish that I used on my wheel arch storage box and, being the same wood, it’s a nice match.
I applied 2 lots of varnish and sanded between coats for a nice smooth finish.
Fixings for the door
With the cupboard door finished, I could turn my attention to attaching it to the seat. I really didn’t want to drill new holes in the seat and wanted to utilise the M8 or M10 screw threads that I mentioned earlier.
The most viable options were to either have the door swing outwards, with hinges one side, or to have the door open downwards, with hinges on the bottom. I opted for the second option as it meant greater access if the floor was full with other things.
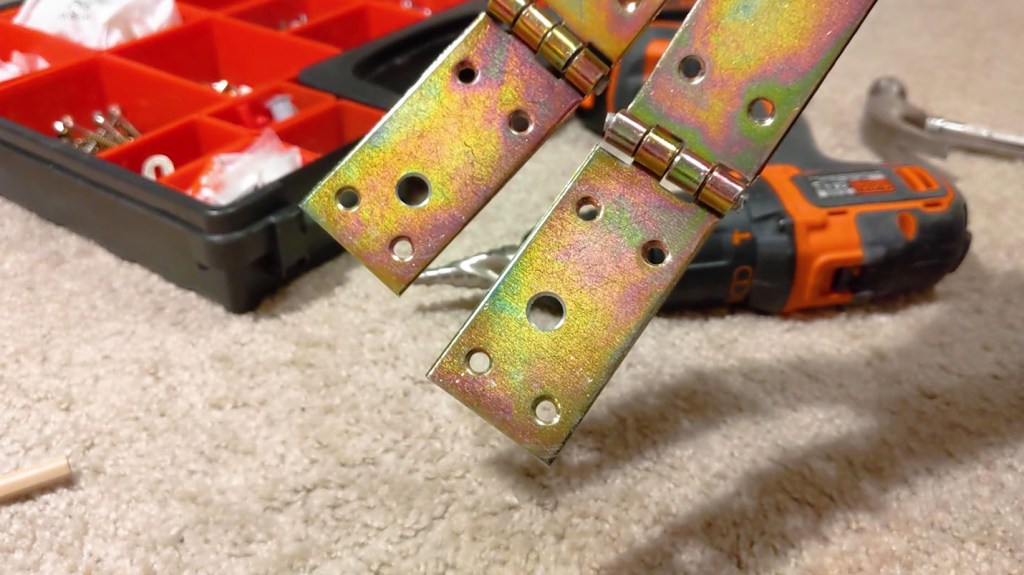
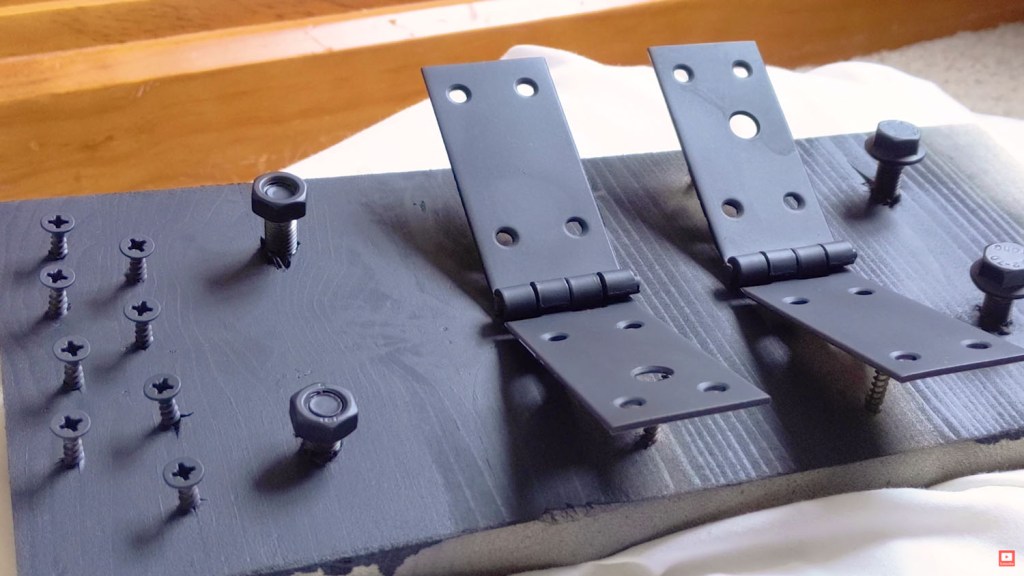
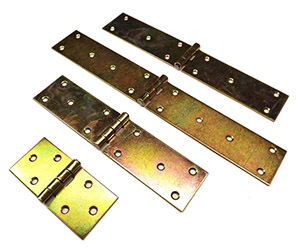
I sourced a pair of zinc plated 35 by 150mm backflap hinges (eBay affiliate link).
I worked out where I needed the new holes to go to match the screw threads of the seat, and drilled two 8mm holes with a step drill bit for the bolts to go through.
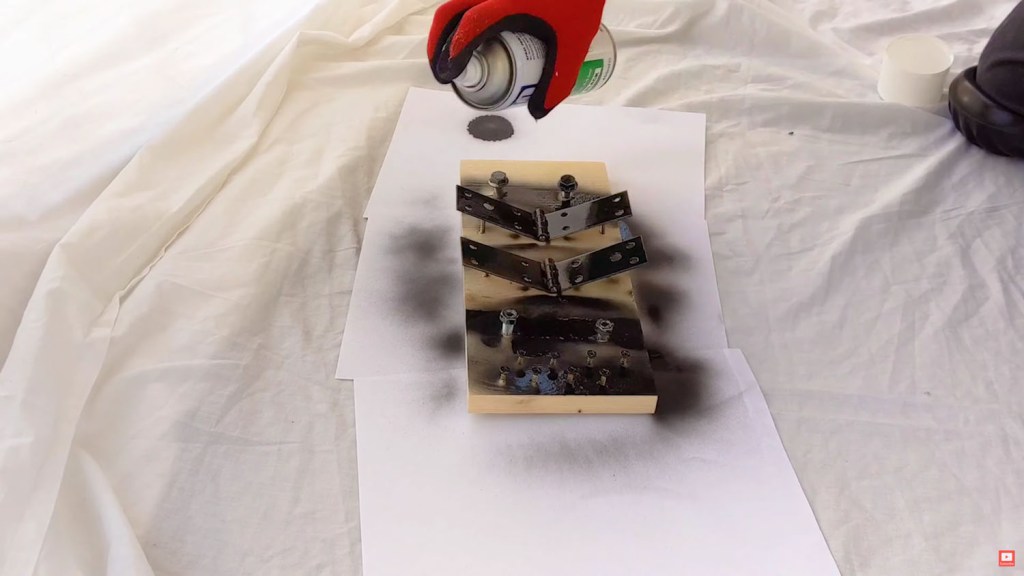
I wasn’t happy with the hinges (eBay affiliate link) being a metallic gold colour, so I spray painted them, the nuts and bolts, and the heads of the wood screws with a matt black paint so they matched the black metal of the seat. I applied a few coats and they came out really well.
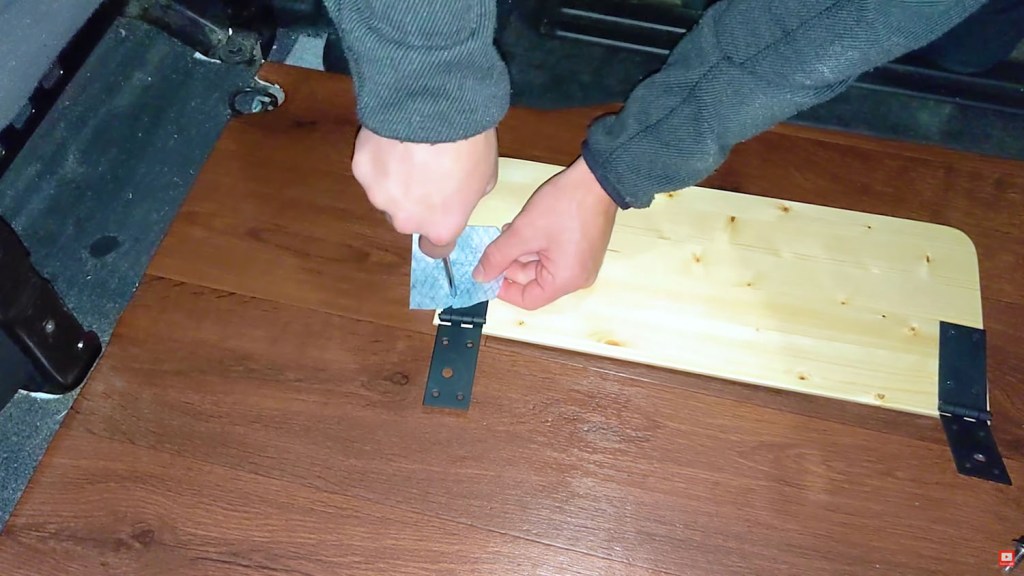
I first attached the hinges by loosely screwing in the bolts and could then line up the wood and work out where to fix the hinges to.
With this marked out, I removed the door, drilled some shallow pilot holes and, using a piece of cloth to prevent any damage to the black paint, gently screwed the hinges (eBay affiliate link) into place. I was worried about the screws coming through the front of the door so tightened them gradually and they fitted perfectly.
Attaching the door in the van
I could then reattach the door, this time adding the bolts behind the screw thread, and tighten everything firmly.

Next I needed to make sure the door would close and hold firmly in place. Despite the hinges (eBay affiliate link) being ideal for the job, they aren’t the thinnest available and I was left with a small gap between the back of the seat and the door.
Click to buy your own…
(eBay affiliate links which help support this website)
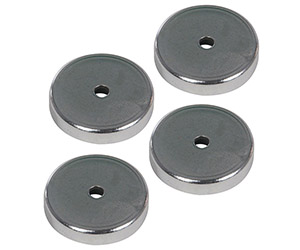
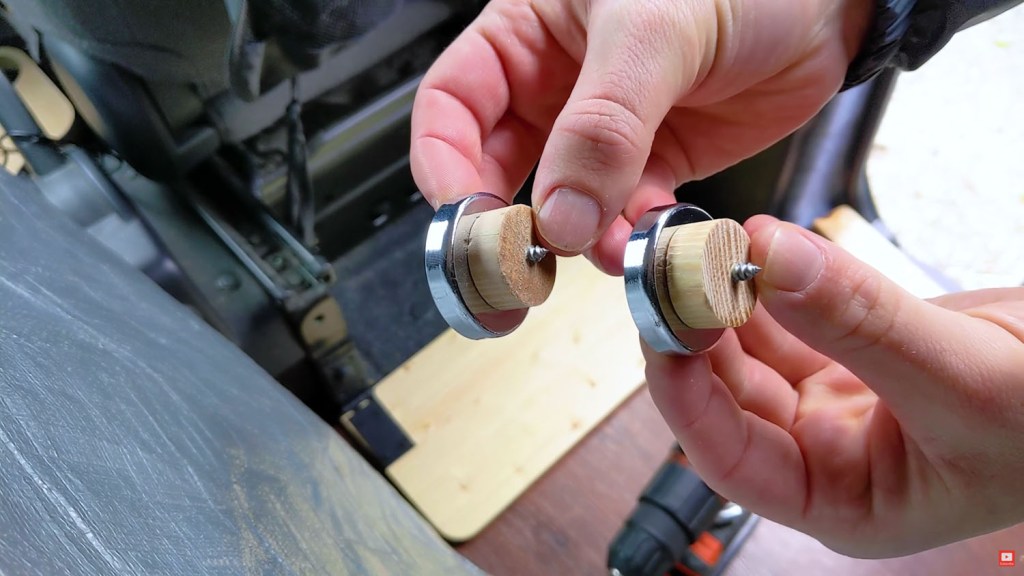
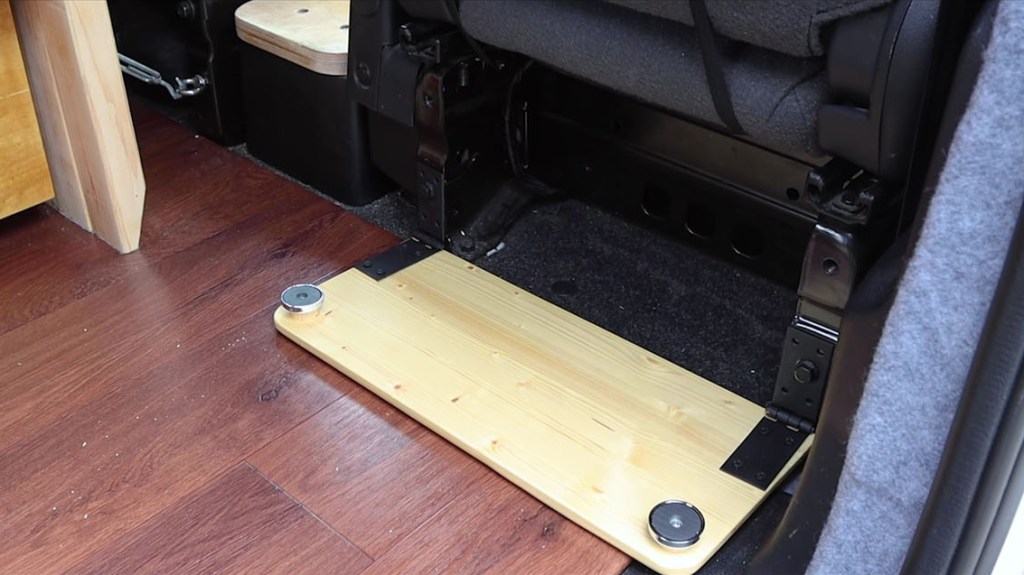
I sourced some round magnets (eBay affiliate link) that would stop the cupboard door from falling open and, utilising the hole in their centre, screwed these onto the door with a small piece of wood behind so that they reach the metal of the seat. They provide a very strong hold and I’m confident the door won’t open while I’m moving.
With the magnets (eBay affiliate link) added, the cupboard was complete and I can begin using this space properly – it’s an ideal easy-to-access location for storing things like my camera bag.

If you want to see more of my camper van build in action, please CLICK HERE.
(Affiliate links which help support this website)
