
This article is a written account of a video from the Lens Of James YouTube channel. Watch the video above and subscribe if you like what you see!
This article contains affiliate links to relevant products I have used in my videos. By buying through these links, I receive a small percentage of the sale at no cost to you which helps me support and grow my website and YouTube channel, so I can create more content like this in the future. Thank you for your support.
While I continue working on my van projects, I thought I’d share what I consider to be my top 10 essentials for days, and nights,away in the van.
While I’ve adapted these for my NV200, I’m sure many of them would work brilliantly on other small and large vans.
These are all things I haven’t featured in my van build series already – if you haven’t watched my videos yet, then be sure to check them out afterwards.
Fairy lights

My first essential is a common one and one which features in a lot of van builds – fairy lights!
It’s all well and good have practical and bright ceiling spotlights in the van, but nothing makes a space cosy and homely like a set of fairy lights.
I got this 12m long set of usb-powered fairy lights for under £10 and, with a ceiling circumference of 6 metres, they fit round the NV200 twice.
How are they attached to the ceiling?
Well, they’re held in place with a set of clear command hooks. I cut the tabs off so as to neaten them up and then evenly spaced the hooks around the ceiling. They adhered really well to my wooden ply panels and are barely noticeable.
I could then work my way around the van, looping the fairy light wire around the hooks as I went. I’ll be neatening up the bit that hangs down when I have more shelving in the van.
They provide a lovely warm, soft light which adds a cosy atmosphere to the van – a must have to make staying in the van a pleasant experience.
Click to buy your own…


(Affiliate links which help support this website)
Coat hooks

Next up – when it’s rainy and you don’t want your wet coat lying around the van….put in a coat hook!
I built two of these by screwing a hook onto an offcut of plywood, which I shaped and sanded a little. I epoxied an M6 bolt into the back of it and this makes it suitable for some of the many screw threads that can be found in the walls of the NV200.
Mid-way down both sides of the NV200 can be found an M6 screw thread close to the ceiling and the sliding doors, making it an ideal location for a hook.


Whilst I’ve made mine out of fairly chunky piece of wood, I’m sure there are many other options out there. Being screw-in, they are easily removable if you decide to use the holes for other things, but as we head into winter they’re something I really value in my van.
Folding Step
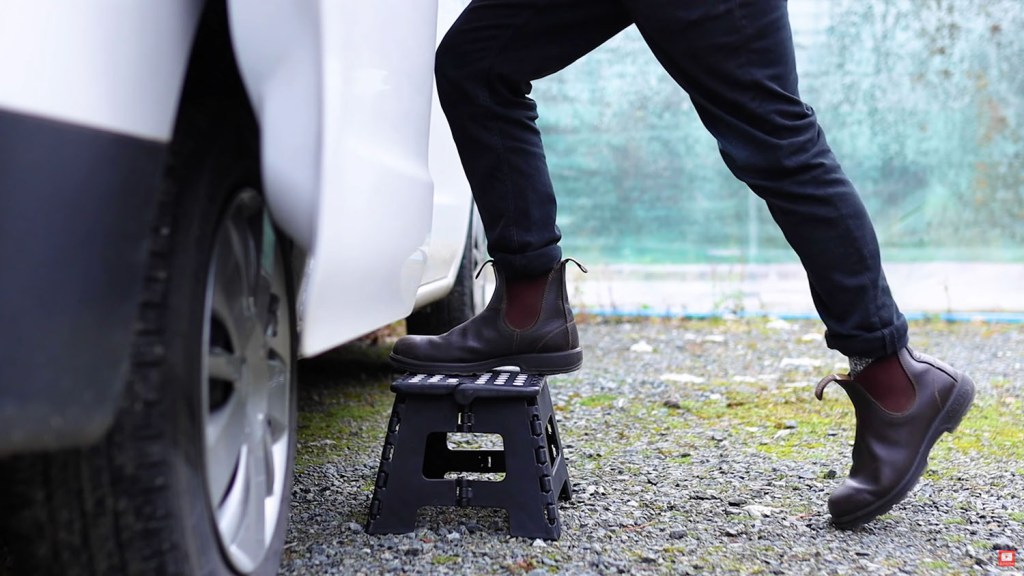
I know a lot of campervan owners have this next one, and after staying on a muddy, boggy campsite pitch last year, this is now a must have in the van.
Whilst the NV200 is small and the side and back doors are relatively low down, when I’m camping with my drive-away awning (eBay affiliate link) attached, a folding step is perfect for keeping my feet out of the mud as I leave the awning (eBay affiliate link) for the van.
And what’s more, it folds down to only a few centimetres thick – perfect for storing away in the van when not in use!

Ceiling Net
100x40cm elasticated mesh ceiling storage net

Next up is a ceiling net – super handy storage, especially when you’re lying in bed.
I got my net off Amazon – it measures 100x40cm and its elasticated edges make it perfect for stringing across the van ceiling.
Above each of the front seats is an M8 screw thread, and I got some sturdy metal eye bolts (eBay affiliate link) to go into these. At the other end of the van, I used self-drilling metal screws to hold a couple of the attachments that came with the net in place.
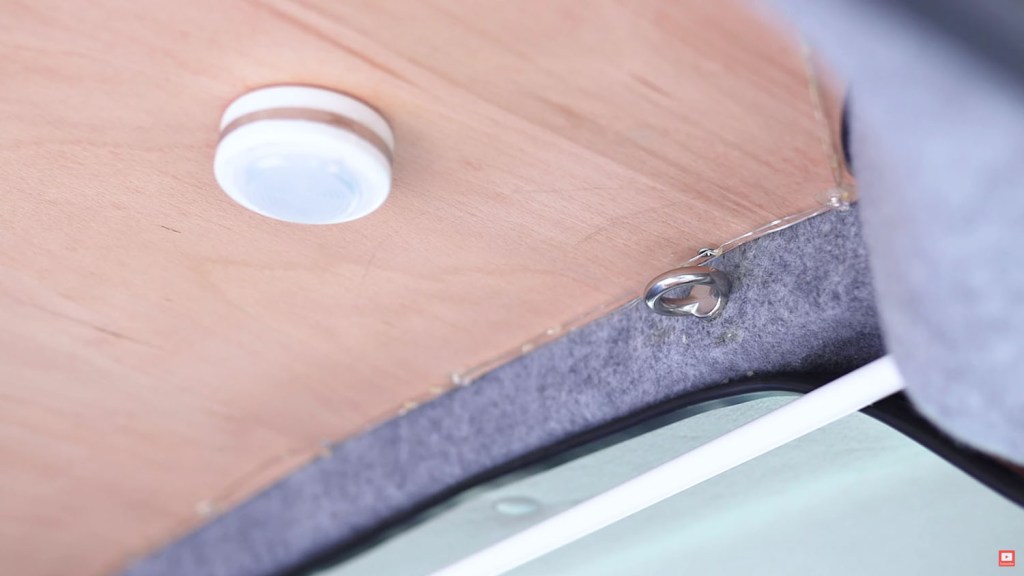

To attach the net, I hooked one end to the eye bolts with clips and looped the elastic round the attachments on the other end.
Perfect for storing light objects on, which I’ve found very practical at night time. I should note, however, that I don’t leave things in the net when I’m driving!
We’re also on Instagram!
Check out yogi.the.van to keep up-to-date with all our adventures in the van!


Visor Mirror
150x100mm acrylic perspex mirror
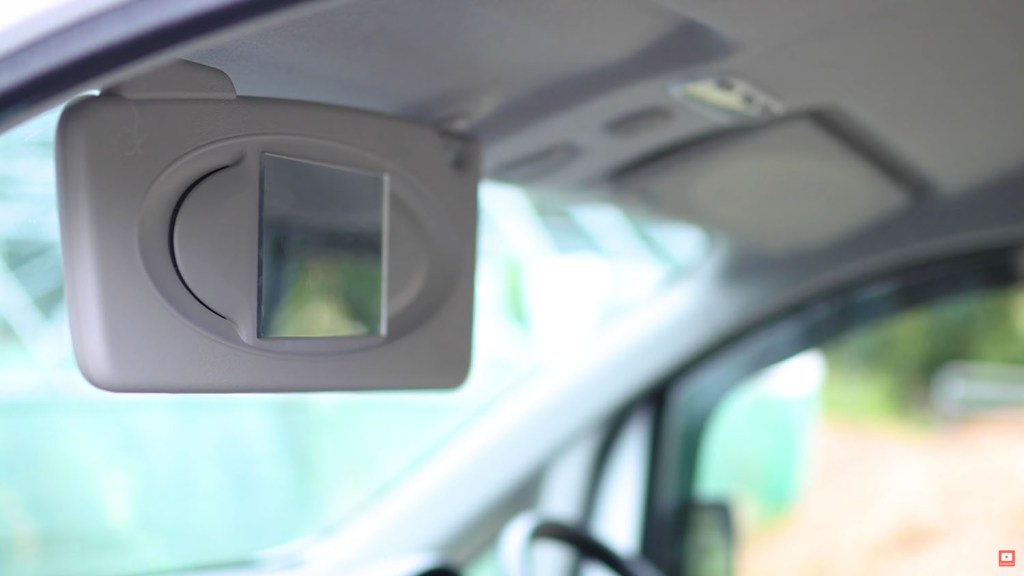
Believe it or not, the NV200 Acenta model doesn’t come with any sun visor mirrors, and one of the first – and easiest – parts of my van conversion was to put one in on the passenger side.
I found a small 15x10cm perspex mirror on Amazon and glued it in.
Not as neat as a factory fitted one, but nonetheless a simple, cheap and very practical addition to the van
Click to buy your own…

(Affiliate links which help support this website)
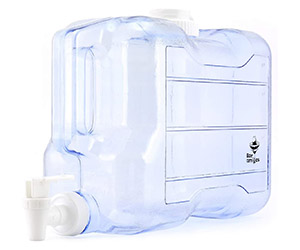
Water Bottle
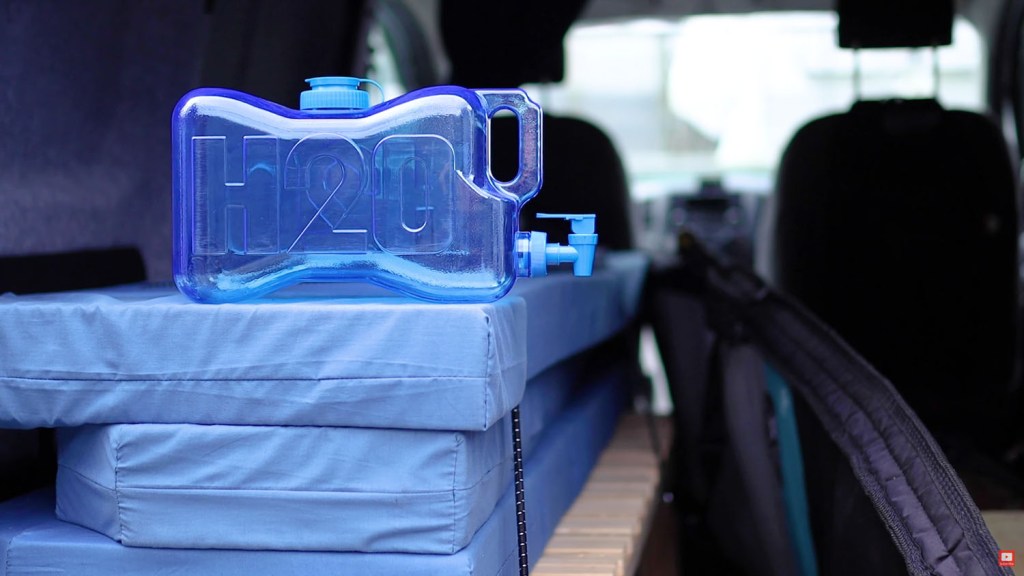
Having a day out, or a few days away, in the van is great, but you don’t want to be running out of water!
I found this perfect NV200-sized 5.5L water bottle online, and have been so impressed with it. It’s well made, thin enough to fit in the smallest of spaces and holds more than enough water for a long day out.
Door hanger
Watch the DIY video here: How To Make A Van Door Bar

Living by the sea, I‘m often at the beach with my van, which means often having a wet wetsuit or swimwear.
My solution for this – a simple, removable back door hanging rail. This really is the most basic of designs, and it consists of a broom handle with a couple of notches cut into it, and a magnet in each notch (though I reckon that it could be done without magnets).

Simply put the rail across the door and hang your wet gear! The rail also helps keep the back doors from slamming shut in windy weather.
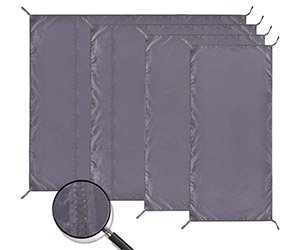
Awning over the back door
210x140cm waterproof tarpaulin/fly sheet rain cover
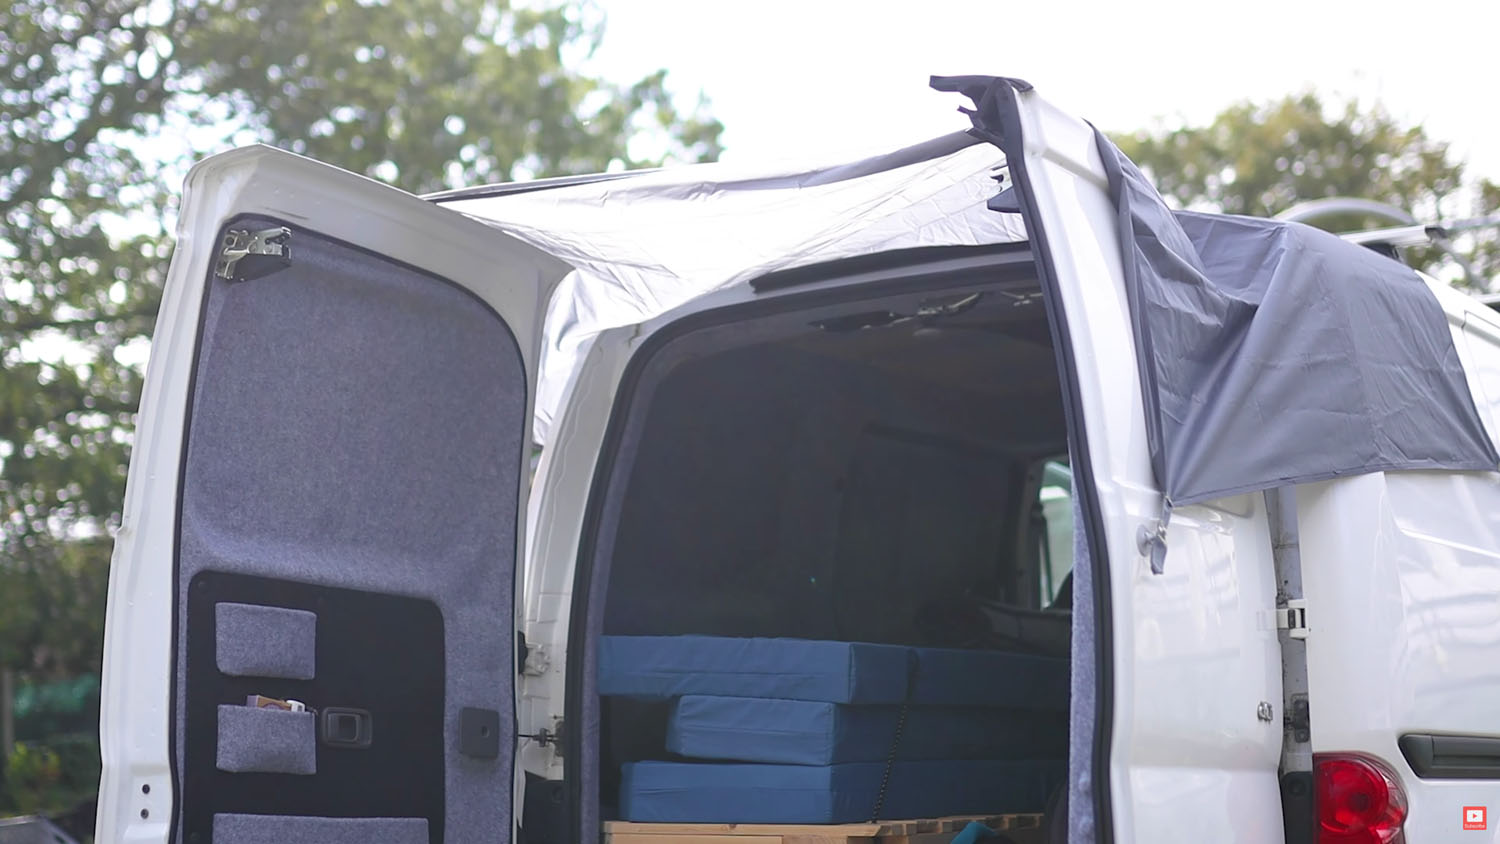
Speaking of the back doors, I haven’t seen many NV200s with a rear overhead tailgate, though I know there are some. My van has the 2 barn doors and this gives no cover to stand under when it rains, and also means that the inside of the van gets wetter much quicker.
What’s the solution? Well, a simple tarpaulin or fly sheet over the back does the trick!
This one is 210x140cm, which I’ve found to be the perfect size for the NV200’s back doors and I suspect would be ideal for a range of other small vans.

There are a number of ways it could be attached to the van, but I’ve gone with suction cups (eBay affiliate link). They give a good hold to the sides and doors of the van, whilst not causing any damage. Other methods could be strong magnets, though this might scratch the van, or using bungees with plastic hooks to grab under the wheel arches and doors.
Either way, this tarp provides essential cover over the back doors and I would be without it!
Click to buy your own…
(Affiliate links which help support this website)
Wind Deflectors
HEKO Nissan NV200 wind deflectors
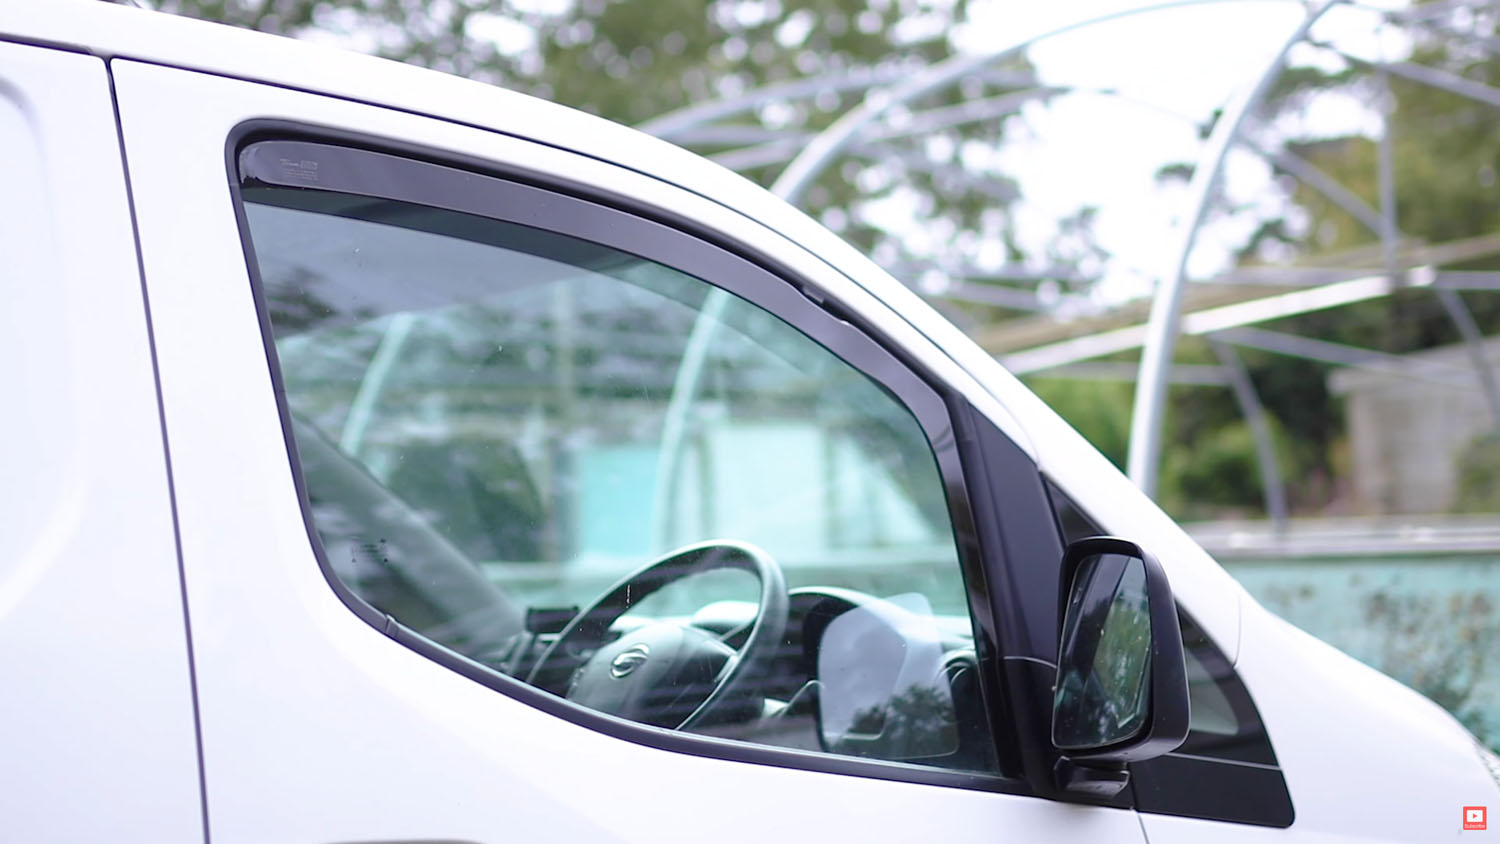
Wind deflectors are another addition that many vans and cars have. These tinted Heko ones have proved themselves time and time again.
They provide ventilation in the van at night, without allowing rain to get in but also reduce wind noise when driving along with the windows down.
They have 2 metal clips which are pushed up into the window channel, some sticky tape goes on the deflector and then they can be gently bent into place.

They are held in place by the metal clips and tape when the windows are down, and are wedged in when the windows are closed.
Oh, and they look super sleek on the van too!
Laptop holder
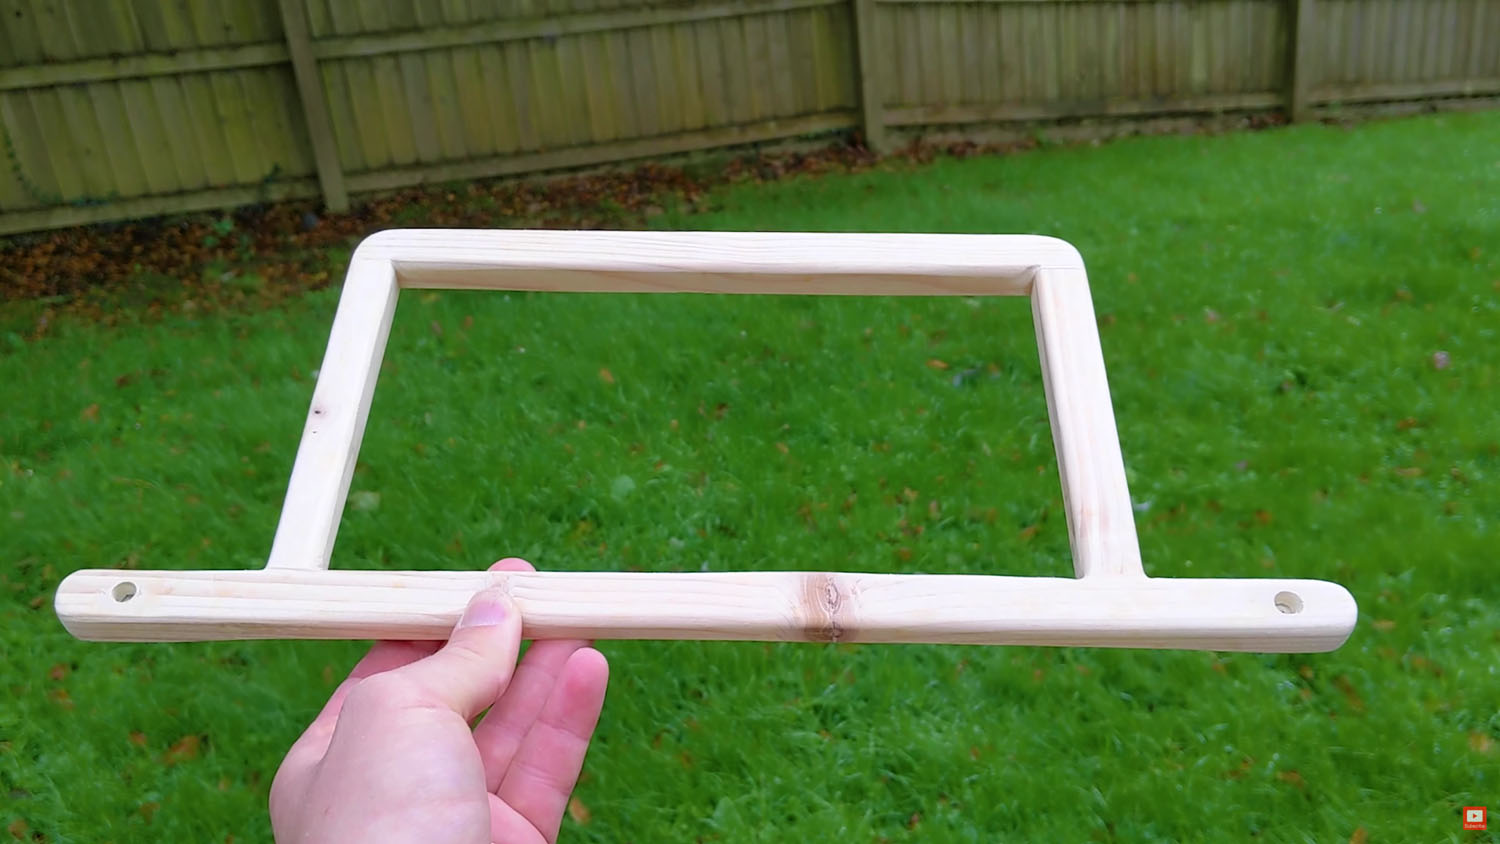
Finally, my favourite of all my van essentials is this rather rough wooden frame which has metal screws at either end. Whilst it isn’t very exciting, its function within the van definitely is!
With this frame made, I then softened the edges with a bit of sanding and also carved out some of the middle, for reasons which will soon be revealed.
In the van, I screwed it into the ceiling rib nearest the front seats. Note that the ceiling net isn’t attached when I’m doing this.

I have this small laptop which, despite lacking processing power, has one very useful asset. It’s screen is detachable and can be put on backwards.
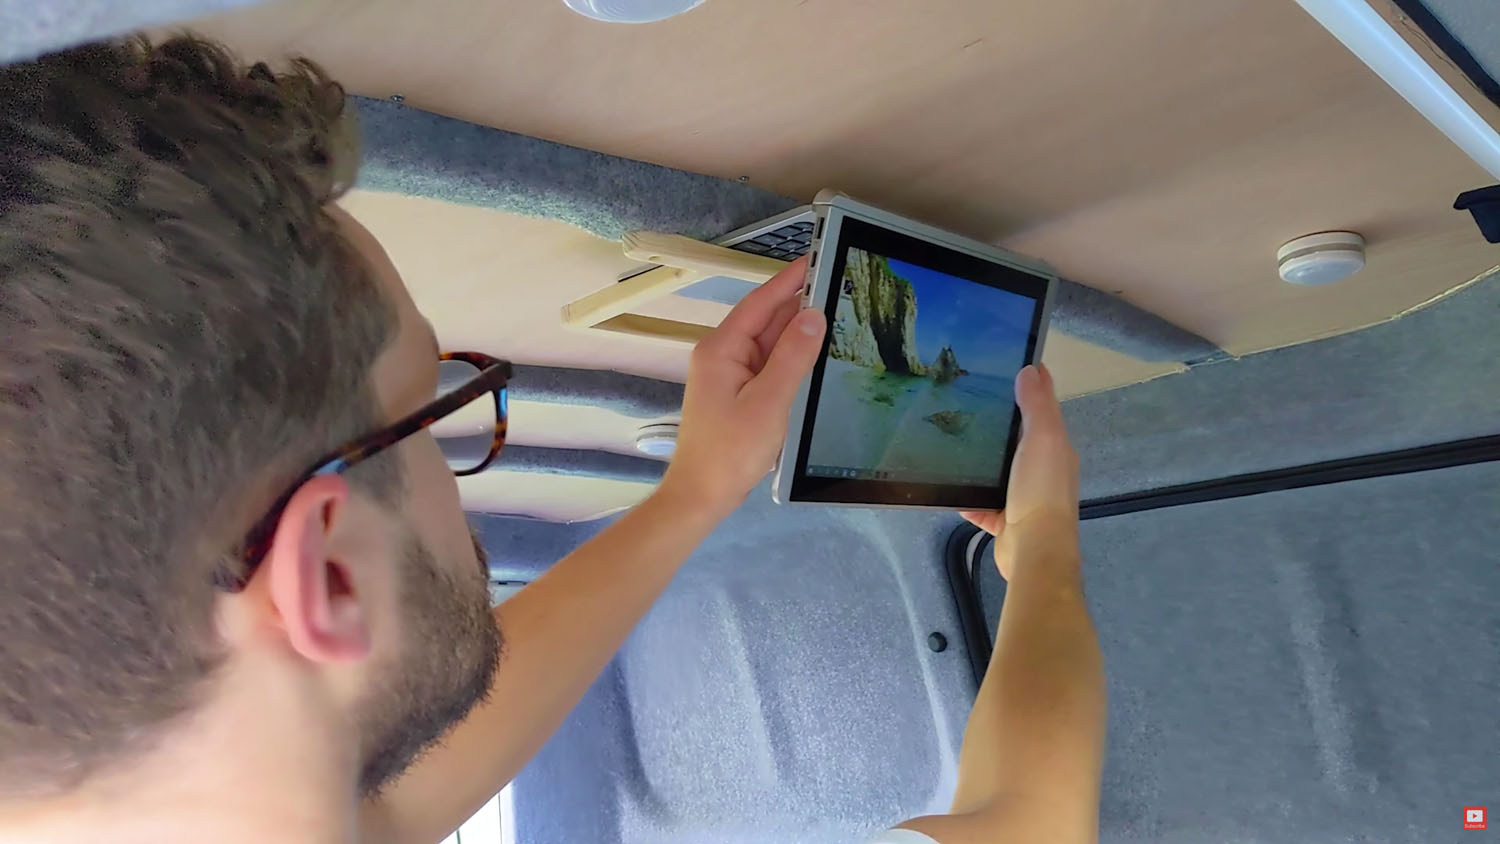
Finally, I can slide the keyboard through the carved out gap in the wooden frame, making my 10th and final van essential a laptop slash tv holder!
I can load the laptop up with all the shows I want for my holiday and lie back on my super comfortable king-size bed watching it – luxury!

When I’m done with the laptop, I can safely store it away in the large pocket I made on the back door of the van.
So, those are my top 10 – but I’d love to know what your van essentials are. Let me know in the comments below!
If you want to see more of my camper van build in action, please CLICK HERE.
(Affiliate links which help support this website)
