
This article is a written account of a video from the Lens Of James YouTube channel. Watch the video above and subscribe if you like what you see!
This article contains affiliate links to relevant products I have used in my videos. By buying through these links, I receive a small percentage of the sale at no cost to you which helps me support and grow my website and YouTube channel, so I can create more content like this in the future. Thank you for your support.
In this article…
In this post, I’m delving further into my van storage by transforming some lesser used areas of my van and converting them into useful, practical spaces that maximise my small van’s storage potential.
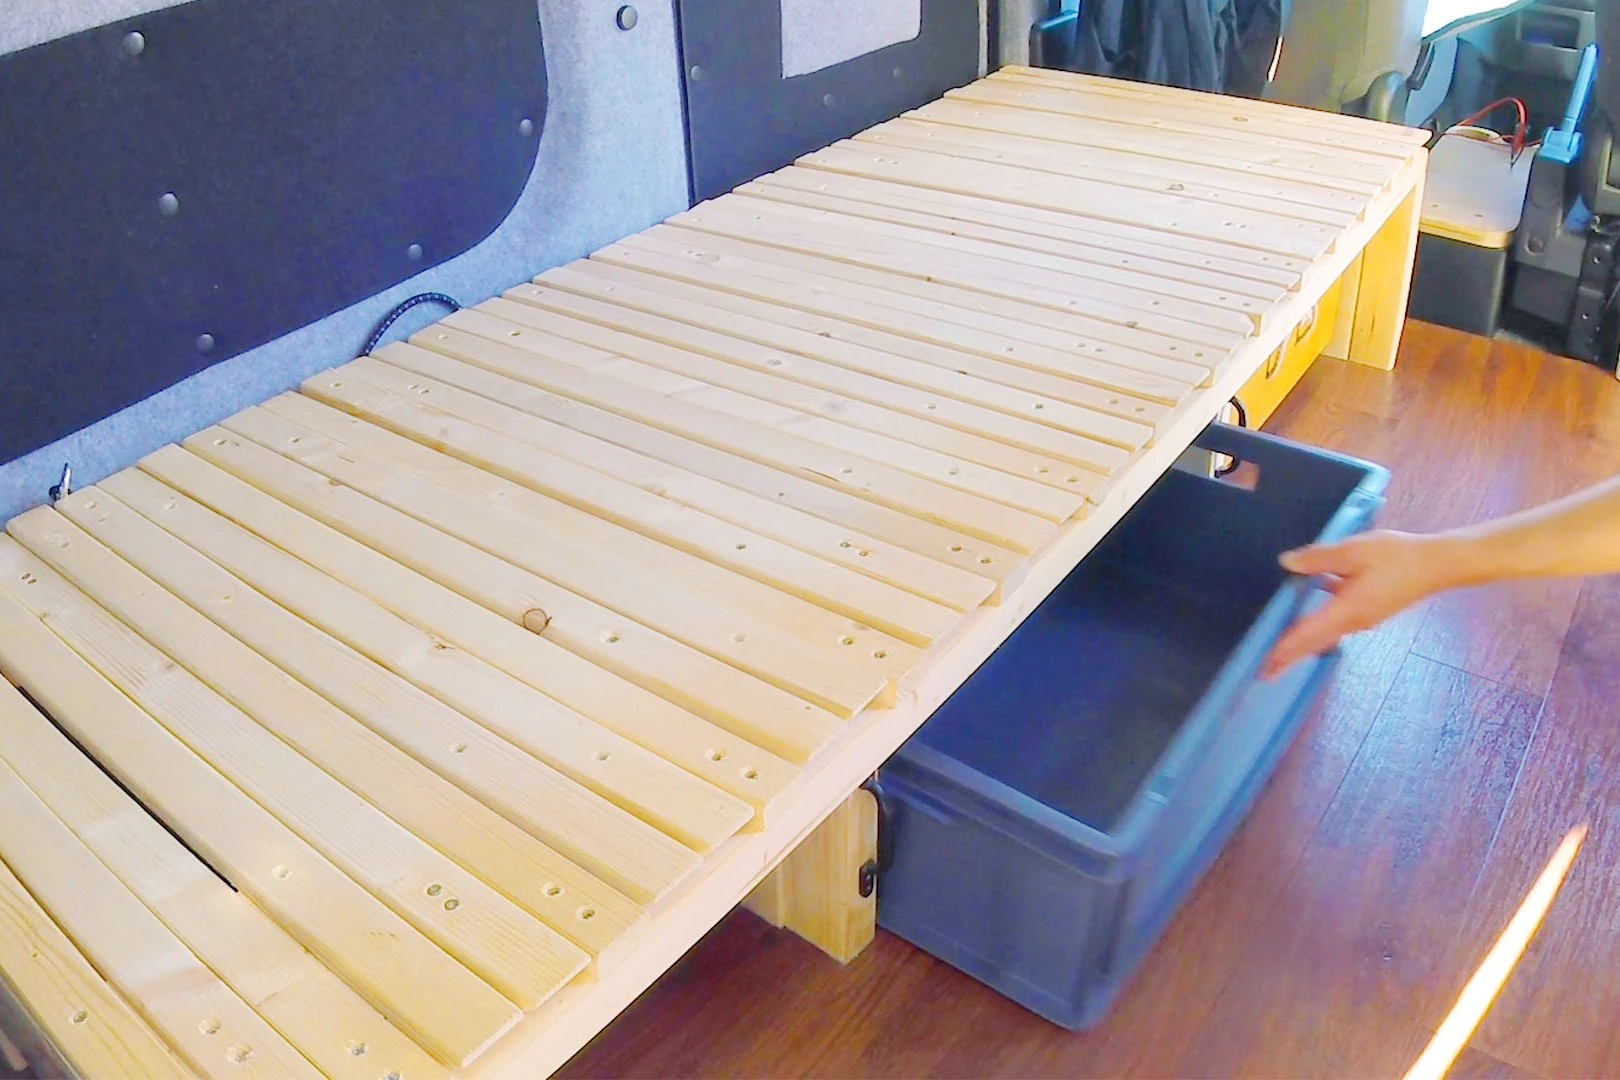
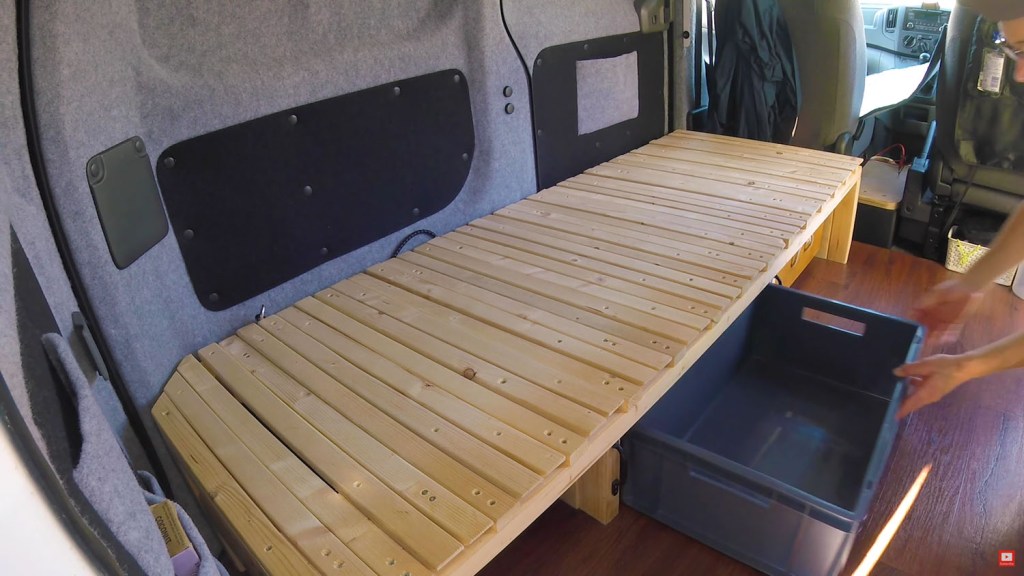
When I built my 3 section pull out bench/bed I spaced the legs evenly apart and, since adding the large drawer at the far end, I’ve just been sliding cargo in the gaps underneath the bed, but it’s time to neaten this up with some proper under bed storage.
Storage options
I purchased these 2 sturdy storage boxes from Screwfix and they’ve turned out to be ideal for my van. The larger one is a 60x40x20cm and the smaller is 30x20x22cm.

As you can see, however, the large box doesn’t fit under the bed, and I need it to fit in width-ways otherwise it will hit the back of my legs when I’m using the bed as a bench.

Now I should mention at this point that I was aware that the boxes wouldn’t fit prior to buying them, but these boxes are very sturdy and, through thorough measuring, I worked out that with a bit of adjustment to the bed, I could make excellent use of the space.
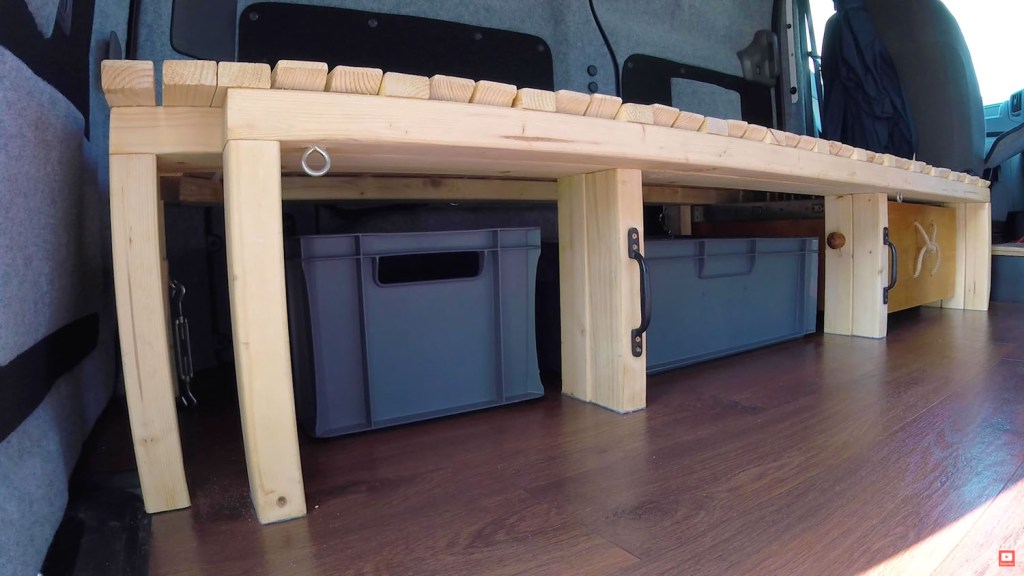
With the width of this box at 60cm, and the width of the largest gap under the bed at 57cm, there was only 3cm to gain, and this was achieved by moving one of the bed legs.
Click to buy your own…


(Affiliate links which help support this website)
Adjusting the bed
I started by clearing out the van so I had free access to the bed slats.
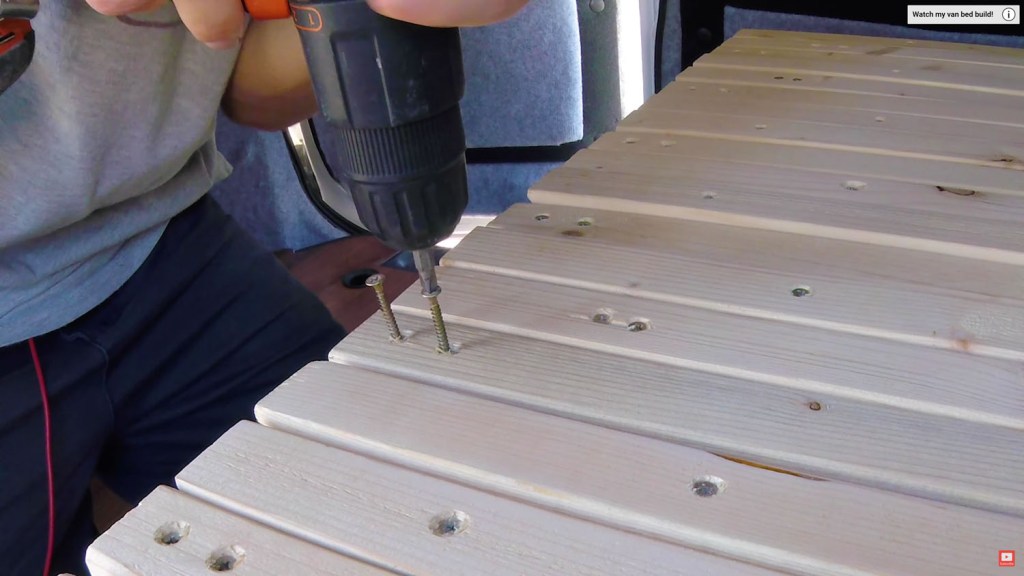
I found which slat was fixed over the legs to be removed and unscrewed it from the bed frame. This slat covered the 4 screws which held both legs in place and I could now remove these.
I marked where I wanted to move the bed to on the underside of the bed and could gently wobble the legs out from under the frame. I had glued them on previously, so they needed a little persuasion. I could then clean the ends under with a bit of sanding.
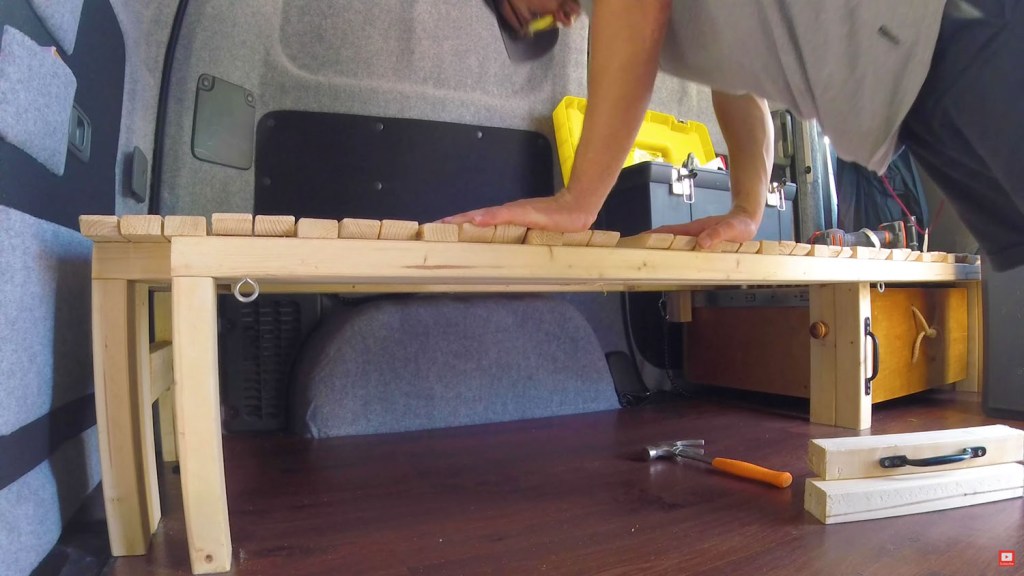
By leaning my whole body weight on the bed, you can see just how strong the bed is, even without these legs…though they are definitely going to be put back!
We’re also on Instagram!
Check out yogi.the.van to keep up-to-date with all our adventures in the van!


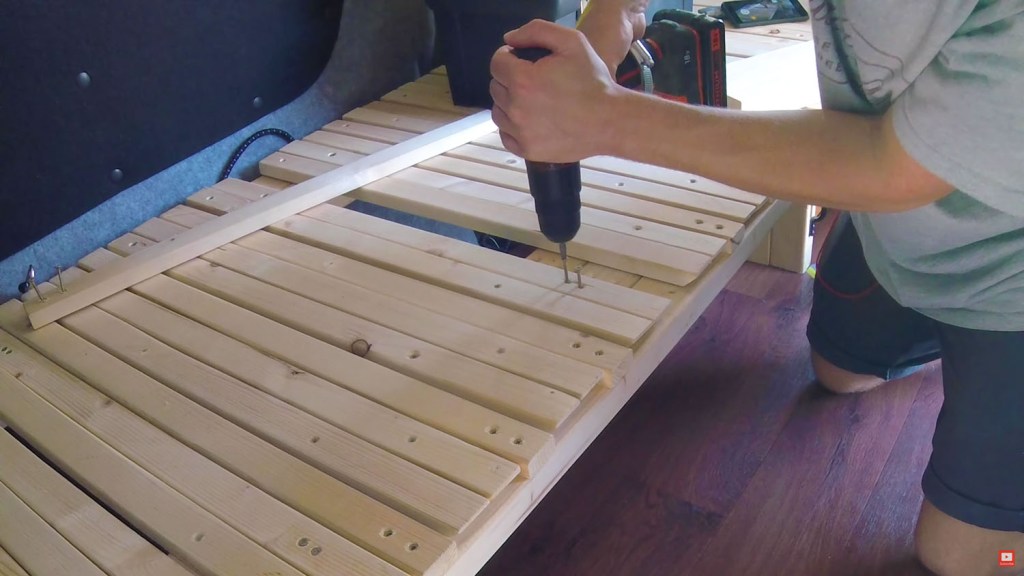
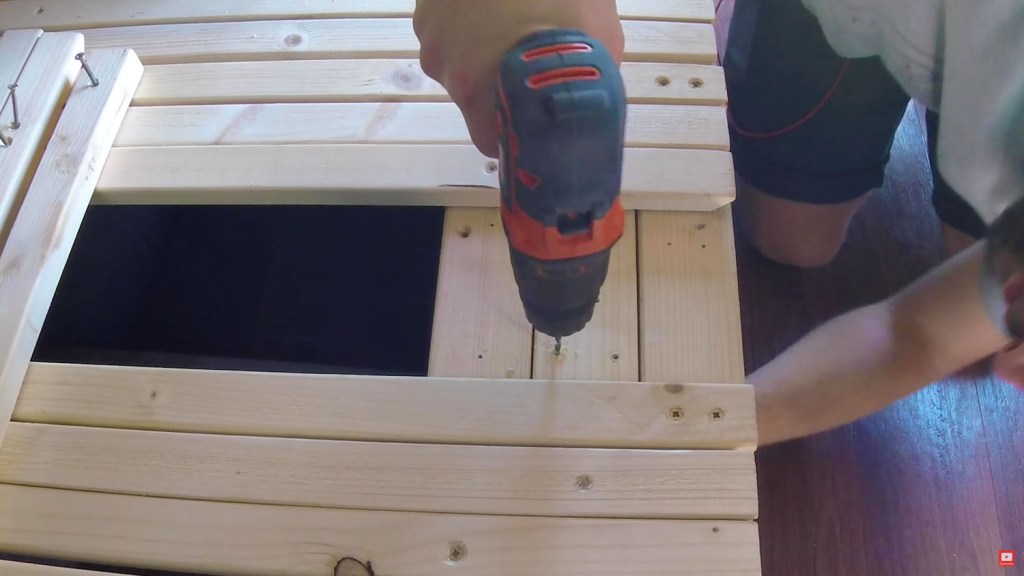
I sanded down the underside of the bed frame and removed a further slat so I could access my new attachment point.
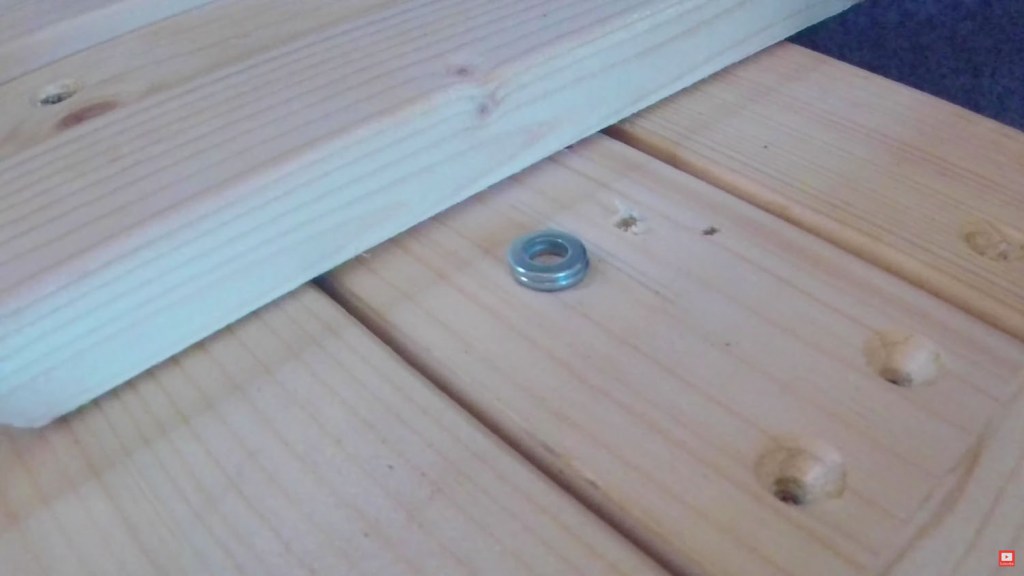
You’ll notice the 2 washers underneath these slats, and these are to raise the moving slats so the glide a bit smoother.
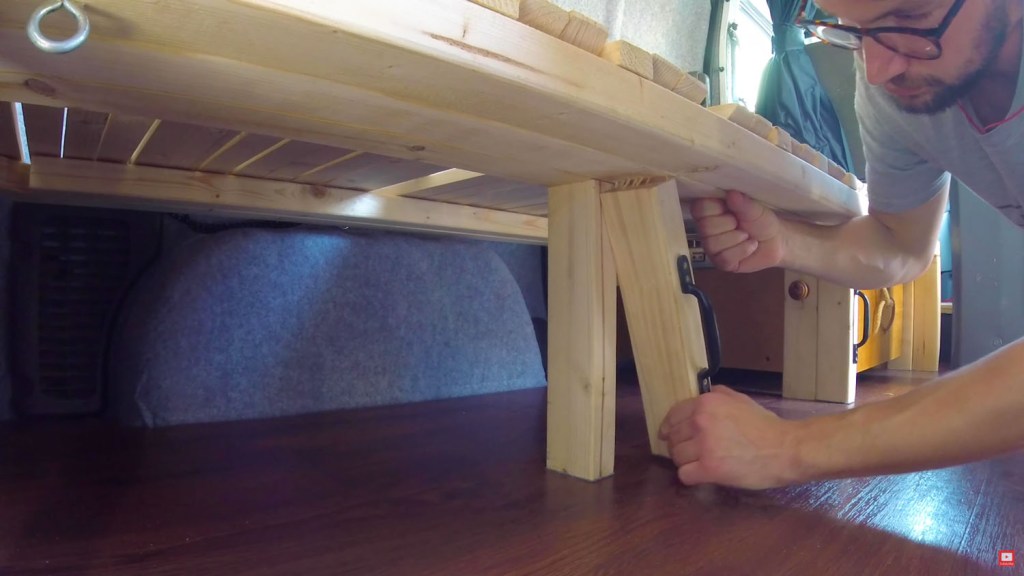
I could then test the new location of the legs, only to find that the stop for my draw got in the way!
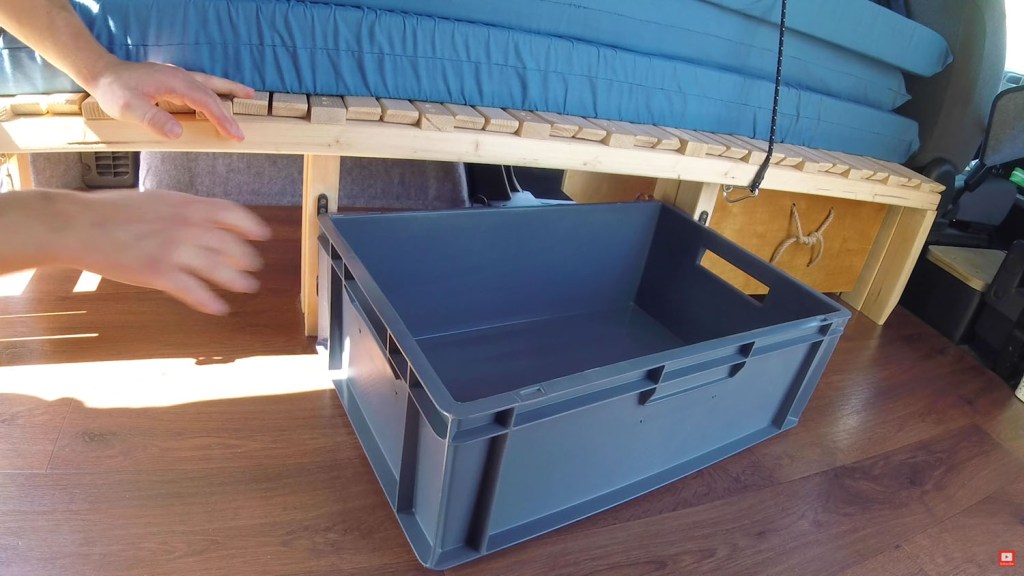
Knocking the legs further to one side I found a location which allowed the box to fit comfortably – which requires the removal of another slat – and I could then begin attaching the legs again.
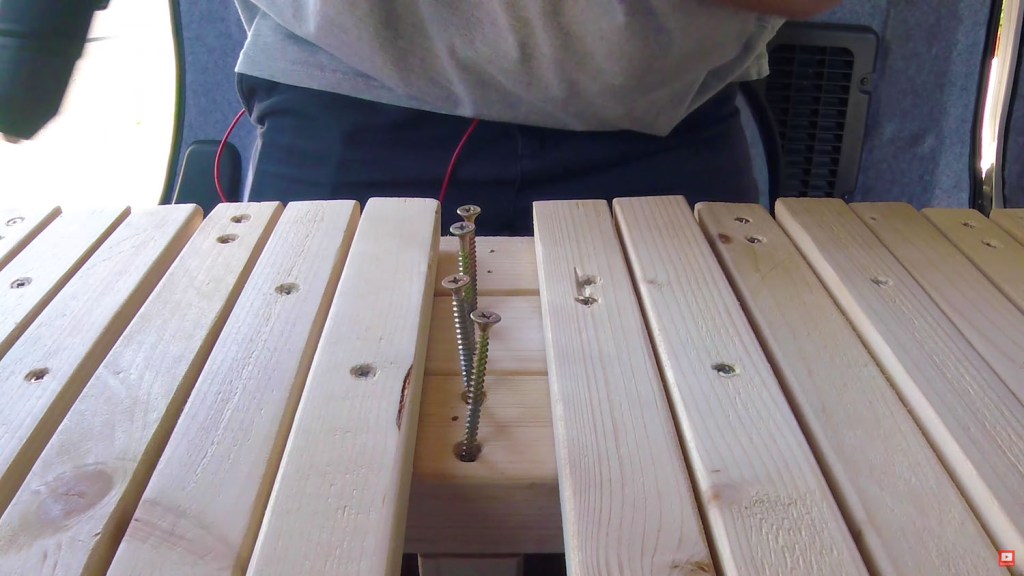
I drilled pilot holes and then countersunk them to lower the screw head, and added the same screws as were taken out before. I also made sure that the new holes would be completely covered by the slat.
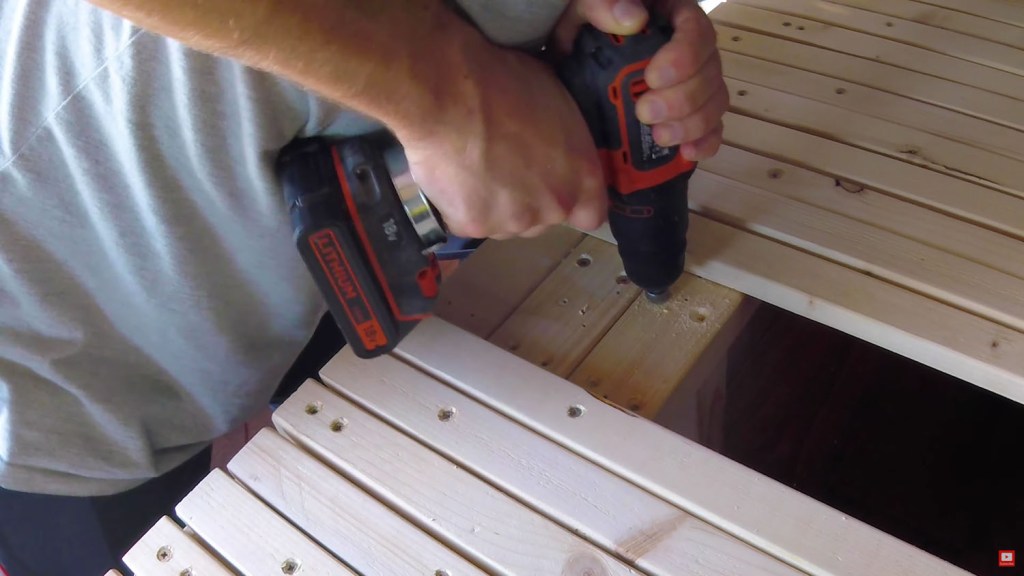
It was then just a case of re-attaching the slats, and the washers made it quite a fiddly process, but eventually I got there.
Finally the box fit under very nicely and, as per my measurements, the small box had a neat home next to it.
If you want to see more of my camper van build in action, please CLICK HERE.
(Affiliate links which help support this website)
