
This article is a written account of a video from the Lens Of James YouTube channel. Watch the video above and subscribe if you like what you see!
This article contains affiliate links to relevant products I have used in my videos. By buying through these links, I receive a small percentage of the sale at no cost to you which helps me support and grow my website and YouTube channel, so I can create more content like this in the future. Thank you for your support.
I recently laid a vinyl floor in my van and I’m really happy with how it turned out, with one exception…the load ring holes by the rear doors.

With the holes pre-cut in the plywood, I laid the vinyl (eBay affiliate link) over the top and, with a series of careful cuts, created edges that could be pulled through the holes and stuck to the underside of the floor. I thought this would create a neat edge but having had the floor in the van for a while, I’m not so sure.
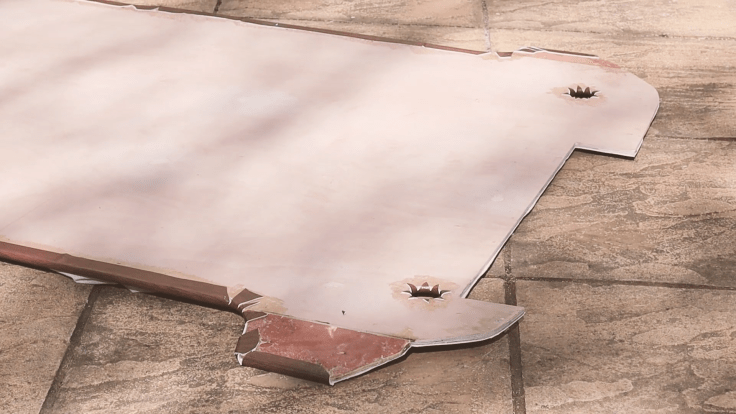
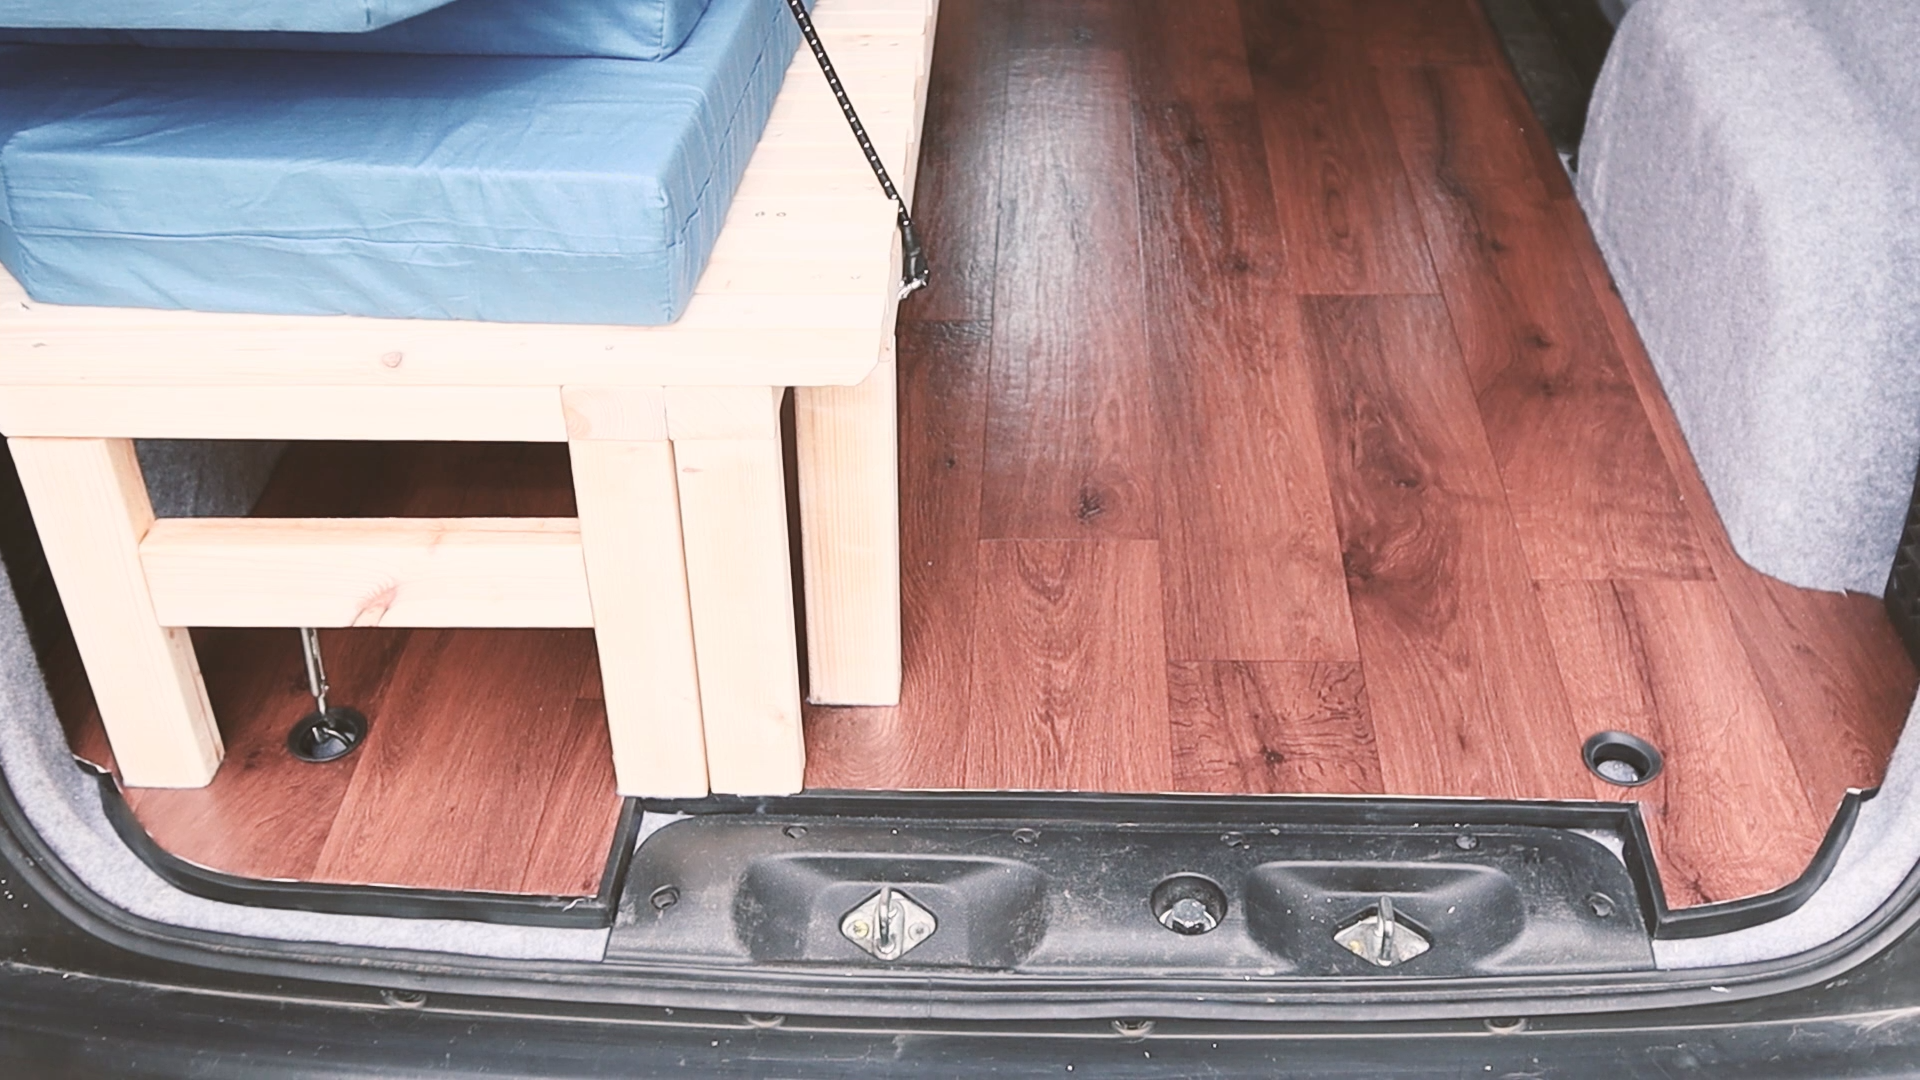
In the Nissan NV200 there are 6 six load rings: two behind the front passenger seat, two tucked between the side doors and the wheel arches and two by the back door.
If you’ve read or watched my floor-laying from my van build series then you’ll know that I decided to use these load rings, with the help from some turnbuckles, to fasten my bed in place, whilst keeping it easily removable should I need the van for other purposes.

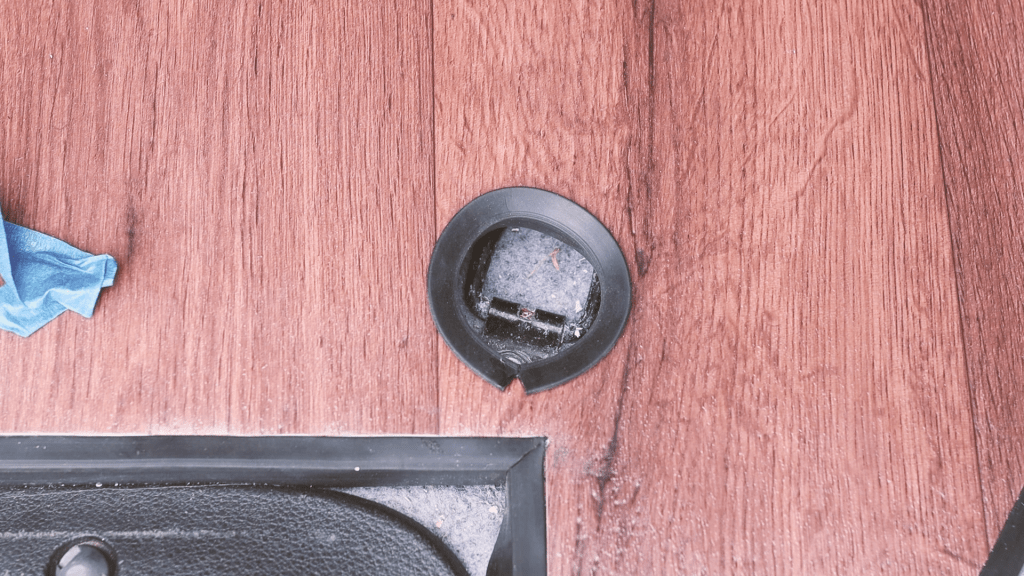
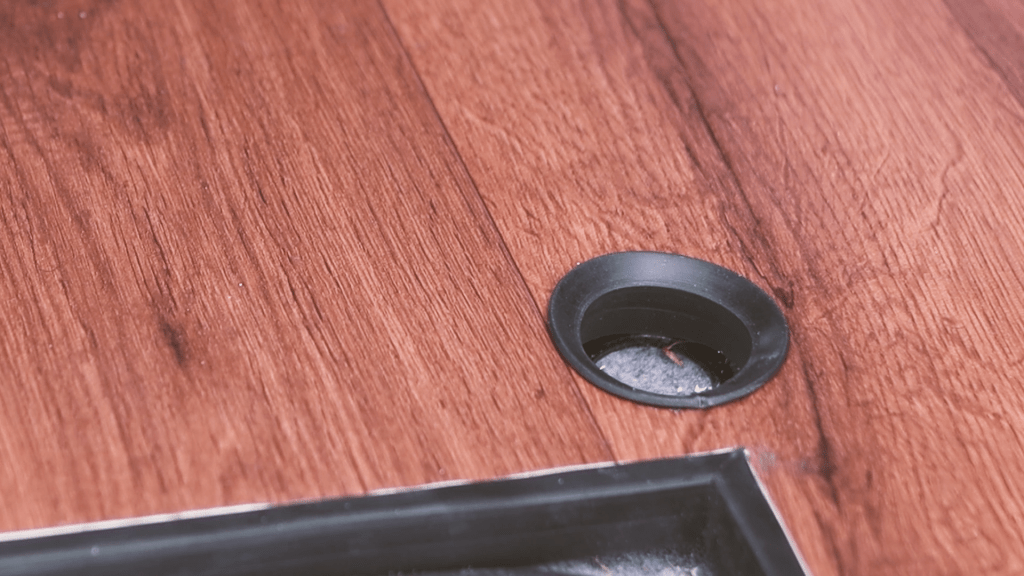
The current load ring holes
As you can see, the two holes by the rear doors are far from neat, and the edge I glued underneath has even started peeling off, so I wanted to address this.


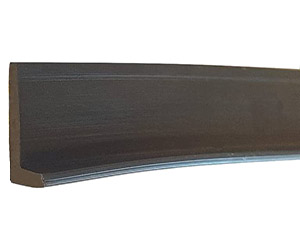
Using rubber L-section
Using some of the leftover rubber L-section from the rear door edge, I hoped to create a rubber edge around the hole which would make it look a ton better!

Click to buy your own…


(Affiliate links which help support this website)
Cutting the vinyl away
My first step was to cut away the existing edge which had been folded through the hole and stuck underneath.

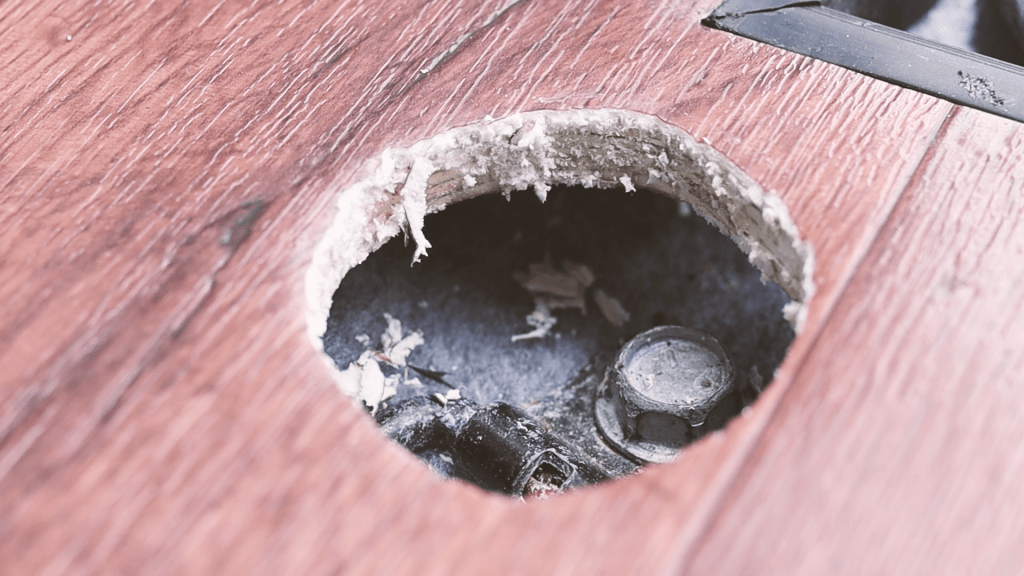
This didn’t have to be neat by any means, as it would all be covered by the rubber.
We’re also on Instagram!
Check out yogi.the.van to keep up-to-date with all our adventures in the van!


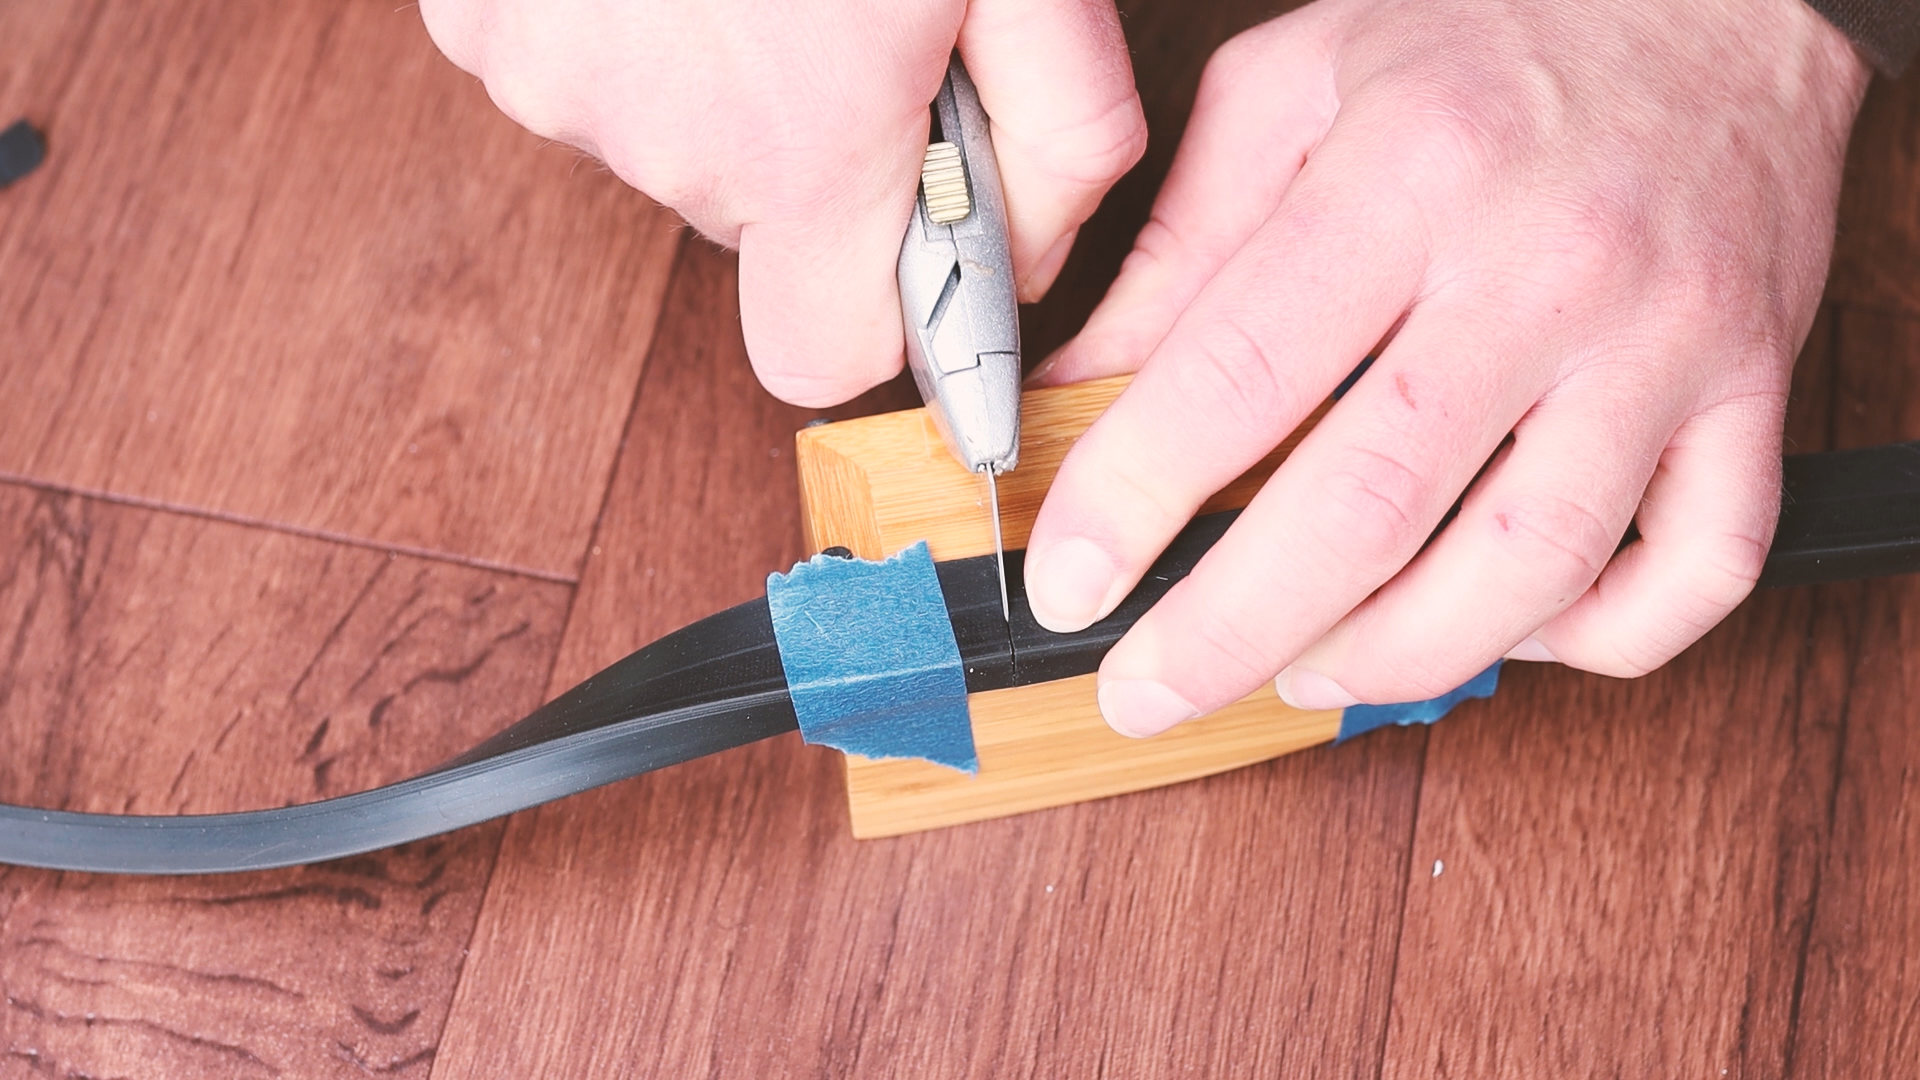
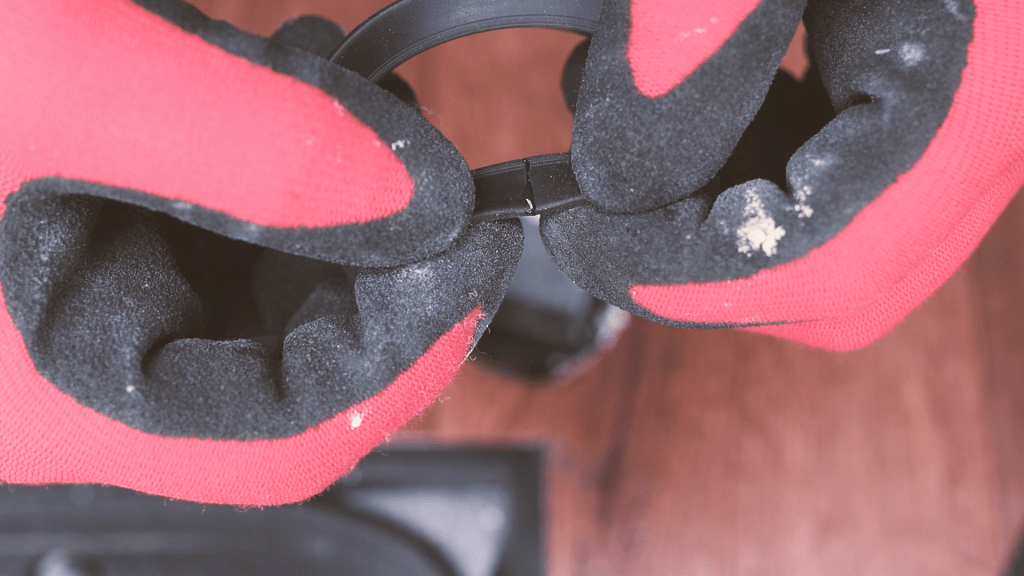
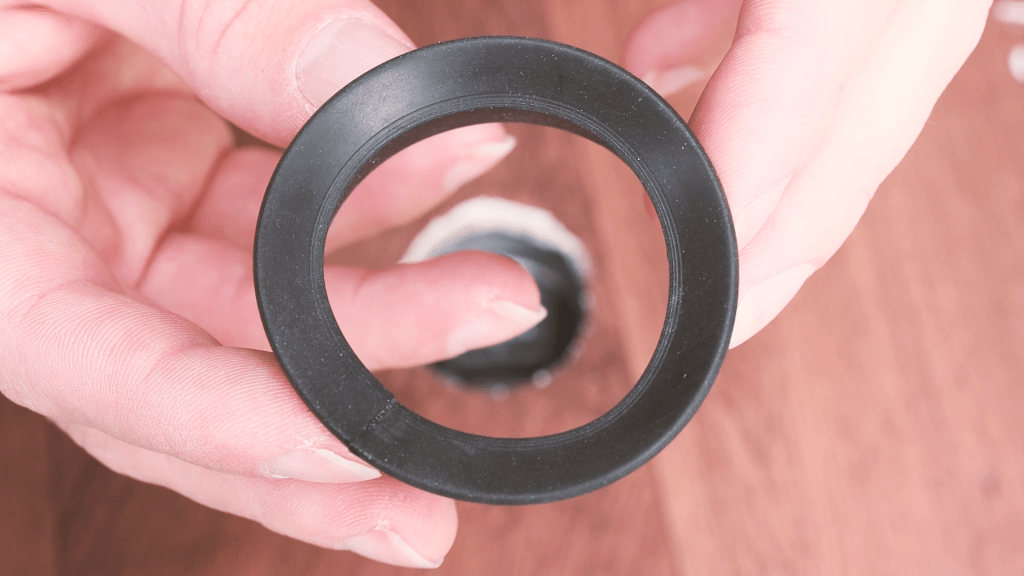
Forming the rubber ring
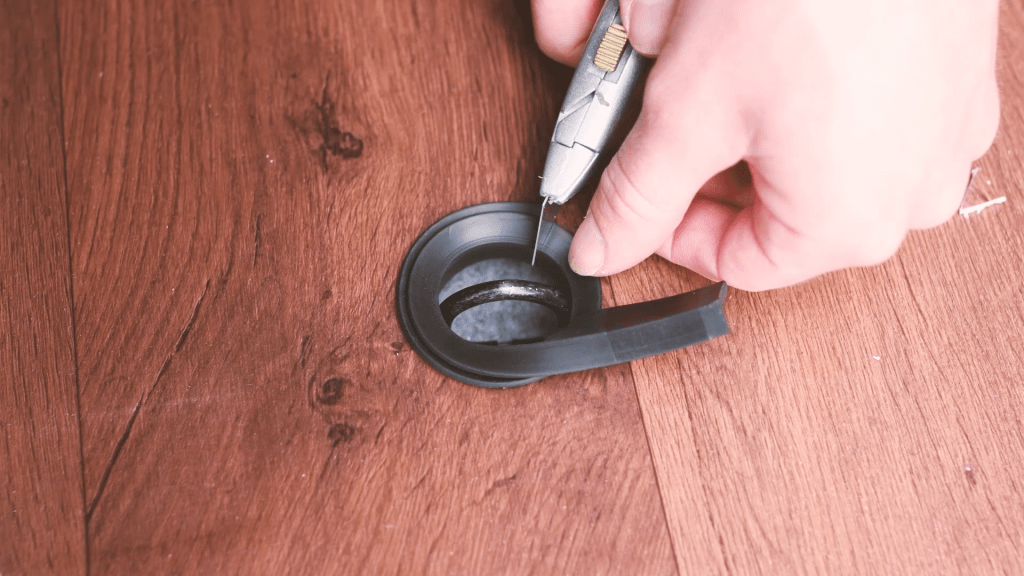
With that done, I placed the rubber around the hole and made a mark where I would cut, being a bit generous so I could trim it down if necessary and get a good fit.

Using a right angled edge wood block, I stuck the rubber on to make a neat cut.
I then tested the fit in the hole again and set about gluing the edges together.
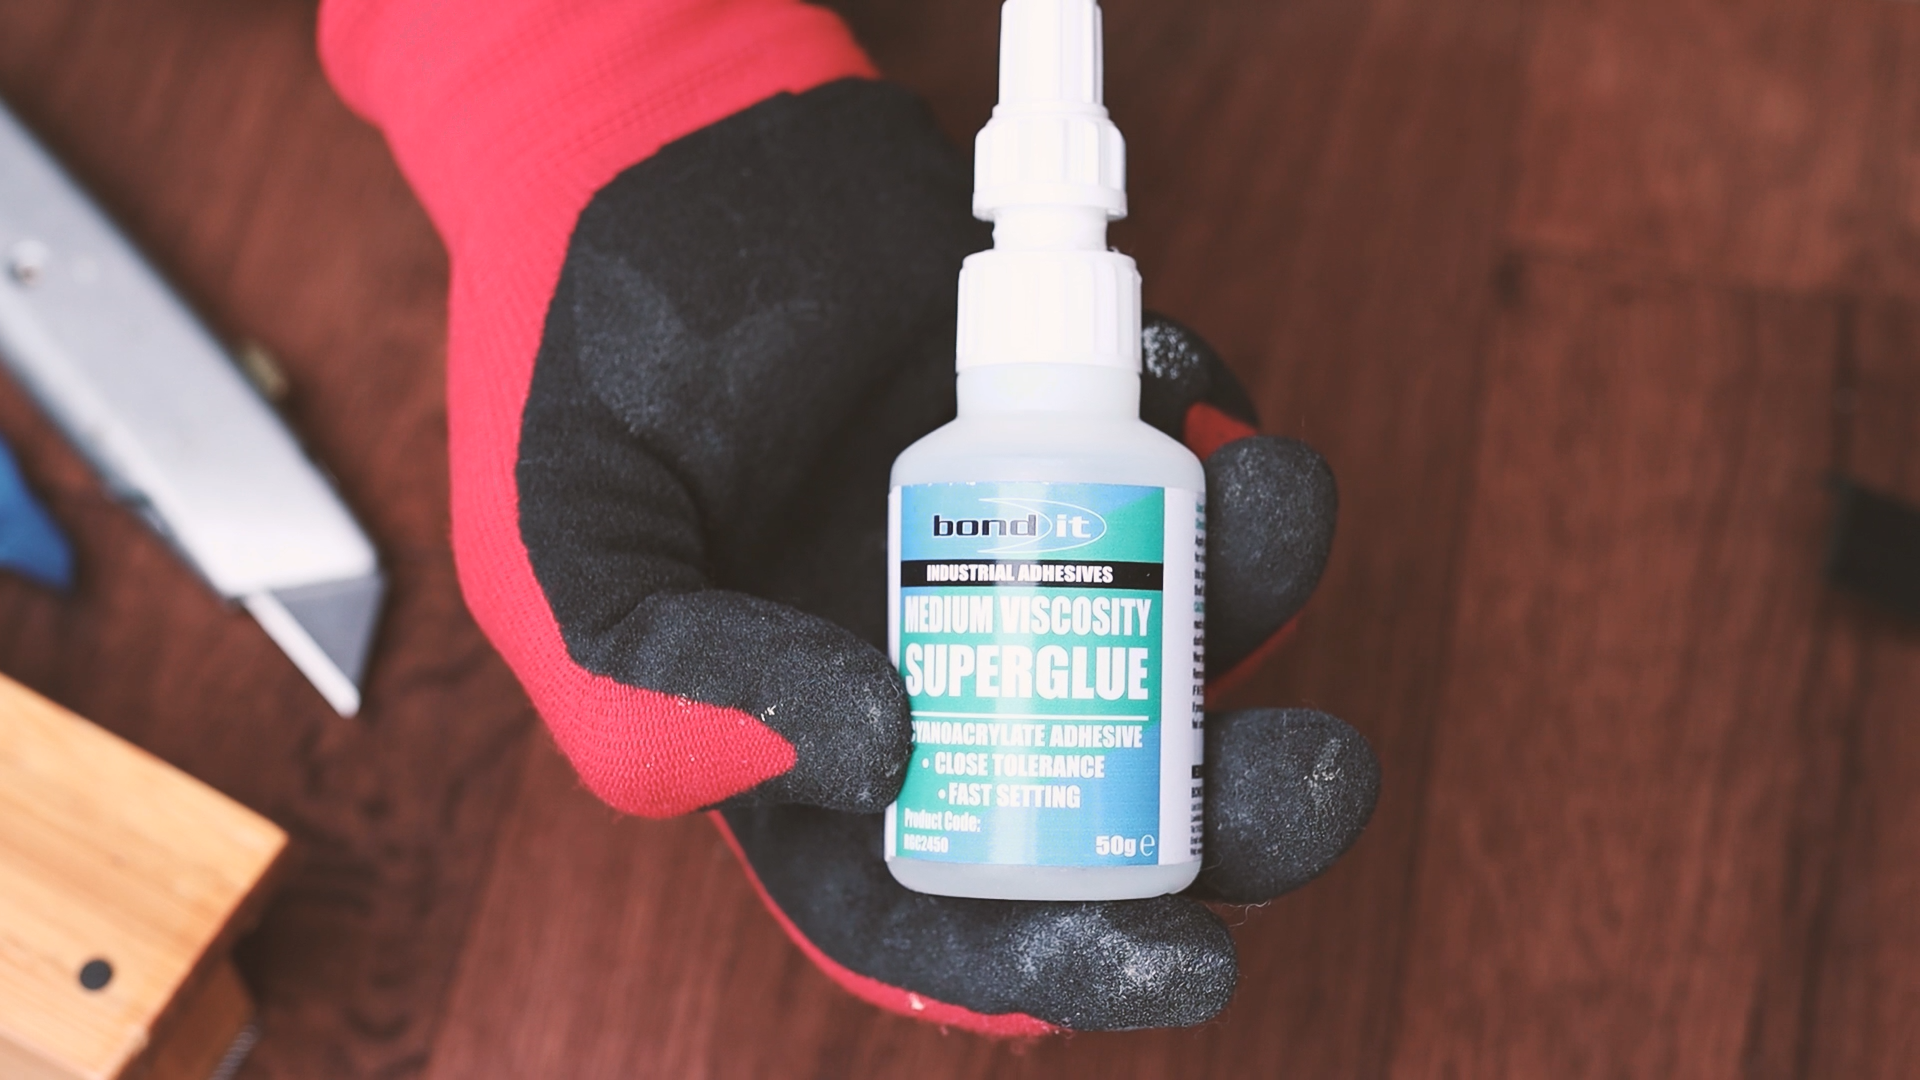
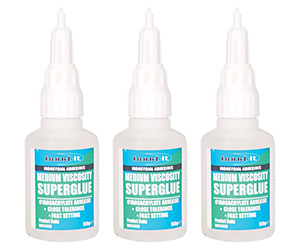
I used Bond It cyanoacrylate medium viscosity superglue again and found that it gave an incredibly strong bond to the rubber.
Click to buy your own…
(Affiliate links which help support this website)
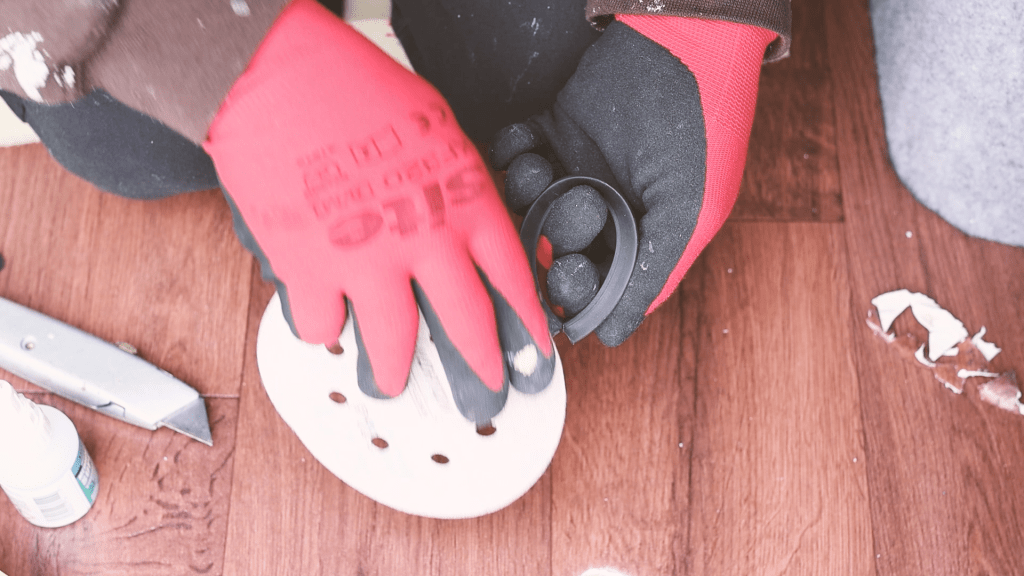
Pressing the ends together, I had a bit of trouble getting the top edge together and it left a V shape, so I sanded the superglue off, glued it again, and this time got a really good result.

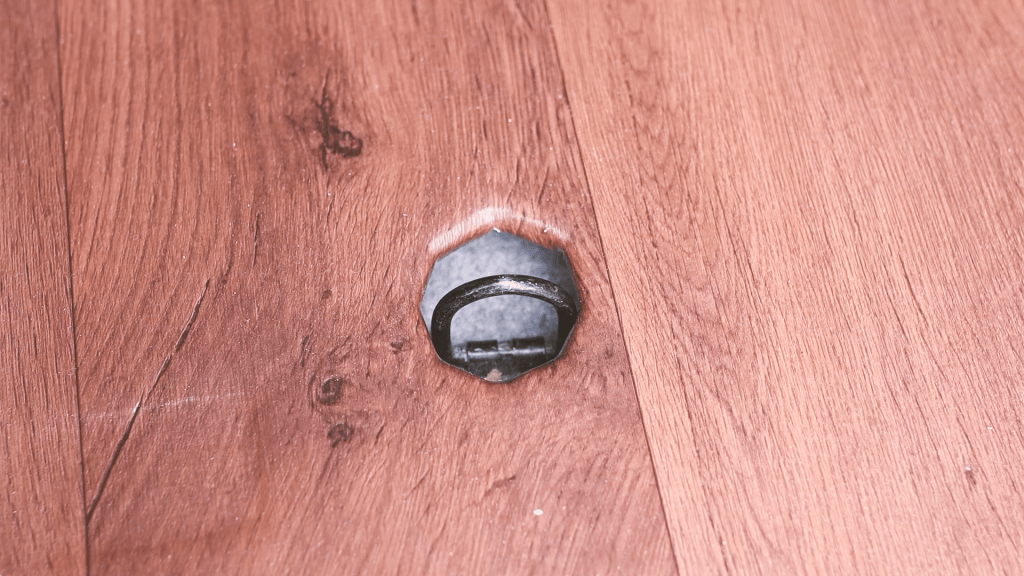
I was then able to fit the rubber in the hole, and I have to say that I’m really happy with the result!

The second hole
I could then do the other hole, which sits under the bed, using exactly the same method.
You may have noticed that the rubber doesn’t sit flush with the vinyl floor (eBay affiliate link), and although this would have been ideal, I couldn’t find a way to get an accurate cut for a perfect finish, so I opted to keep the rubber raised, but I still think it looks very smart.
I found that lightly sanding the top of the rubber with a very fine grit sandpaper gets rid of any glue overspill and levels where the 2 ends meet, to give a very nice finish.
Overall, I’m really happy with how this turned out and it’s a nice finishing touch to the floor.
If you want to see more of my camper van build in action, please CLICK HERE.
(Affiliate links which help support this website)
