
This article is a written account of a video from the Lens Of James YouTube channel. Watch the video above and subscribe if you like what you see!
This article contains affiliate links to relevant products I have used in my videos. By buying through these links, I receive a small percentage of the sale at no cost to you which helps me support and grow my website and YouTube channel, so I can create more content like this in the future. Thank you for your support.
With the interior of the van finished, I could turn my attention to perhaps the most important feature of any van build – the bed! Van beds take many shapes, sizes and styles, but for my van I needed something completely custom, for reasons I’ll go into later.
I actually built my 3-section expandable bench/bed with added storage about a year ago and haven’t documented the entire process of the build, however I thought it might be interesting to show the bed and talk through my build process. It might also answer some questions, such as; why it’s in 3 sections, why the slats are so thin and how I secure it in the van.

The bed is made entirely out of lengths of 38mm x 63mm timber, which cost about £2.50 each from B&Q. They come in 2.4m lengths, so that makes it a very cheap way to build a van bed, considering I only used about 8 or so pieces altogether.
The van bed frame
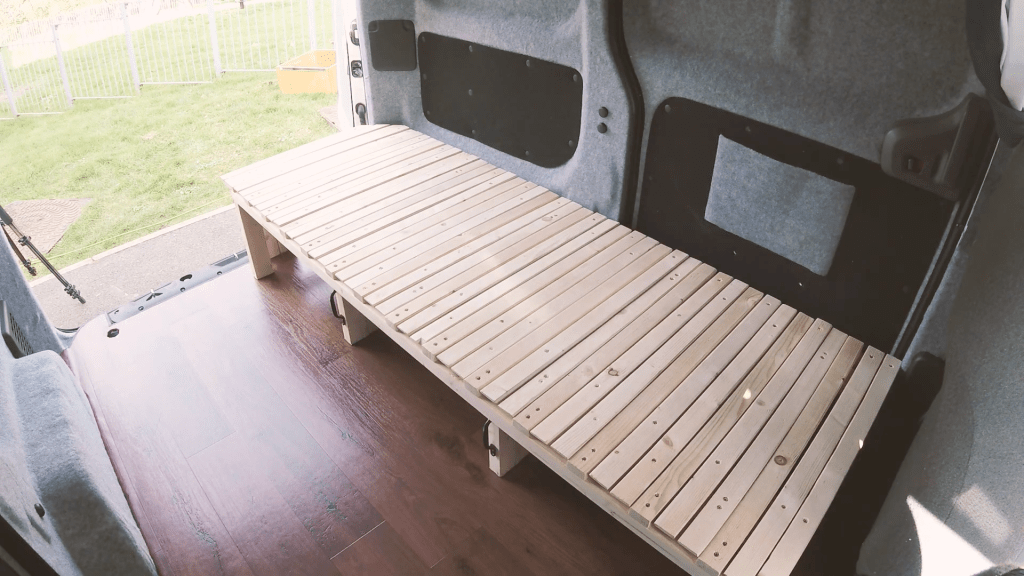
I started by constructing the bed frame. It is held together with wood glue and screws and has proved to be very sturdy. The low height of the frame allows the bed to rest on the wheel arch, which has the added bonus of needing one less leg in an area with already tight space.
The NV200 is a small van by most standards and I wanted to get a 6 foot long bed in, so that meant using all available space. Putting an angle in the bed frame near the back door, which mirrored the angle of the van, enabled me to achieve this.
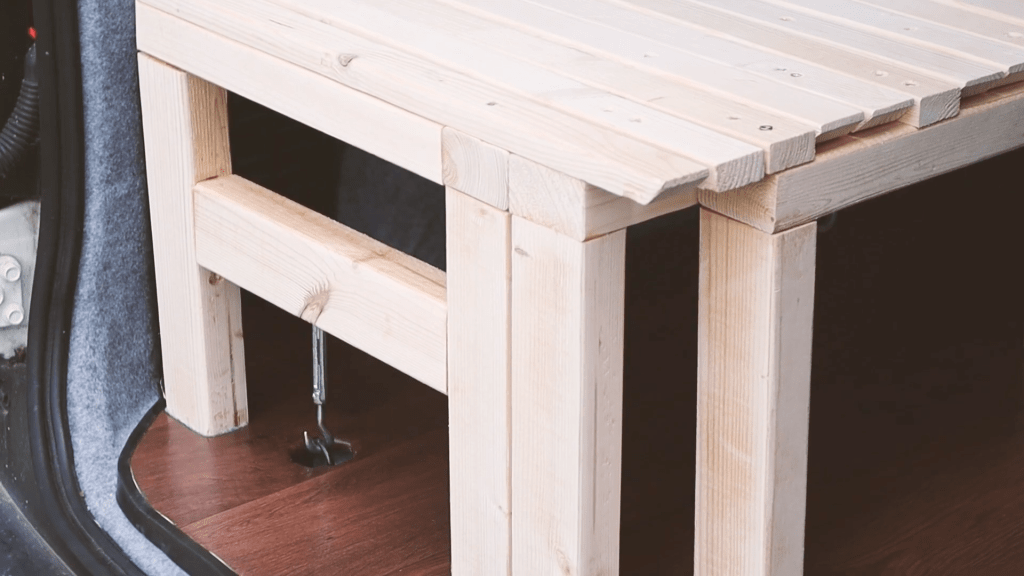
However this angle caused a few problems when the bed was pulled out. The main solution was to set back the front leg on the third section so it could sit between the opposite wheel arch and the back door when pulled out.

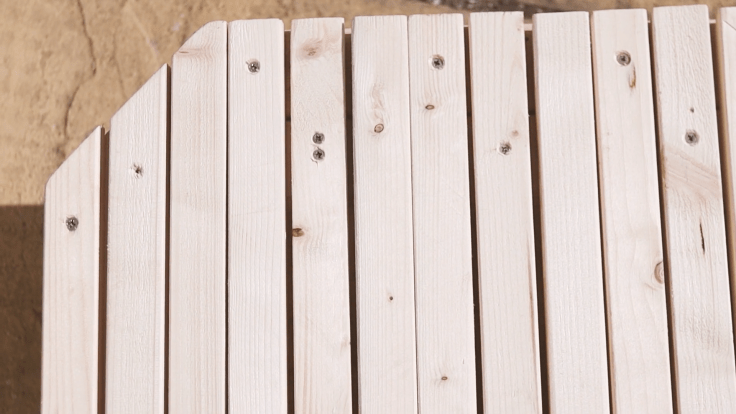
The bed slats
Because this would be a three section bed, I didn’t want to use wide slats which might create big gaps in between each slat when all three sections were pulled out, so I opted to use thin ones to minimise this.

I cut the timber into 3 lengthways and then into 3 again across their width to give me 9 slats per piece of timber. I did a test beforehand and determined that these would be more than strong enough and having used the bed quite a few times since building it I can confirm this.
Some of the ends of the slats are angled to help with pulling out the bed. The raised angle helps the ends slide over the wood a little easier.

Why a 3 section bed?
I mentioned that this bed was a 3 section pullout bed, and that might raise the question of why I would need that. After all, it meant that my bed needed to be a lot more complex than most are and in all my van bed research I’d never even seen a 3 section pullout bed, so I didn’t even know if this idea would work.
The reason is that I wanted to ensure that I could still comfortably fit my surfboard through the centre of the van whilst the bench/bed was installed.
At 9’5″ inches long, it is important to be able to store my board safely inside the van, and so the bed had to work around this. A 2 section pullout bed would have blocked the gap between the front seats, so 3 sections it was!
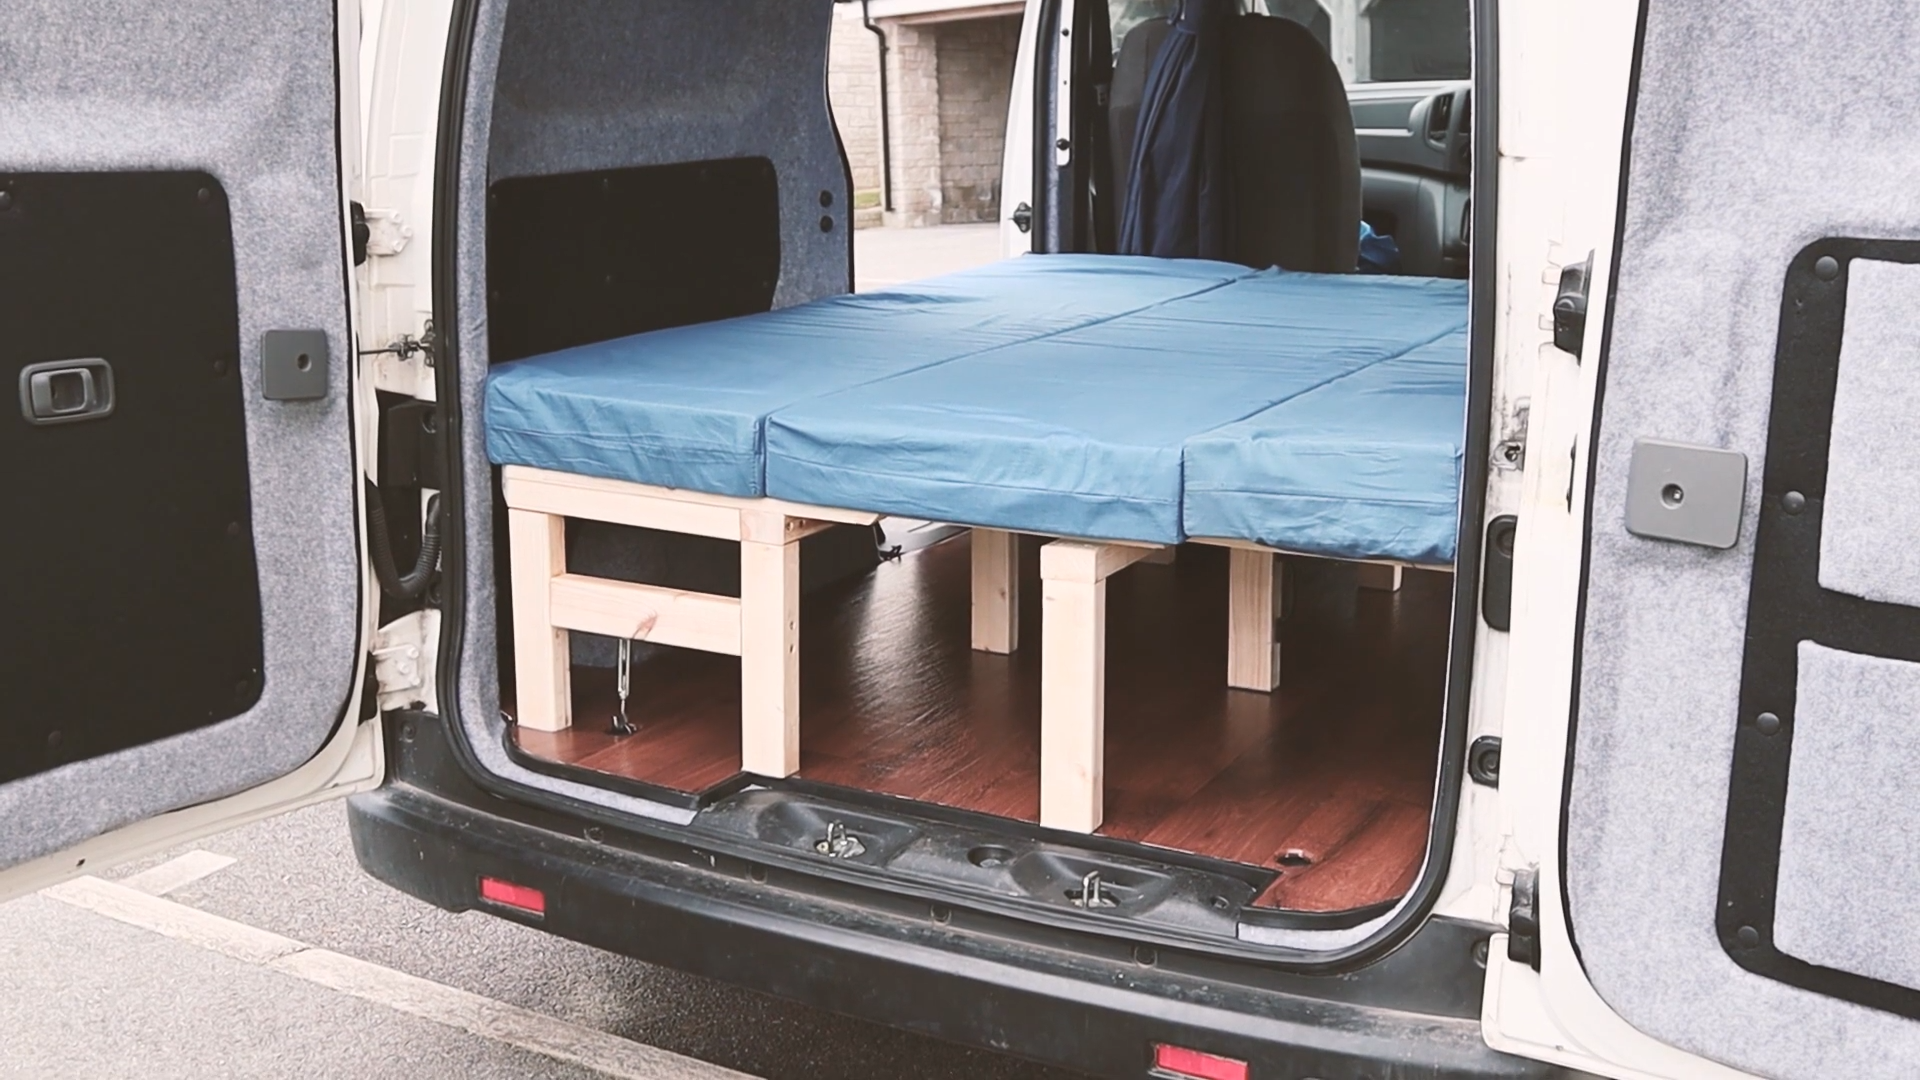
Once pulled out, the bed spans the entire width of the van, as I don’t have a side console, which is nearly a king size – so it’s very roomy!
Other van bed features
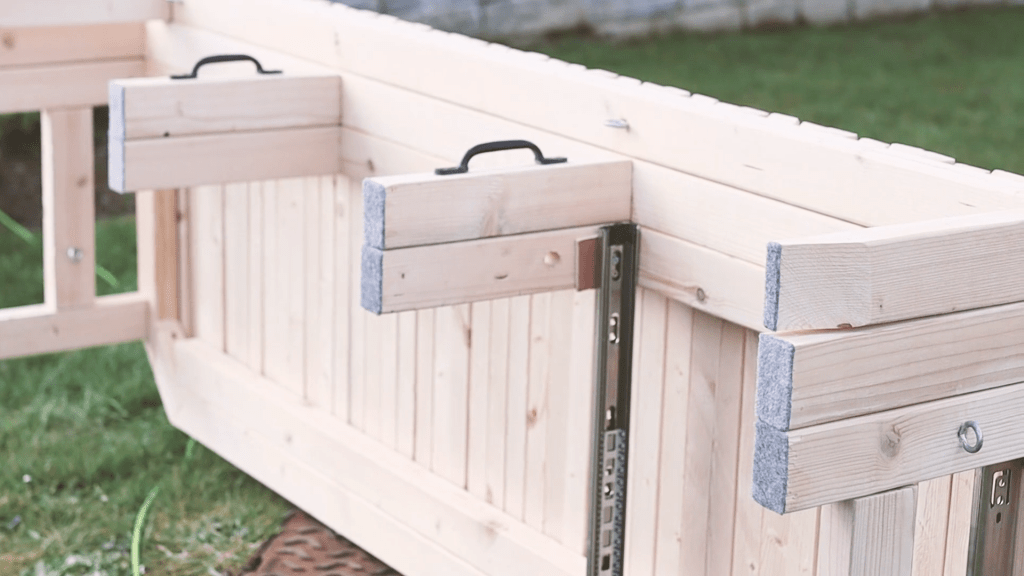
Storage would also be a really important feature of this bed and I built a drawer to sit underneath it, situated behind the front passenger seat. The drawer slides can be seen here, but I show the actual draw later on.
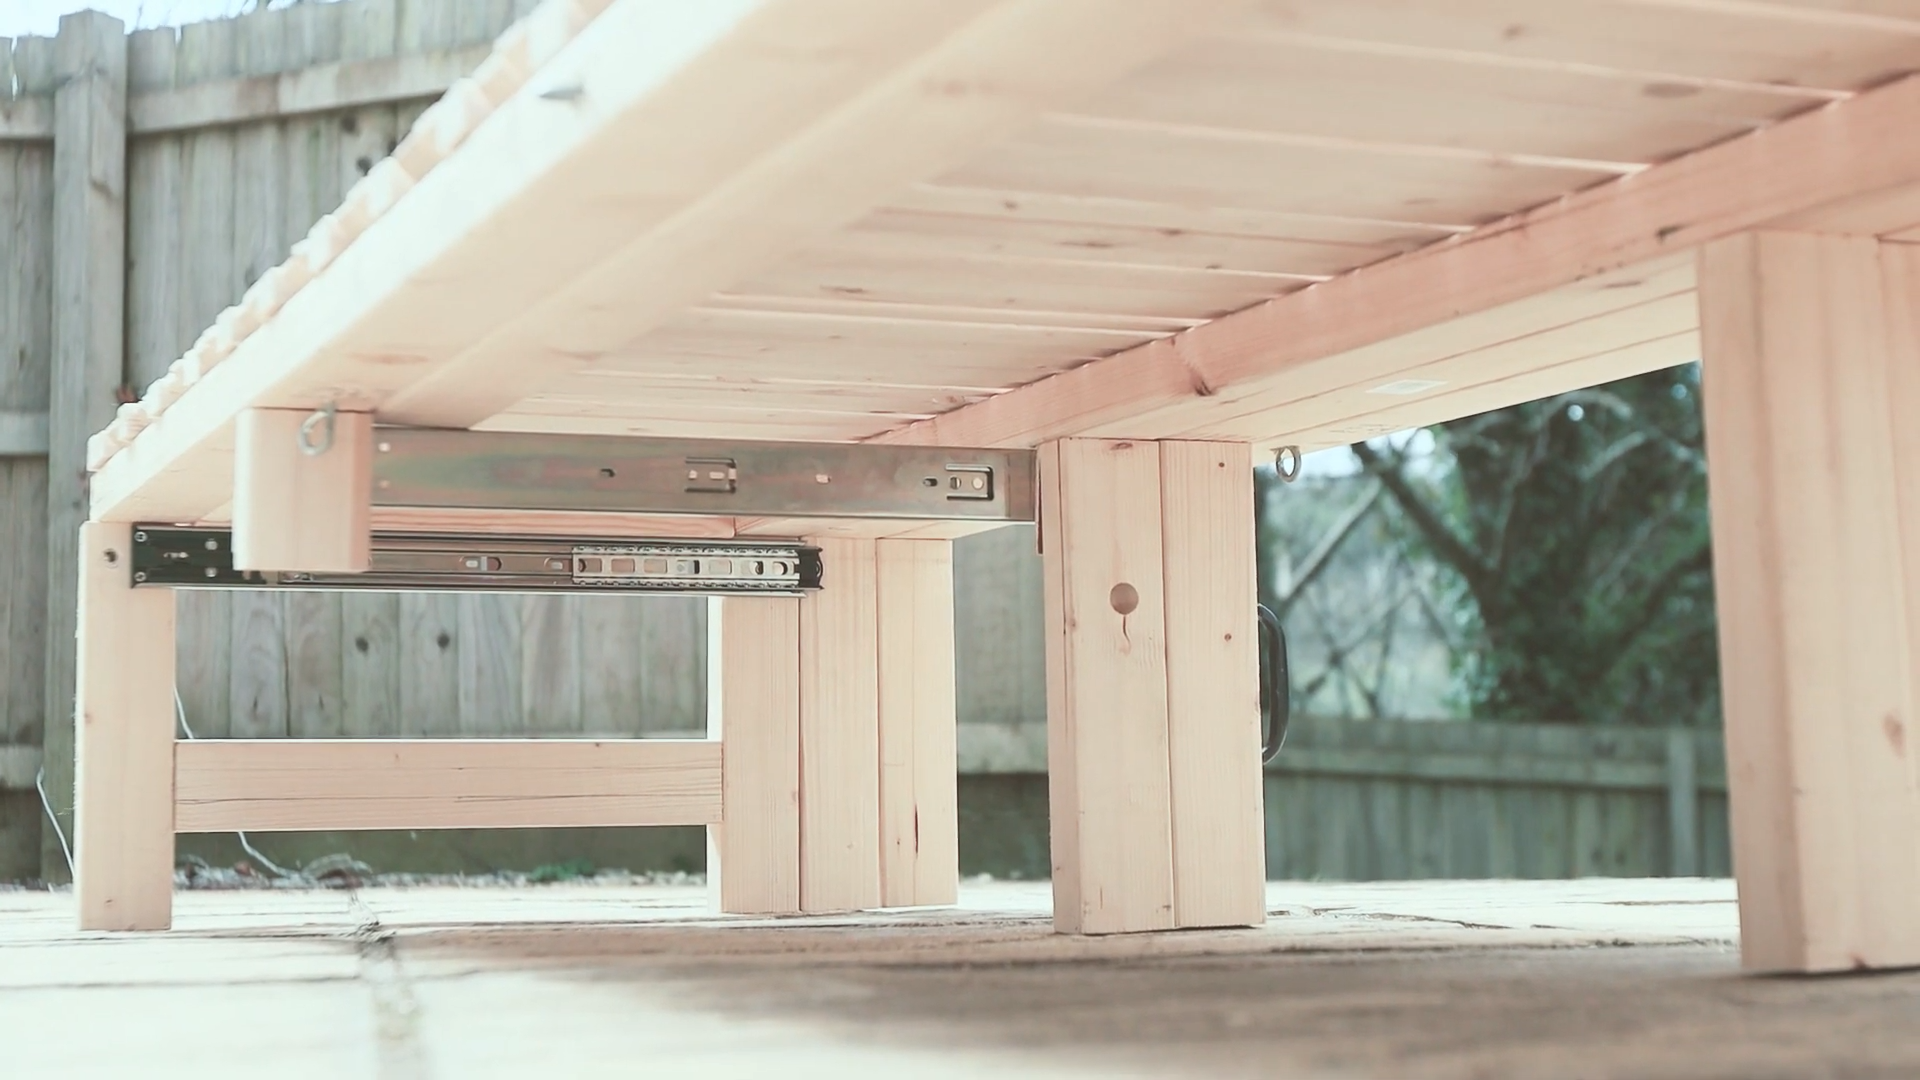
The handles you see underneath the bed are to help with pulling the bed out. The bed slides in and out very easily, but I found I didn’t have a good point to pull from and these handles do the trick and look smart too.
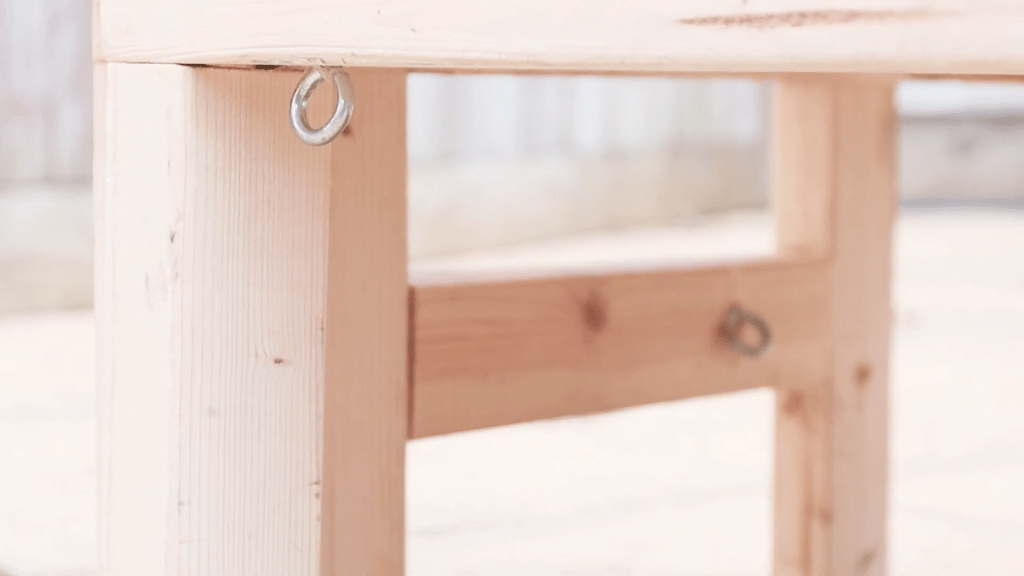
You’ll notice as well that there are a number of metal eyes placed around the bed. These are for fixing the bed in place and for securing the mattresses whilst travelling, but I’ll go into both of these later. To install the eyes, I drilled pilot holes before adding epoxy to give a really strong hold. So far, all my fixings have worked perfectly.

We’re also on Instagram!
Check out yogi.the.van to keep up-to-date with all our adventures in the van!


Final work on the van bed
Before returning the bed to the van, I wanted to do 2 things:
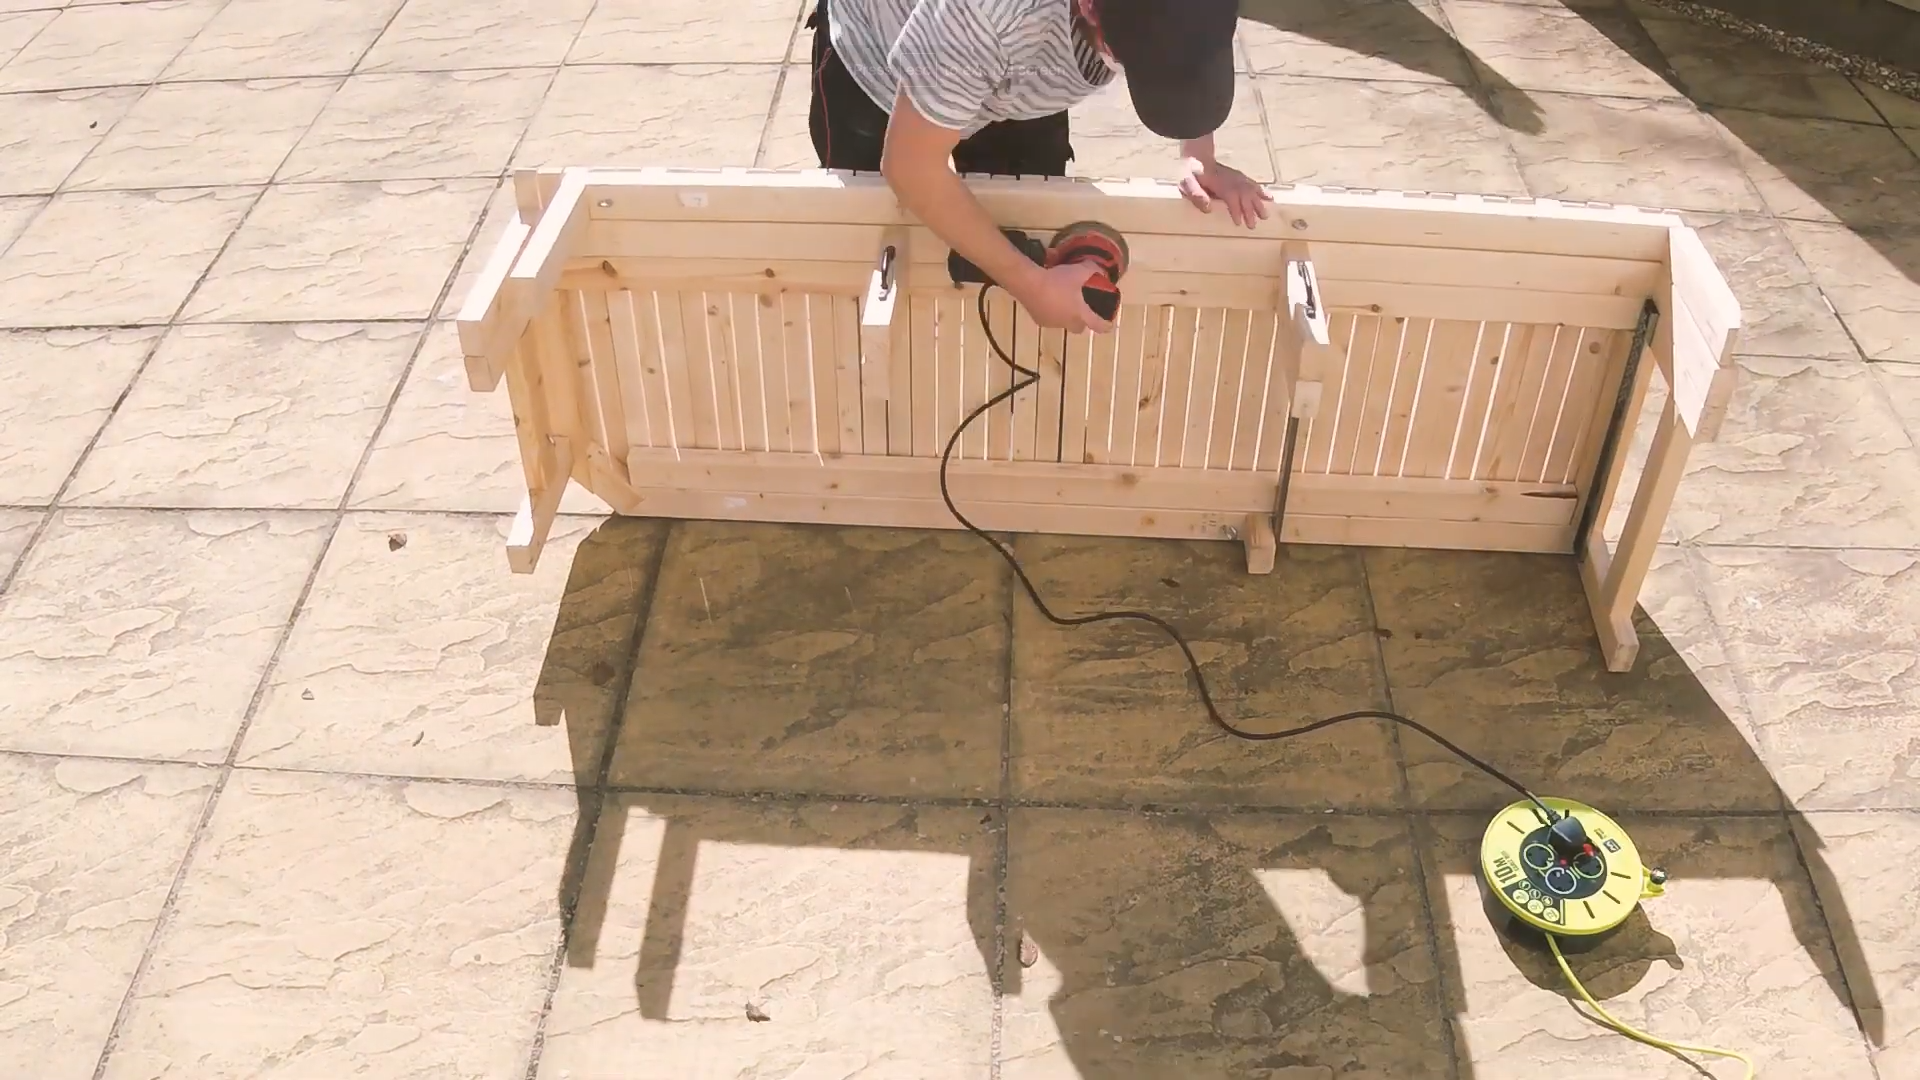
First was to give the bed a thorough sand to remove any dirt, labels and splinters. I started with 80 grit sandpaper and then went up to 180 grit for a smooth finish.
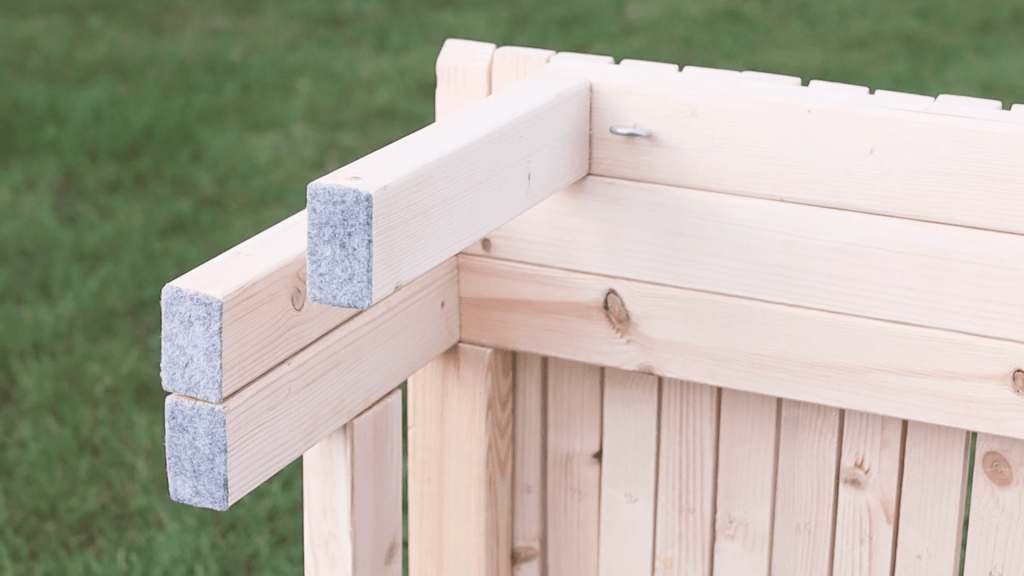
Second was to add feet to the bed. Now that I have a nice, good quality floor in the van, I want to keep it this way. I used oversized scraps of leftover carpet and some contact adhesive to stick these on, and then trimmed the excess off when the glue was dry. I found that they did a really good job in helping the bed slide along the floor without causing any damage to the vinyl (eBay affiliate link).
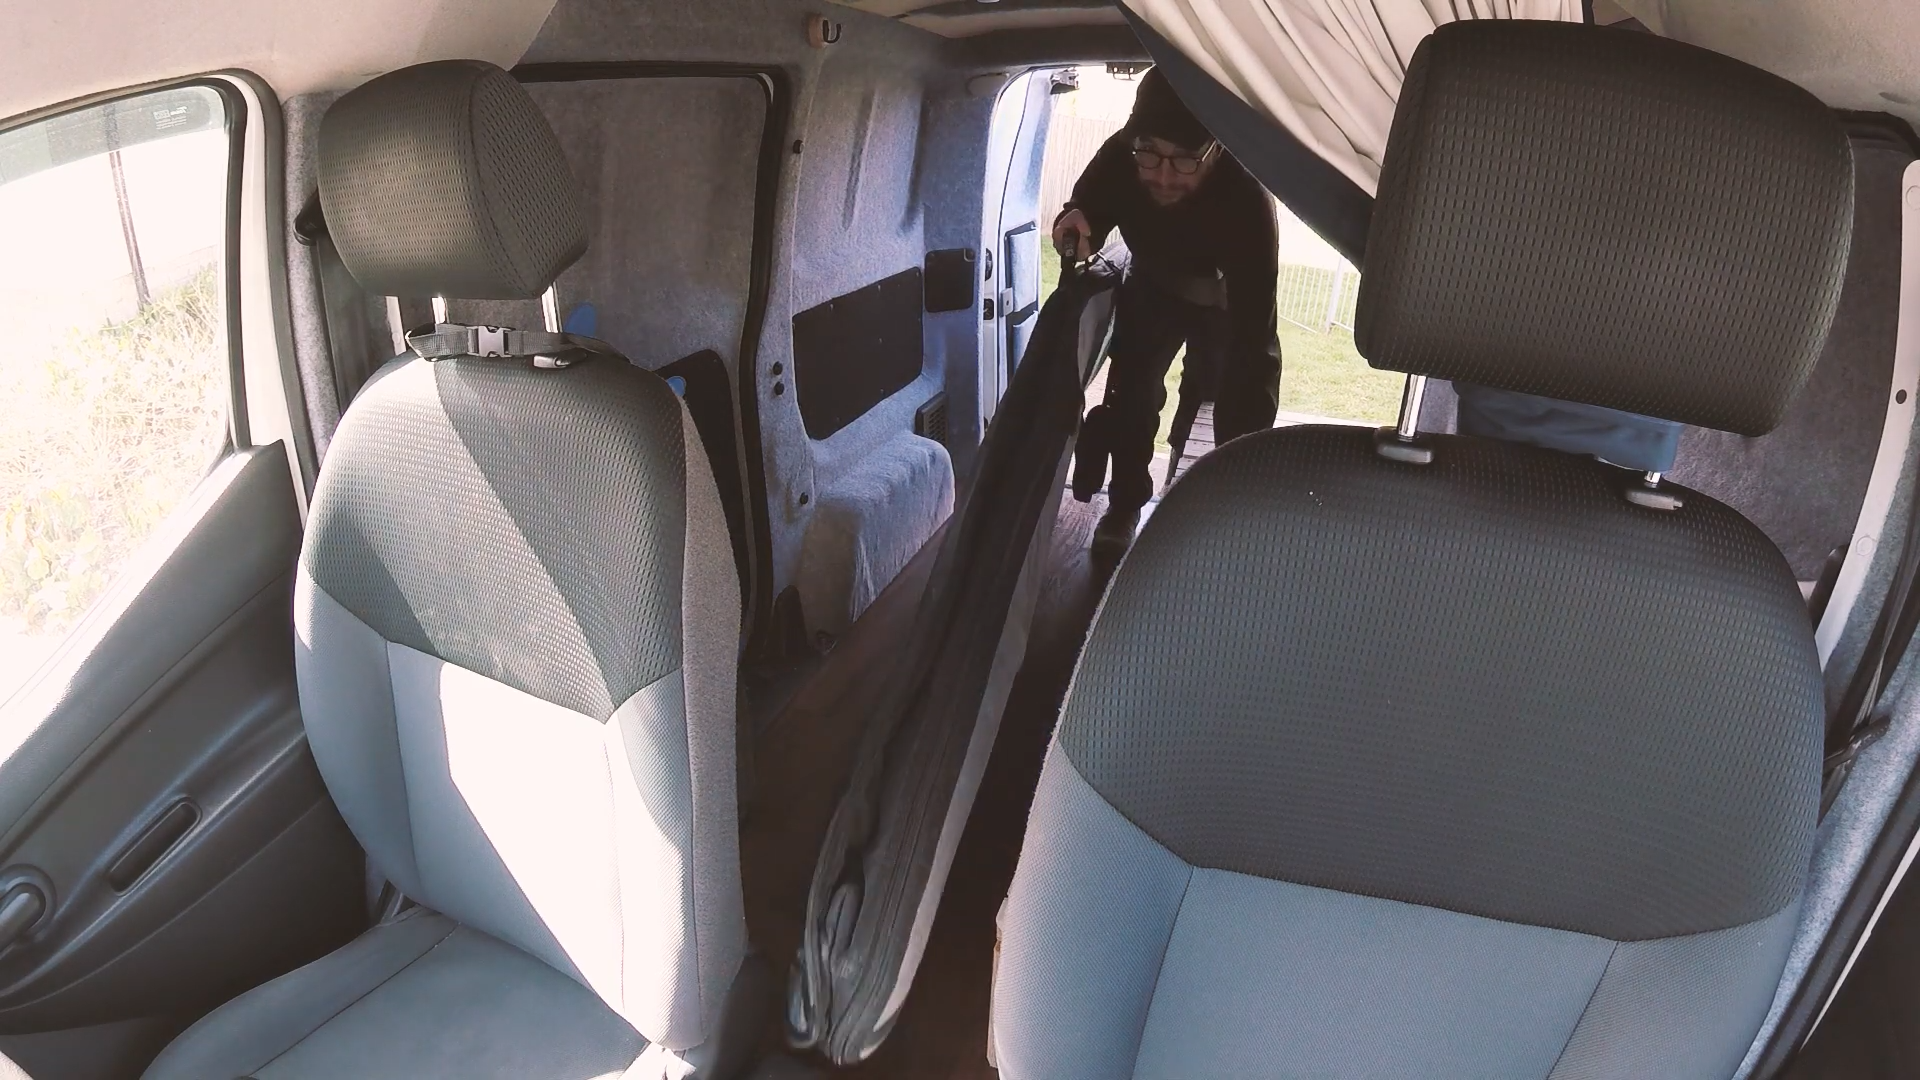
Returning the bed to the van
I had had the bed in and out many times during this van build, so it was very satisfying to replace it for – hopefully – the last time in a long while.
The bed has a really snug fit in the van, and sits comfortably behind the front passenger seat.

Securing the bed in the van
Arguably the most important part of having a bed in a van is the safety. Having removed the bulkhead early on to create more room, I can’t have the bed crashing into me in the event of an accident, but I wanted to keep the bed easily removable in case I needed the van space for other purposes.
I mentioned the metal eyes that are epoxied in at the front and back earlier, and these are used to fix the bed to the van using turnbuckles.

By the rear doors, the bed is tensioned down to one of the load rings, whilst at the front, the turnbuckle is attached to a metal eye bolt which is screwed directly into a thread on the passenger seat.

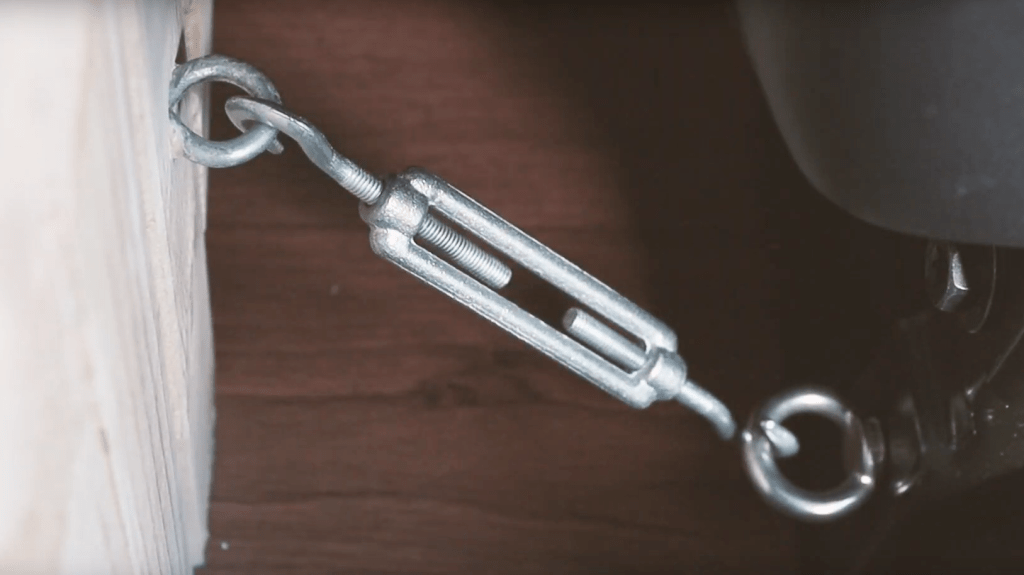
I’ve been driving around with the bed held in this way for nearly a year, and I’ve been so impressed with how well it has worked. There’s absolutely no movement and it takes just a couple of minutes to release the bed if it needs to be removed.
With the bed tightened in place, I can show a few more features of it.
Click to buy your own…


(Affiliate links which help support this website)
How the bed fits in the van
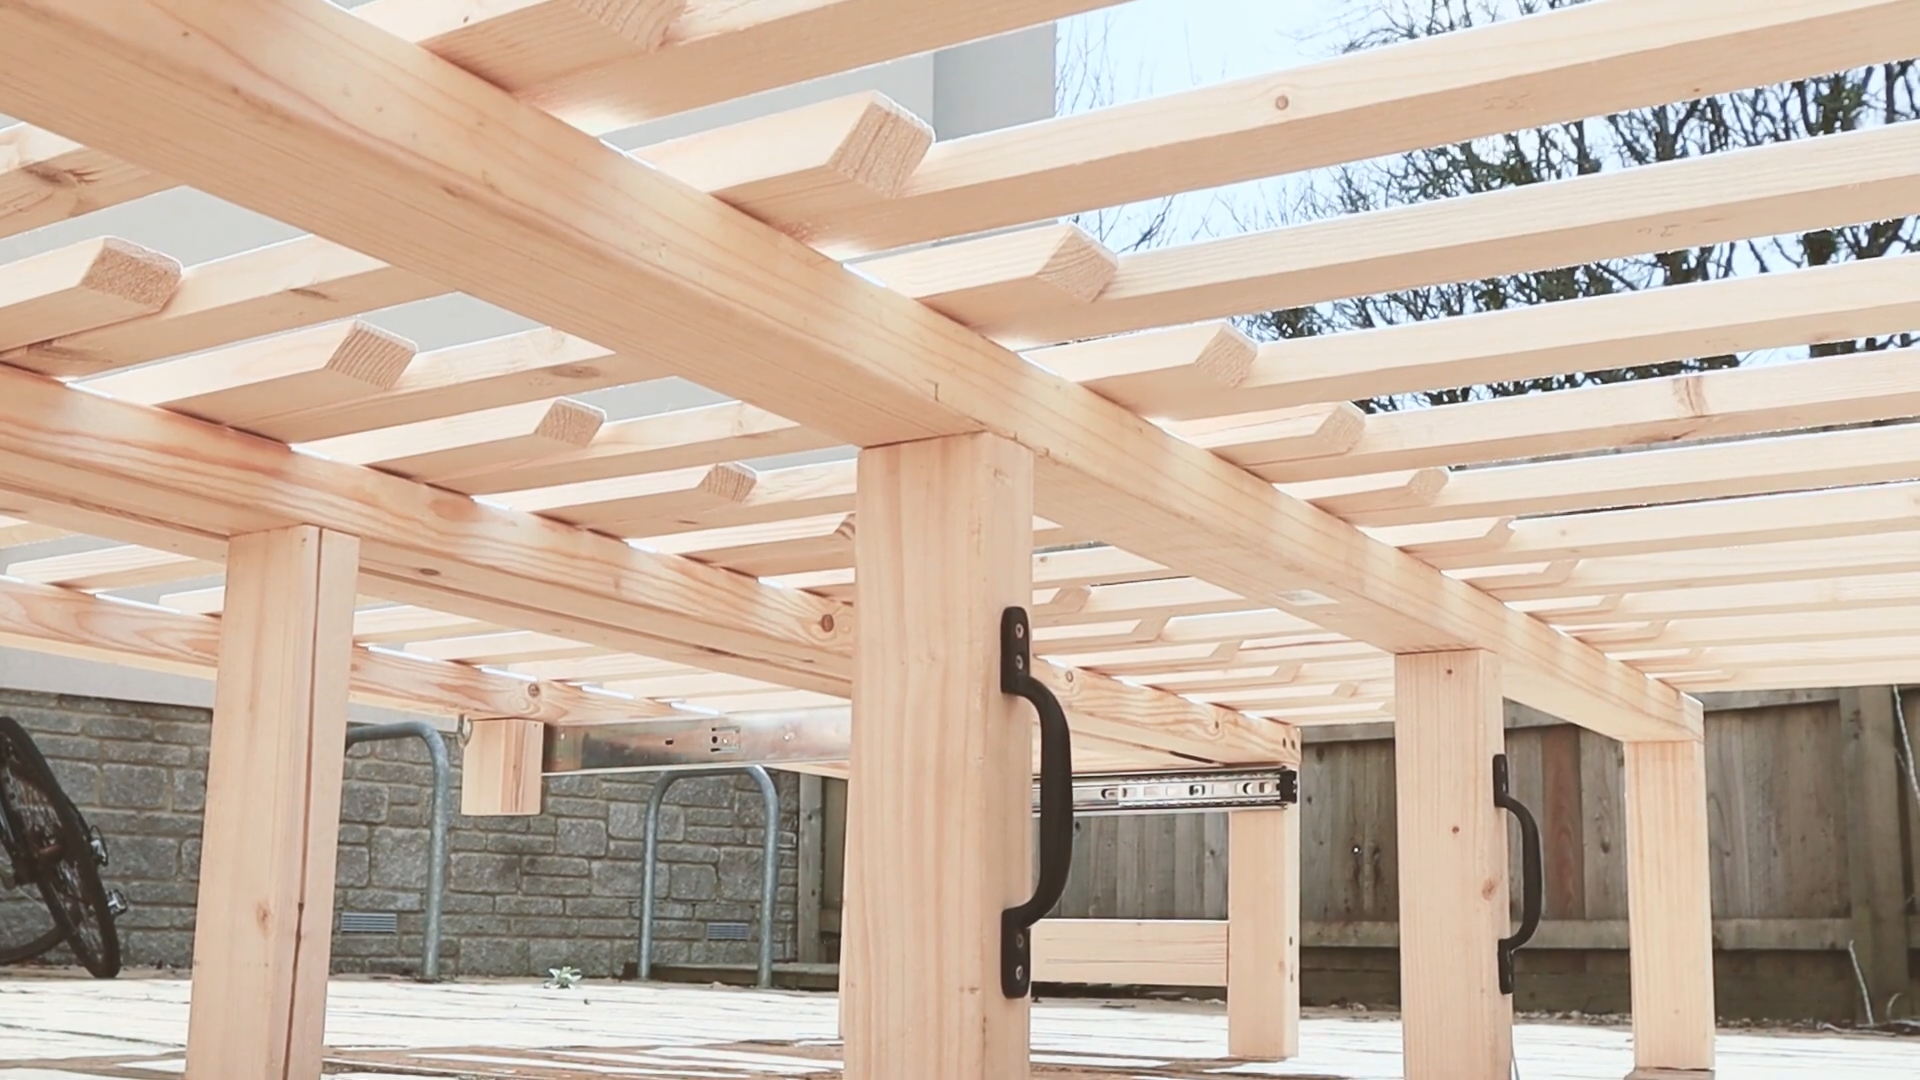
Pulling the bed out, as I showed earlier, is really easy. Spanning the width of the van, it gives so much sleeping space!
When extended, it gets support from two sets of legs down the middle, and from legs and both wheel arches at either side. It doesn’t move, and barely makes a sound when slept on.

The inset leg tucks into the gap between the wheel arch and rear door very nicely, to provide extra support.

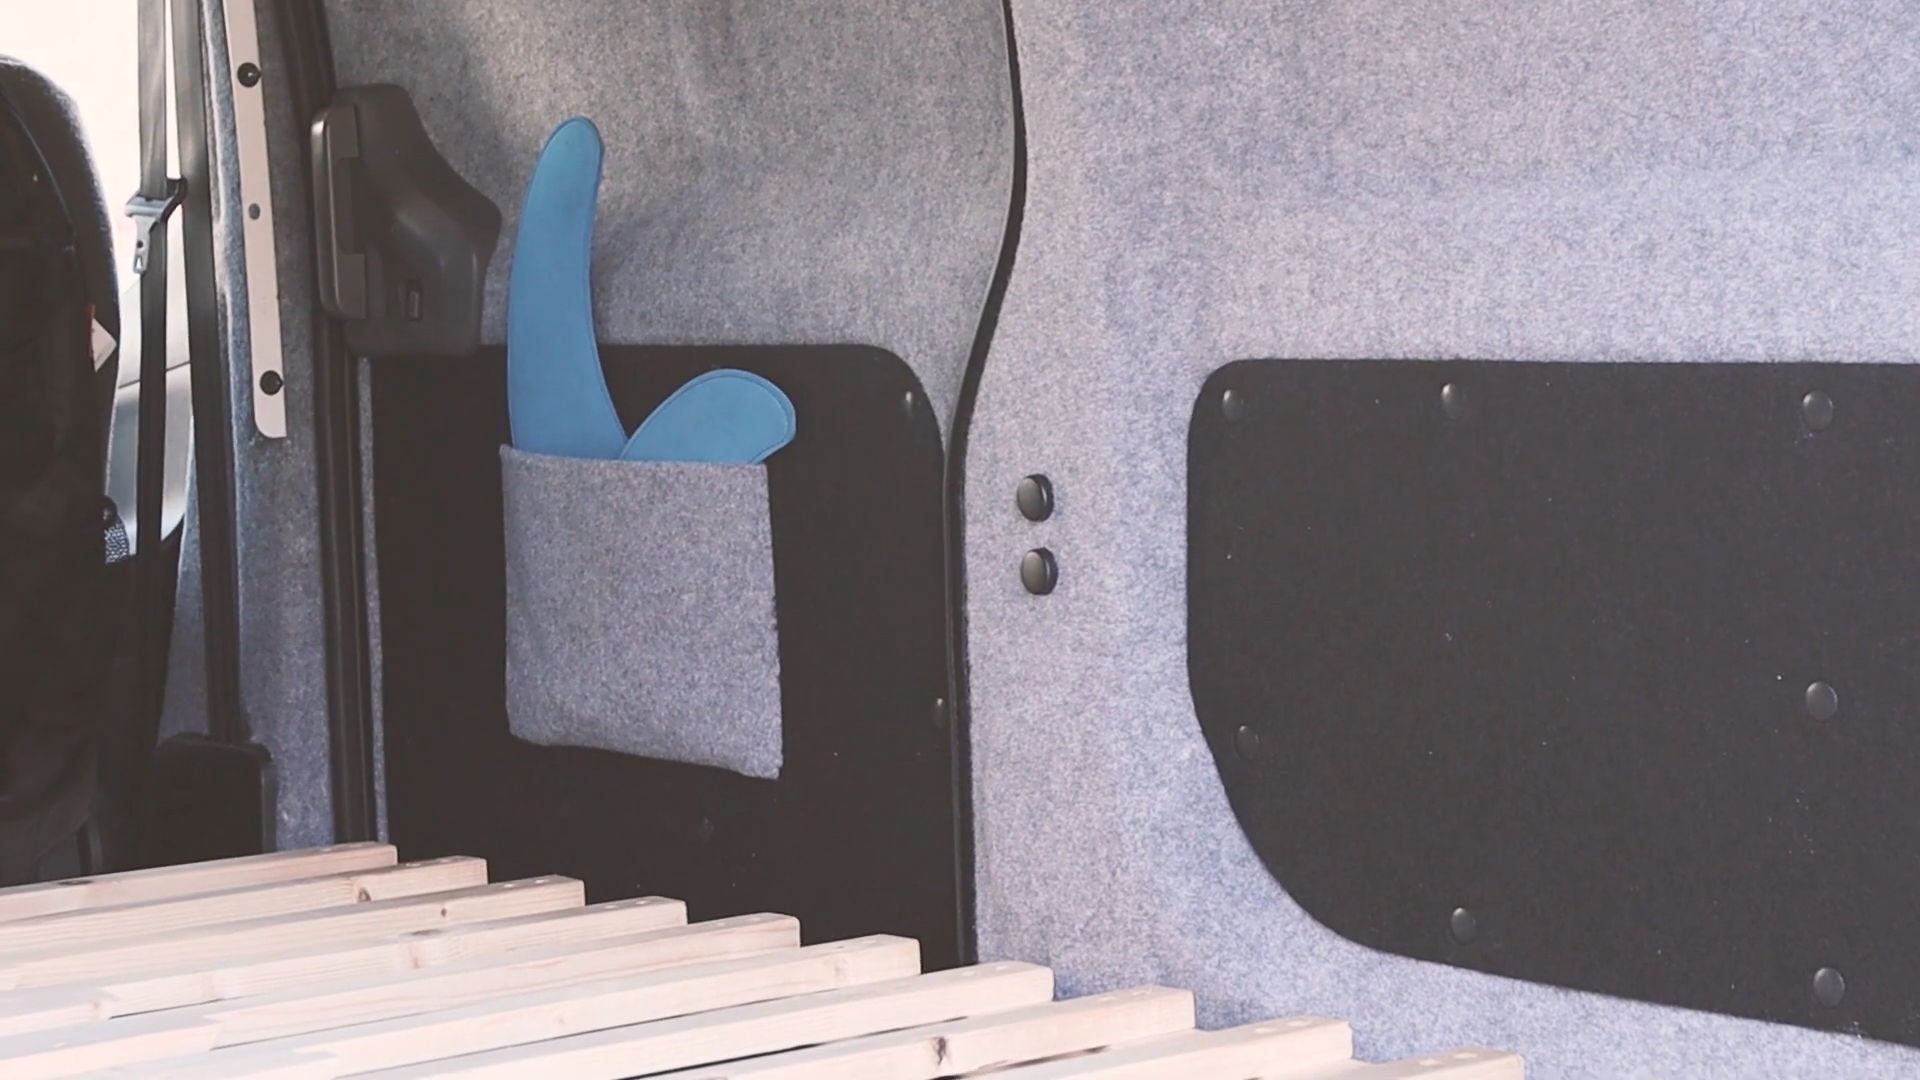
If you’ve seen my blog/video on making door card pockets for the van, then you’ll know one of my considerations was that the pockets sat above the bed when it is pulled out – and you can see here that it has worked and access to the pockets is really easy.
Under bed storage
For storage, I’ve built a drawer that slides under the bed, behind the front passenger seat. I’ve only created one drawer, as I found that using crates when camping is handy as they can be removed easily and moved to our awning. That said, the drawer is very spacious, maximises the use of the area under that part of the bed fully, and looks really nice.
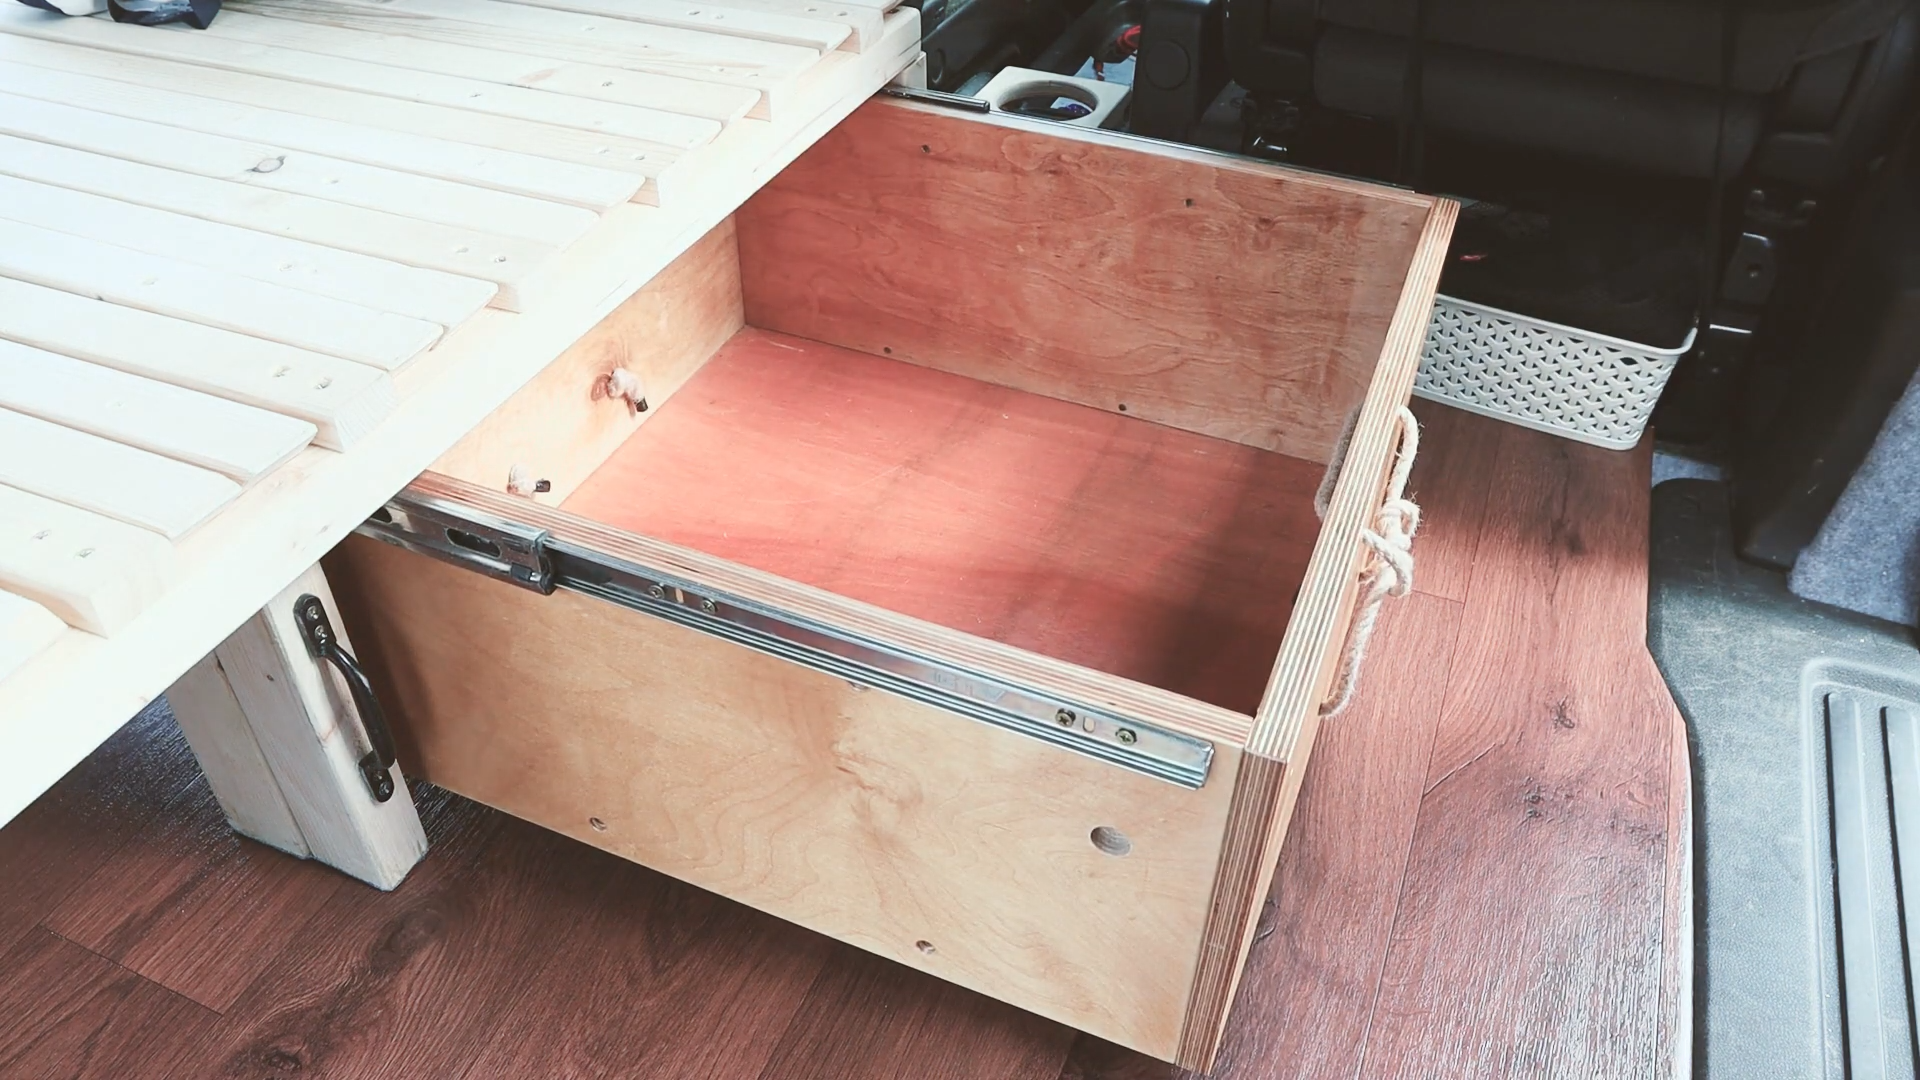
Although the drawer is on push-to-open sliders, I found that it tended to slide open when driving, so I created a peg which slots through a hole in a leg of the bed, and into the side of the drawer. It’s proved a very simple but effective way to stop the drawer from opening.


I created handles on the front and back of the drawer from pieces of rope and these help make it more portable.

The drawer itself is made from some high quality 18mm plywood that I had left over from another project and is coated with a waterproof varnish to protect it from dirt and spillages.
I generally use the drawer for storing our walking boots in day to day use, and for food when we go camping.
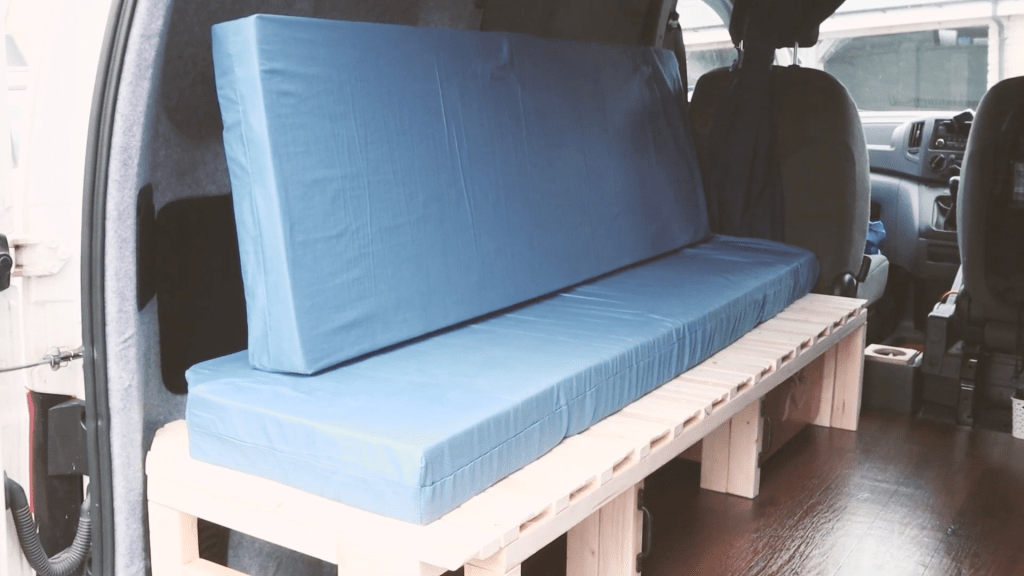
The mattresses
No bed is complete without a decent mattress, or mattresses in this case.
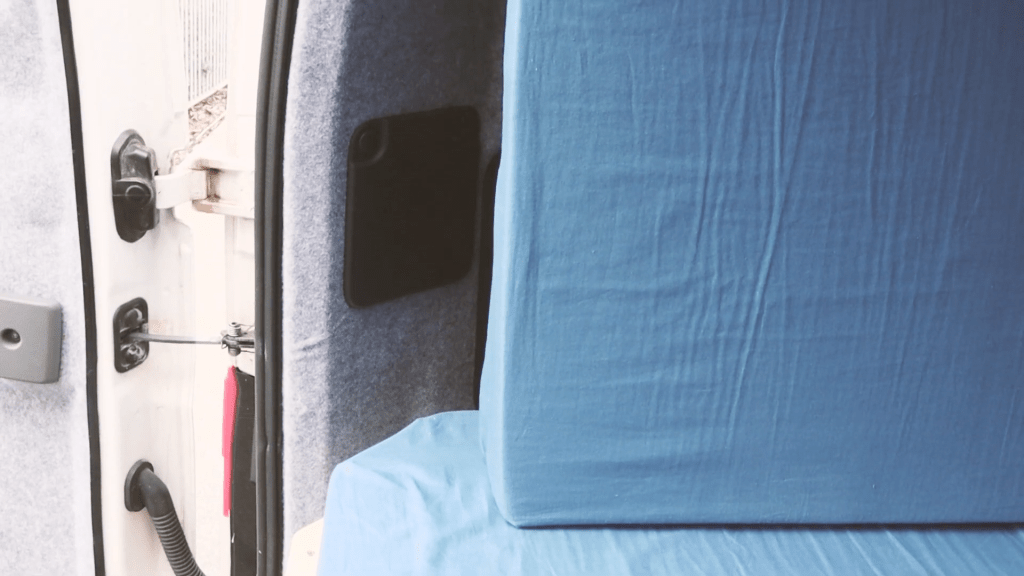
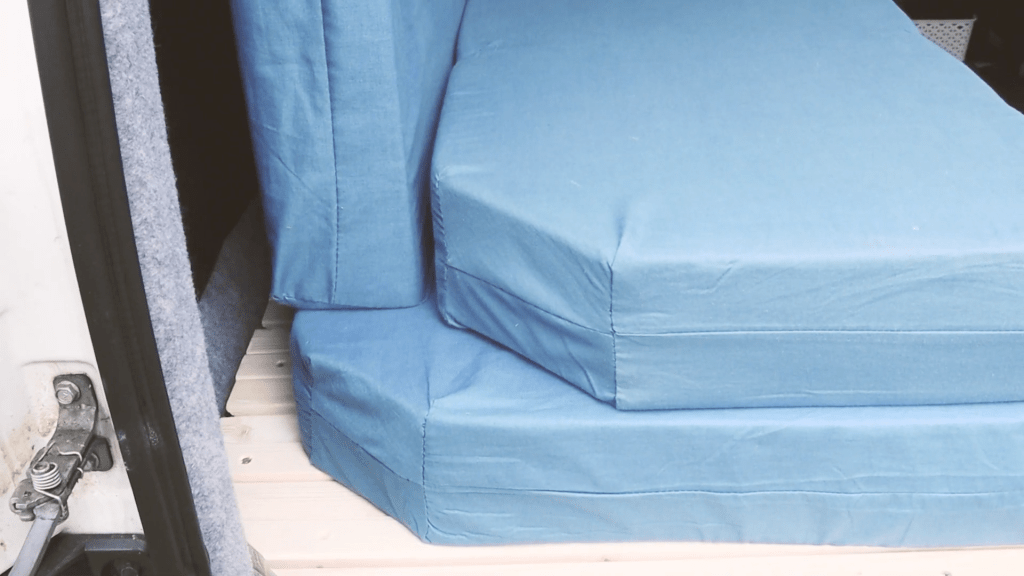
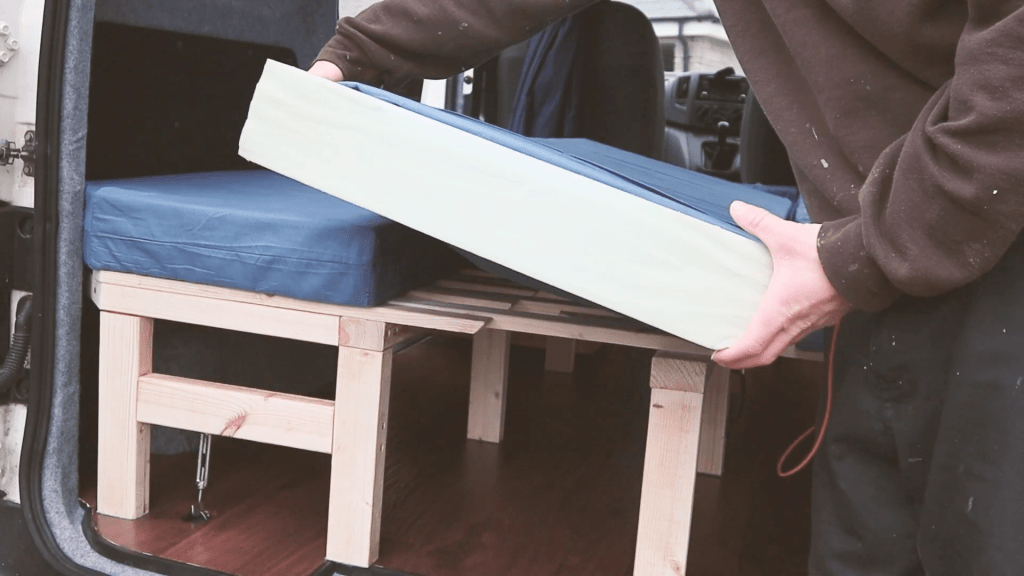
Here is the first mattress – made from 50cm wide and 200cm long foam. Note the corner, cut to match the contour of the van, and to ensure the mattress can sit parallel with the van wall.


The second mattress is also 50cm wide, but is cut a bit shorter. This is so, when using the bed as a bench, it doesn’t bend on the angle by the rear doors and can be used as a comfortable back rest.
The final mattress is cut thinner, to fill the remaining gap on the bed, but also has a corner cut off to match the opposite edge of the van.

All in all, it’s a very comfortable place to sit and sleep!
To secure these mattresses in place while driving around, I use a simple system of 2 bungees pulled over the mattresses and connected to the bed via metal eyes.

Pulling the bench out into a bed is a simple process of extending the frame, and then putting the mattresses in the correct order.
Because the middle mattress is cut shorter, as previously mentioned, it leaves a gap – either at the top or foot of the bed – depending on where I position the middle mattress. This is solved by a very small 4th mattress – or more of a pillow really – which fills this void. It’s super dirty at the moment because it has been an admirable kneepad for me throughout this entire van build.


The mattresses are all made of 4 inch thick sheets of extra firm foam, and you can’t feel the slats beneath them at all! They were easy to cut with a sharp kitchen knife and I sewed together their covers by hand from 2 double duvet covers.

It’s super exciting to see the bed installed and secure, with the drawer and mattresses back in their places too. There’s still plenty of space for storage underneath the bed, even when it is pulled out, but I intend to install some shelving and other storage above the bed at a later date.
Time to get using it…
The van is now in a usable state – so it doesn’t help that our next camping holiday has been cancelled due to the virus lockdown. But it’s more than ready for when it’s lifted, so I’ll be keeping my fingers crossed!
If you want to see more of my camper van build in action, please CLICK HERE.
Click to buy your own…


(Affiliate links which help support this website)

6 responses to “Creating A Unique 3 Section Pullout Bench/Bed With Storage”
[…] I have already used the van as a (very simple) camper, and had built a bed (which I will cover later), so there were lots of things to remove. Some will be re-installed further on in the build, while […]
LikeLike
Thanks for your writeup on this cool project. Do you have any diagrams you could share to help eliminate guesswork building from your photos?
LikeLike
Hi, I don’t I’m afraid, it came out of my head and I didn’t jot it down. Thanks, James
LikeLike
hello ! I am just about to start building a copy of this. Can you please tell me the length of the slats ? I guess the first ones are 50cm, but how long are the next ones ? And how thick is the wood the slats are drilled into ? Thank you 🙂
LikeLike
Hi, all the slats are 56cm long and they’re drilled into 38mm deep wood. I have a few more bits about the bed at 06:09 in this video which may help: https://youtu.be/2GU-z2BgkA0?si=VwICU6ZxKboEH3lP
LikeLike
Thank you very much James, i am sure there are more than me who really appreciate this blog and your sharing of knowledge.
a few quick questions
Again thank you for this design and inspiration !
LikeLike