
This article is a written account of a video from the Lens Of James YouTube channel. Watch the video above and subscribe if you like what you see!
This article contains affiliate links to relevant products I have used in my videos. By buying through these links, I receive a small percentage of the sale at no cost to you which helps me support and grow my website and YouTube channel, so I can create more content like this in the future. Thank you for your support.
Having insulated and carpeted the whole of the inside of my van, I was considering how to add extra storage, particularly for day-to-day use. I had seen some great examples whilst researching this but decided to take my own approach.
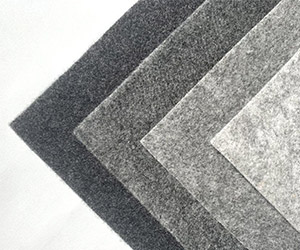
One of the main premises of my van build is to do it cheaply, and the pockets I’ve created definitely tick that box. It was so great to be able to use up some of the leftover scraps from the carpeting of my camper van, as they’d just go to waste otherwise.
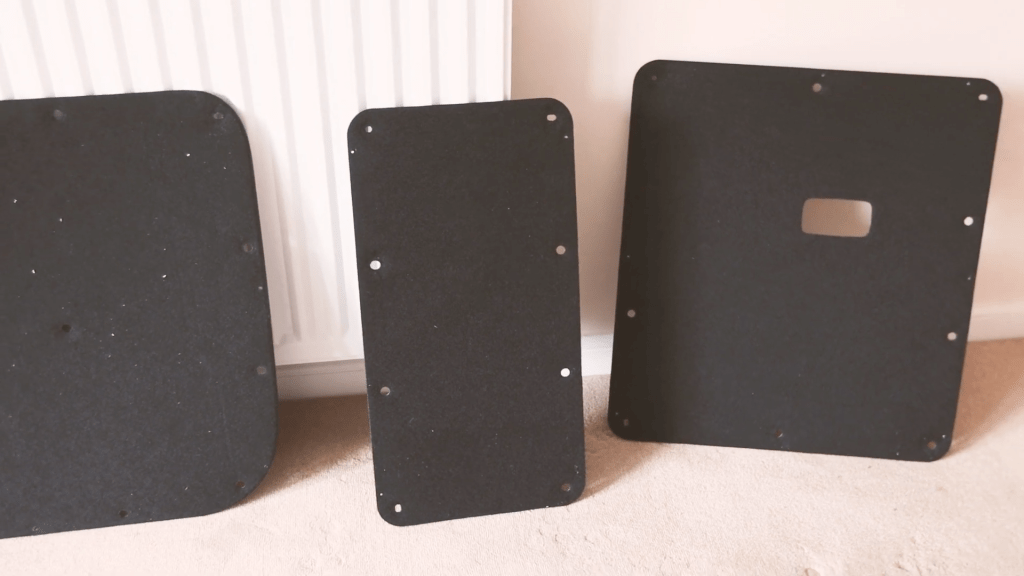
The interior panels
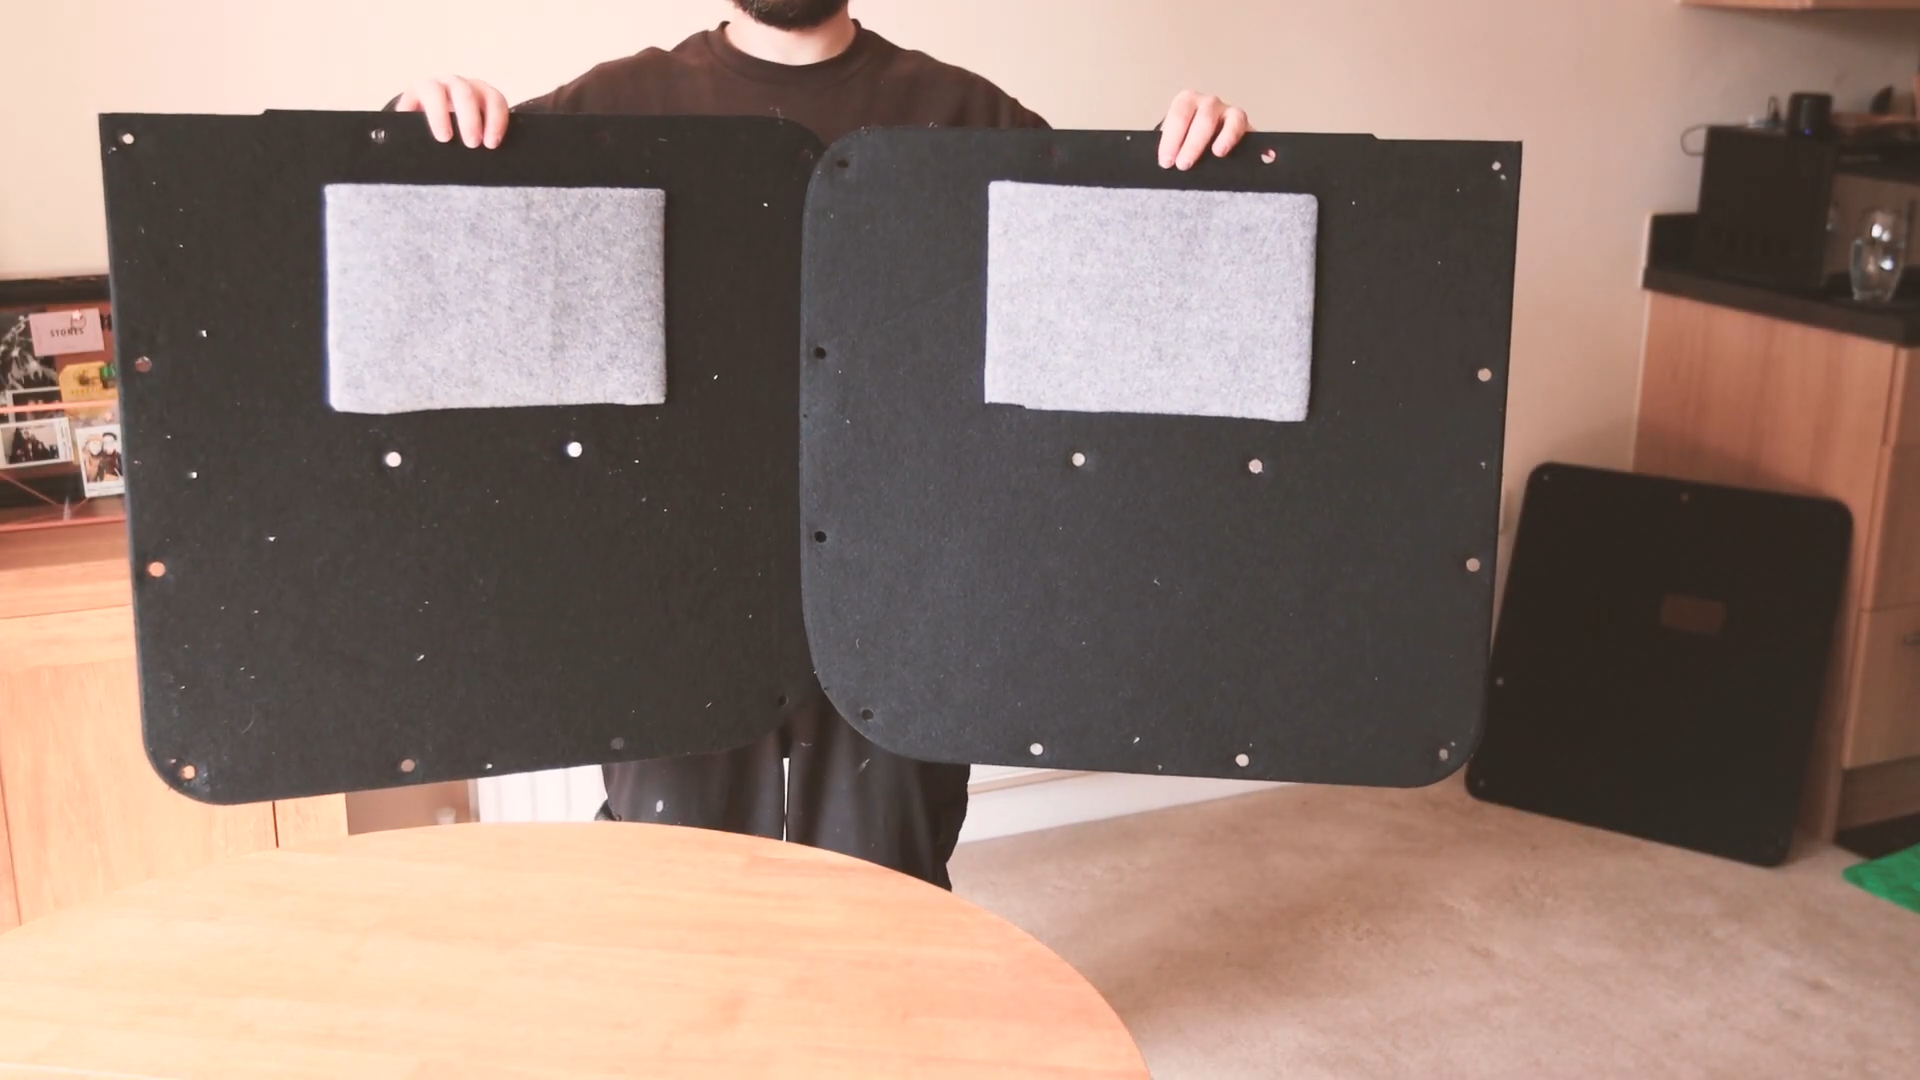
There are 6 black door panels that run round the middle of NV200. These are clipped in with black panel clips and protect the panel cavities of the van (which I have now filled with recycled plastic bottle loft insulation) from knocks and damage.
I will be adding pockets to 3 of these panels – two on the small back door panel and one of each of the side doors. With storage being at a premium in camper vans, I wanted to use these panels to create some much needed extra space, to house some of the items I keep in the van from day-to-day.
The pockets will be created by folding a section of carpet over a piece of thin card, to give it some rigidity, then the carpet edges will be tucked into slits in the panel. These edges will then be secured on the back.
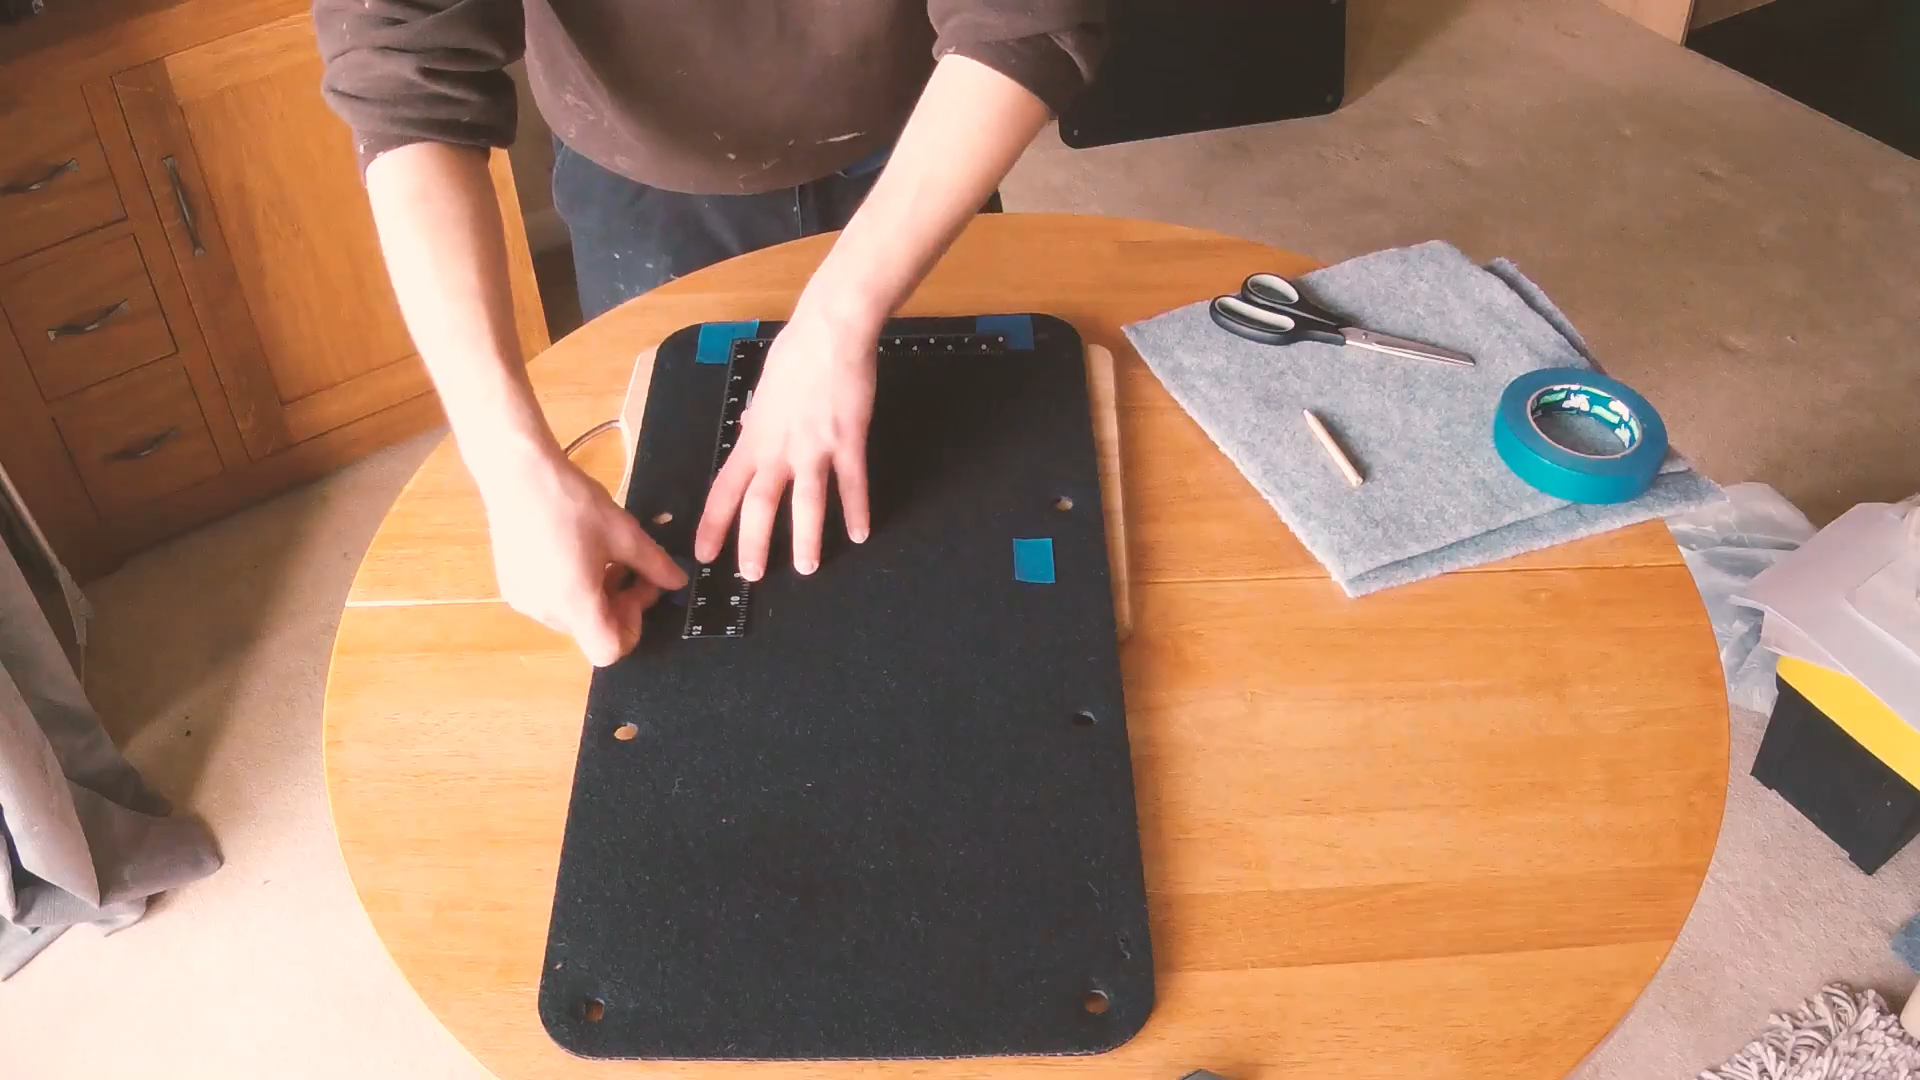
Planning & measuring up
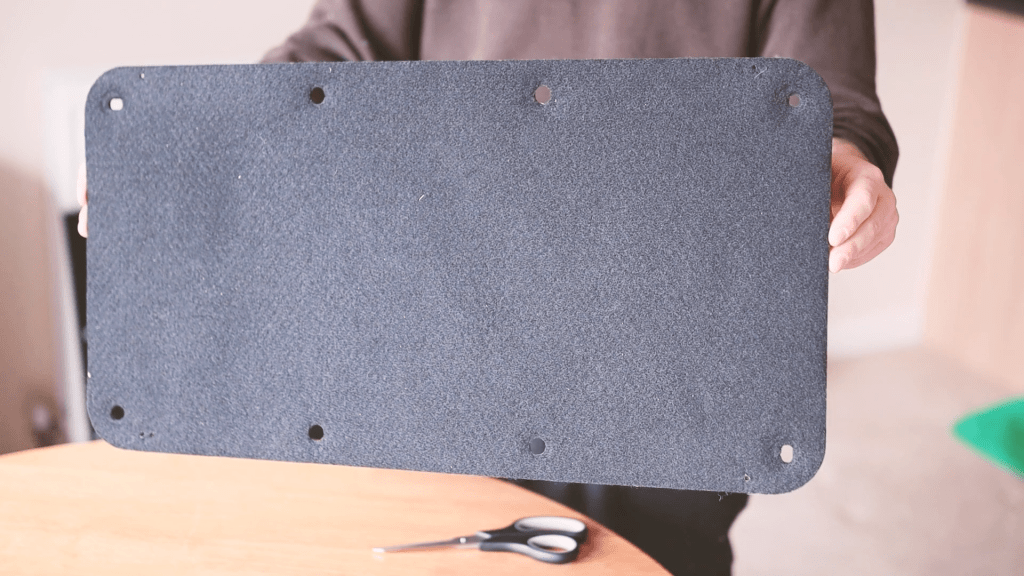
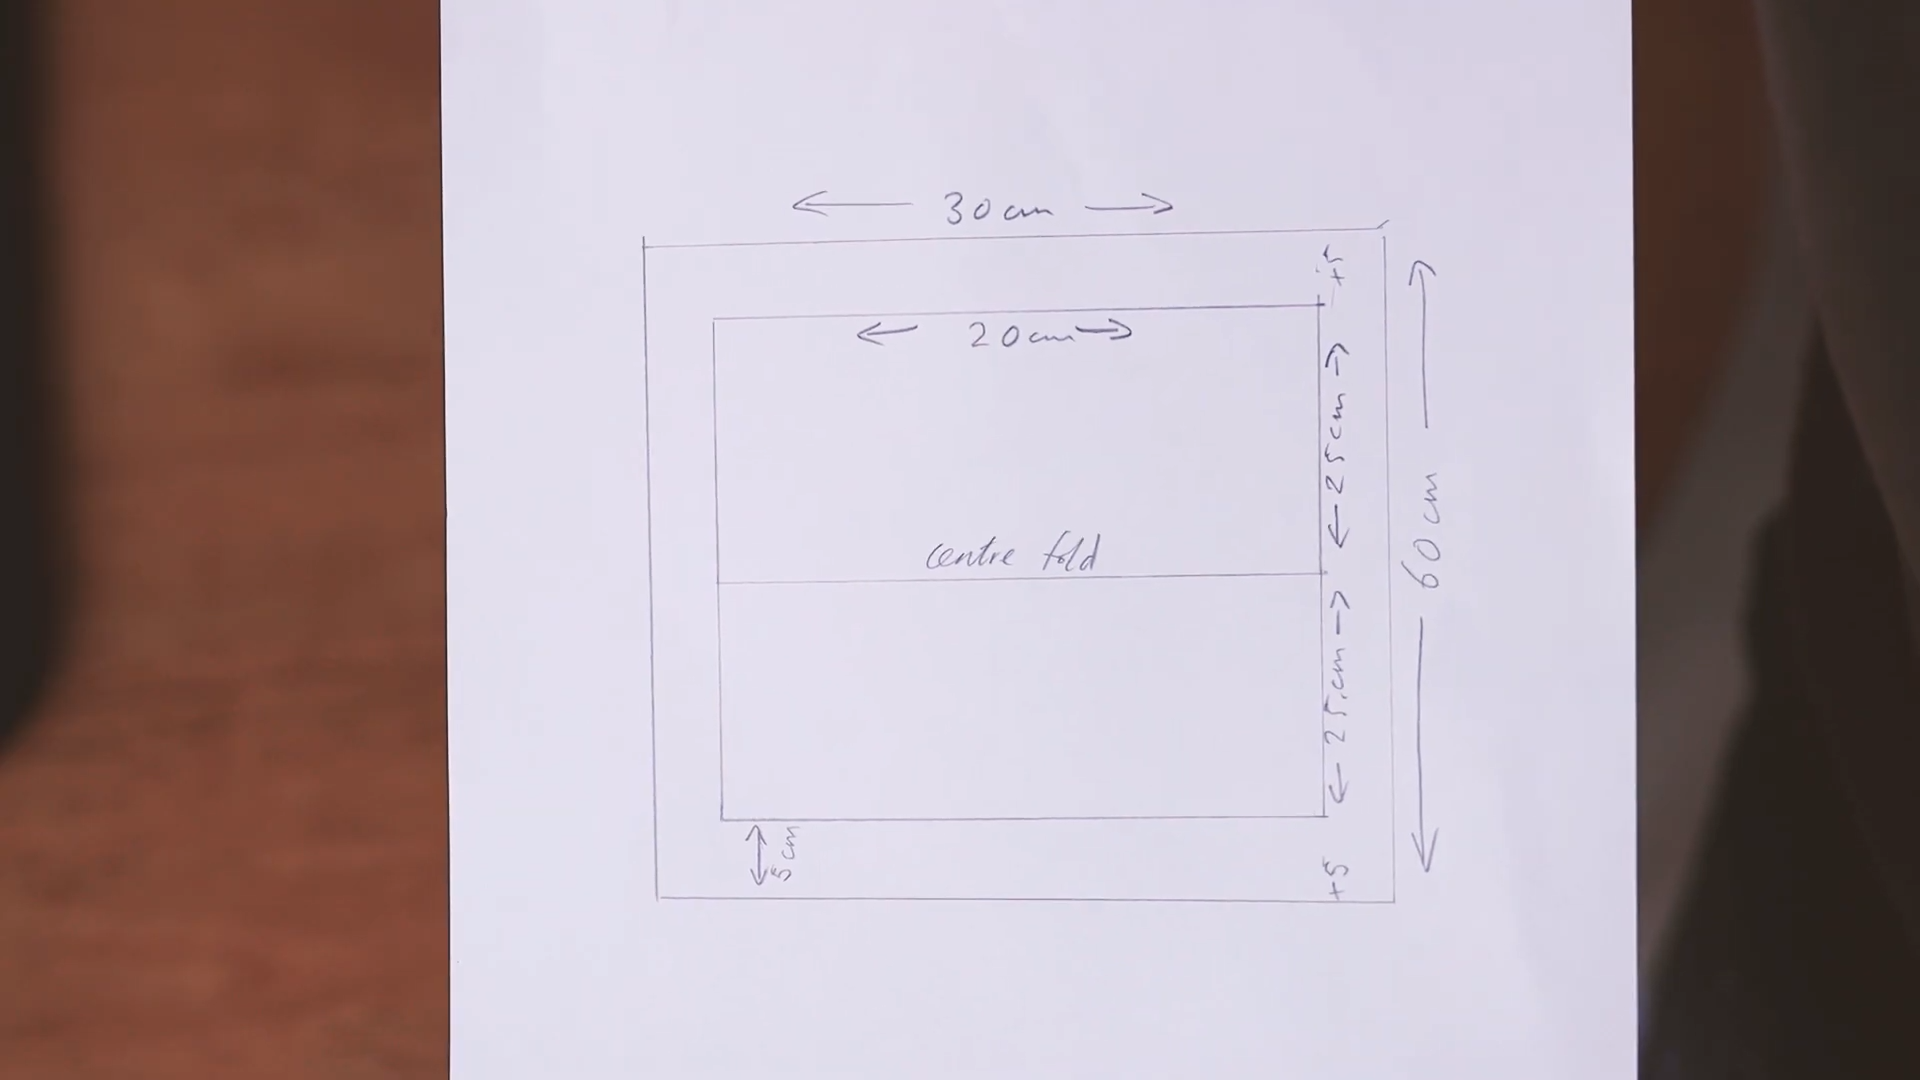
I started by measuring the size of the pockets needed for the small back door panel and drawing up a plan. I needed twice as much carpet than card in length, and gave the whole perimeter a margin of 5cm to create the edges that will tuck in behind the panel. If the plan doesn’t make much sense now, hopefully it will by the end of this write-up.
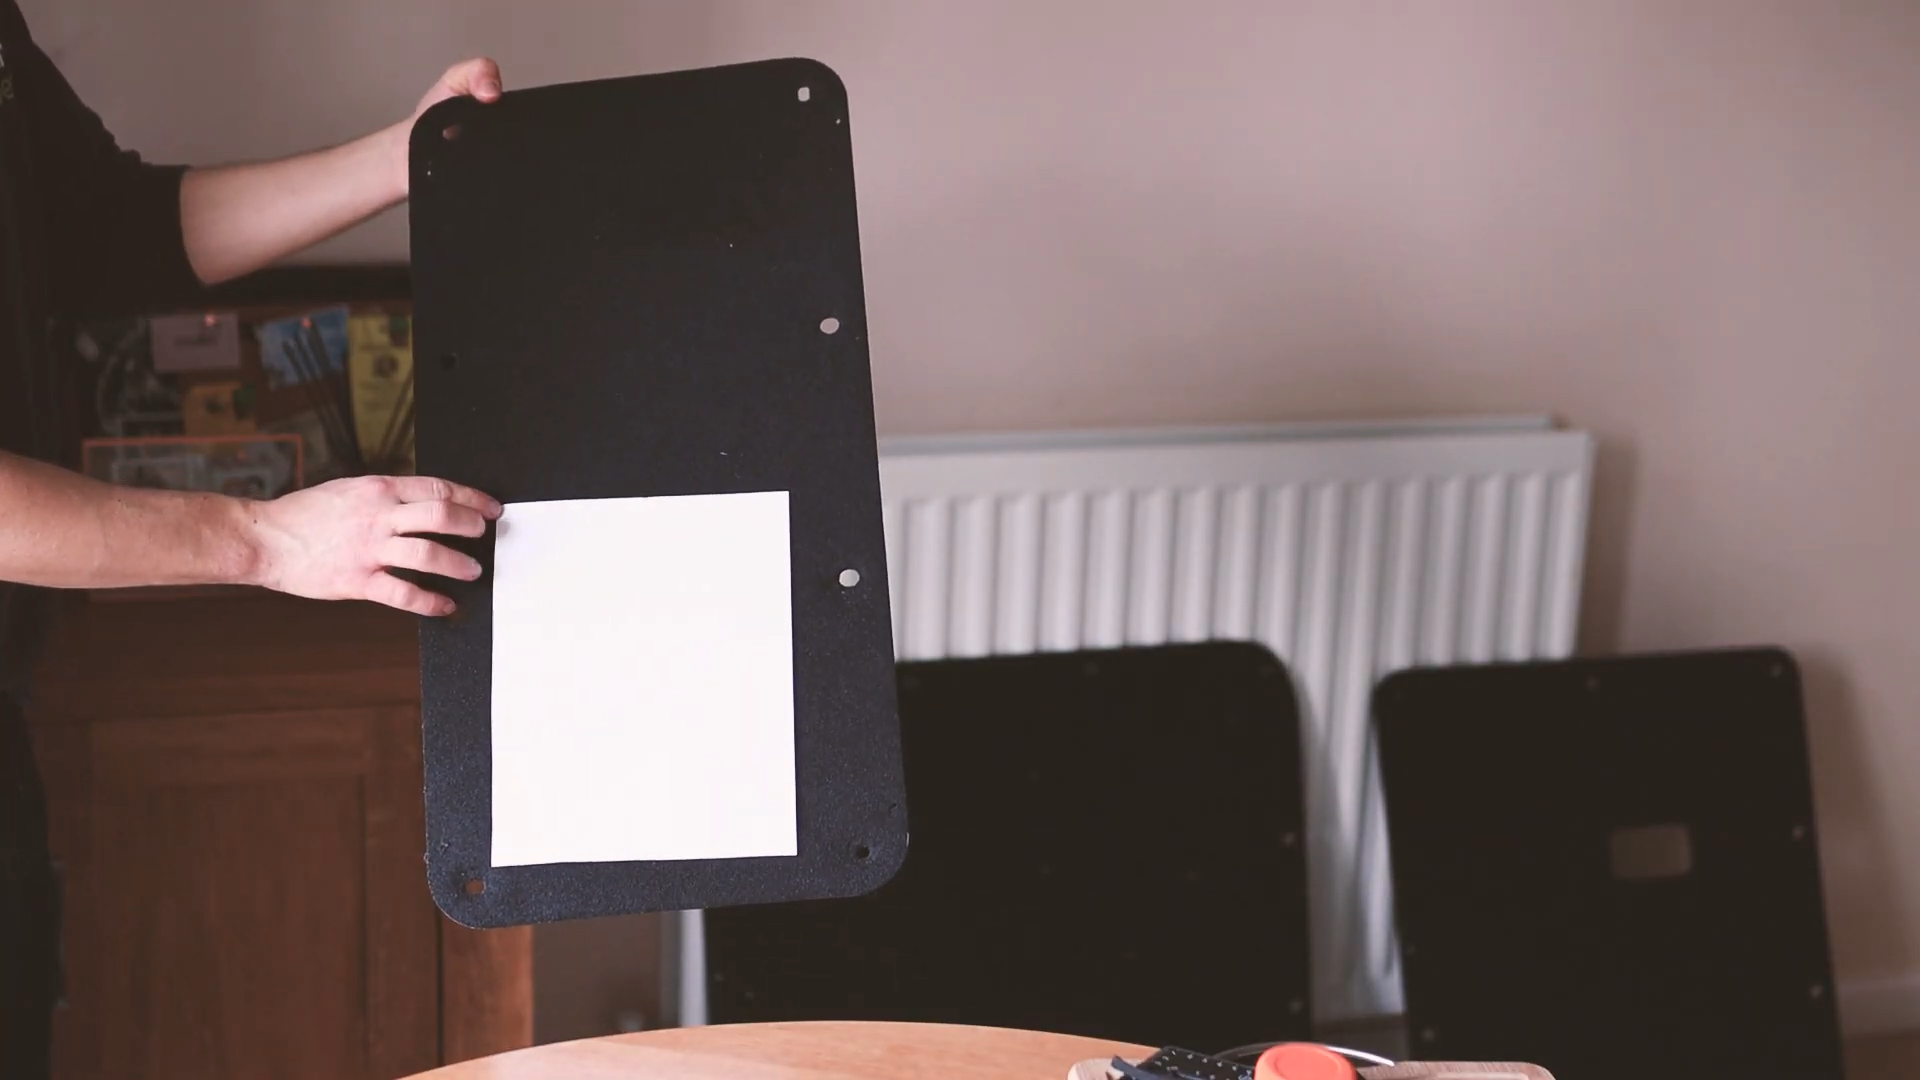
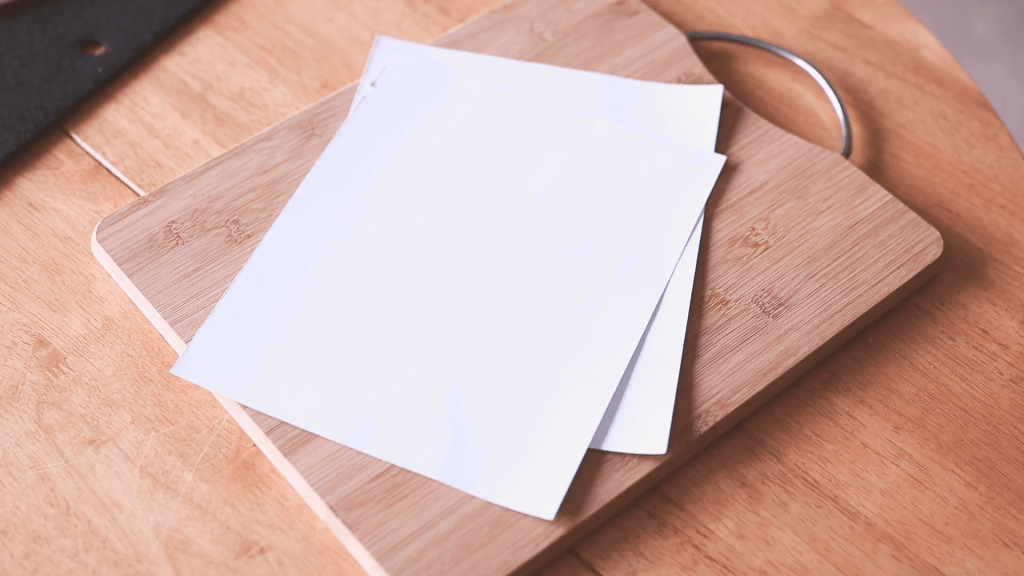
I then cut a template out of paper to the size that the finished pocket would be, so I could see how it would look on the panel, bearing in mind that there will be 2 pockets on this particular panel.
Card inserts
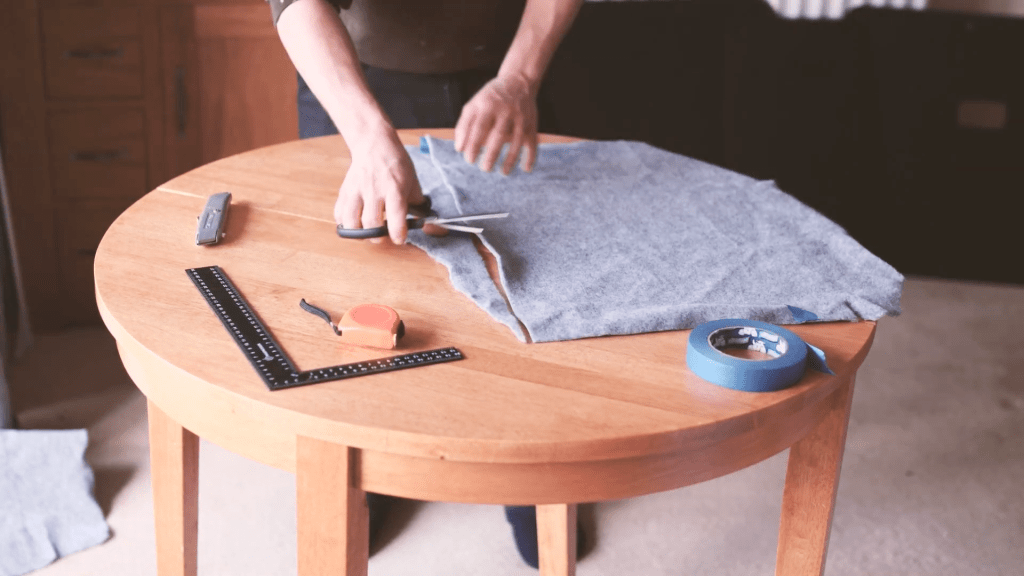
Next, I cut out the 2 pieces of card that would sit inside the folded fabric.
I should mention at this point that I did a test of this whole pocket-making method on a different panel and it worked great – except that I used card that was far too thick and the pocket was very rigid, hence my use of thin card now.
These bits of card were cut to 25 by 20 cm, which is the visible area of the pocket, once it is attached to the panel.
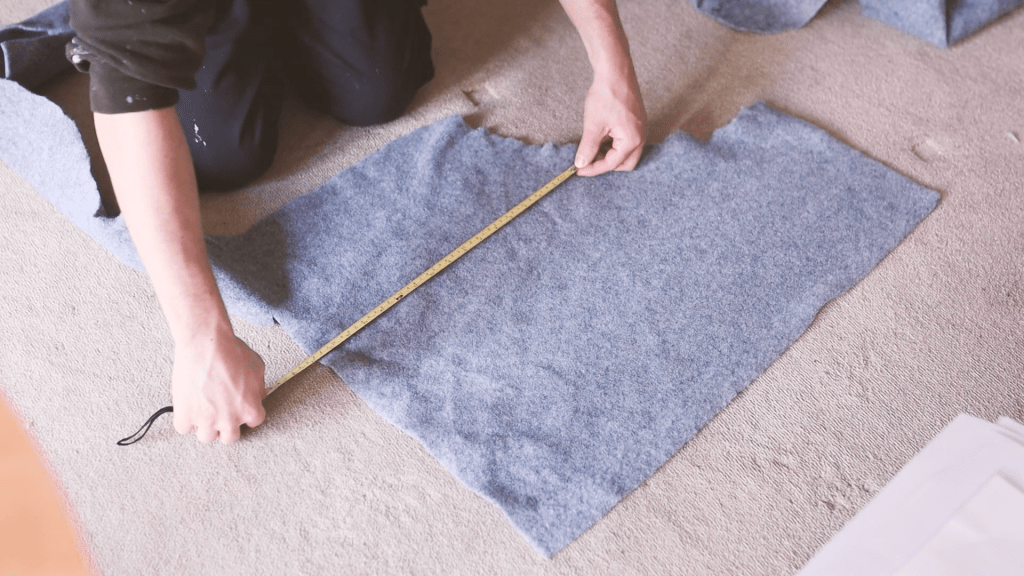
Cutting the carpet
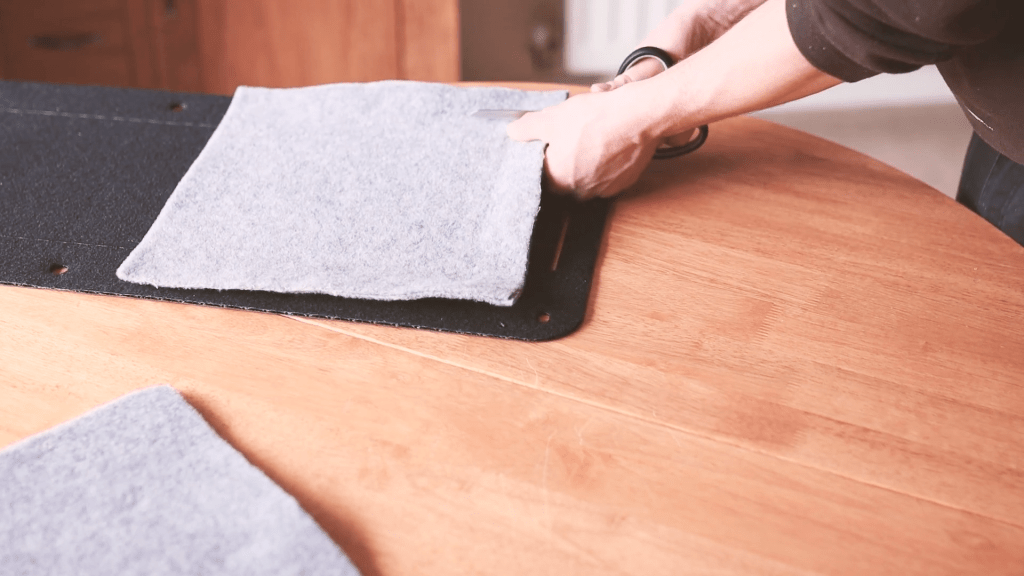
I then searched through my pile of carpet leftovers and selected some scraps that could be cut to 60cm x 30cm. I cut 2 pieces of fabric to this size – one for each pocket.
Whilst it’s good to be careful, I found that you don’t have to be too precise with cutting the fabric, as all the edges will never been seen once they are installed in the van.
With the carpet cut, I could lay the card in and get an idea of how the pocket would look.
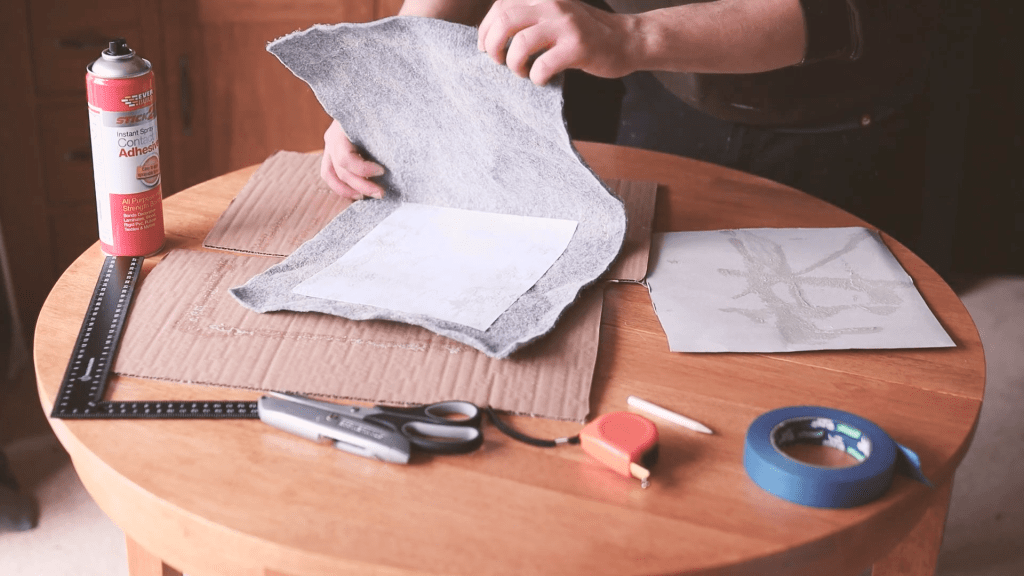
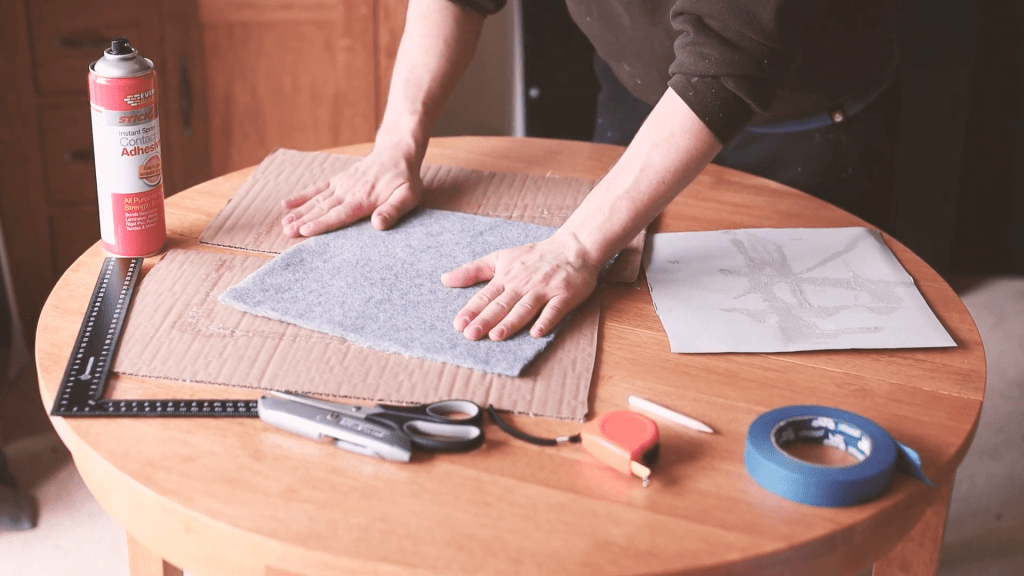
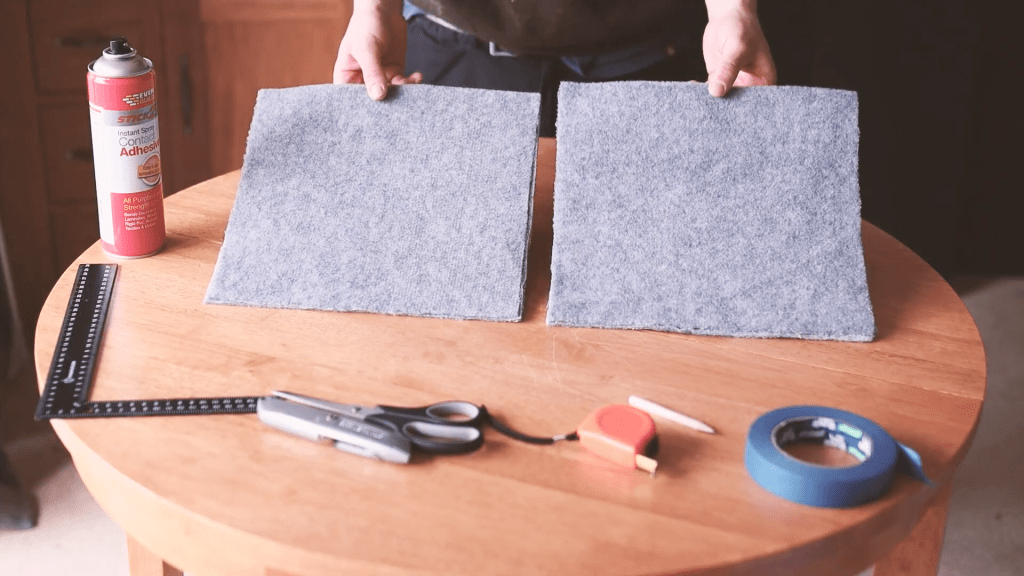
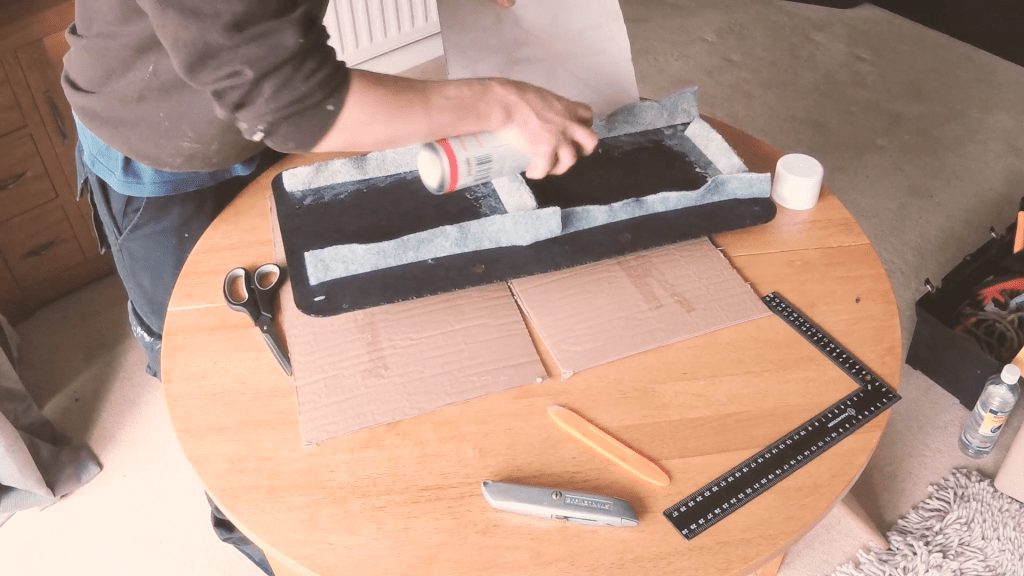
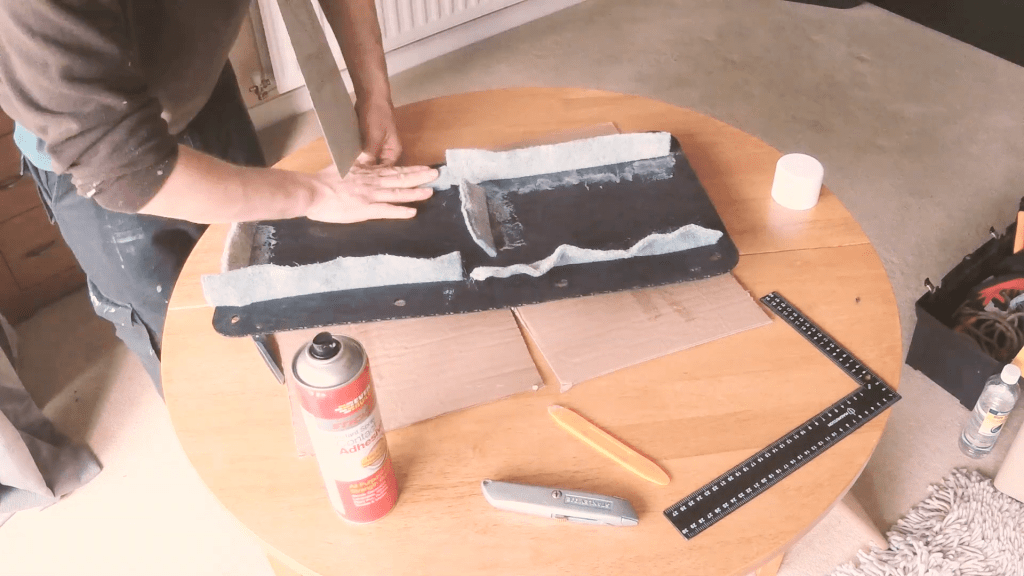
Gluing the pocket together
Using Everbuild Stick2 contact adhesive I glued the card onto the fabric, so that the long edge of the card sat in the middle of the fabric and so the fabric could fold over it. This would leave a nice neat edge for the top of the pocket, as well as creating a soft interior for the pocket.
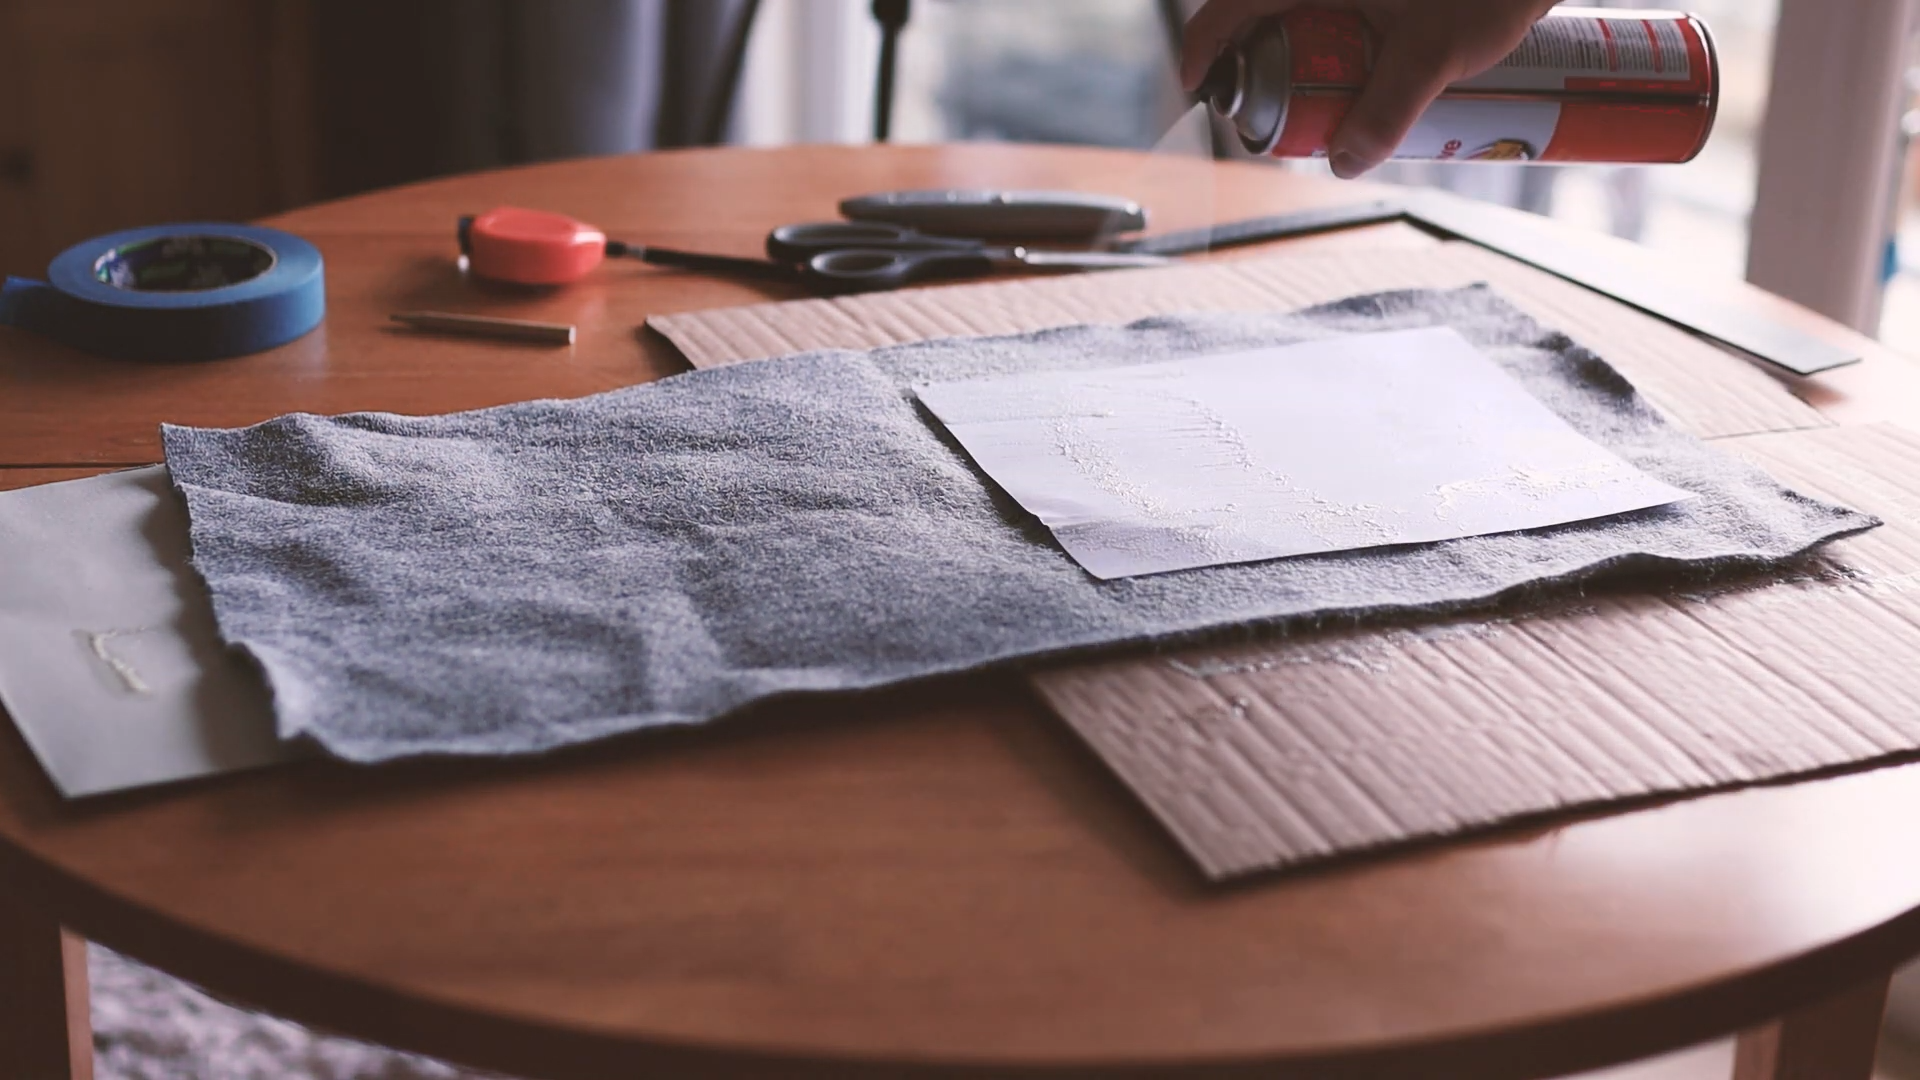
With all the carpet and card covered with contact adhesive, I folded the carpet in half and pressed the two sides together. I then repeated this for the second piece of fabric.
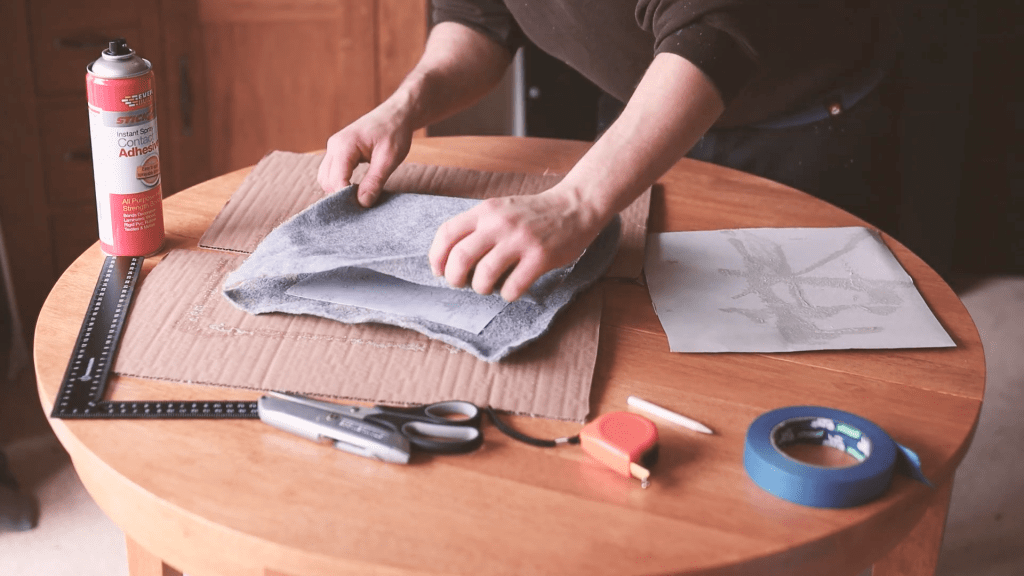
I managed to get a bit of on contact adhesive on the front side of the carpet, but white spirit soon got rid of that.
Click to buy your own…


(Affiliate links which help support this website)
We’re also on Instagram!
Check out yogi.the.van to keep up-to-date with all our adventures in the van!


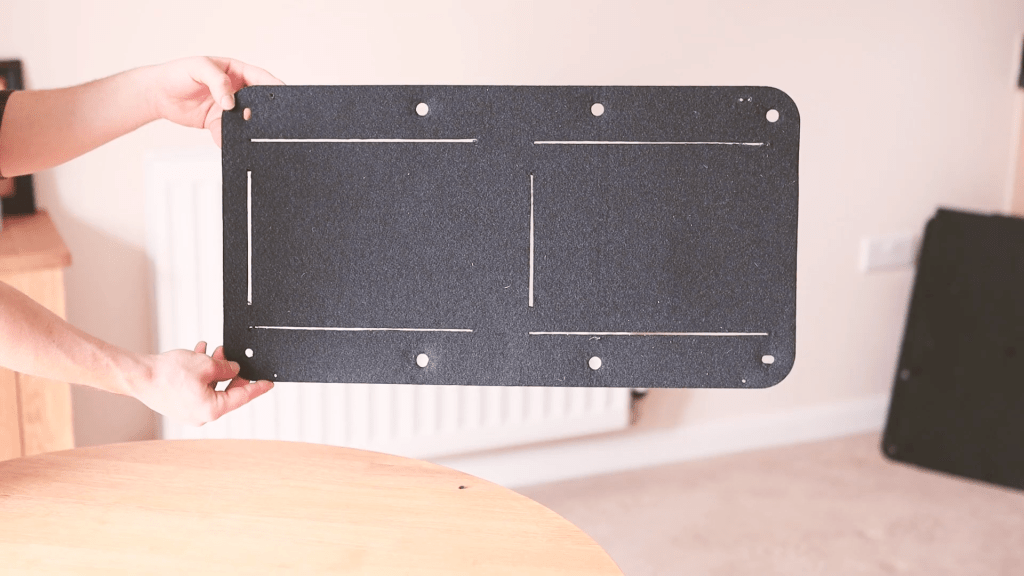
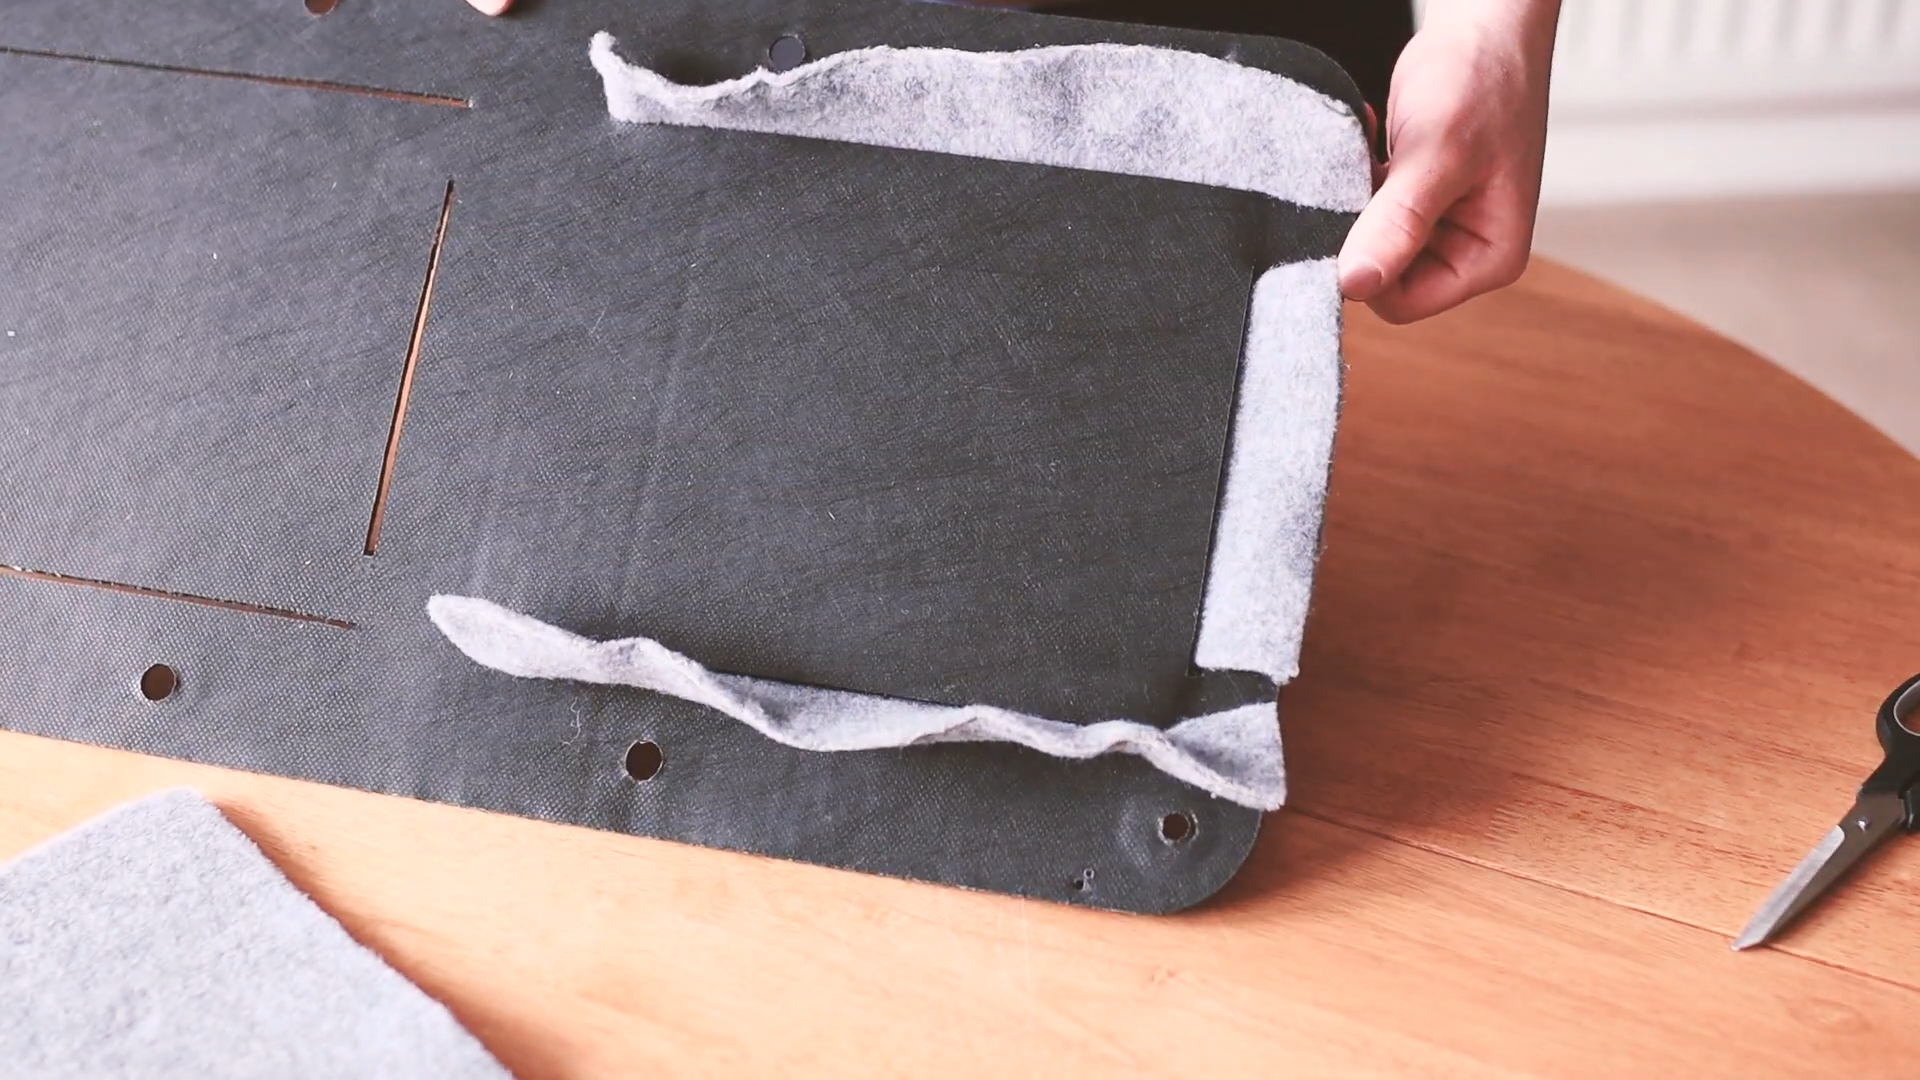
Cutting slots in the panel
The carpet was finished with for now, so I could move onto cutting slots into the panel.
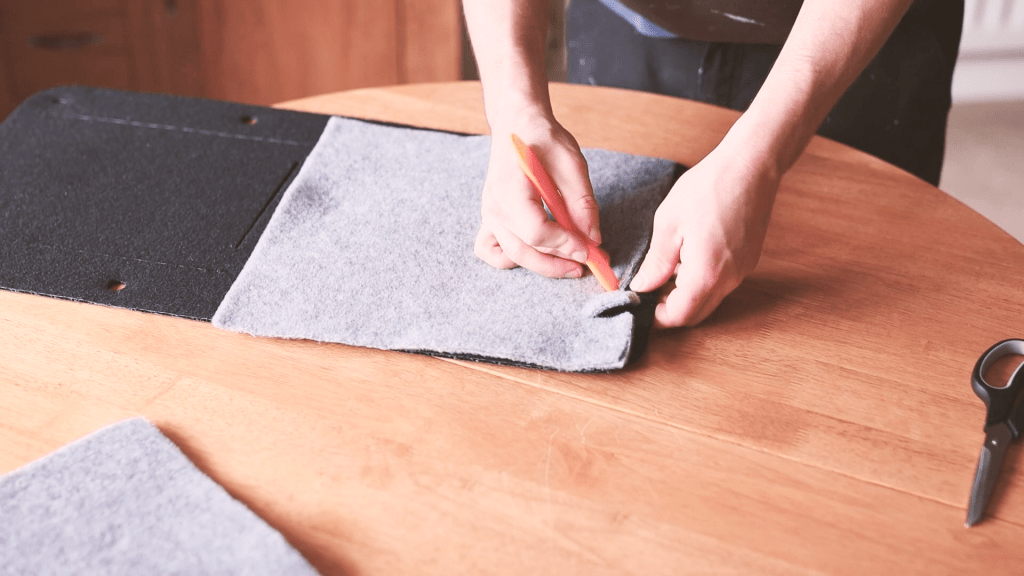
First I measured the panel and used masking tape to create a mark to cut along, as pen lines don’t show up against the black door card doesn’t show.
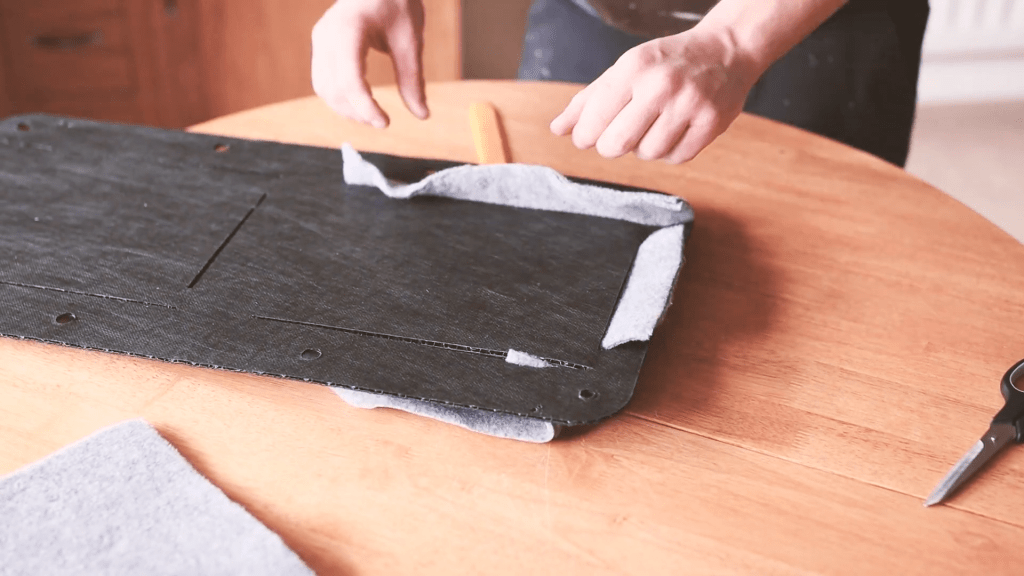
I would be cutting two side slots and one along the bottom for each pocket, however I cut it bottom one shorter to ensure that the panel didn’t lose its rigidity. I later cut incisions in the carpet to work around this.
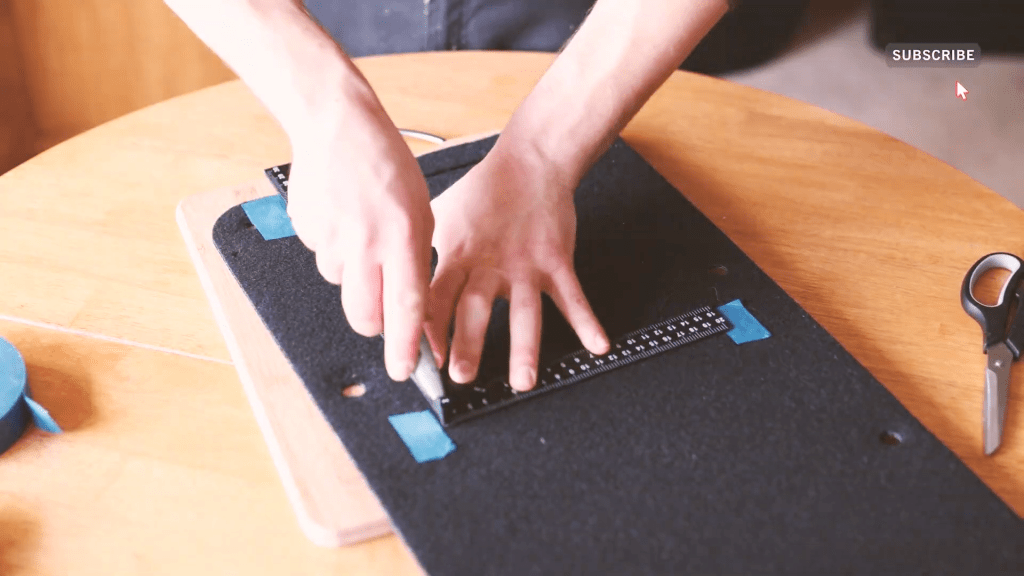
After cutting these 2 sets of slots, it was time to attach the carpet to my panels.
Attaching the pockets to the panels
I lined up the carpet against the panel and started cutting two incisions into each bottom corner, making sure the neat edge of the carpet was at the top. The first was 5cm in, the second was a further 2 and a half cm along. I repeated this on the other corner and then on the other piece of carpet.
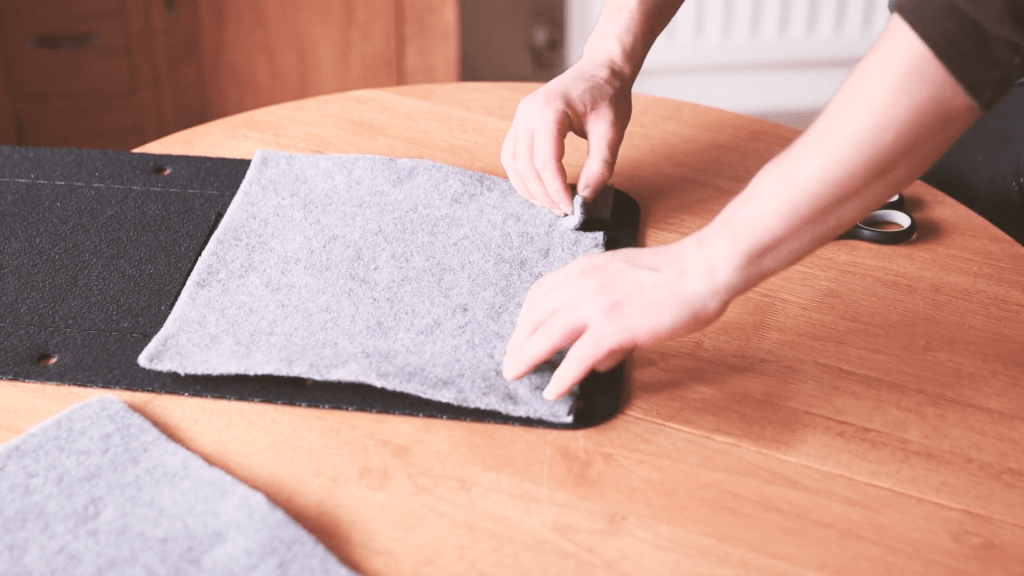
The purpose of the incisions is to ensure that the carpet can fit through the slits without getting caught or bunched up.
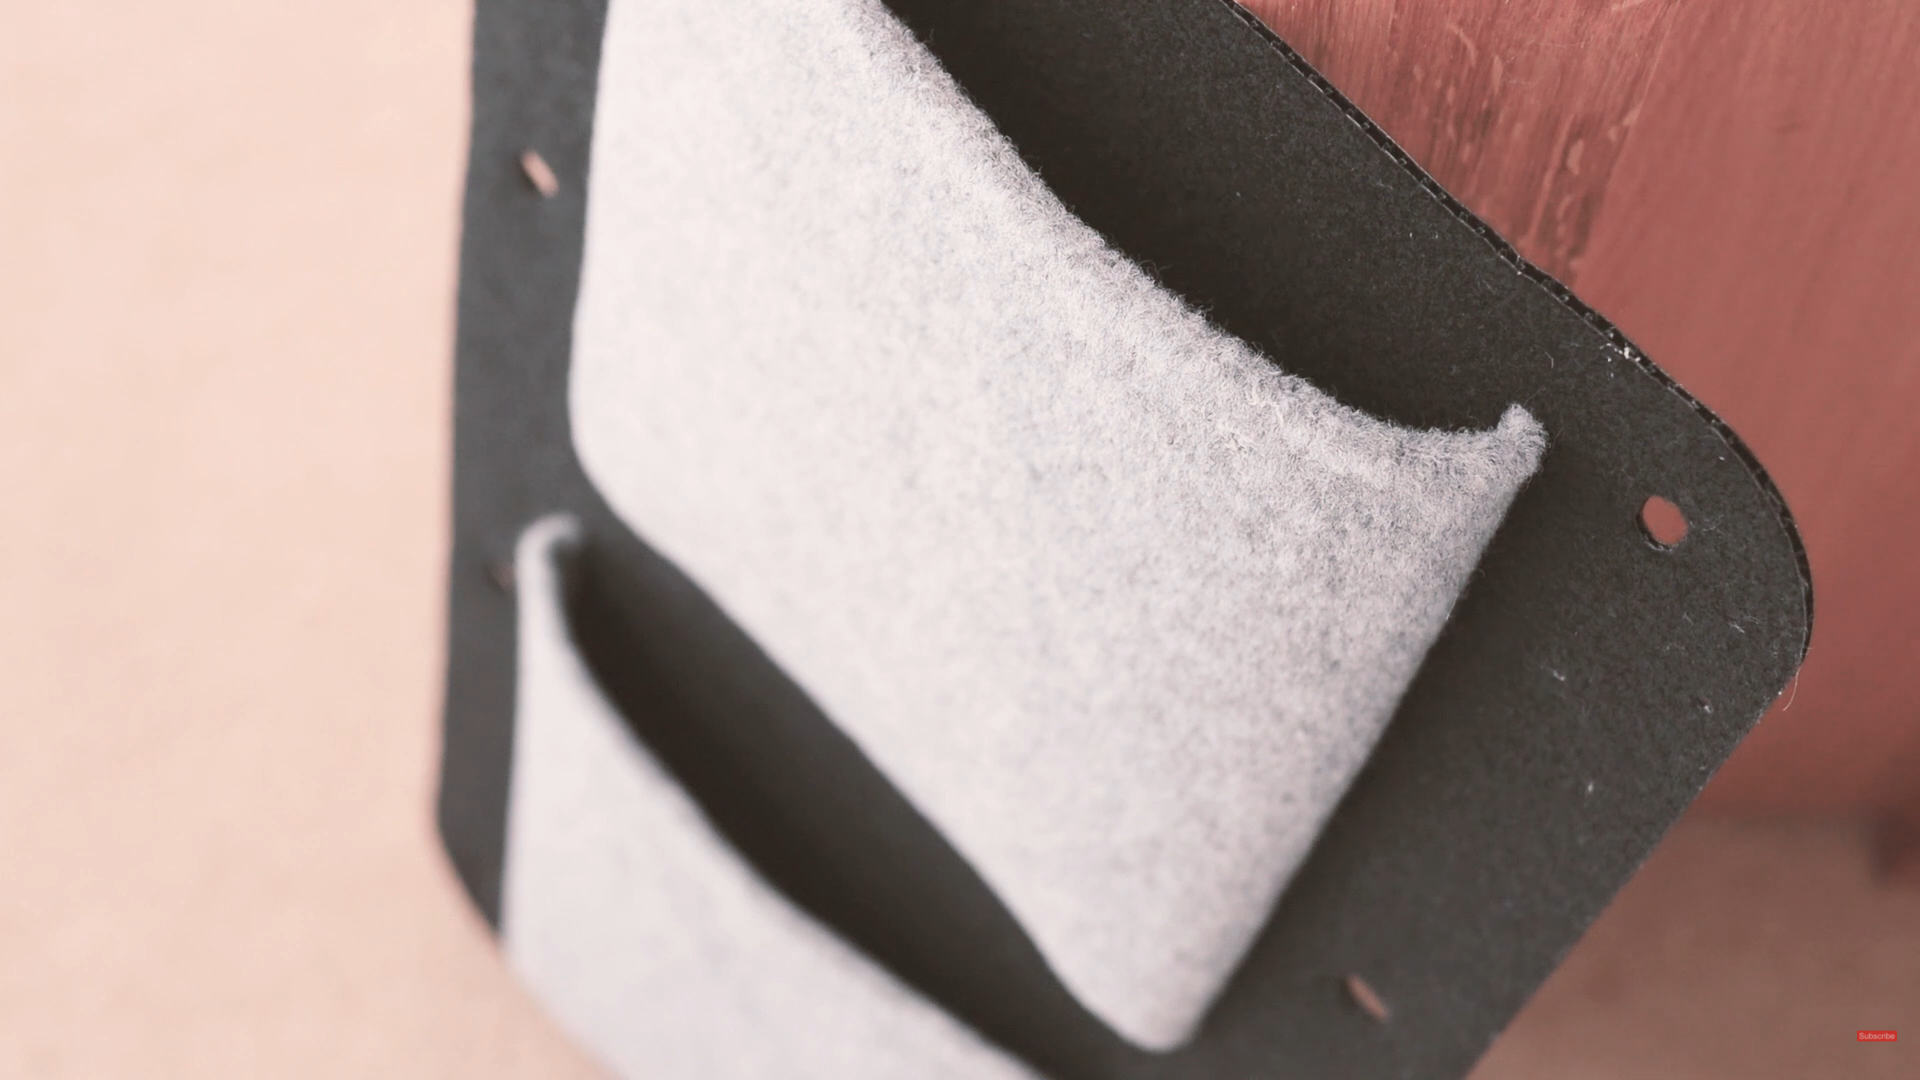
Using a plastic trim removal tool (eBay affiliate link), I gently pressed the bottom section of carpet through the bottom slit in the panel until it couldn’t go any further. I repeated this for the sides and then did the top pocket as well. I had to make a few small adjustments to the slits along the way, but it was worth it to ensure that the pocket sat in place well.
Once both of the pockets were in, I adjusted them from the front to make sure they were both equal and then used contact adhesive to glue the flaps of carpet on the back to the panel.
Gluing the pockets in place
I was initially unsure of whether contact adhesive would hold the fabric to the panel well enough, but it has created an incredibly good bond so there’s no chance of the pocket sagging or come out of the slits.
Although the back looks messy after gluing, once it is reattached to the van it will never be seen.
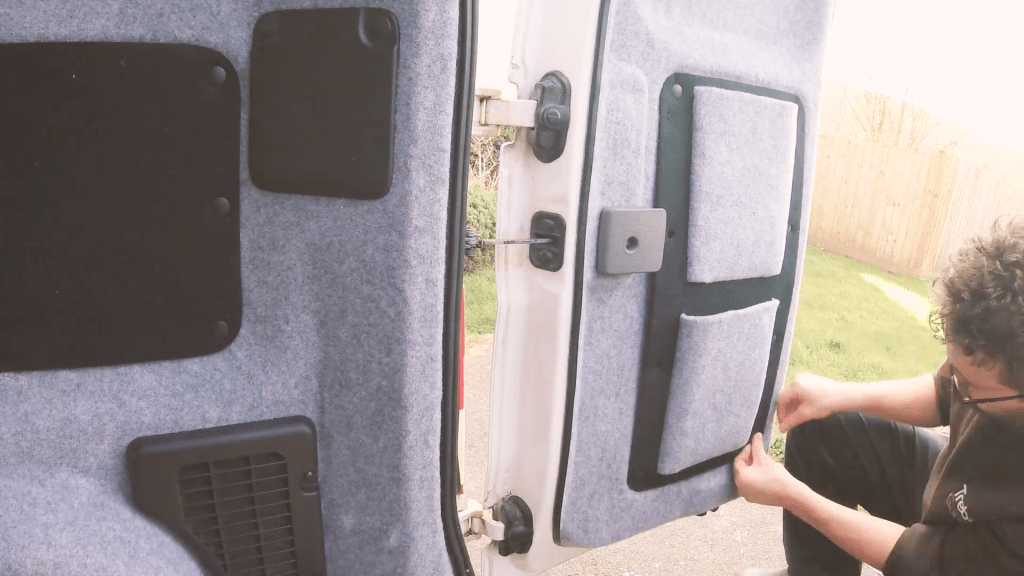
Side panels
I repeated this entire process for the two sliding side door card; these panels are nearly identical, so once I had cut the slits in one I used it as a template for the other which sped the process up. The size of these pockets was 30×20 cm, so a little wider than the back door pockets.
If you’re wondering why the pockets are so high up on these panels, it’s because I want to be able to access both of these pockets when the bed is pulled out. I measured for this off-camera before I started, and will be creating a post/video on the bed I’ve built for my van soon.
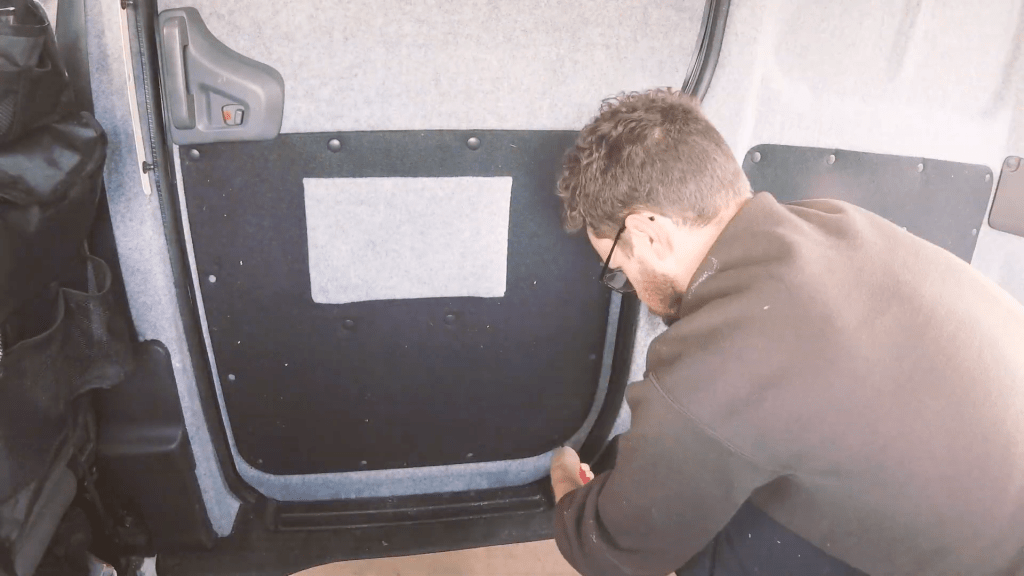
Returning them to the van
With these finished, I could get them re-installed in the van. It had been a long time since they were removed and to be putting them back in looking smart and with a useful purpose (other than protecting the panel cavities) is really satisfying and gives a nice ‘finished’ look to my insulated and carpeted van.
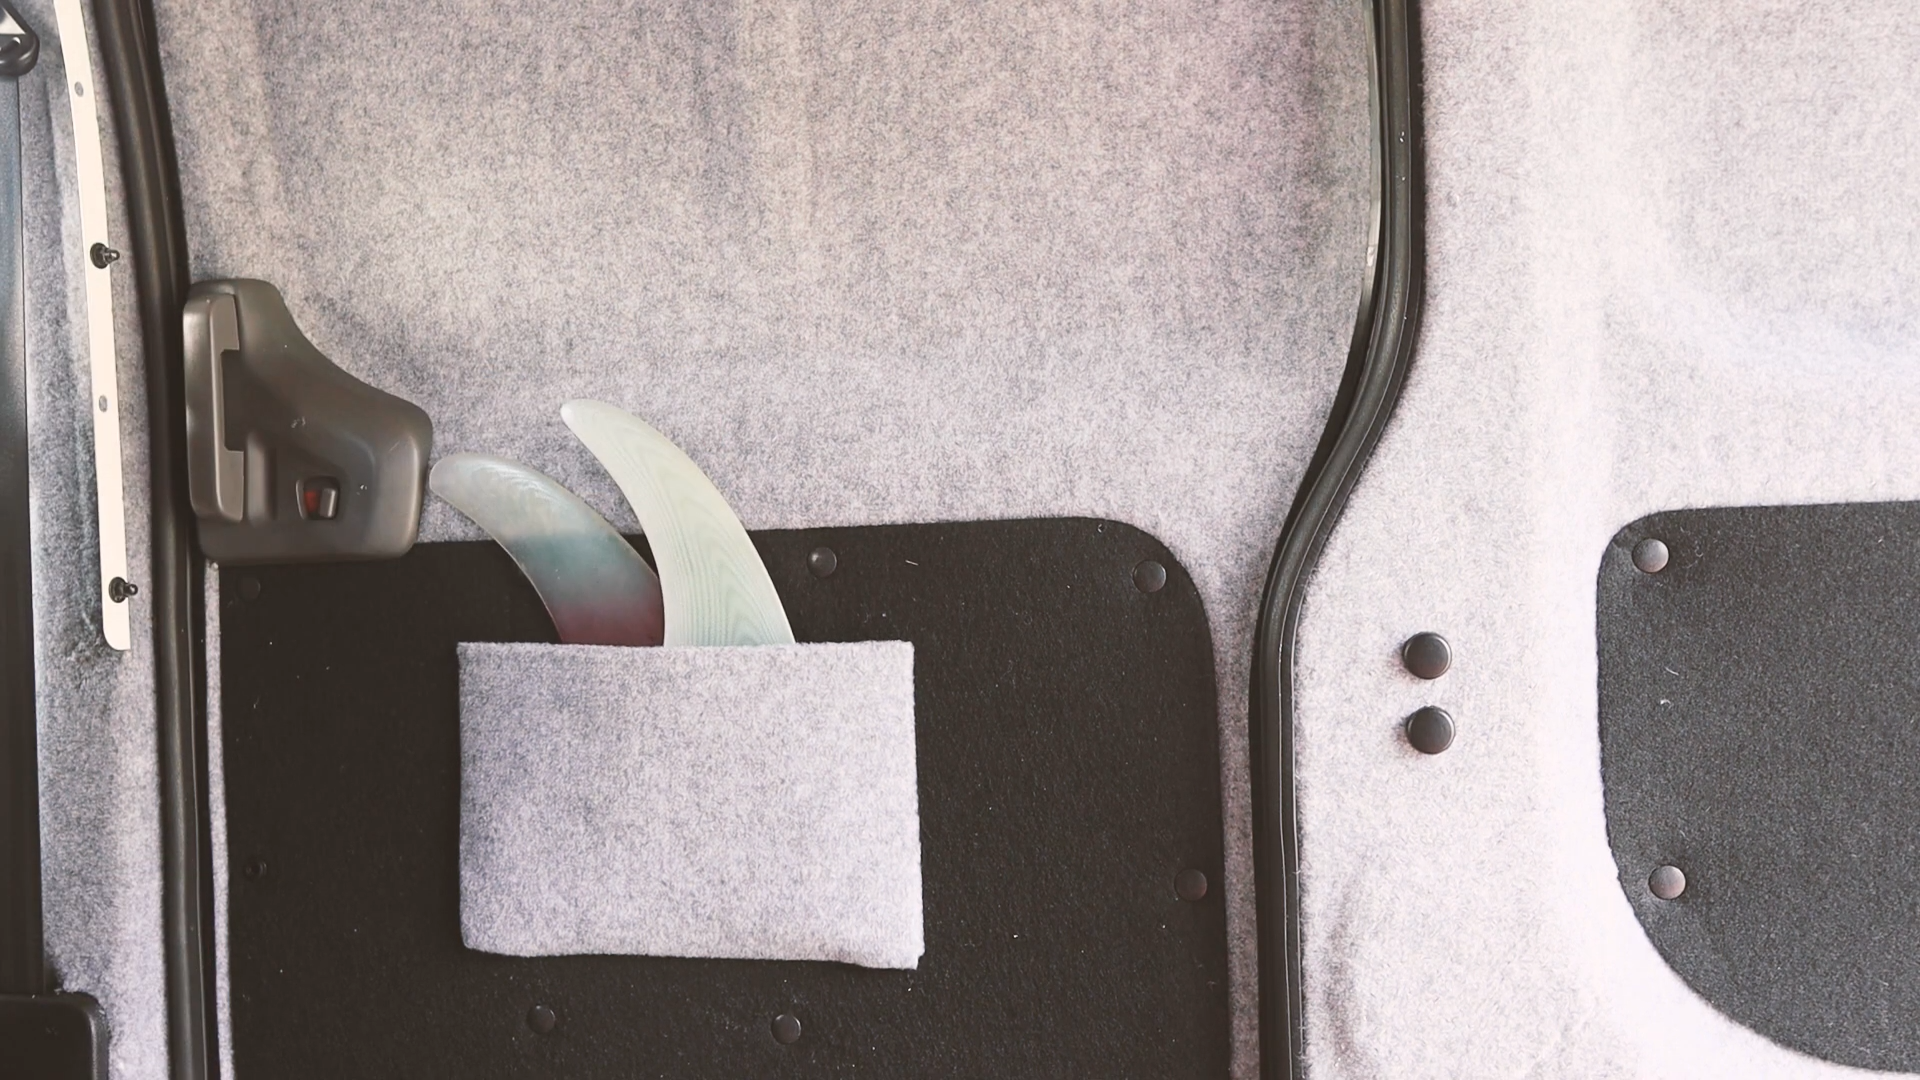
I’m so happy with how these pockets turned out. It’s really a very simple concept but will be incredibly effective in increasing the storage capacity of my van. The pockets are strong, low profile and match the van interior really nicely…and best of all, it barely cost me anything!
If you want to see more of my camper van build in action, please CLICK HERE.

(Affiliate links which help support this website)
