
This article is a written account of a video from the Lens Of James YouTube channel. Watch the video above and subscribe if you like what you see!
This article contains affiliate links to relevant products I have used in my videos. By buying through these links, I receive a small percentage of the sale at no cost to you which helps me support and grow my website and YouTube channel, so I can create more content like this in the future. Thank you for your support.
In this post, I’ll be showing how I carpeted my van doors and created a really neat edge using rubber u-channel; so that when you open the doors, there are no jagged, frayed or untidy carpet edges!
This can be seen as a kind-of part 2 to my previous post/video, which was all about carpeting the interior of my Nissan NV200 van.
Click to buy your own…

(Affiliate links which help support this website)
I wanted to separate carpeting the interior and the doors because I knew it would be quite a lot of work (and content for one post/video), but also because, whilst doing research on how best to finish the carpet edges on my van doors, I found very little information so thought I would share how I did it.
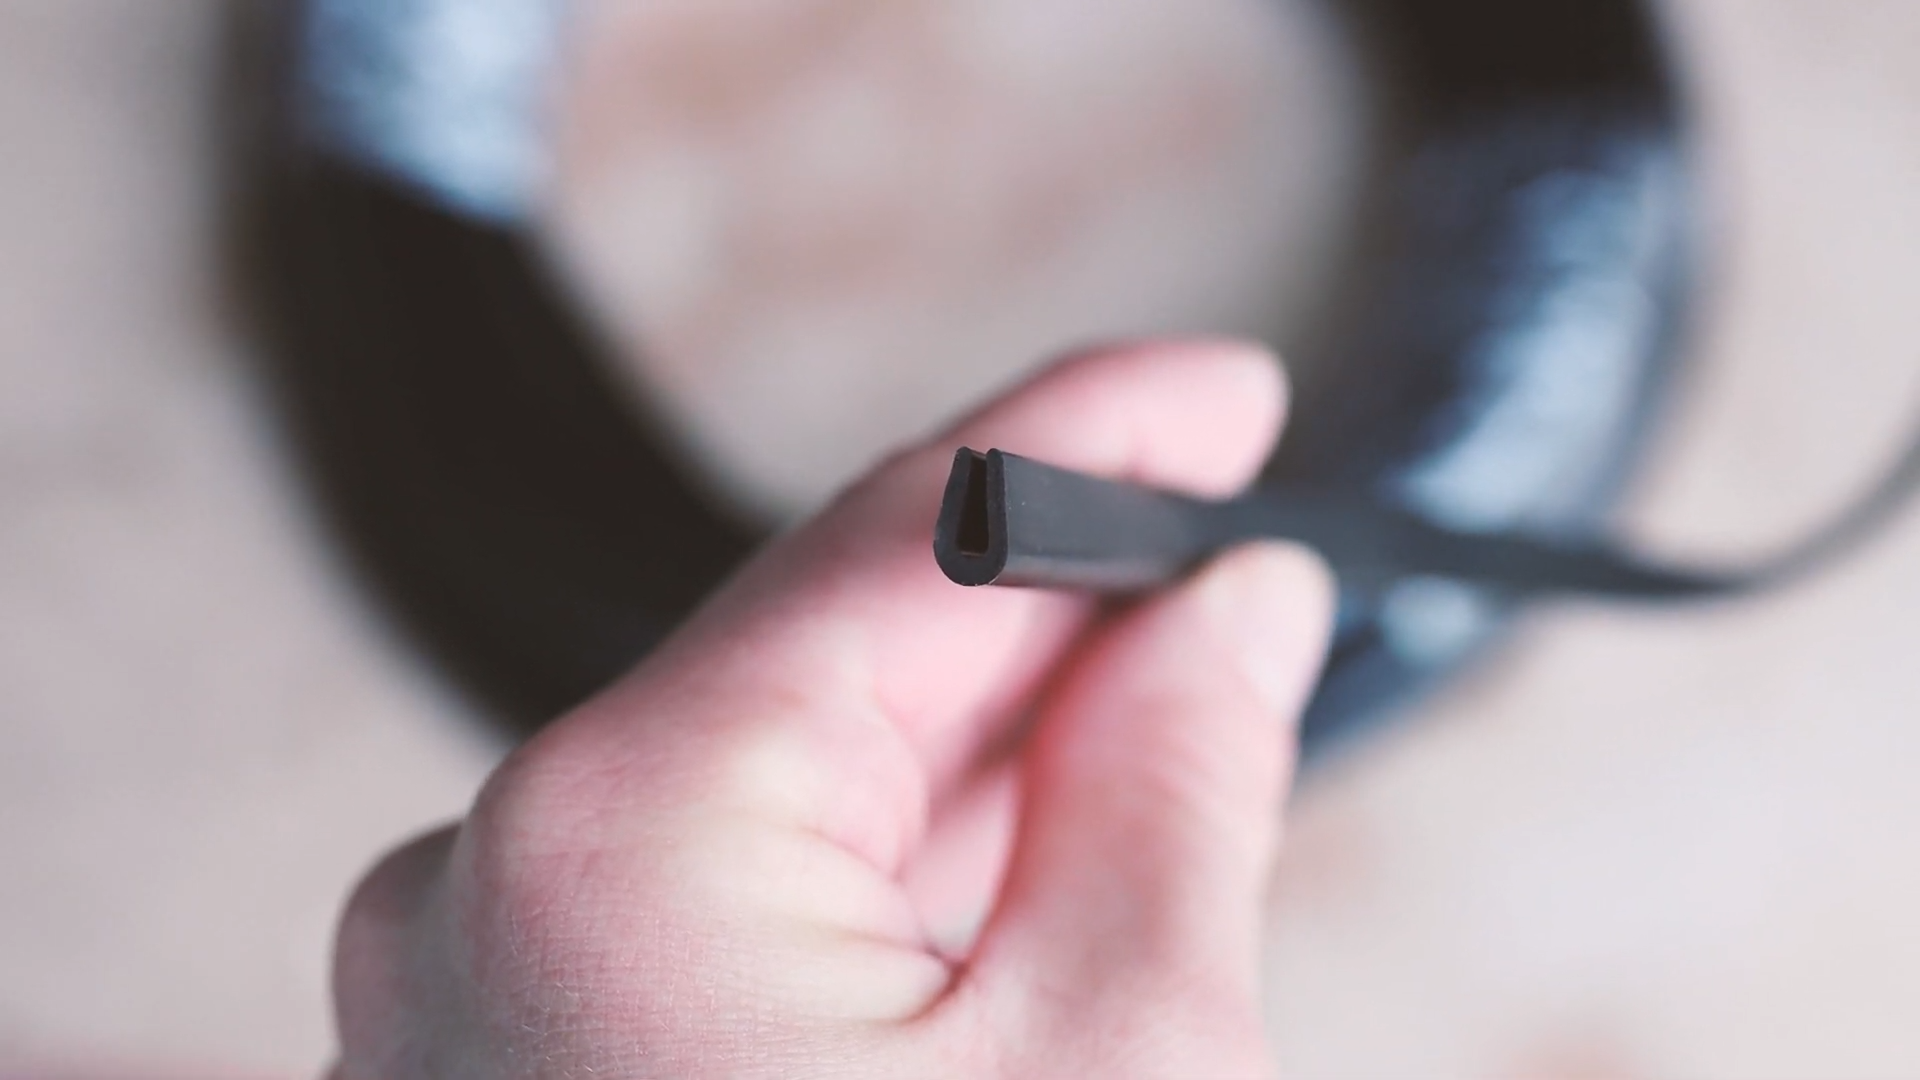
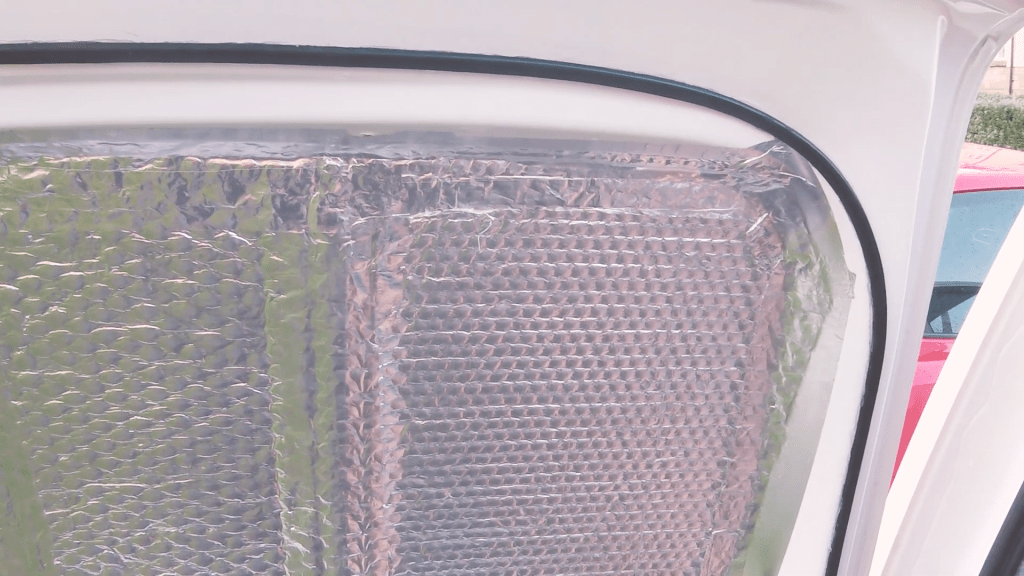
I have seen many videos and photos of converted, carpeted vans which have messy-looking doors. The doors look fine from the inside, when closed, but once opened, the door edges are jagged and messy, and I didn’t want this for my own van. Amongst other methods I saw online, I thought that using lengths of rubber u-channel glued around the edge of the doors looked very smart but was also practical for protecting the edges of the door carpet from knocks and bumps in everyday use, as well as stopping water from dripping down the door.
Essentially, once the rubber u-channel is glued around the van door, the edge of the carpet tucks into it, creating a very neat finish.
Getting started
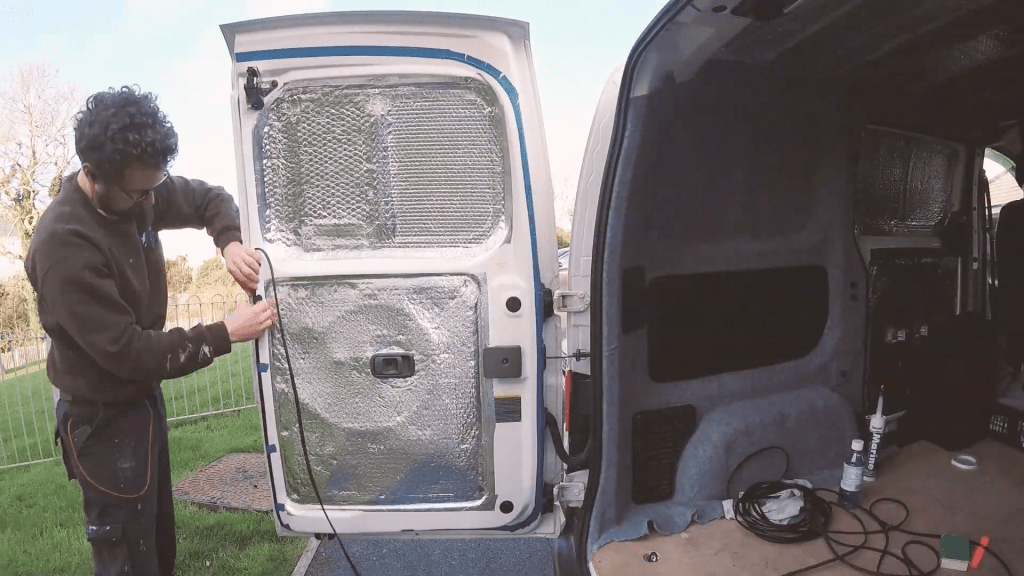
The first step was to measure how much rubber I would need. This was a fairly simple process of working my way around the 2 back doors and 2 side doors with a tape measure. When ordering the rubber I ordered a little extra to account for any mistakes.

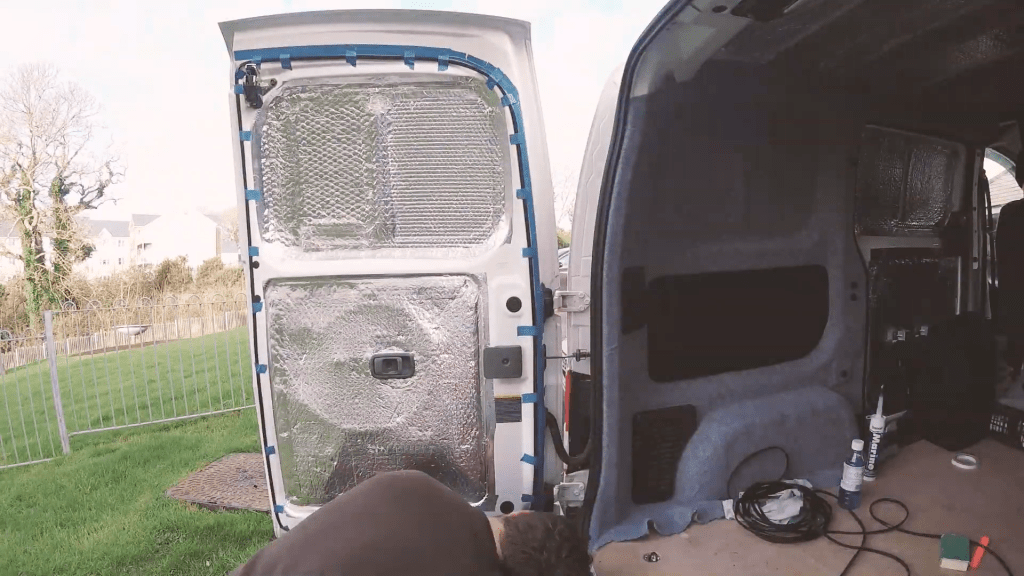
Off-camera, I closed the doors and drew a pencil line onto the metal of door where I wanted the rubber to eventually sit and then taped next to this line with masking tape, so I had a permanent and very visible reference when gluing the rubber down.
After this was done, I cleaned areas I would be gluing over with methylated spirits, as per the rubber manufacturer’s instructions.
Rubber U-channel
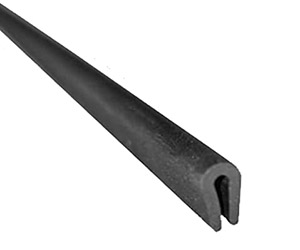
The rubber trim is an EPDM rubber, which I found is standard for this type of automotive trim, however it has a very limited number of adhesives which can be used with it, but I’ll cover this in more detail later.
I opted for a very small rubber trim and needed 14 metres to cover all 4 doors. It is 10mm in height, 4.7mm in width and the channel in the rubber fits items with a thickness of 1-2mm.
The advice from the manufacturer for good adhesion is to abrade the side of the rubber to be glued – which I did with 40 grit sandpaper – and then wipe it all down with methylated spirits.

Once done, I taped the rubber around the edge of the door, following the inside line of my masking tape and then cut the length from the roll once I knew I had the right quantity.
Adhesive for the rubber
I mentioned previously that adhesives were hard to find and that’s because EPDM is a synthetic rubber. The information on adhesives available was pretty scarce, and often contradictory. Some said that cyanoacrylate superglue was the only way to stick it, while others said it wasn’t suitable. There were a couple of adhesives suggested, including araldite, neoprene adhesive and silicone sealant.
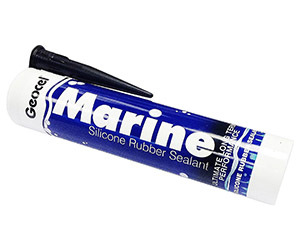
In the end, I went for silicone sealant which, so far, holds really well.
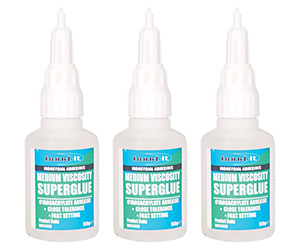
(UPDATE 22/04/20: The silicone sealant did a great job, but the downside is that it was very messy. I later tested cyanoacrylate superglue and it worked incredibly well. It is more expensive, though you only need a little bit to get really good adhesion. If I wasn’t doing this van build on a budget, then I would most probably do it with superglue as it gives a much cleaner finish and you wouldn’t need to clamp the rubber to the door as it sticks instantly.

I used Geocel Silicone Rubber Sealant to stick the rubber u-channel to the metal. As the rubber is only thin, I chose to squeeze some out and carefully apply it to the rubber with a flat plastic trim removal tool. It was a little messy but worked very well and I was able to get a consistent layer of silicone.
We’re also on Instagram!
Check out yogi.the.van to keep up-to-date with all our adventures in the van!


Sticking the rubber down
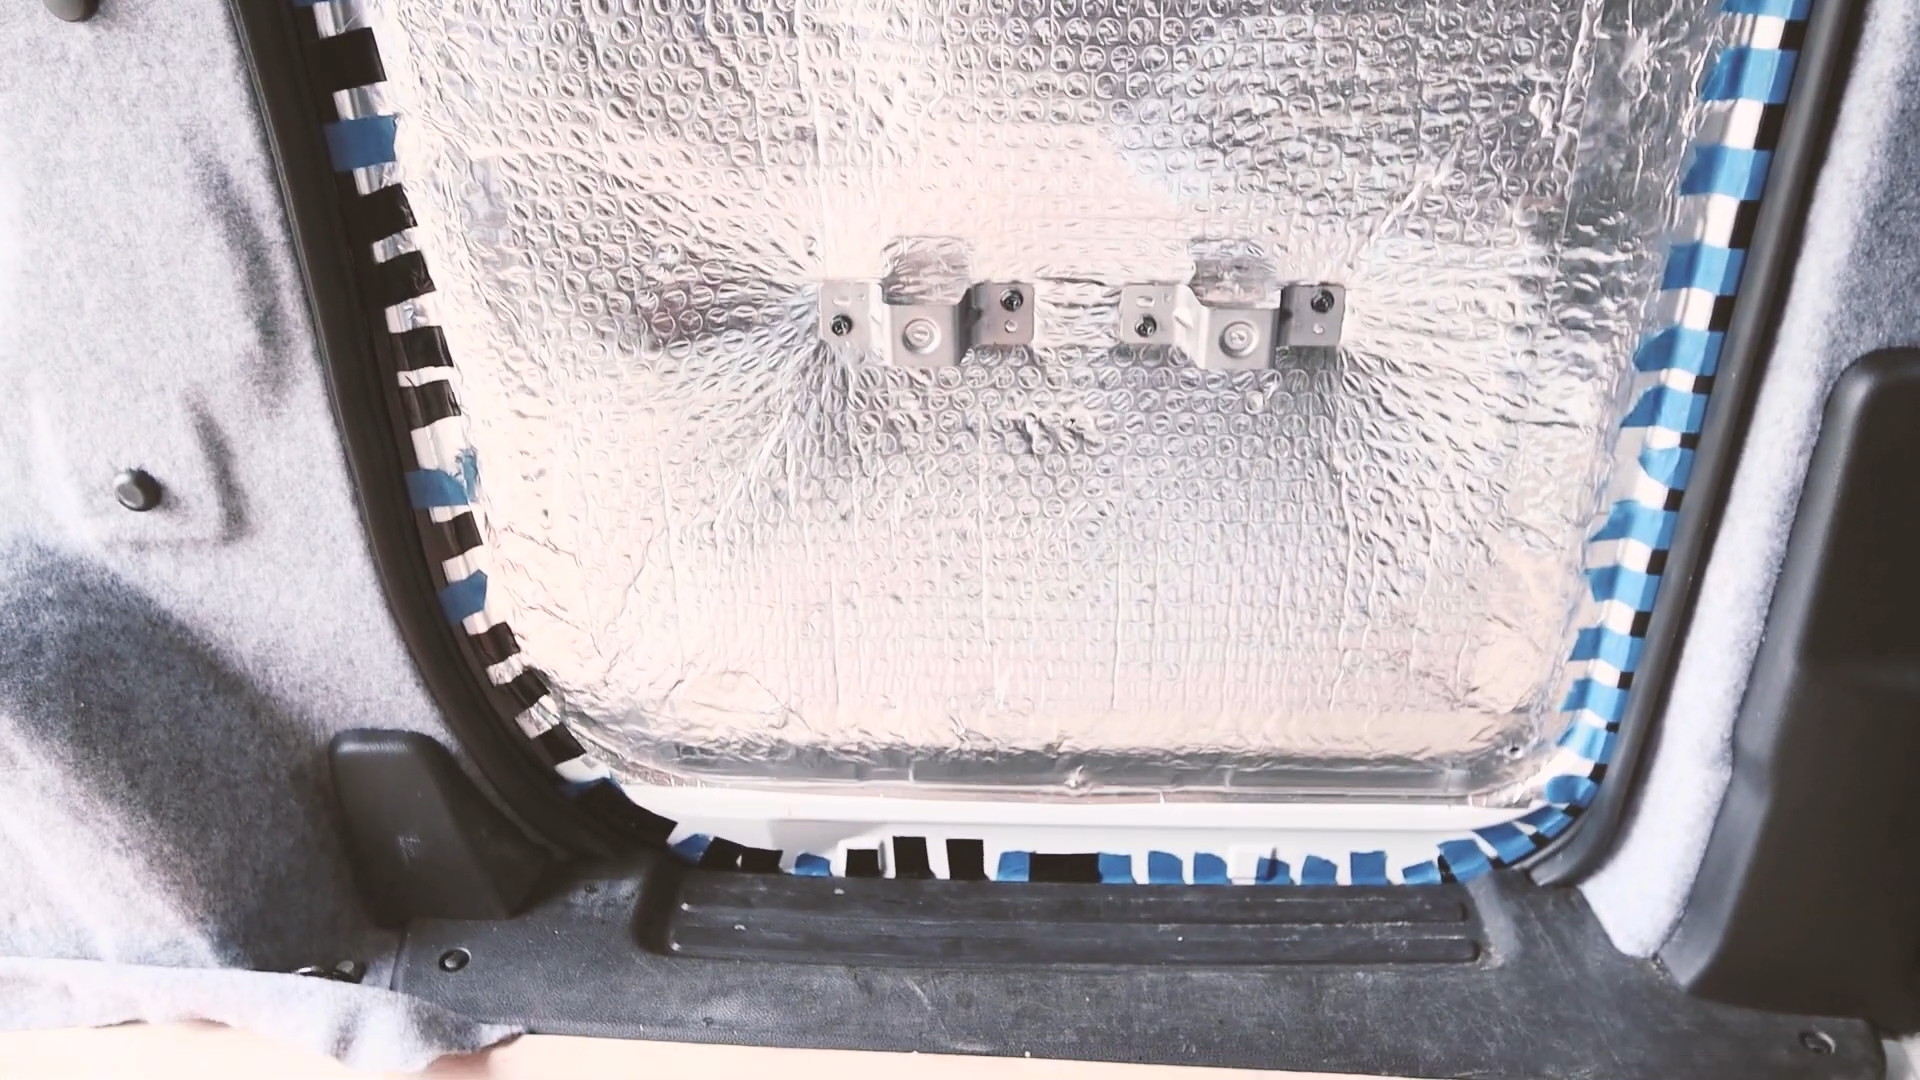
I worked my way around the van door, doing a section at a time and then, once each section was completed, added strips of masking tape to tension the rubber to the metal for a good bond.
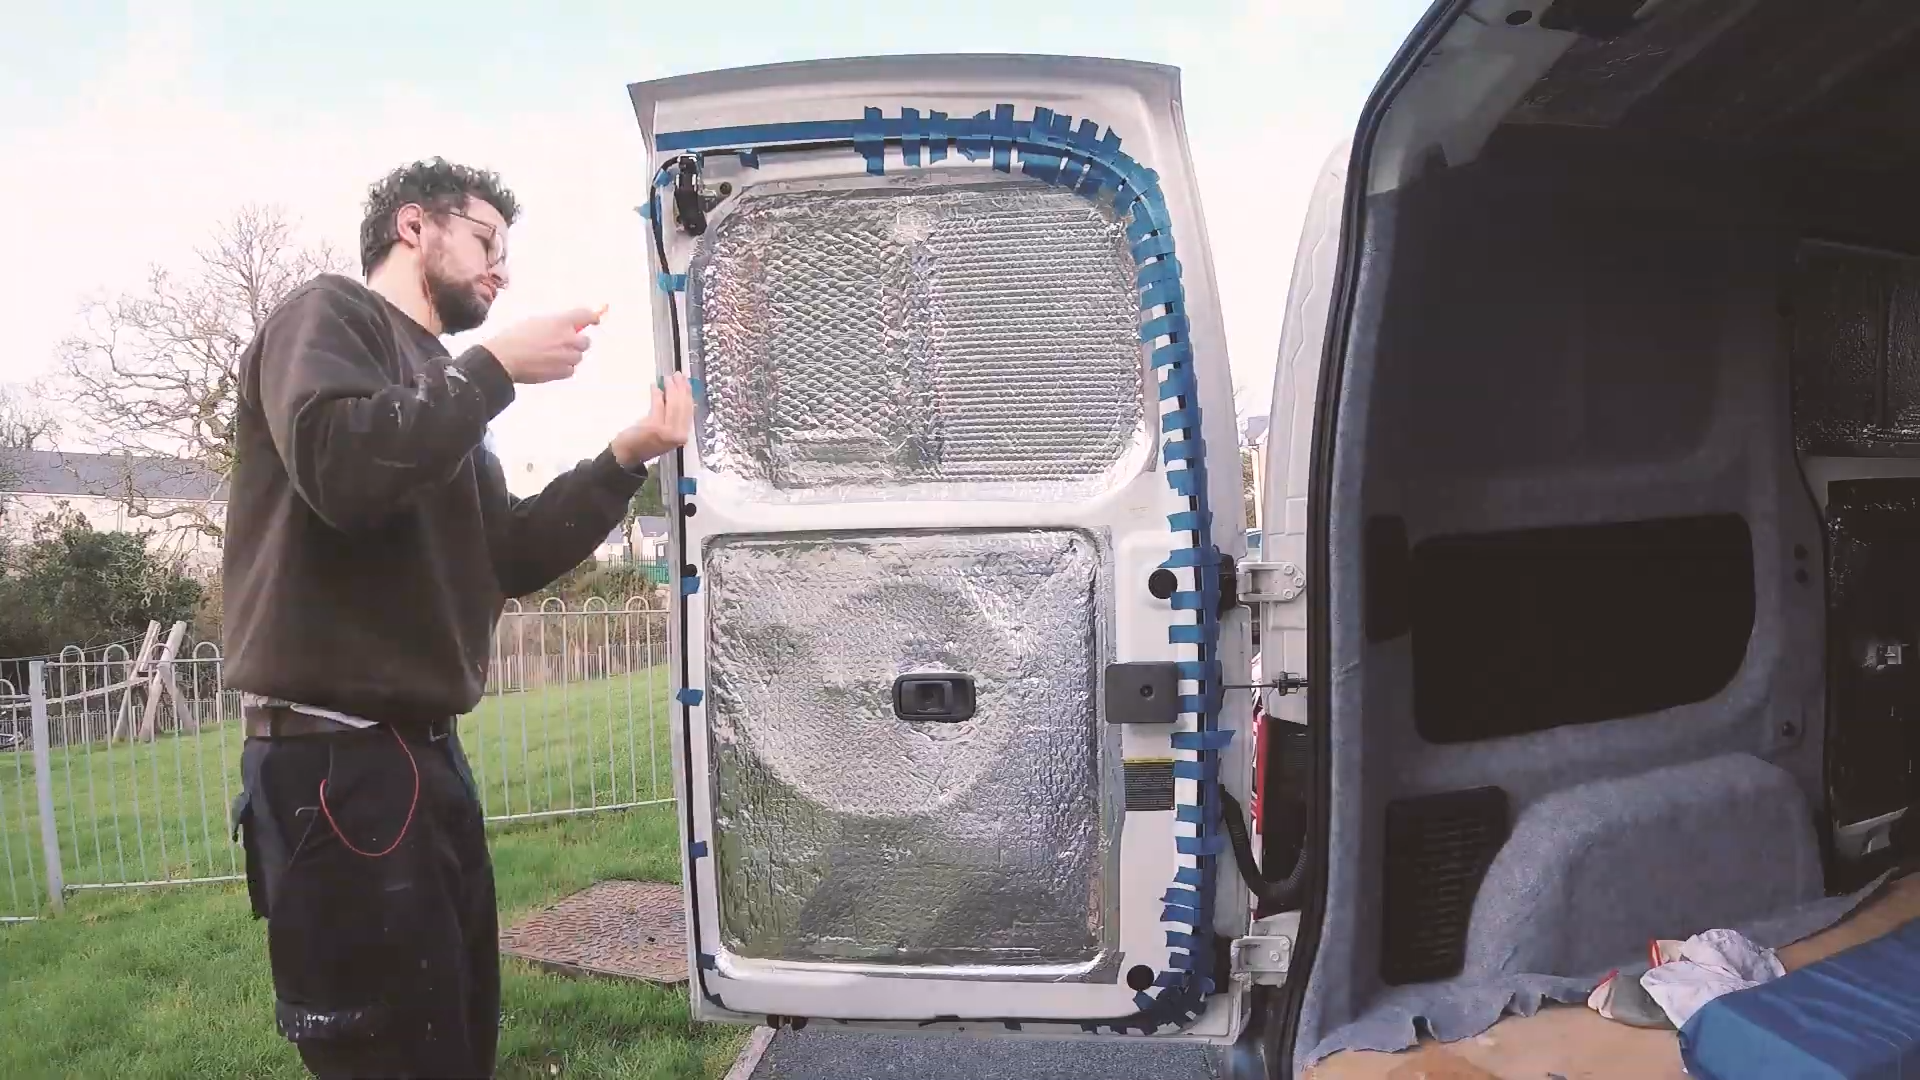
After this was done, I carefully closed the door to make sure that the new rubber didn’t hit or get squashed by the existing rubber trim around the back of the van. I could then nudge it until I was happy with the position of the rubber.
I then repeated the process for the small back door, doing exactly the thing again.
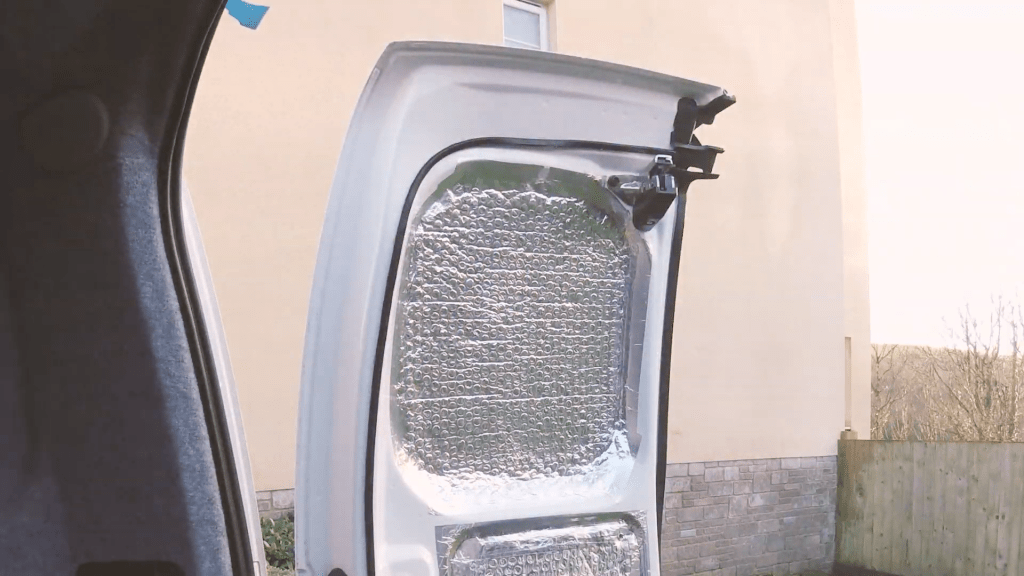
The drying time for the silicone adhesive was 12 hours, but I came back to it a few days later to remove the masking tape and see how it had bonded.
Despite earlier worries, I was very happy with the bond between the rubber and the metal. For its purpose, which is covering a small edge of carpet, I think it is more than strong enough.
Click to buy your own…
(Affiliate links which help support this website)
Doing the side doors
With the rubber successfully stuck on these two doors, I moved onto the two sliding side doors. I used the same process of preparation as last time – cleaning the door with methylated spirit, abrading one side of the rubber with sandpaper and then cleaning the rubber with methylated spirit.
I taped off the edge of the door, which I realised wasn’t strictly necessary for the side doors, and then taped the rubber to the edge to get an idea of the shape.

As can probably be seen from the video, the side doors were much trickier to access, as when the doors open they move away from you and the gap between the door and the side of the van is narrow.
To apply the adhesive, I decided to use a different method to the back doors. I had an unused needle-less syringe left over from applying epoxy earlier in the van conversion and this turned out to be a really handy method. I was able to work with small quantities of silicone and make my way around the perimeter of the side doors in stages.

I was a little worried originally that opening the side doors might eventually knock the rubber off as it hits the existing rubber door seal, but fortunately this U-channel trim is quite low profile and it shouldn’t be a problem.
The best method I found for lining up the U-channel with the edge of the van was to keep closing the door after completing a section to make sure that the new rubber edge met but didn’t obstruct the existing rubber seal on the van. If this was the case then could then nudge it into position before taping it down permanently.
I ran out of masking tape towards the end of the final side door, however I had some duct tape to hand and this worked really well in areas such as the corners, where the rubber was twisting and didn’t want to sit naturally in the position it was taped in. If anything, I’d recommend using duct tape over masking tape for this very reason.
Carpeting the doors
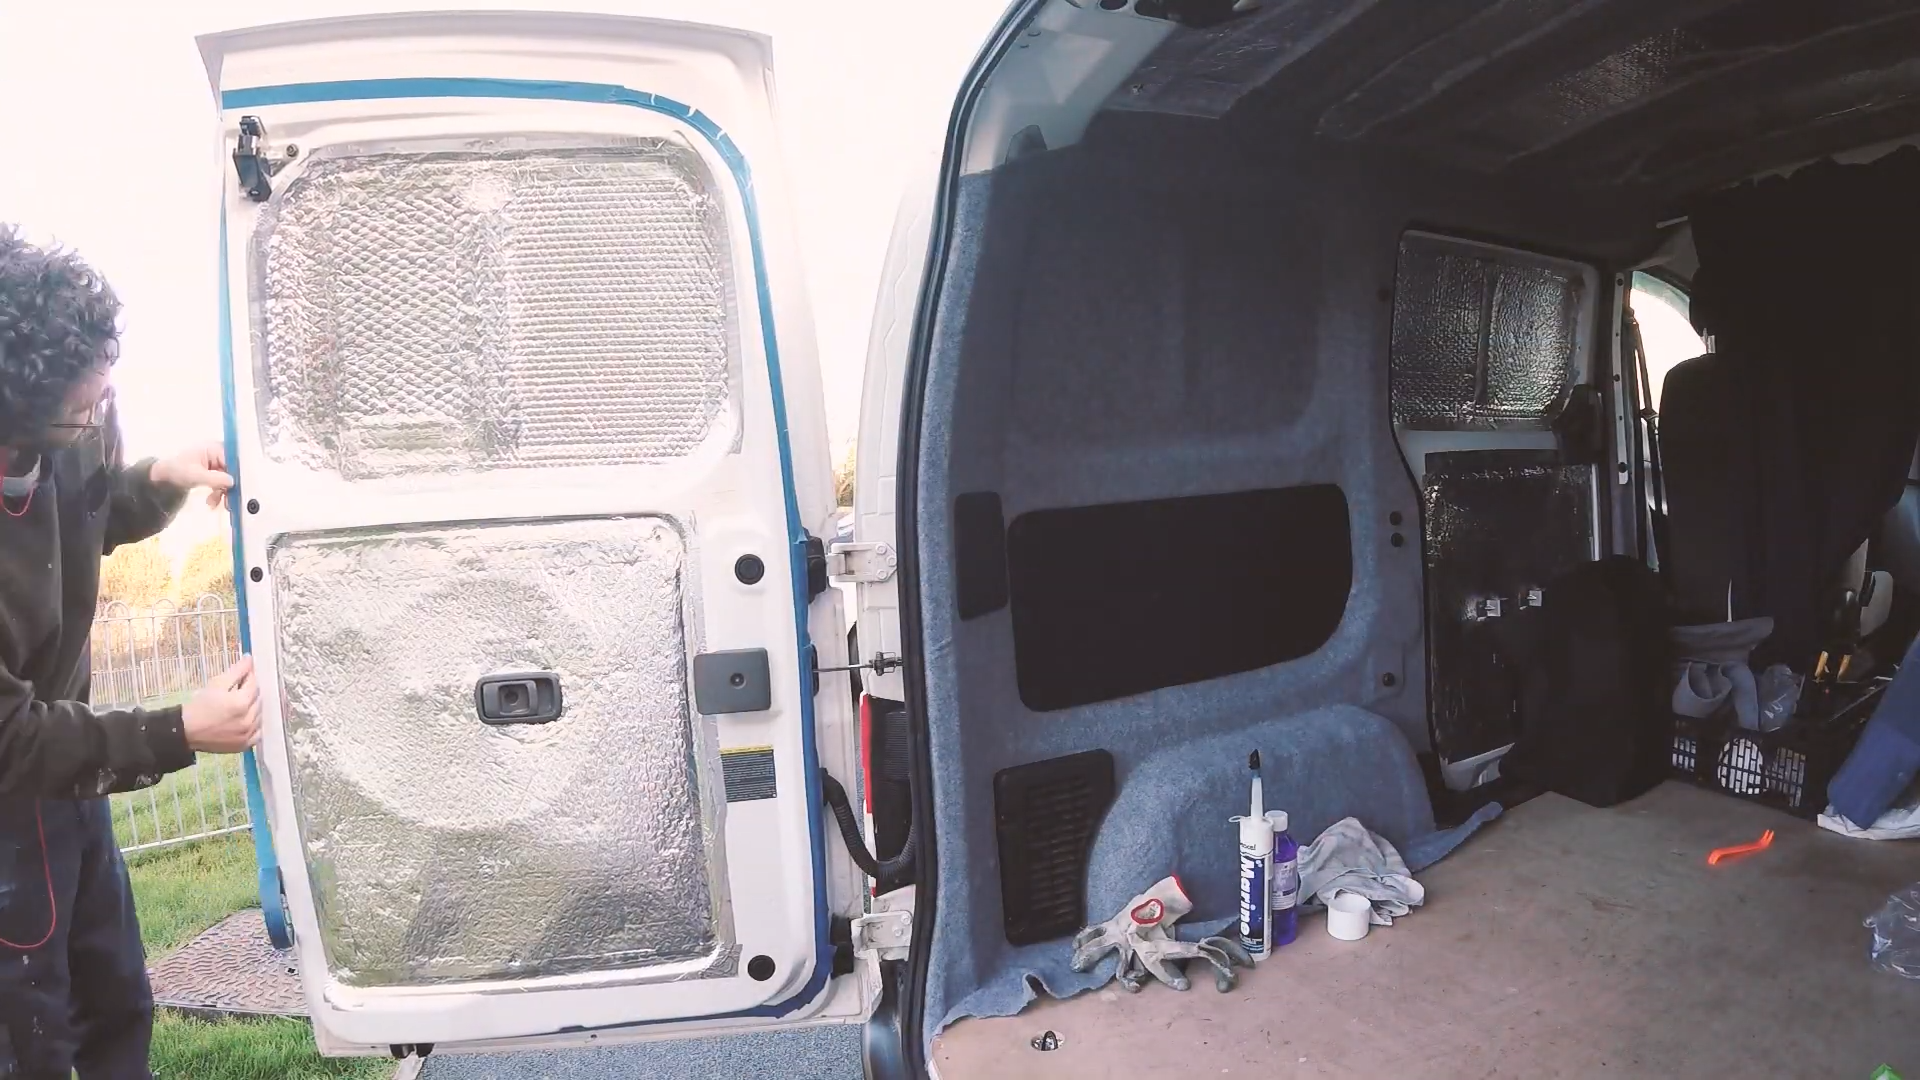
With all the rubber siliconed on, and when it had dried, I could turn my hand to carpeting the doors. I started by removing all the fixings, which were the 2 levers and the door latch, so I could easily carpet under or around then.
I was really looking forward to this part of the doors, because it was the point at which I could see whether this method of creating a van edge would work and look good or not.

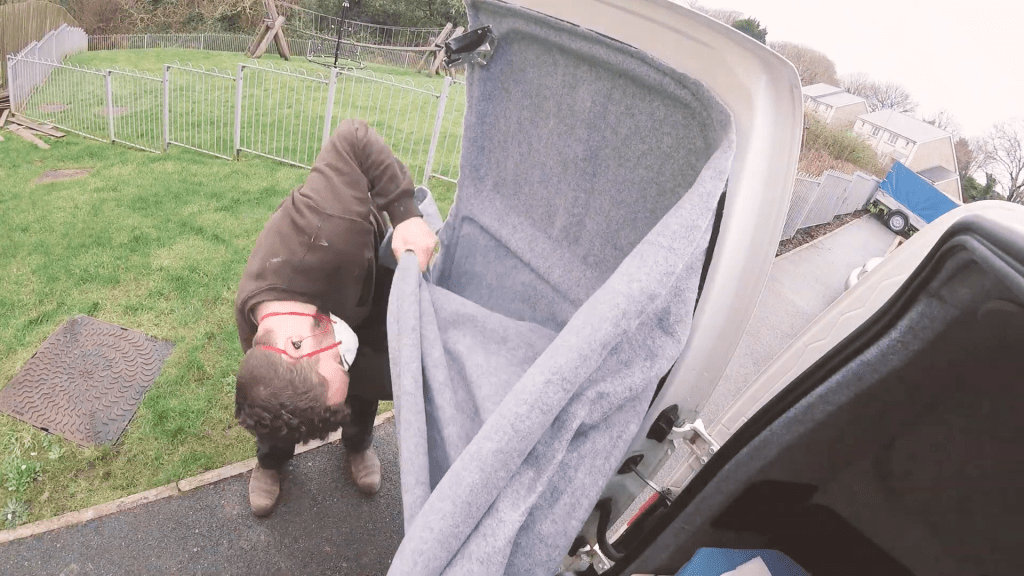


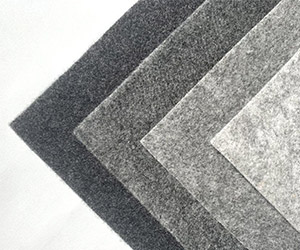
I go into the carpeting process in much more detail in my previous blog posts, but I used the same methods here. The carpet is smoke-coloured 1.4m long 4-way-stretch automotive carpet, stuck in place with Trim fix high temperature contact adhesive. I calculated that I needed a 4m length of carpet to cover all 4 doors, although I probably could have got away with 3m.
Click to buy your own…

(Affiliate links which help support this website)
Trimming and tucking the carpet
Once the doors were carpeted, I used scissors to cut the edges off, being very carefully to leave an adequate overlap to sit in the rubber channel, which worked out at about 10mm, and then used a plastic trim removal tool (eBay affiliate link) to gently tuck the edge of the carpet in.


And with that, the carpeting of the entire van is now completely finished!

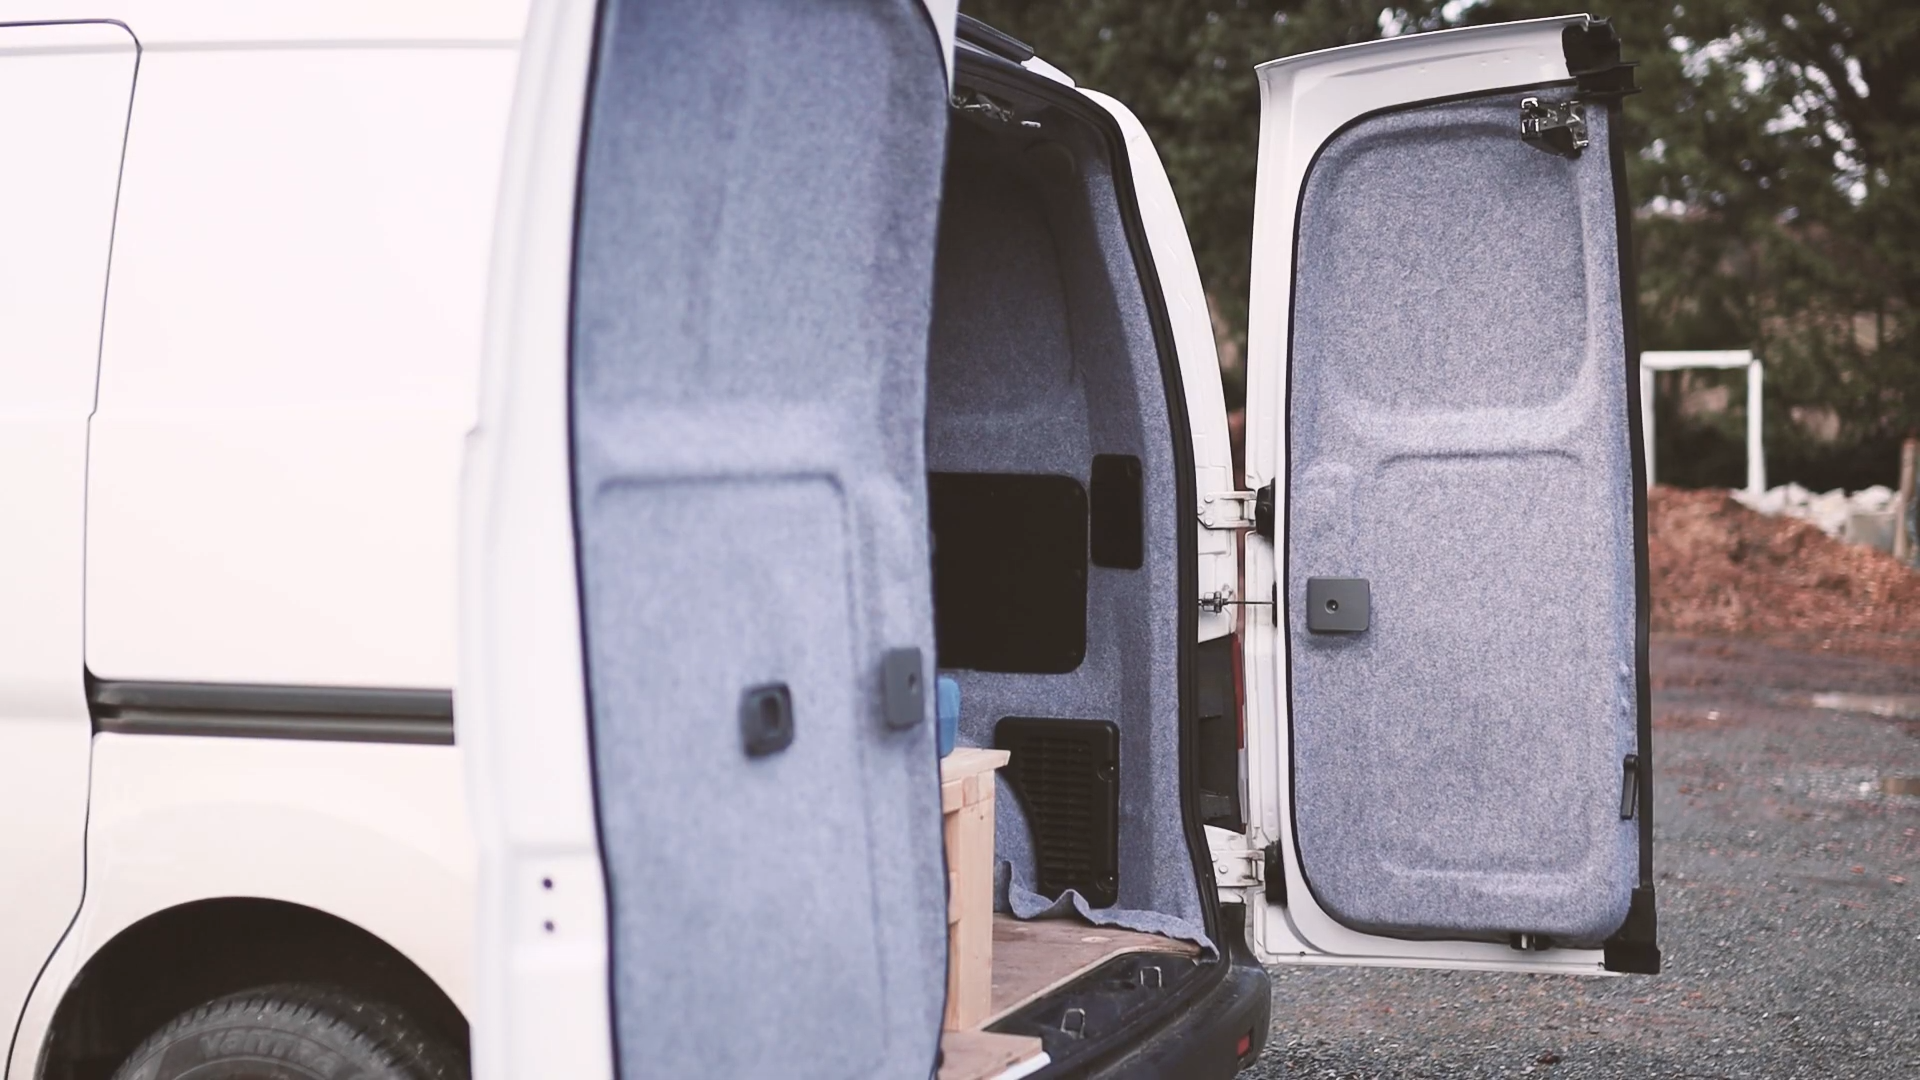

I’m thrilled with the results of this method of carpeting van doors with a neat rubber edge. It took a good deal of planning and was a lot of hard work, but it was so worth getting the tidy finish to the edge of the van door carpet.
If you’re wondering why I haven’t replaced the black door cards yet, it’s because I’ve got a really interesting post and video lined up on how I used these panels and some carpet leftovers to make door pockets, so be sure to check that out in the not-too-distant future!
If you want to see more of my camper van build in action, please CLICK HERE.

(Affiliate links which help support this website)

One response to “Carpeting The Van Doors & Creating A Neat Edge”
[…] you’re wondering why I haven’t carpeted the doors yet, I’ll be covering this in my next blog/video, where I’ll take a more in-depth look at creating neatly edged doors with rubber […]
LikeLike