
This article is a written account of a video from the Lens Of James YouTube channel. Watch the video above and subscribe if you like what you see!
This article contains affiliate links to relevant products I have used in my videos. By buying through these links, I receive a small percentage of the sale at no cost to you which helps me support and grow my website and YouTube channel, so I can create more content like this in the future. Thank you for your support.
In this article…
In this, the first part in my van build, I want to share the steps, processes and considerations I went through to properly insulate the doors of my Nissan NV200 panel van.
Why just the doors? Well there’s actually quite a lot that goes into them to properly insulate them, and I thought it might be useful to other with NV200s or other vans, small or large, to see my method.
Insulation is a very important first step for any van conversion. There are countless articles and videos showing and explaining what the correct way to do it is, and many of them end up contradicting each other. So this leads me to one conclusion – the are many ways to insulate a van properly!
I was fortunate that I had time on my side. This van conversion was never going to be a 1 week or 1 month project. I would be using the occasional days off work to make some progress here and there. Although progress was slow, this had one excellent advantage; I was able to see how the changes I was making to the van worked before I covered them up permanently. As a result, I could be certain I was doing the right thing!
Removing the panels
There are six black panels around the sides of the Nissan NV200, held in places with about 70 panel trim clips. These panels needed to be removed to access and insulate the cavities in the doors and walls behind them.
The first step was to get the right tools (eBay affiliate link). I found a set of panel and trim removal tools pretty cheaply on eBay and along with a pair of long-nose pliers, I gently tried to ease the panel clips off, however they wouldn’t come out very easily.
With a lot of effort I eventually managed to remove one clip, but there are over 70 of these in the van so it was quite a lot of effort!


Click to buy your own…

(eBay affiliate links which help support this website)
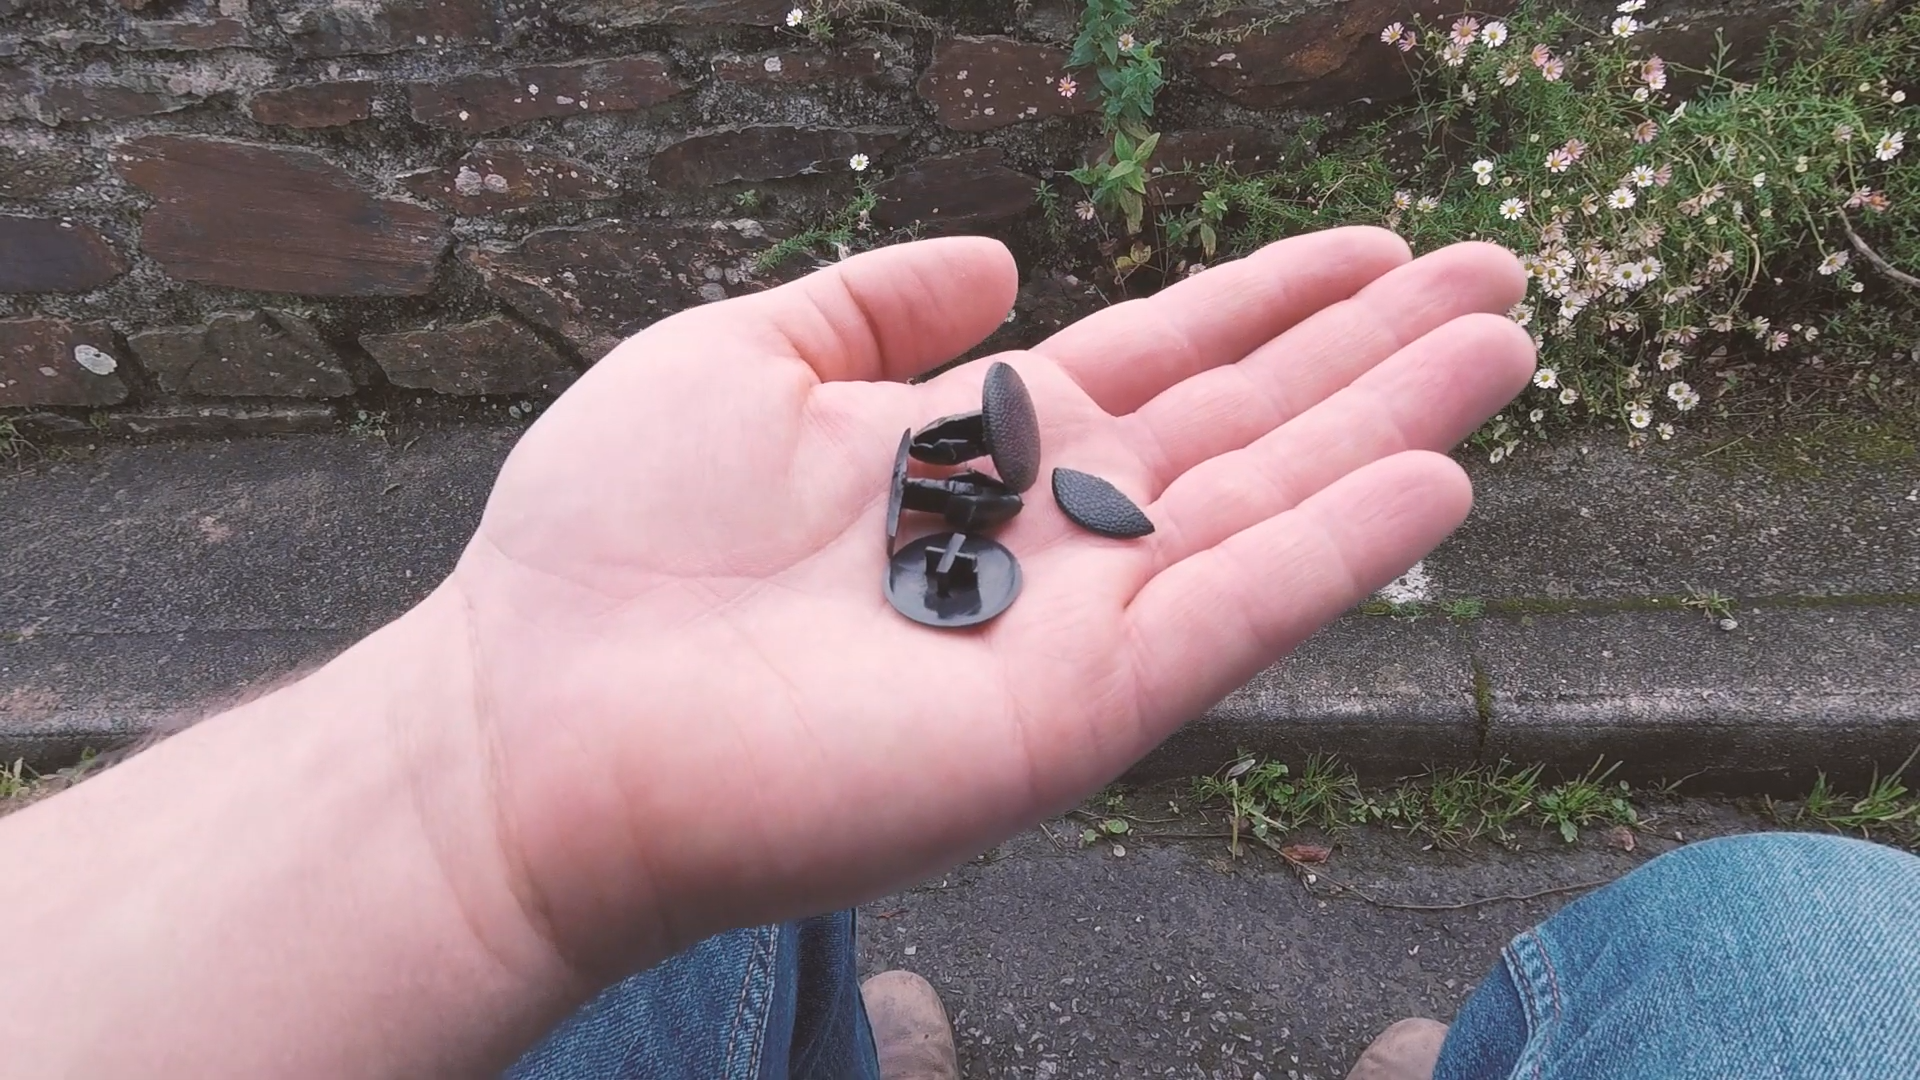
The clips I pulled out are the ones that came with the van…and below is how they looked after a few attempts at removing some. Quite a few of them broke when removed, so I ordered a few other varieties to try and find a better solution.
Panel clips for the Nissan NV200 fit an 8mm diameter hole and need to be about 20mm long in order to hold securely.

The head of this first one pushes in to fit and unscrews to release. The problem I found is they don’t unscrew very well and just end up turning in place without catching the thread.
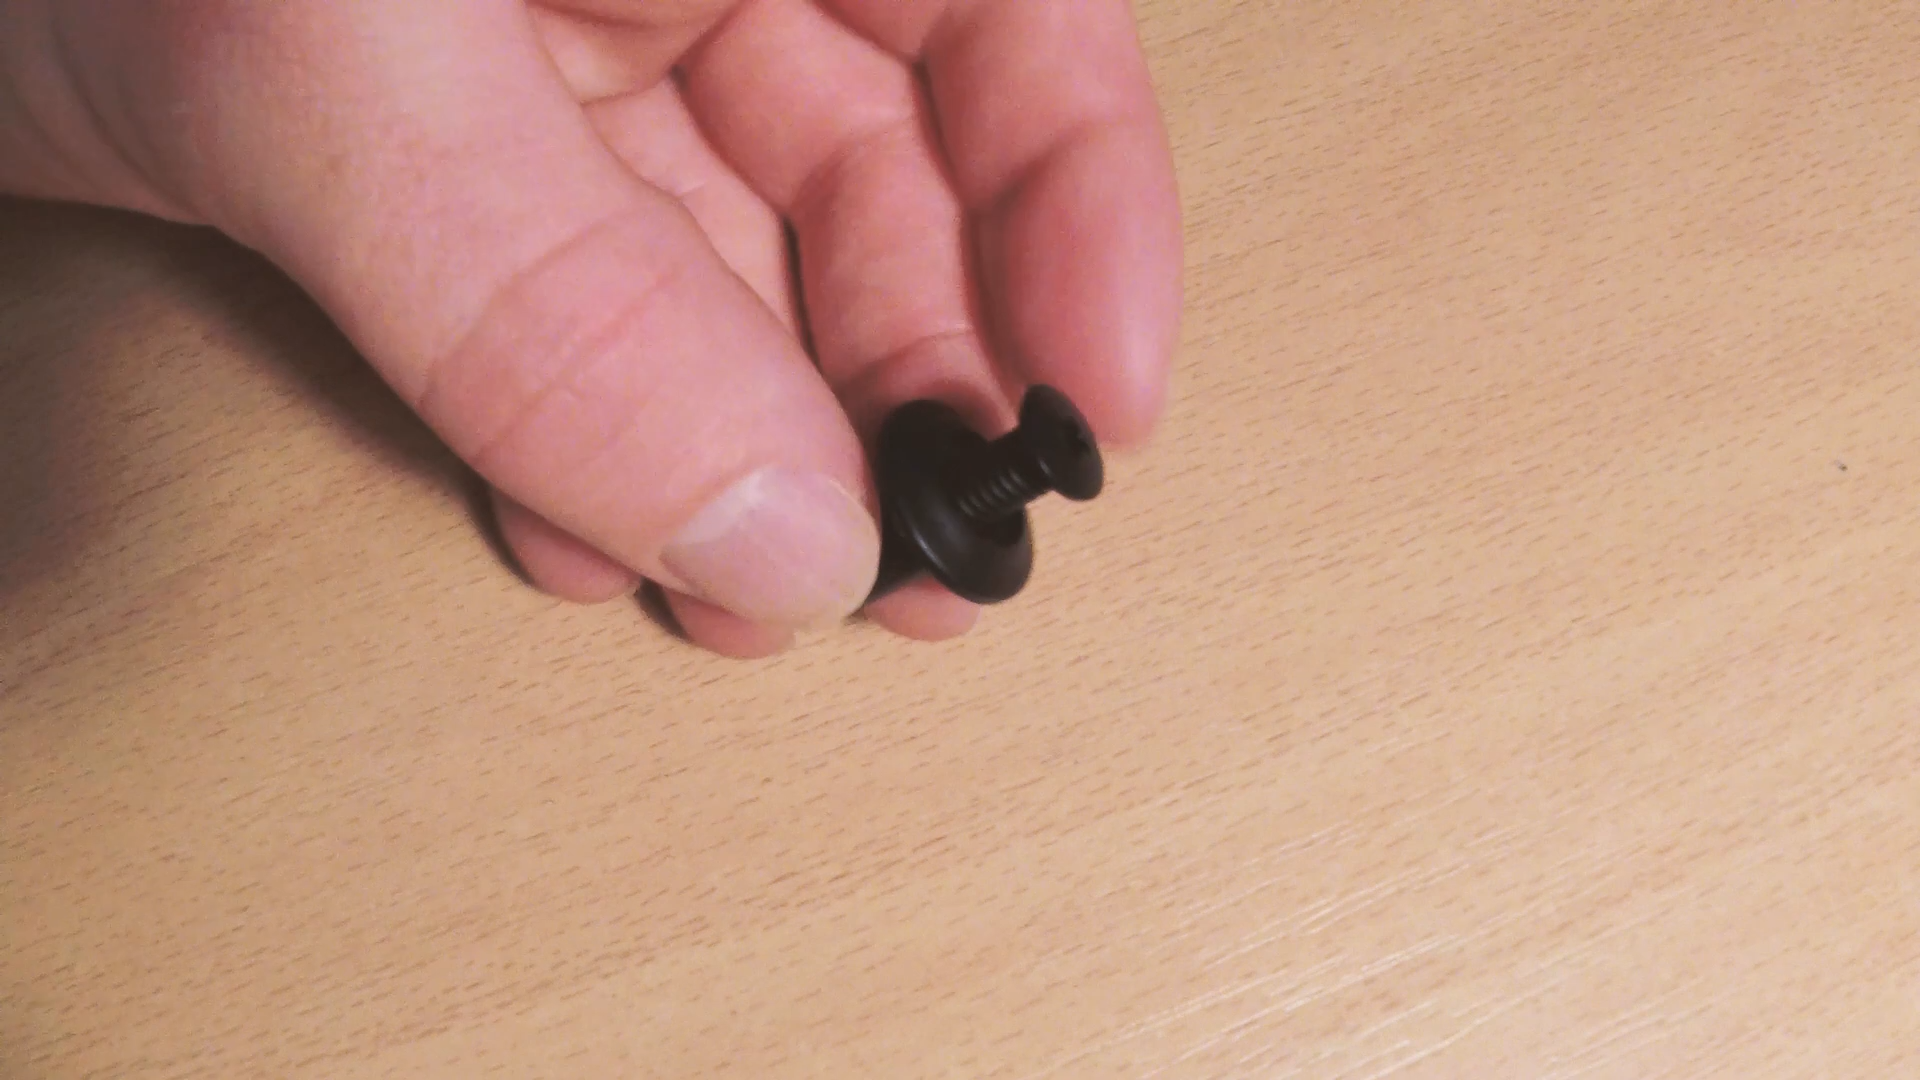
Next was the screw in and screw out variety. These were a bit better although as before the screw didn’t always catch the thread when unscrewing it and the plastic head got damaged easily.

Finally I tried some ‘fir tree’ clips. These were easy to install, but I really struggled getting them out, and when they did finally come out, they were mangled and unusable.
By this point, I had realised that brute force was the only way to remove the panel clips, so I set about finishing this panel and then removing the 5 other panels in the van.

Behind the black panels on the two side doors there was a plastic film, which I cut off as I would be sealing this up again at a later stage with foil insulation. I also removed the two metal U-shape brackets as I’d need access under them, though they would be kept and added back later as they helped support the black door panels.
We’re also on Instagram!
Check out yogi.the.van to keep up-to-date with all our adventures in the van!


Sealing the door
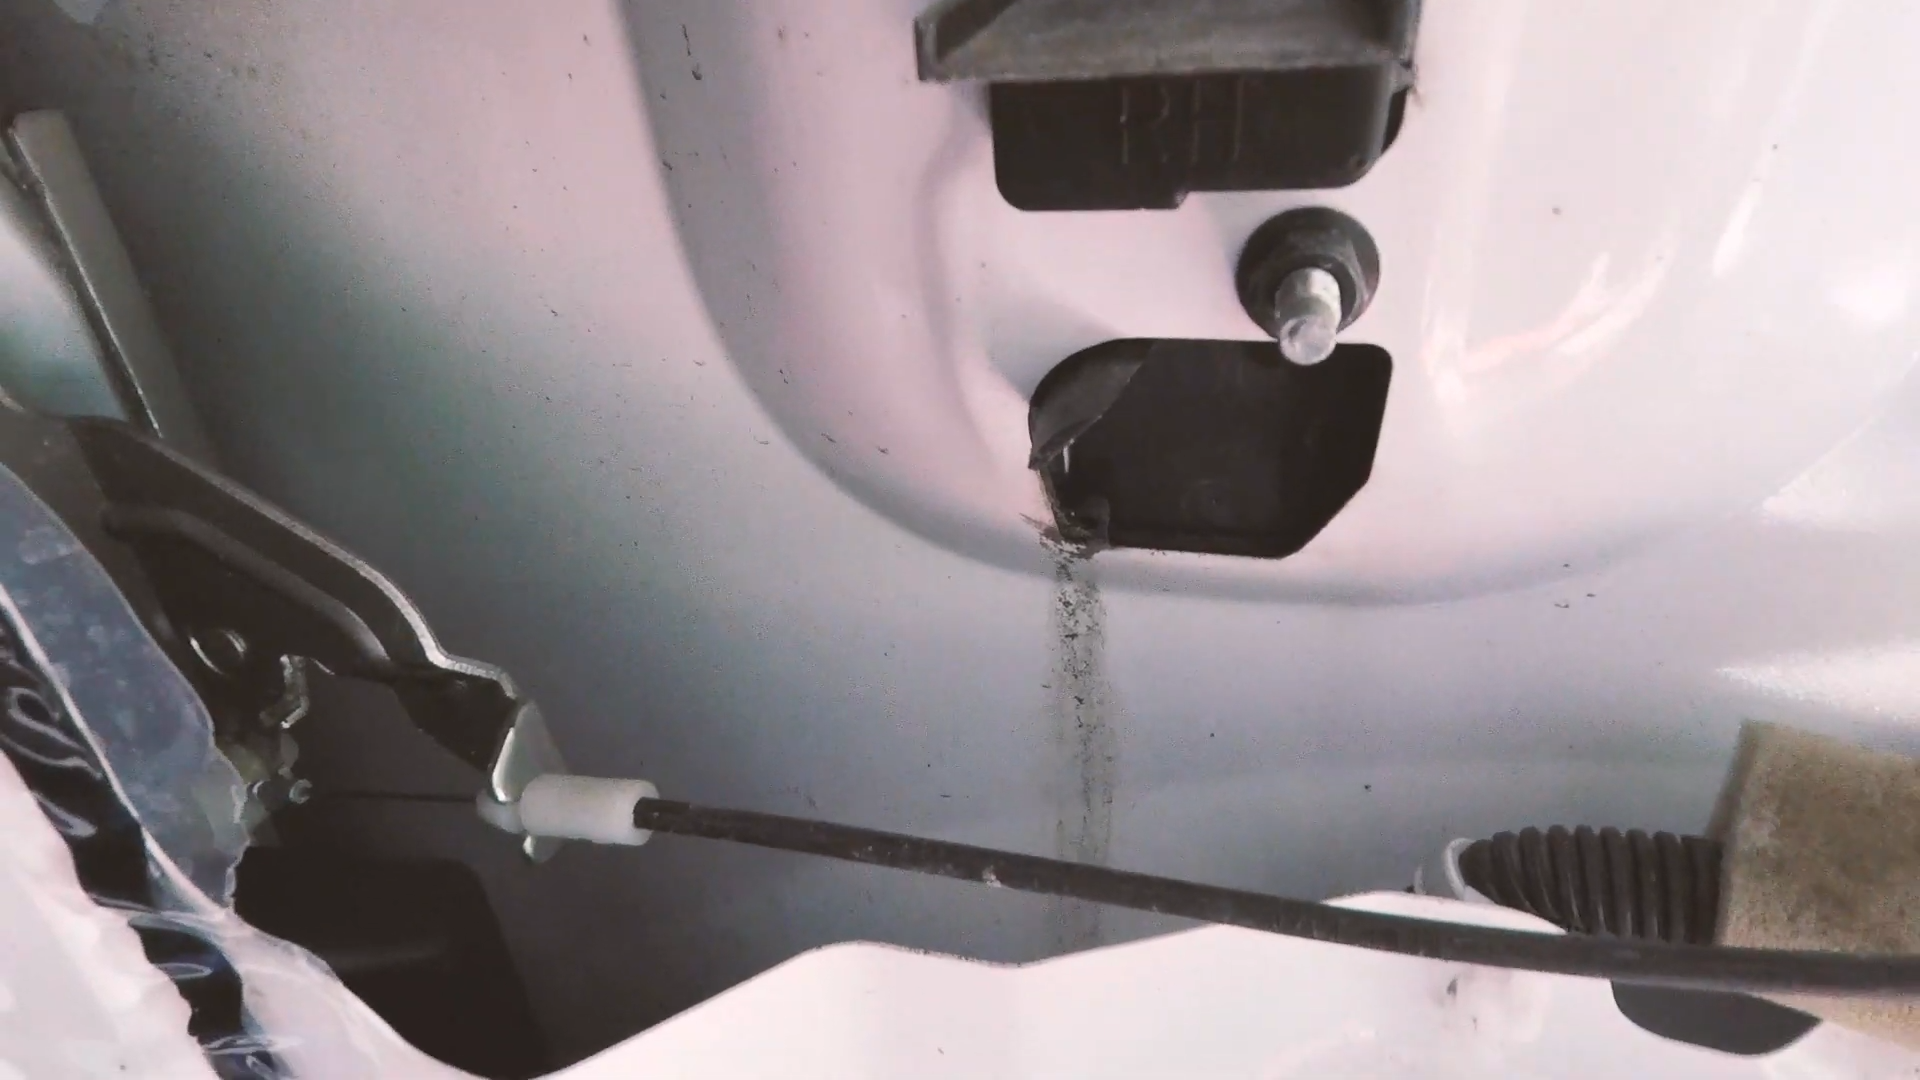
Once everything was fully removed, I noticed that water and dirt had been getting in through the bottom of the door handle. It looks like an intentional thing that Nissan had planned for, as there were small drainage holes in the bottom of the door, but I need to sort this out as I didn’t want my insulation getting wet every time it rained.
(I should stress that this is not a fault with the van, but perhaps more of a design flaw. If the van is never insulated, then you’d never know, and I doubt it would ever be a problem.)
First, I cleaned up the door and then I set about sealing the door with a sealant. I did this to both sides and then could get started on the insulation.

Click to buy your own…


(Affiliate links which help support this website)
Insulating the door
Using Thermawrap foil bubblewrap insulation, I cut sections that would fit inside the door and first placed, and glued them in, using Trim fix. This was to provide a layer between the main loft insulation and the metal door to hopefully stop some condensation.
I also used foil insulation and tape to create a raised channel between the door handle (which I had just sealed) down to the drainage hole in the bottom of the door. In the event that any water did get in, then it can drain through the door without soaking into my loft insulation.

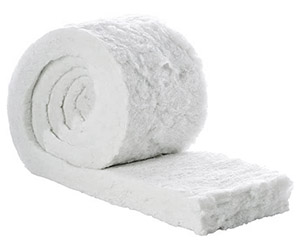
After this I could then cut my loft insulation to size and put it in the door. I’m using a Diall recycled plastic bottle loft insulation for the van build, available relatively cheaply from B&Q. I found I needed two packs of it for the whole van.

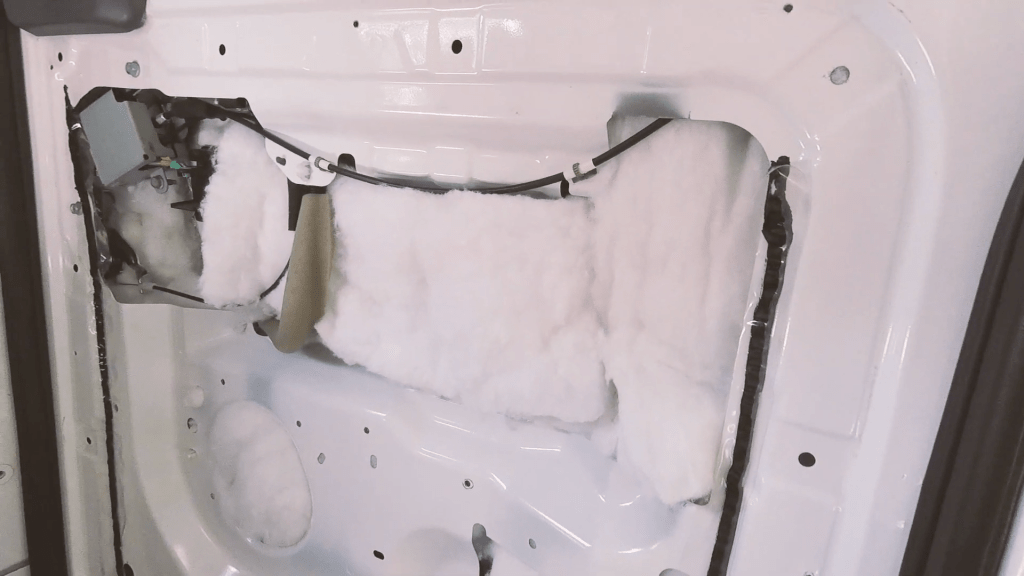

Next, I cut a large piece of foil insulation to the size of the panel and taped it in place, replacing the plastic sheet that was there previously. After the U-brackets went back on I was finished and ready for the next step in my van build – insulating the entire van!

If you want to see more of my camper van build in action, please CLICK HERE.


(Affiliate links which help support this website)
